5 Angle Grinder Jigs for Safer, Straighter Metal Cuts
What’s in This Article
Freehand metal cutting can drift fast, even when you use a sharp wheel and a steady grip. If you use an angle grinder for cutting metal, sheet metal, plate, or pipe, a simple jig gives you more control.
These five angle grinder jigs can help you cut straighter, work faster, and lower the chance of slips. Below, you’ll see how each jig works, what you need to build it, and how to use it safely in a shop or home garage.
Quick Answer
The best angle grinder jigs for metal cutting are a straight-edge guide, adjustable angle stop, pipe saddle jig, depth limiter, and wheel holder table. These jigs help you guide the grinder, support the workpiece, repeat cuts, and keep accessories ready. They don’t replace basic safety steps, so you still need clamps, the correct wheel, and the grinder guard in place.
Key Takeaways
- A straight-edge guide gives you the easiest upgrade for long, straight metal cuts.
- An adjustable angle stop helps you repeat miter cuts with less measuring.
- A pipe saddle jig keeps round stock from rolling while you cut.
- A depth limiter helps you avoid over-cutting near fixtures, welds, and work surfaces.
- A wheel holder table keeps guards, flanges, wheels, and safety gear within reach.
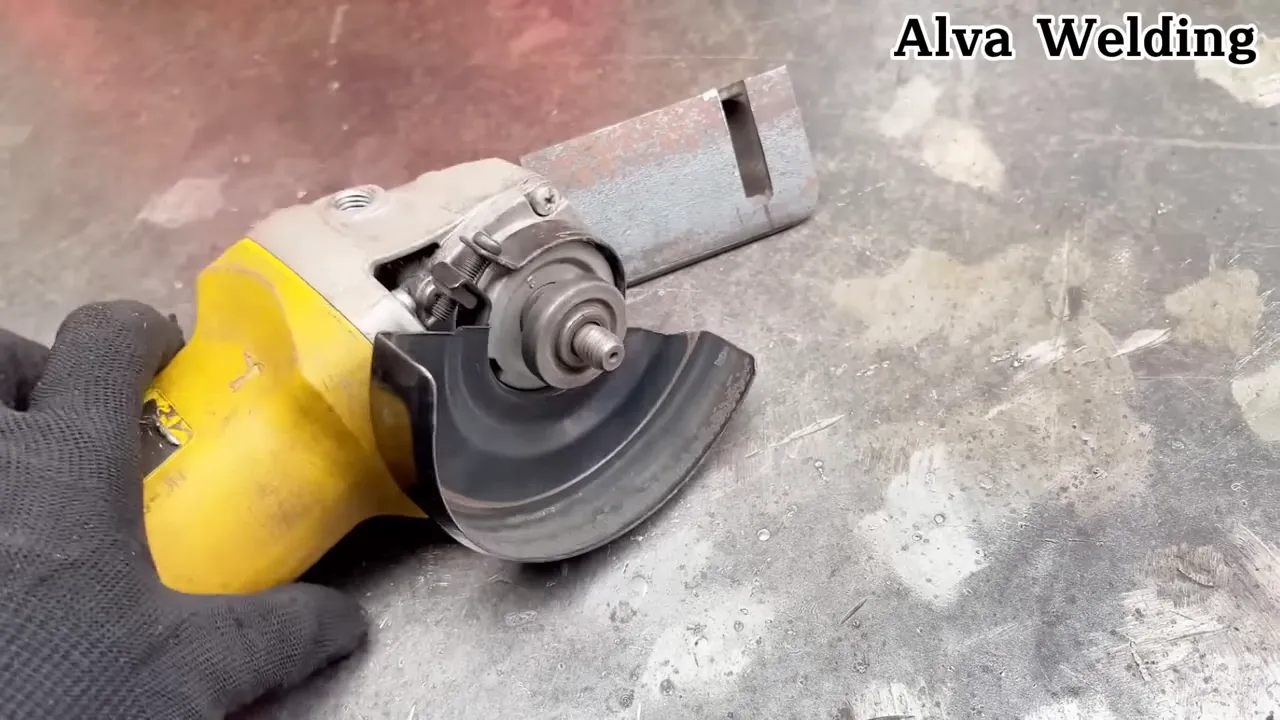
🔧 1. Simple Straight-Edge Guide Jig
This basic jig gives you the biggest daily benefit. Clamp a rigid flat bar or angle iron next to your cut line, then let the grinder ride along it.
The guide helps keep the wheel square to the cut. It also reduces wandering on long straight cuts.
Products Worth Considering
Compatible with plunge and fixed base routers

High Precision: The knife sharpening angle guide suitable for most 1"x30" belt sanders, the sharp universal angle guide turns a standard 1" belt sander into a very accurate knife sharpener, eliminating guesswork and always getting the same angle
High Precision: The knife sharpening angle guide suitable for most 1"x30" belt sanders, the sharp universal angle guide turns a standard 1" belt sander into a very accurate knife sharpener, eliminating guesswork and always getting the same angle
Materials
- Flat bar or angle iron about 1/4 inch thick
- Two quick clamps
- Marker and scribe
How to use it
- Mark your cut line clearly, then position the guide so the grinder guard or housing follows it.
- Use light, even pressure and let the wheel cut at its own pace.
- For long cuts, stop at times to check alignment, clear swarf, and let the area cool.
Why it helps
- It improves straightness compared with freehand cutting.
- It helps prevent wandering, binding, and accidental gouges in thin metal.
Pro tip: Make one test cut on scrap so you can measure the offset between the guide and the wheel.
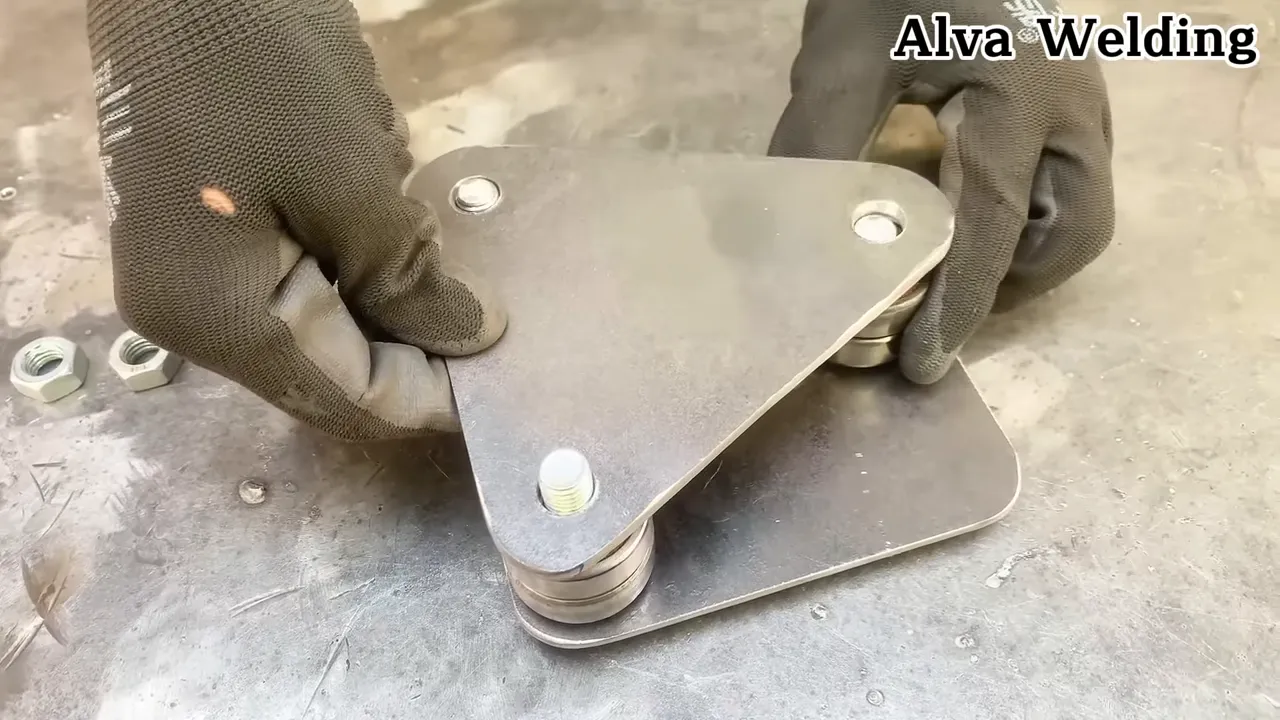
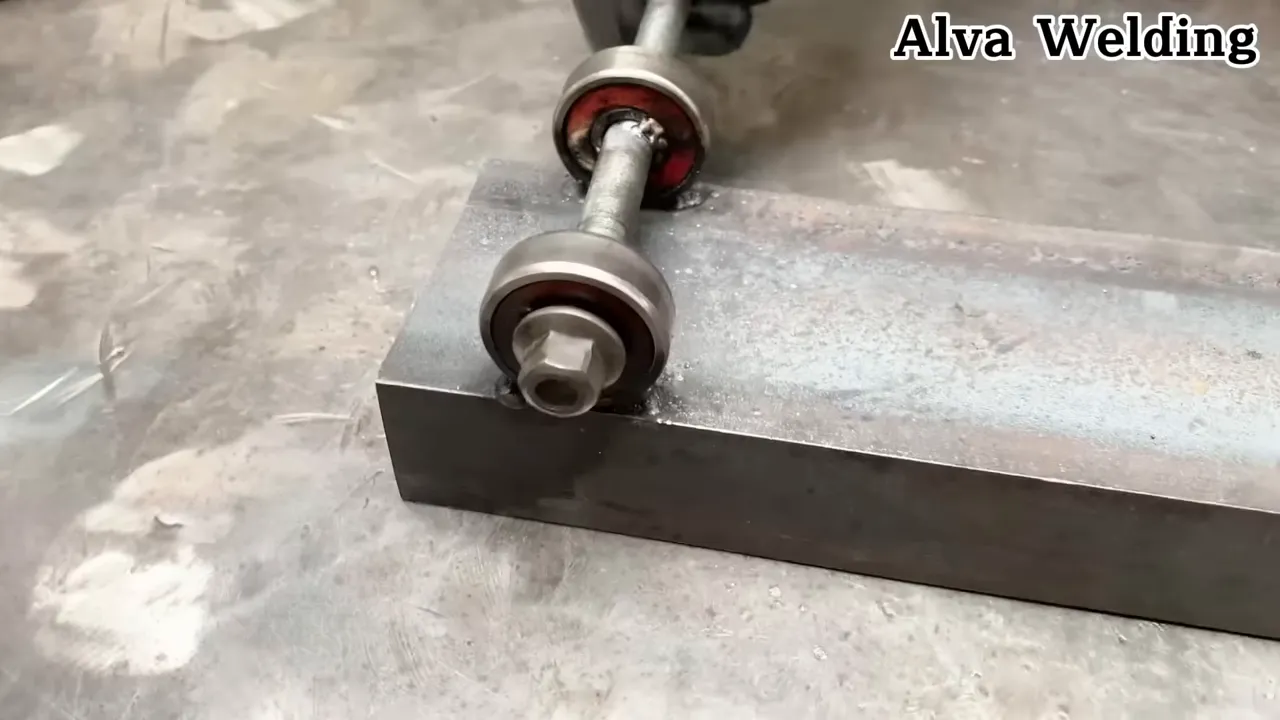
🪚 2. Adjustable Angle Stop for Repeatable Miters
When you need the same miter more than once, an adjustable stop saves time. It clamps to a workbench or angle base and gives each piece the same reference point.
This jig works well for frames, trim, brackets, and square tube projects. You can set the angle once, test it, then cut matching parts with less guesswork.
Materials
- Small hinge or pivot bolt
- Scale or protractor plate
- Clamp or bolt to secure the stop
Tips for setup
- Lock the stop at your chosen angle with a locking bolt.
- Test the setup on scrap before you cut the final piece.
- Check that the grinder guard has enough clearance through the full cut.
When to use it
- Use it for trim, frames, or tube miters where accuracy matters.
- Use it for jobs with several identical pieces.
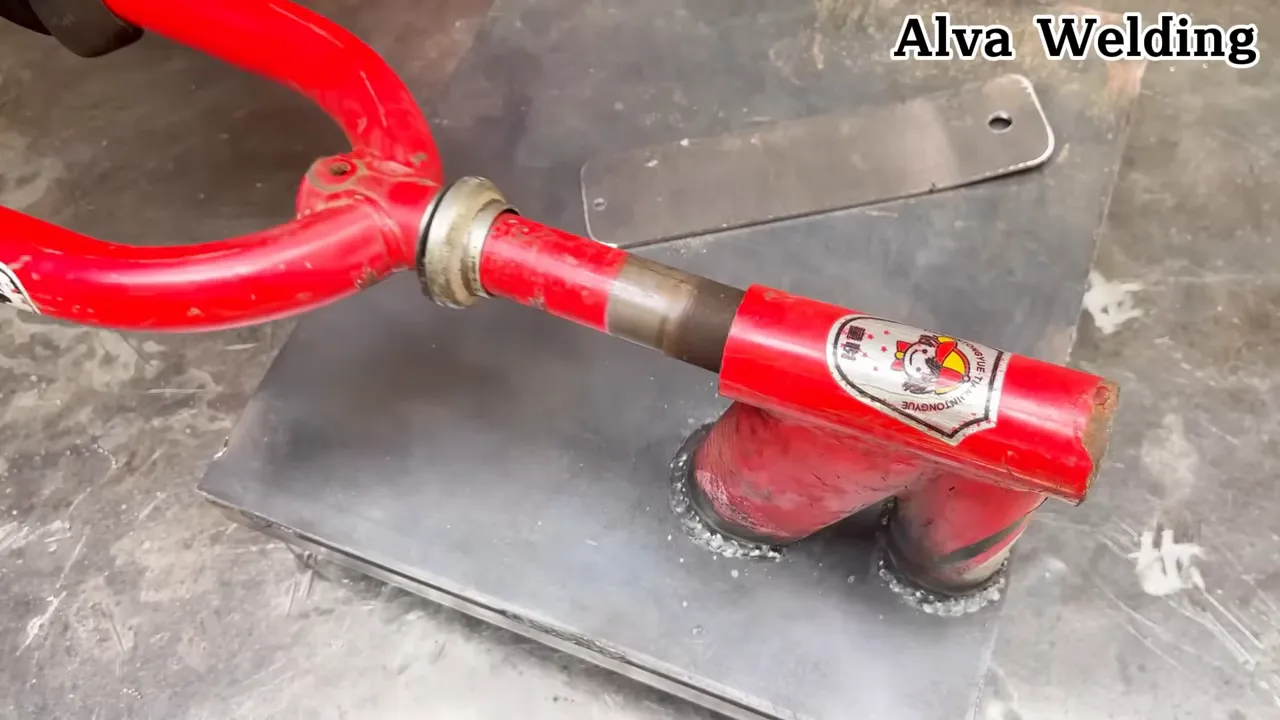
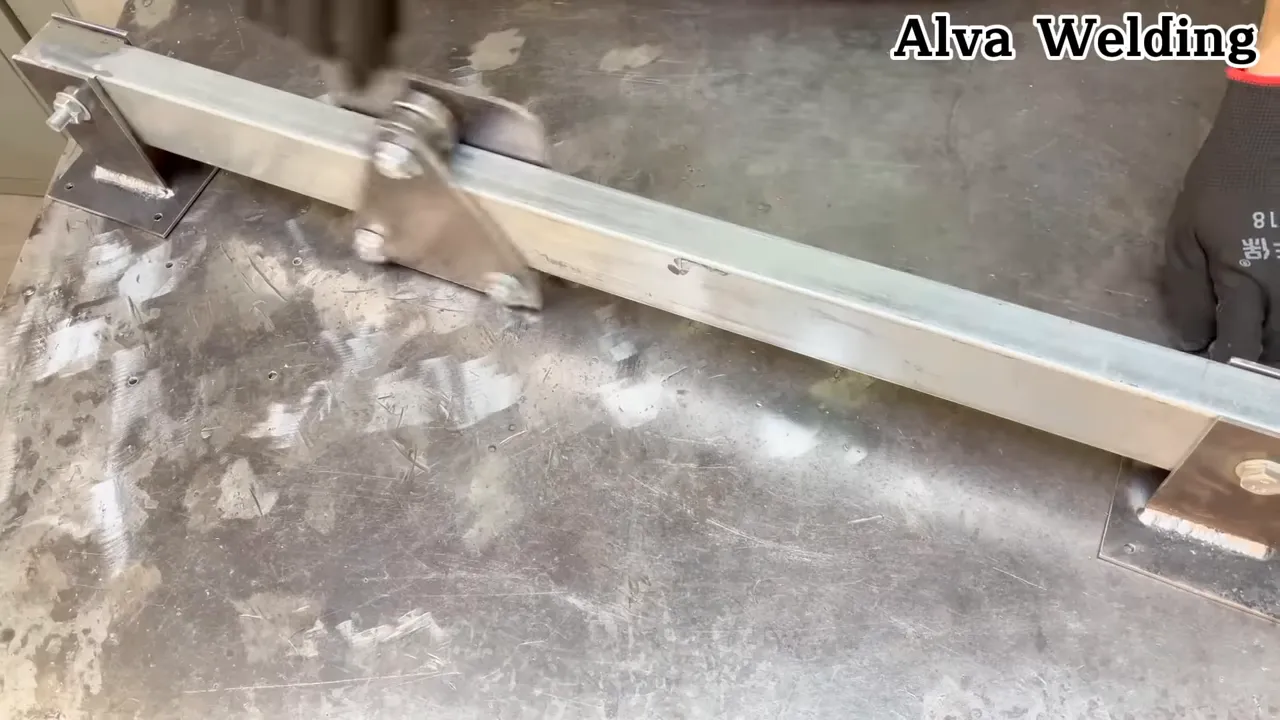
🔩 3. Pipe/Tube Cutting Saddle Jig
Round stock can roll, twist, or grab the wheel during a freehand cut. A saddle jig cradles the pipe and keeps it steady while you work.
The V shape supports different pipe sizes with simple stops or pins. It also helps you track the wheel around the cut line with better control.
Products Worth Considering

【Pipe Cutting Guide】Using the cutting guide device, you can precisely mark the cutting angles of pipes, ensuring straight and precise cuts for seamless subsequent welding operations

Fits Most Round Pipes: Fits 3/4", 1", 1.25", 1.5", 2", 2.5", 3", 4", 6", and 8" round pipes. Works with steel, stainless steel, iron, copper, aluminum, and PVC. Not suitable for square or oval pipes

Precision Pipe Cutting Template: Achieve accurate pipe saddle layout and cutting with this versatile 10-piece set. Designed for professionals and DIY enthusiasts, it ensures precise pipe markings for saddle cuts, notches, and miter joints
How to make it
- Use two strips of metal welded or bolted to a base to form a V-block cradle.
- Place two pieces of angle iron at about 90 degrees to support round stock.
- Add removable stops or pins for different pipe diameters.
Usage tips
- Secure the jig to the bench so grinding vibration does not move it.
- Rotate the pipe through the jig if you need a full circumferential cut.
- Use a cutoff wheel and finish deeper cuts in stages.
Warning: Never hold round pipe by hand while cutting, because it can roll and pull the wheel off line.
🧰 4. Cut-Off Wheel Depth Limiter Jig
Over-cutting can nick a workbench, fixture, or part under your cut line. A depth limiter helps control how far the cutoff wheel enters the material.
This jig helps most when you cut near welded joints, thin sheet, or parts that sit over another surface. It also gives you a more controlled feel during shallow cuts.
Build notes
- Use a manufacturer-approved depth guide when one fits your grinder.
- Use a clamp-on shoe that attaches to the guard without drilling or weakening it.
- Adjust the guide so the wheel exposes only the cutting depth you need.
Why use one
- It helps prevent accidental damage during flush cuts or cuts near welded joints.
- It lowers the chance of binding and grabbing when you keep the cut shallow.
Note: A depth limiter should attach around approved mounting points, not through drilled holes in the grinder guard.
⚙️ 5. Quick-Change Flange & Wheel Holder Table
Wheel changes slow you down when parts and tools sit in different places. A small holder table keeps spare wheels, guards, flanges, and a wrench in one safe spot.
This setup also helps you choose the right accessory before you start the next cut. Better organization reduces rushed changes and missing parts.
What to keep on it
- Spare cutoff wheels and grinding wheels
- Extra guards, flanges, and a small wrench
- Safety gear, including gloves, goggles, and ear protection
Workflow improvement
- You spend less time searching for parts between cuts.
- You reduce mistakes when changing grinder accessories.
- You keep the shop area cleaner and easier to use.
✅ Final Tips for Safer, Faster, and More Accurate Cuts
These jigs all improve control. A little setup time can save you rework, wasted metal, and frustration.
Use these rules every time you cut metal with an angle grinder:
- Wear eye and ear protection, snug cut-resistant gloves, and a proper respirator when cutting metal.
- Choose the right wheel for the job and inspect it for cracks or damage before mounting.
- Clamp your workpiece and your jig securely, because vibration hurts accuracy.
- Test setups on scrap before you cut the final piece.
- Keep the grinder guard positioned correctly, because jigs should support safety devices, not replace them.
🔍 Frequently Asked Questions
What materials work best for making simple angle grinder jigs?
Mild steel flat bar or angle iron works well because it stays rigid. Thicker material resists flex and vibration. For parts that clamp to a bench, add a sacrificial plate to protect the surface from sparks.
Can these jigs be used with any angle grinder size?
Yes, the same ideas apply to most angle grinder sizes. Make sure the jig clears the grinder guard. You also need enough wheel diameter and safe clearance for the full cut.
Are custom angle grinder jigs safe?
They can be safe when you build and use them with care. Don’t modify the grinder in a way that affects the guard, switch, or wheel mount. Secure the jig on its own and test it on scrap first.
How do you keep repeat cuts accurate with grinder jigs?
Check and tighten all fasteners before each cutting session. Use reference marks and test the setup on scrap. Recheck the angle or offset after a few cuts if vibration may have moved the jig.
Should you remove the grinder guard when using a jig?
No. Keep the guard in place and position it so it helps shield you from sparks and wheel fragments. A jig should guide the tool, not replace the safety parts that came with the grinder.
🧾 Quick Recap
The best angle grinder jig is the one that solves your most common cutting problem. Start with a straight-edge guide if you want cleaner long cuts, then add an angle stop or pipe saddle when your projects need repeatable shapes.
Keep every jig simple, sturdy, and easy to clamp. Test it on scrap, keep your guard in place, and make small adjustments before the final cut. With a few shop-made guides, your grinder can feel more controlled on every metal cutting job.

