To position the guard on your angle grinder, make sure it completely covers the upper half of the grinding wheel. Align the grooves on the guard with designated spots on the grinder, and adjust its angle to direct sparks away from you and any flammable materials. Listen for a click to confirm it’s locked in place. Regular inspections for wear are crucial. If you follow these steps, you’ll enhance safety and efficiency while working. There’s more you might find important.
Why Proper Guard Positioning Is Essential for Safety
When you use an angle grinder, proper guard positioning isn’t just a suggestion; it’s essential for your safety. Make sure the guard covers the wheel’s upper half to effectively direct sparks and debris away from you and any bystanders. Misalignment can increase your exposure to hazardous materials, heightening the risk of accidents. Regularly inspect the guard’s position and functionality; a loose guard can compromise your safety and lead to unforeseen injuries. Properly positioned guards not only protect you but also enhance your grinding efficiency by minimizing contamination and ensuring a clear line of sight. Remember, it’s about liberating yourself from the worry of injury while working. By prioritizing guard positioning, you create a safer workspace, allowing you to focus on your tasks without distraction. Make sure to incorporate these practices into your routine and empower yourself with knowledge and safety.
What You Need to Know About the Grinder’s Guard Mechanism
Understanding the grinder’s guard mechanism is essential for guaranteeing your safety while using an angle grinder. The guard serves as your first line of defense against flying debris and sparks. When considering guard types comparison, know that different designs offer varying levels of protection and functionality.
To maximize safety, utilize guard adjustment techniques effectively; you can typically reposition the guard to cover the wheel and redirect sparks away from yourself and any flammable materials. Always adhere to guard installation tips to guarantee it’s securely attached and doesn’t hinder the tool’s operation.
Regularly inspect the guard for damage or wear, since a compromised guard greatly increases injury risks. By mastering these aspects, you empower yourself to work confidently and safely, liberating your potential while wielding this powerful tool.
How to Position the Angle Grinder Guard Correctly
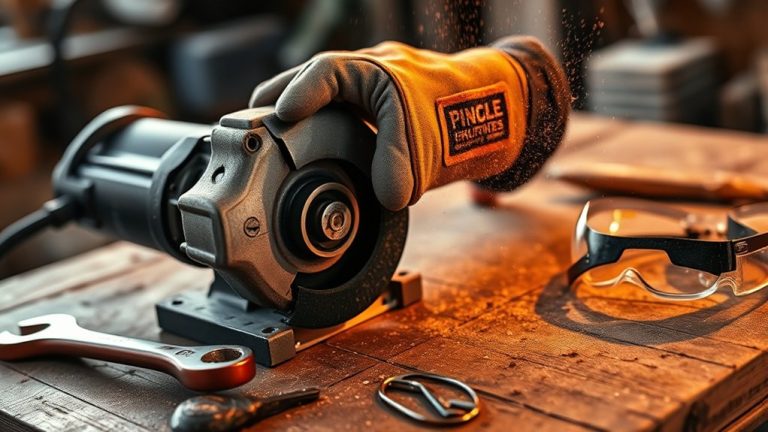
Positioning the angle grinder guard correctly is vital for guaranteeing your safety while you work. Start by verifying the guard covers the grinding wheel completely, protecting you from debris and sparks. Align the grooves on the guard with the corresponding spots on the grinder for a proper fit. This guarantees the guard materials are securely attached and ready for use.
Next, use adjustment techniques to set the guard’s angle, directing sparks away from you and any surrounding materials. This spark control minimizes potential fire hazards and keeps your workspace safe. As you adjust, listen for a clicking noise; this indicates the guard is locked in place.
Finally, make it a habit to regularly inspect the guard for signs of wear or damage. Maintaining ideal safety and functionality is vital, allowing you to work confidently and freely, knowing you’ve taken all necessary precautions.
How Can You Check If the Guard Is Securely Attached?

How can you guarantee the guard on your angle grinder is securely attached? Ensuring proper fit is essential for your safety and efficiency. Use these guard inspection techniques to confirm a secure attachment:
- Alignment Check: Make sure the grooves on the guard align perfectly with the grinder’s designated spots, free from obstructions.
- Pull Test: After reattaching the guard, gently pull on it. If it doesn’t move or slide, you’ve achieved proper assembly.
- Listen for Locking: When the guard is securely in place, you should hear a distinct clicking noise, indicating it’s seated correctly.
- Visual Inspection: Examine the guard’s fit. All pieces should come together seamlessly without needing excessive force during assembly.
Adjusting the Guard for Optimal Spark Direction
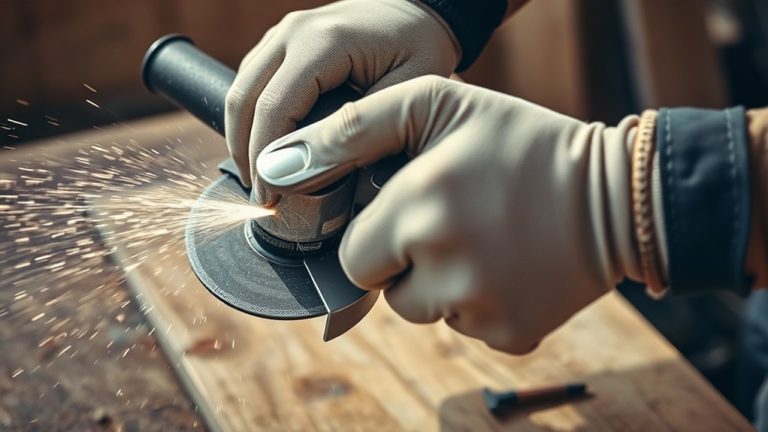
To guarantee your safety while using an angle grinder, it’s essential to adjust the guard for ideal spark direction. Start with a thorough spark trajectory analysis to determine the best angle. Direct the guard away from your body and flammable materials, ensuring it covers the grinding wheel completely.
Here’s a quick reference table for effective guard adjustment techniques:
| Adjustment Focus | Visibility Enhancement Methods |
|---|---|
| Angle away from user | Clear line of sight to workpiece |
| Coverage of grinding wheel | Minimized debris exposure |
| Secure fastening | Continuous protection during use |
Guard Positioning Mistakes to Avoid
One common mistake you can make when using an angle grinder is neglecting the proper alignment of the guard. To guarantee your safety, avoid these common guard errors:
- Loose or Misaligned Guard: Always secure the guard tightly to prevent it from moving during operation.
- Incorrect Spark Direction: Position the guard to deflect sparks and debris away from you, ensuring ideal coverage.
- Forcing the Guard: Never force the guard into place; use proper guard alignment techniques to attach it correctly.
- Adjusting While Running: Don’t attempt to adjust the guard while the grinder is in operation; this can lead to serious accidents.
Troubleshooting Issues With Your Guard During Operation
Even with proper guard positioning, issues can arise during operation that require your attention. If you notice the guard is loose or slides around, inspect the grooves for misalignments or obstructions that might impede proper assembly. Always verify the guard is seated correctly; a clicking noise during assembly indicates it has locked into place securely. If the shield moves during operation, reassess the fit and alignment of the components to prevent potential accidents.
Securing loose components is vital for maintaining operational safety. Regularly check the guard’s position and tightness before use, confirming it remains securely attached throughout operation. Address any issues with the guard immediately, as improper positioning can lead to unsafe working conditions and increased risk of injury. By implementing effective guard misalignment solutions, you can enjoy a safer and more efficient grinding experience.
Best Practices for Ongoing Guard Maintenance and Safety
While you focus on your grinding tasks, maintaining the guard’s integrity is vital for your safety. Here are some best practices to guarantee your guard is in top shape:
- Wear Inspection Methods: Regularly check the guard for any signs of wear or damage. A functional guard is essential for effective coverage.
- Guard Cleaning Techniques: Clean the guard frequently to remove dust and debris. This helps maintain proper alignment and effectiveness.
- Securing Mechanisms Overview: Before each use, verify that the guard is securely attached and properly aligned. This prevents accidental movement during operation.
- Monitor Positioning: Confirm the guard directs sparks and debris away from you and nearby personnel, enhancing workspace safety.
Frequently Asked Questions
Where to Position Angle Grinder Guard?
Position the angle grinder guard to fully cover the wheel, directing sparks away. Use guard alignment techniques and angle grinder adjustments for ideal safety compliance. Regularly check and secure the guard to prevent hazards during use.
What Are the OSHA Requirements for Angle Grinder Guards?
Think of your angle grinder as your shield. OSHA requires guards covering at least 180 degrees, adjustable for safety standards. Regular compliance checks guarantee you’re protected from debris and sparks, keeping you safe during operation.
How Close to the Grinding Wheel Should the Tongue Guard Be Placed?
You should position the tongue guard no more than 1/4 inch from the grinding wheel. This guarantees grinding wheel safety and helps prevent injuries. Regularly check your angle grinder adjustments for ideal protection during use.
How to Move the Guard on a Grinder?
Adjusting the guard’s like dancing with safety. First, unplug your grinder. Use guard adjustment techniques to pivot it, ensuring it’s secure. Avoid common grinder mistakes; proper positioning protects you from sparks and debris during work.
Conclusion
In conclusion, positioning the guard on your angle grinder is like setting a shield before battle—it protects you from sparks and debris while you work. Always check that the guard is secure and adjust it to direct sparks away from you and others. By avoiding common mistakes and maintaining your guard, you guarantee a safer, more efficient grinding experience. Stay vigilant, and treat your guard as your first line of defense against potential hazards.