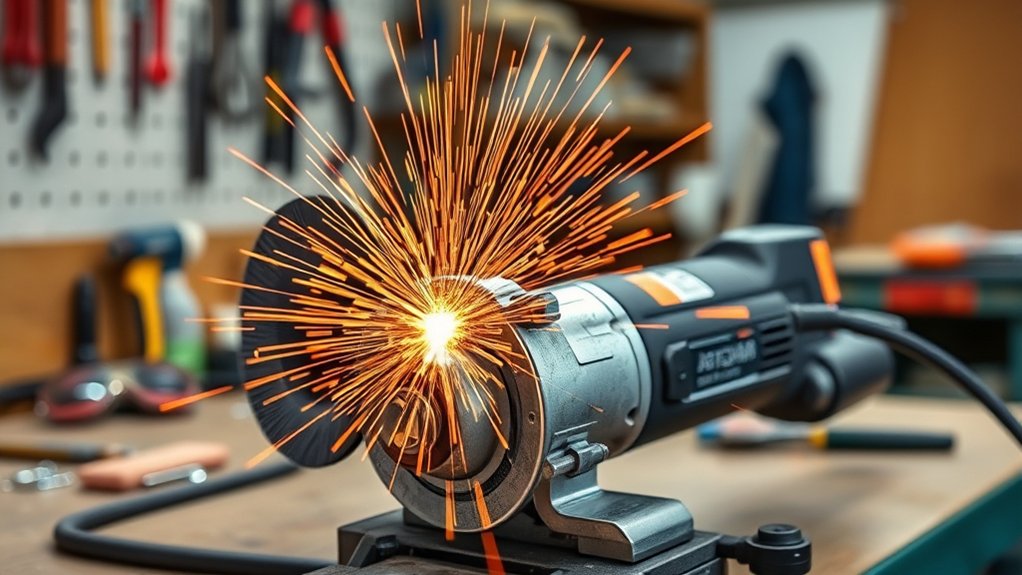
To position the guard on your angle grinder, make sure it completely covers the upper half of the grinding wheel. Align the grooves on the guard with the designated spots on the grinder, and adjust its angle to direct sparks away from you and any flammable materials. Listen for a click to confirm it’s locked in place. Regular inspections for wear are crucial.
Quick Answer
- The guard must fully cover the upper half of the grinding wheel.
- Align the guard’s grooves with the grinder’s designated slots, then listen for a click to confirm it’s locked.
- Angle the guard so sparks and debris are directed away from you and nearby materials.
- Inspect the guard before every use and replace it if you find damage or wear.
- Never adjust the guard while the grinder is running.
Why Proper Guard Positioning Is Essential for Safety
When you use an angle grinder, proper guard positioning is not just a suggestion. It’s essential for your safety. The guard needs to cover the wheel’s upper half so it directs sparks and debris away from you and any bystanders. Misalignment raises your exposure to hazardous materials and increases the risk of accidents.
Inspect the guard’s position and functionality regularly. A loose guard can compromise your safety and lead to unexpected injuries. A properly positioned guard also improves grinding efficiency by minimizing contamination and keeping a clear line of sight. Prioritize guard positioning and you create a safer workspace where you can focus on the task at hand.
What You Need to Know About the Grinder’s Guard Mechanism
The grinder’s guard is your first line of defense against flying debris and sparks. Different guard designs offer varying levels of protection and functionality, so it’s worth understanding what you’re working with before you start.
You can typically reposition the guard to cover the wheel and redirect sparks away from yourself and any flammable materials. Always follow guard installation tips to confirm it’s securely attached and doesn’t interfere with the tool’s operation. Check the guard regularly for damage or wear, since a compromised guard raises your injury risk significantly. For broader context on grinding safety, see NIOSH metalworking safety guidance.
Products Worth Considering

Brand New Genuine DeWalt N441218 Guard DCG414B DCG414T1 DCG414T2 DWE4214 OEM... Genuine DeWalt Part # N441218 Genuine OEM DeWalt Part
How to Position the Angle Grinder Guard Correctly
Getting the guard position right takes only a minute, but it matters every time you pick up the tool.
Start by confirming the guard covers the grinding wheel completely, protecting you from debris and sparks. Align the grooves on the guard with the corresponding slots on the grinder for a proper fit. This keeps the guard materials securely attached and ready for use.
Next, set the guard’s angle so sparks are directed away from you and any surrounding materials. This reduces potential fire hazards and keeps your workspace clear. As you adjust, listen for a clicking noise. That sound tells you the guard is locked in place.
Make it a habit to inspect the guard before each session, looking for signs of wear or damage. A guard in good condition lets you work confidently.
Products Worth Considering

Perfect Fit for DEWALT & Makita 4-1/2 Inch Grinders:Fits 4-1/2 inch (115mm) angle grinders – this replacement angle grinder guard works seamlessly with DEWALT and Makita...
How Can You Check If the Guard Is Securely Attached?

Use these guard inspection techniques to confirm the guard is secure before you start working:
- Alignment Check: Make sure the grooves on the guard line up with the grinder’s designated spots, free from obstructions.
- Pull Test: After reattaching the guard, gently pull on it. If it doesn’t move or slide, the assembly is correct.
- Listen for Locking: A distinct click when seating the guard means it’s locked in place.
- Visual Inspection: All pieces should come together smoothly without needing excessive force.
Adjusting the Guard for Optimal Spark Direction
Adjusting the guard for the right spark direction is one of the most important steps for safe operation. Analyze where sparks will travel given your work angle, then position the guard to redirect them away from your body and any flammable materials nearby.
Here’s a quick reference table for effective guard adjustment:
| Adjustment Focus | Visibility Enhancement Methods |
|---|---|
| Angle away from user | Clear line of sight to workpiece |
| Coverage of grinding wheel | Minimized debris exposure |
| Secure fastening | Continuous protection during use |
Guard Positioning Mistakes to Avoid
A misaligned guard is one of the most common angle grinder errors. Watch out for these:
- Loose or Misaligned Guard: Always secure the guard tightly to prevent movement during operation.
- Incorrect Spark Direction: Position the guard to deflect sparks and debris away from you.
- Forcing the Guard: Never force the guard into place. Use proper alignment techniques to attach it correctly.
- Adjusting While Running: Never adjust the guard while the grinder is on. This can cause serious accidents.
Troubleshooting Issues With Your Guard During Operation

Even with proper guard positioning, issues can come up during operation. If the guard feels loose or shifts around, inspect the grooves for misalignments or obstructions. Confirm the guard is seated correctly. A clicking noise during assembly means it has locked into place. If the guard moves during use, stop, unplug the grinder, and reassess the fit before continuing.
Check the guard’s position and tightness before every use. Address any issues right away, since improper positioning raises your risk of injury and creates unsafe working conditions.
Best Practices for Ongoing Guard Maintenance and Safety
Keeping the guard in good shape is an ongoing task, not a one-time check. Follow these practices:
- Wear Inspection Methods: Check the guard regularly for signs of wear or damage. A functional guard is the foundation of effective coverage.
- Guard Cleaning Techniques: Clean the guard often to remove dust and debris. This helps maintain alignment and performance.
- Securing Mechanisms Overview: Before each use, verify the guard is securely attached and properly aligned to prevent movement during operation.
- Monitor Positioning: Confirm the guard directs sparks and debris away from you and nearby workers throughout the job.
Frequently Asked Questions
Where to Position Angle Grinder Guard?
Position the angle grinder guard to fully cover the wheel, directing sparks away from you. Adjust the angle for the best coverage and check that the guard is secure before starting work.
What Are the OSHA Requirements for Angle Grinder Guards?
OSHA’s abrasive wheel equipment standards require guards that cover at least 180 degrees of the wheel. Guards must be adjustable to meet safety requirements. Regular compliance checks confirm you’re protected from debris and sparks during operation.
How Close to the Grinding Wheel Should the Tongue Guard Be Placed?
Position the tongue guard no more than 1/4 inch from the grinding wheel. This distance is critical for grinding wheel safety. Check your grinder’s adjustments regularly to maintain this clearance.
How to Move the Guard on a Grinder?
First, unplug the grinder. Then pivot the guard using the adjustment mechanism and confirm it’s secure in the new position. Proper positioning protects you from sparks and debris, so never skip the final check before starting work.
Conclusion
The guard on your angle grinder works like a shield. It protects you from sparks and debris so you can focus on the work, not the hazards. Always check that the guard is secure, angle it to direct sparks away from you and others, and inspect it regularly for wear. Treat the guard as your first line of defense, and it will serve you well every time you pick up the tool.


