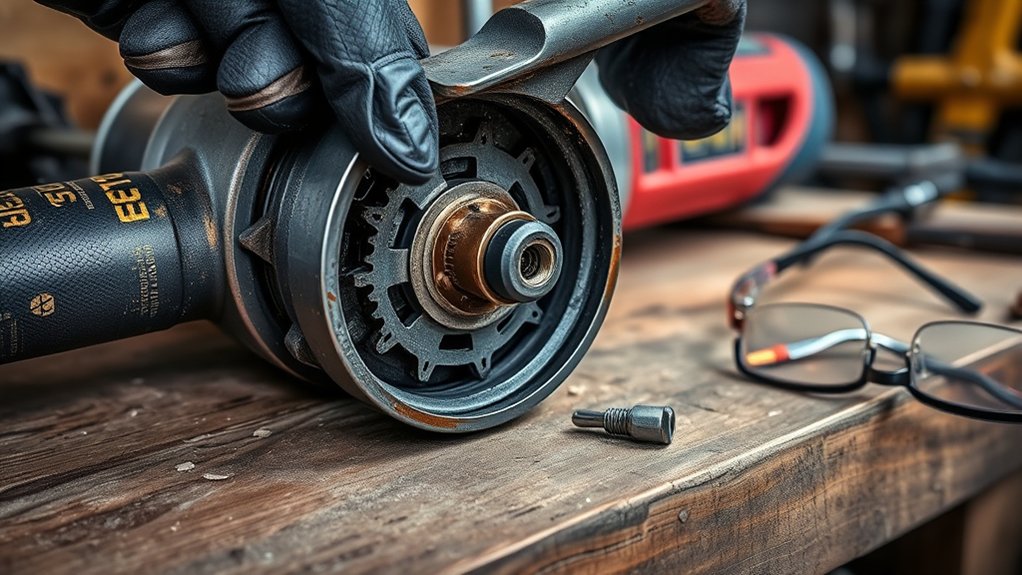
When an angle grinder spindle lock will not engage, you cannot hold the spindle securely for a normal wheel change. The lock is not what keeps the wheel attached while the grinder runs—the accessory’s threaded hub or the flanges and locking nut do that—but a damaged, stuck, or partly engaged lock can prevent correct installation and can damage the gearbox if you force it. Disconnect the tool and diagnose the problem before using it again.
Quick Answer
Unplug the grinder or remove its battery, wait for the wheel to stop, then hold the spindle-lock button while turning the spindle by hand. Clean visible dust with a soft brush. If the button stays down, locks only sometimes, or never stops the spindle, do not force, hammer, oil, or open the mechanism—use the model-specific manual or authorized service.
Key Takeaways
- The spindle lock is a wheel-change aid. It should be used only when the grinder is off, disconnected from power, and fully stopped.
- A button that will not depress may only need the spindle turned slightly by hand so the locking parts can align.
- A stuck-down button, intermittent engagement, or a spindle that never locks points to damage that needs model-specific repair.
- Wheel wobble, scraping, heat, and vibration are not proof of spindle-lock failure; inspect the wheel, flanges, guard, bearings, and gearbox separately.
- Do not hammer the sleeve, peen the housing, add oil, or improvise a locking pin unless the manufacturer’s service procedure specifically calls for it.
At a Glance
| Time Required | 10–20 minutes for external checks; professional repair time varies |
| Difficulty | Easy for inspection and dry cleaning; advanced for internal repair |
| Tools Needed | Model-specific manual, soft brush, dry cloth, eye protection, and the supplied wheel wrench |
| Cost | $0 for inspection; replacement parts and service vary by model |
What’s in This Article
Understanding the Angle Grinder Spindle Lock Mechanism
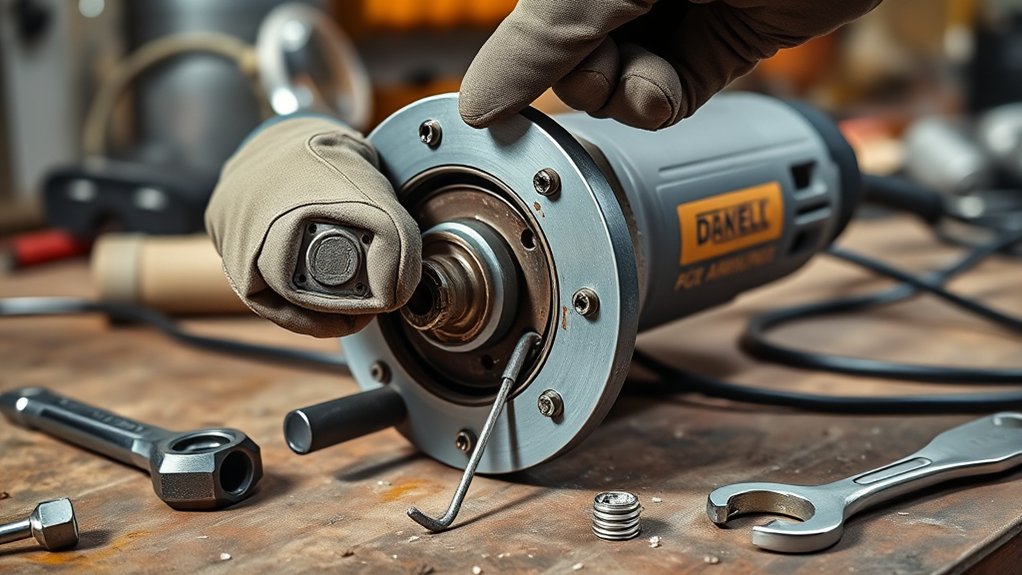
The spindle lock keeps the spindle from turning while you install or remove an accessory. On many grinders, pressing the button moves a spring-loaded pin into a matching recess in the spindle or gear assembly. The exact design varies by brand and model.
The lock may not engage the instant you press it because the pin and recess are not aligned. Manufacturer instructions commonly tell you to press the button and slowly rotate the spindle by hand until it stops. For example, the DEWALT DWE43231/DWE43240 manual says the tool must be off, unplugged, and fully stopped before the lock is used. It also warns not to engage the lock while the tool is running.
The spindle lock does not clamp the wheel during operation. The accessory’s threaded hub or the backing and locking flanges hold it in place. A failed lock is still a reason to remove the grinder from service because it may stop you from installing or removing the wheel as the manual requires, and a stuck lock can contact moving parts.
Treat the spindle lock as a stationary wheel-change tool—not as a brake, clutch, or device that holds the wheel while the grinder runs.
Note: Some grinders use a tool-free mounting system, such as Bosch X-LOCK, instead of a conventional threaded spindle, flange, nut, and spindle-lock routine. Follow the instructions for your exact mounting system rather than adapting the steps below.
Signs of a Faulty Spindle Lock
Judge the spindle lock by what the button and spindle do while the tool is disconnected—not by how the wheel behaves at full speed. The following symptoms are more useful than general noise or vibration.
Spindle Lock Engaging Issues
- The button will not depress: The pin may be resting against a solid part of the gear or spindle. Keep light pressure on the button and turn the spindle slowly by hand. Never strike or force the button.
- The button depresses but the spindle keeps turning: The pin may not be reaching its recess, or an internal pin, spring, button, or gear part may be worn or broken.
- The button locks only in some positions or slips out: Intermittent engagement can indicate wear, a damaged recess, or a loose internal part.
- The button stays down: Do not connect power. A stuck lock can contact the rotating assembly and damage the tool or release an accessory.
Unusual Grinding Noises
Clunking, scraping, or grinding sounds during operation do not prove that the spindle lock has failed. They can also come from a damaged wheel, incorrect flange assembly, guard contact, worn bearings, or damaged gears. Stop the tool, disconnect power, and inspect the mounting parts before blaming the lock.
| Symptom | What It May Mean | Next Step |
|---|---|---|
| Button will not move | Normal misalignment or a jammed button | Rotate the spindle slowly by hand while applying light button pressure |
| Button moves, spindle never stops | Worn, broken, or obstructed internal lock parts | Clean the exterior only, then arrange model-specific service if it still fails |
| Button remains depressed | Stuck button, spring, or lock pin | Do not power the grinder; have it repaired |
| Wheel wobbles or rubs | Wheel, flange, spindle, guard, or bearing problem | Inspect the complete wheel-mounting stack and accessory condition |
Inconsistent Disc Rotation
An accessory that does not run true usually points to a mounting or component problem, not a spindle lock that “cannot hold its position.” Check that the wheel is undamaged, centered on the correct backing flange, compatible with the grinder, and clear of the guard. If the bare spindle itself has visible runout, feels rough, or has side-to-side play, stop and have the grinder inspected.
Warning: Never press the spindle-lock button while the wheel is moving. A manufacturer manual may warn that doing so can damage the tool and allow the accessory to spin off.
Safety Checks Before You Start Troubleshooting
Complete these checks before touching the wheel, flange, spindle, or lock button. OSHA guidance says to disconnect portable grinders before servicing, cleaning, or changing accessories and not to use damaged tools.
| Safety Check | Action | Why It Matters |
|---|---|---|
| Power source | Unplug the cord or remove the battery | Prevents accidental start-up |
| Wheel movement | Wait until the accessory is completely stopped | Prevents lock and gearbox damage |
| Model identification | Find the model and type number, then open its manual and parts diagram | Lock designs, flange order, and approved service steps vary |
| Personal protection | Wear eye protection; use gloves when handling sharp or damaged accessories | Protects against dust, sharp edges, and loose fragments |
| Work surface | Set the grinder on a clean, stable bench | Keeps the tool from shifting during inspection |
How to Troubleshoot Spindle Lock Issues
- Confirm the tool is isolated. Unplug it or remove the battery. Wait for a complete stop. Do not rely on the trigger switch alone.
- Check for normal alignment. Hold the spindle-lock button with light pressure and slowly rotate the wheel or spindle by hand. The lock should drop into place at an engagement point. Do not use pliers or a hammer on the button.
- Inspect the button from outside. Look for packed grinding dust, a cracked cap, bent plastic, or a button that sits lower than normal. Remove loose surface dust with a soft brush and dry cloth. Do not pour cleaner into the opening.
- Check the return action. Release the button. It should spring back fully. If it drags, stays down, or rises unevenly, stop. The spring, pin, or button may need replacement.
- Test engagement by hand. With the button held and the spindle aligned, try to turn the spindle gently. A working lock should hold firmly for wheel removal or installation. Do not apply motor torque or use a long cheater bar.
- Use only the manual’s alternate holding method. A few models provide spindle flats, a hex recess, or another approved method. Use it only when the exact manual shows it. If the manual does not provide an alternative, take the grinder for service rather than improvising.
- Stop at the gearcase. If external cleaning and alignment do not restore reliable engagement, the fault is internal. Do not continue using the grinder until the lock has been repaired and the tool passes the manufacturer’s checks.
Pro Tip: Take a clear photo of the model label and of the wheel, backing flange, and locking flange before removal. This helps you find the correct manual, parts diagram, and assembly order.
Products Worth Considering

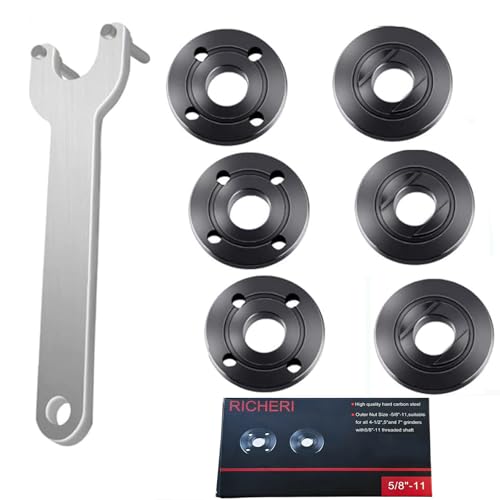
[7PCS 5/8"-11 Angle Grinder Nut Wrench Replacement Kit] 1 piece angle grinder wrench and 6 angle grinder nuts (3 inner flange nuts, 3 outer flange nuts) for lock nut removal, wheel/disc replacement.Compatible with most arbor grinders and lock nuts, Perfect for home DIY, workshop projects, and professional grinder parts replacement

【Value Sets】The grinder nut set includes 1 angle grinder wrench and 6 angle grinder nuts (3 inner flange nuts, 3 outer flange nuts). Please check size and compatibility before ordering. Please contact us with any questions or concerns. We prioritize your satisfaction .

【Efficient Quick-Change Design】 Features a convenient quick-change mechanism that allows for fast and tool-free installation and removal of grinding or cutting discs, significantly reducing downtime and improving work efficiency
Common Fixes for a Slipping Spindle Lock
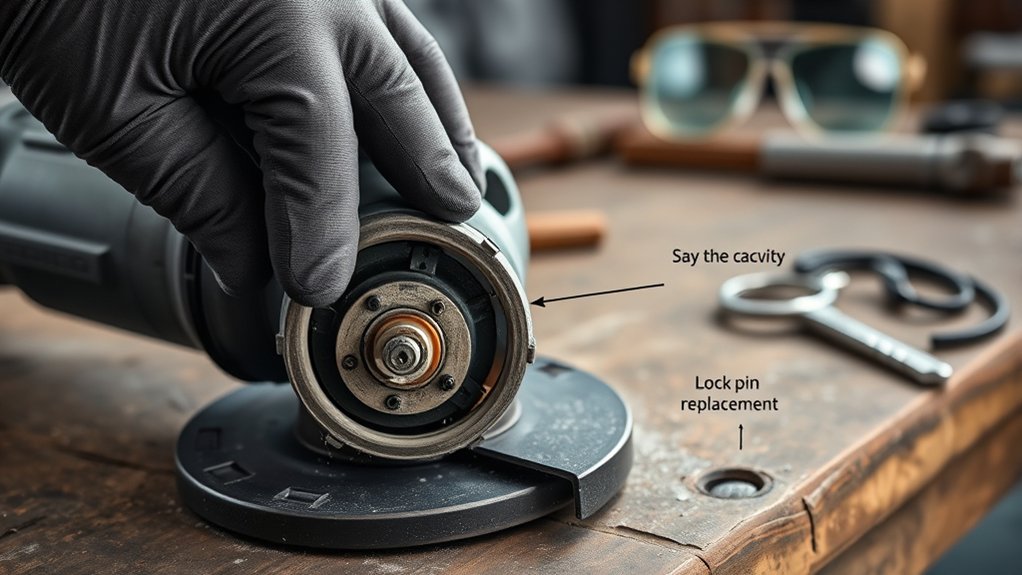
The safe DIY fixes are limited because the locking pin, spring, and gear engagement parts are usually inside the gearcase. Start with the least invasive steps:
- Align the mechanism: Turn the spindle slowly by hand while holding light pressure on the lock button.
- Clean visible debris: Brush dry dust away from the button and exposed spindle area. Keep liquids and oil out of the opening unless the manual gives a specific lubrication procedure.
- Correct the wheel stack: If the lock works but the accessory is loose or crooked, reinstall the backing flange, wheel, and locking flange in the exact order and orientation shown in the manual.
- Replace damaged parts by model: Use the manufacturer’s parts diagram and exact model/type number. Internal pin, spring, button, sleeve, gearcase, and spindle designs are not universal.
Warning: Do not hammer a sleeve into place, peen or punch the aluminum housing, drill the gearcase, glue the button, insert a substitute pin, or force the lock with a cheater bar. These shortcuts can crack or misalign the housing, hide internal damage, and make the grinder unsafe.
For model-specific parts and repair options, use the manufacturer’s documentation or an authorized service center. DEWALT provides a tool support and service portal, while Makita lists factory and authorized service centers.
Products Worth Considering

1、for Makita 9553/9553NB/9555/9556/9558 angle grinder accessories
Replacement part numbers: 224399-1, 193465-4, 224568-4 parts Fit for Makita 9005BZ 9015B 9505BH 9527PB 9527NB 9015DB 9561CV 9016B 9049 9067L 9077SL 9564,GA7021, GA9040S 9" 15A, GA5010Z 10.5A 5", 9557NB, 9558PB, GA6020, 9005B, 9503BH, 9524NB, 9528PB, 9528NB 9" 15A Angle Grinder, etc

Complete Angle Grinder Attachments – 9 essential parts (nuts, wrenches, flanges, lock nuts) in one kit. All you need for easy grinder maintenance, no more hunting for single pieces.
Check the Wheel, Flanges, and Spindle Separately
A spindle-lock problem and a wheel-mounting problem can happen at the same time, but they are not the same fault. Before returning the grinder to service, inspect the complete mounting system.
- Wheel condition: Do not use a cracked, chipped, warped, soaked, dropped, or otherwise damaged abrasive wheel.
- Speed rating: The wheel’s maximum operating speed must meet or exceed the grinder’s rated speed. OSHA addresses this in its portable abrasive-wheel requirements.
- Correct fit: The wheel should fit freely on the spindle or backing flange. Never force a wheel onto an arbor.
- Flange condition and order: Use the correct backing and locking flanges, facing the direction shown in the manual. Replace cracked, bent, burred, or heavily worn flanges.
- Tightening: Use the supplied wrench and the manual’s method. Tighten securely without excessive leverage that can distort the flange, damage threads, or make later removal difficult.
- Guard clearance: Rotate the mounted wheel by hand and make sure it does not rub the guard or tool housing.
After a wheel is correctly installed and the lock button returns fully, follow the manufacturer’s no-load test. Stand out of the wheel’s plane during start-up, keep bystanders clear, and stop immediately if you see wobble or hear rubbing.
How to Maintain Your Grinder and Prevent Spindle Lock Problems
- Release the trigger and wait for a complete stop before touching the spindle-lock button.
- Keep the button and spindle area free of packed abrasive dust with dry, external cleaning.
- Check that the button moves freely and springs back before each wheel change.
- Use the correct flange, guard, accessory, and supplied wrench for the model.
- Do not overtighten the locking flange or use the spindle lock to break loose a severely seized accessory with excessive leverage.
- Store the grinder in a clean, dry place where the button cannot be held down or struck.
- Do not add routine oil to the lock unless the manufacturer’s manual specifically requires it. Oil can hold abrasive dust and may reach parts that were designed to stay dry.
The OSHA portable power-tool fact sheet recommends regular maintenance, pre-use damage checks, manufacturer-approved accessories, and operation according to the tool maker’s instructions.
When to Seek Professional Help for Your Grinder
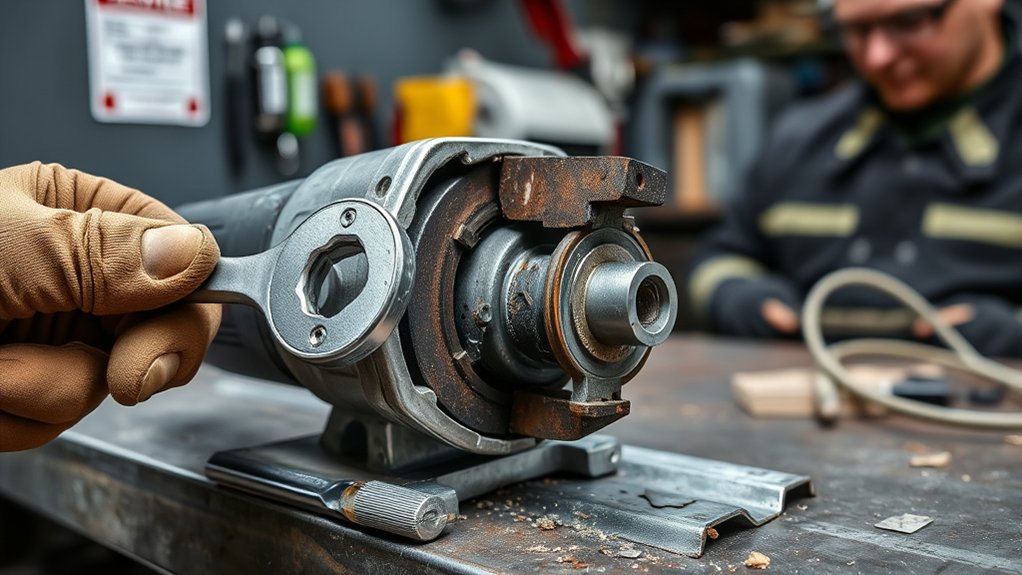
Stop troubleshooting and arrange qualified service when:
- The button remains depressed or can contact the moving spindle.
- The spindle never locks after you try normal hand alignment and dry external cleaning.
- The lock engages intermittently, slips under light hand force, or feels loose.
- The accessory is seized and the manual does not show another approved removal method.
- The gearcase is cracked, the button is broken, the spindle has play, or the tool makes gear or bearing noise.
- The grinder overheats, smells burned, sparks internally, or has a switch, cord, battery, brake, or motor fault.
- The tool is under warranty or internal disassembly could affect coverage.
Manufacturer manuals commonly direct internal repairs to trained or authorized technicians. A service center can replace the correct pin, spring, button, gear, spindle, or housing and then check the complete tool for safe operation.
Frequently Asked Questions
What causes a spindle lock to stop engaging?
The button may simply be out of alignment with the locking recess. If slow hand rotation does not help, visible debris, a stuck button, a weak or broken spring, a worn pin, a damaged gear recess, or a loose internal part may be responsible. The exact parts vary by model.
Can I use an angle grinder if the spindle lock is broken?
Do not use it until the fault is assessed. The lock does not hold the wheel during normal operation, but a failed lock can prevent correct wheel installation, and a stuck or partly engaged lock can damage the tool. OSHA also advises against using damaged power tools.
Why will the spindle-lock button not press down?
The locking pin may be resting against the gear or spindle instead of its recess. Disconnect power, hold light pressure on the button, and rotate the spindle slowly by hand. If the button still will not move, do not force it; the button or internal lock may be jammed or damaged.
How do I remove a wheel if the spindle lock is broken?
Use an alternate holding method only when the manual for that exact model shows one, such as approved spindle flats or a hex recess. Do not jam the wheel, grip the spindle with locking pliers, or insert a homemade pin. If the manual gives no alternate method, use an authorized repair service.
What are two common faults with grinding wheels?
Two common hazard groups are mounting errors and damaged or incompatible wheels. Examples include reversed or incorrect flanges, a wheel that does not fit freely, cracks or chips, and a wheel whose speed rating is below the grinder’s rated speed. Inspect and install the accessory exactly as the manufacturer directs.
How do I know if my spindle-lock pin is damaged?
From outside the tool, warning signs include a button that moves without resistance, fails to hold the spindle at any position, slips out, or stays down. Confirming a bent, sheared, or worn pin usually requires model-specific disassembly, so use the service manual or a qualified technician.
Should I lubricate the spindle-lock button?
Not unless the manual for your grinder specifically tells you to. Generic oil can trap abrasive dust or migrate into areas designed to stay dry. Clean loose exterior dust with a soft brush and follow the manufacturer’s maintenance instructions.
When should I replace the spindle lock instead of repairing it?
Replace the damaged component when the button, pin, spring, spindle, gear engagement point, sleeve, or housing is cracked, worn, bent, or broken and the manufacturer supplies an approved replacement. Because these parts work beside the gear train, internal replacement is often best handled by an authorized service center.
Safety Disclaimer: This article provides general information, not a substitute for the manual or service procedure for your exact grinder. Angle grinders are high-speed power tools. Disconnect power before inspection, use the correct guard and accessories, and stop if a repair requires steps you are not trained or equipped to perform.
A reliable spindle lock should engage firmly during a wheel change and release completely before the grinder is powered. Start with hand alignment and dry external cleaning, then verify the wheel and flanges separately. If the lock remains stuck, slips, or never engages, keep the grinder out of service and have the correct model-specific parts repaired.
Sources
- OSHA: Safe Use of Portable and Hand-Held Power Tools — disconnecting tools, inspecting damage, PPE, guards, wheel mounting, and manufacturer instructions
- OSHA 29 CFR 1910.243: Guarding of Portable Powered Tools — abrasive-wheel inspection, spindle speed, guards, and mounting requirements
- DEWALT DWE43231/DWE43240 Instruction Manual — spindle-lock operation, wheel installation, warnings, cleaning, and repair guidance
- Bosch GWS8-45 Operating and Safety Instructions — wheel and flange assembly with the spindle lock and supplied wrench
- Makita U.S.A. Service Centers — factory and authorized power-tool repair options