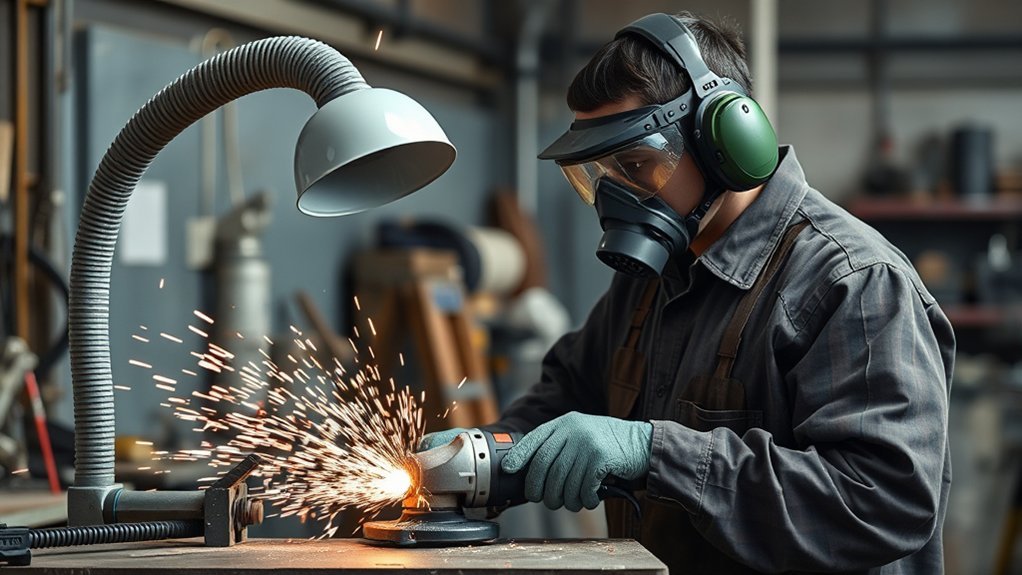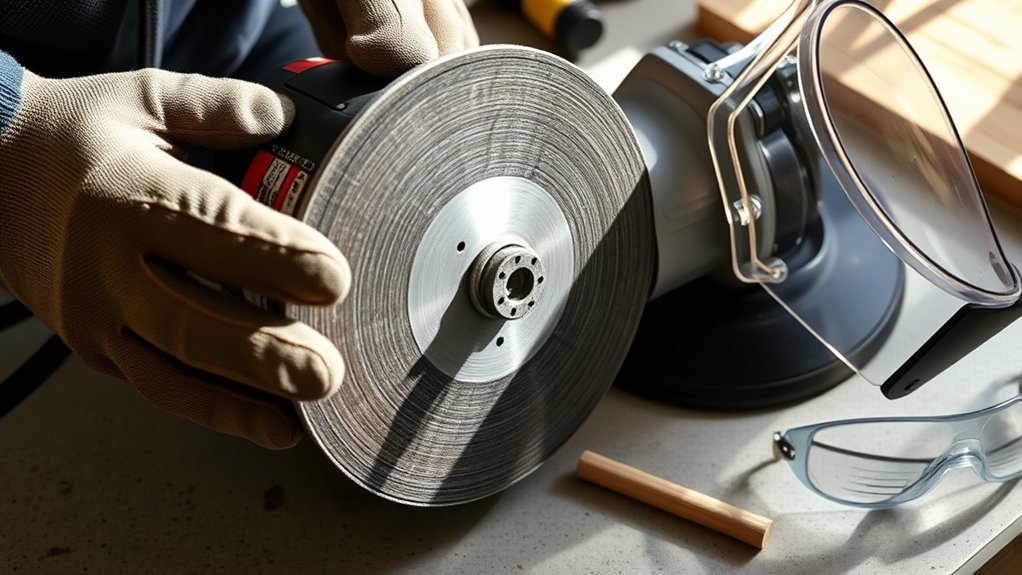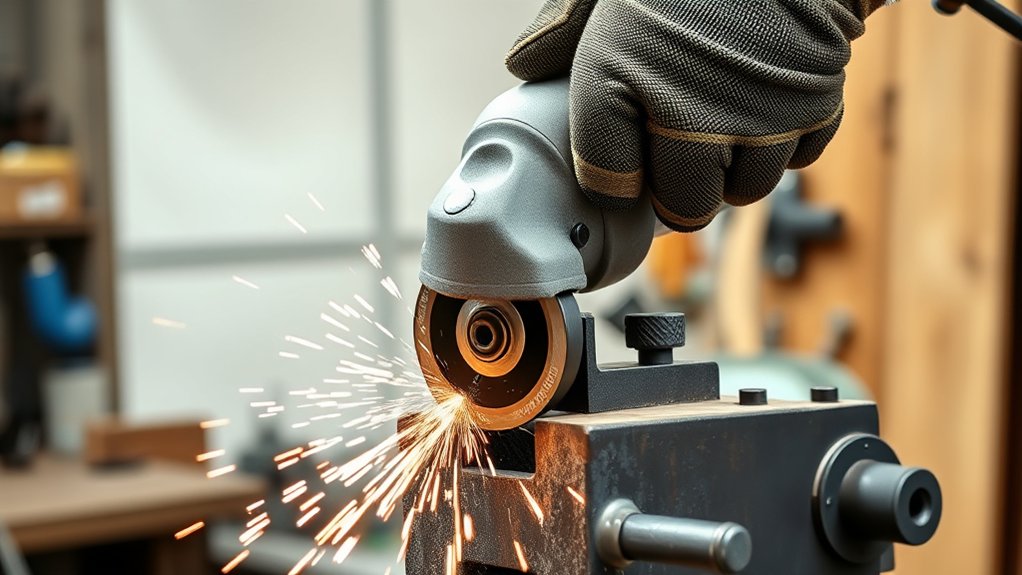
Cut-off wheel pinch happens when the material closes on the disc, the wheel twists in the cut, or the grinder is forced beyond what the wheel can handle. To prevent binding, you need a stable workpiece, the right wheel, a properly positioned guard, light pressure, and a cut that stays open from start to finish.
Quick Answer
Prevent cut-off wheel pinch by clamping the work securely, supporting the material so the kerf stays open, using the correct rated wheel, keeping the guard installed, and cutting with light, steady pressure. Let the grinder reach full speed before entering the cut, avoid twisting the disc, and stop immediately if the wheel starts to bind.
Key Takeaways
- Most pinch happens because the workpiece shifts, sags, or closes the kerf around the wheel.
- Use the correct cut-off wheel for the material, tool size, arbor size, and RPM rating.
- Keep the grinder guard installed and positioned between you and the wheel path.
- Use light pressure, shallow passes, and a straight cut. Do not twist or side-load a thin cutting disc.
- If the wheel begins to bind, release the trigger, hold the tool steady, and let the wheel stop before removing it.
At a Glance
| Time Required | 2-5 minutes of setup before each cut |
| Difficulty | Beginner to intermediate, depending on material size and cut position |
| Tools Needed | Angle grinder, correct cut-off wheel, clamps or vise, stable supports, safety glasses, face shield, hearing protection, gloves, and flame-resistant clothing |
| Cost | Usually $5-$25 for wheels and basic setup supplies, not including the grinder or PPE |
Understand the Causes of Cut-Off Wheel Pinch and Binding
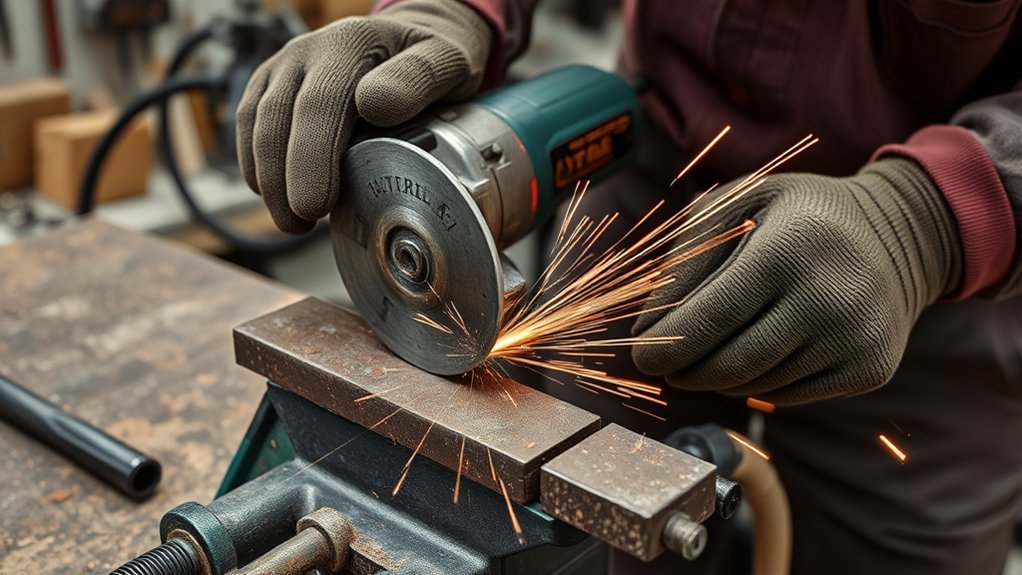
Understanding why a cut-off wheel pinches helps you prevent the problem before the grinder ever touches the work. Binding usually starts when the cut closes around the wheel, the material moves, or the disc is pushed sideways instead of straight through the cut.
The most common cause is material movement. Long stock can sag. Thin sheet can flex. Pipe can rotate. A heavy off-cut can drop and close the kerf. Once the wheel is trapped, the grinder can kick back toward you or the disc can break.
Another common cause is side-loading. A thin cut-off wheel is made to cut on its edge, not grind on its face. Twisting the grinder, leaning into the side of the disc, or changing direction inside the cut increases stress on the wheel.
Incorrect cutting depth also raises risk. When the wheel plunges too far through the work, more of the disc is exposed to side pressure and the tool is harder to control. SafeWork SA advises keeping the cut depth controlled when using a grinder fitted with a cutting disc and avoiding plunging too far through the workpiece. SafeWork SA angle grinder guidance also warns that the wrong disc can shatter or grab the workpiece and cause kickback.
Warning: Never remove the grinder guard to make a cut easier. The guard helps deflect sparks and fragments if a wheel breaks. Use the correct guard for the wheel and keep it positioned between you and the disc.
Ensure Proper Material Support and Stability
To prevent pinch, set up the work so the cut stays open. The goal is not just to stop the material from moving. You also need to stop the off-cut from dropping, rotating, or squeezing the wheel as the cut finishes.
Essential Material Clamping Techniques
Clamp the workpiece before cutting. A bench vise, locking pliers, C-clamps, welding clamps, or a fixture can all work if they hold the material firmly without placing your hands near the cut line.
- Clamp the main workpiece so it cannot slide, bounce, or rotate.
- Support long material close enough to the cut to prevent sagging.
- Support the off-cut so it does not fall and pinch the wheel at the end of the cut.
- Keep clamps clear of sparks, the wheel path, and the grinder body.
- Recheck the setup if the material shifts after the first pass.
For pipe, tubing, angle iron, and other shapes that can roll, use a vise, V-block, or chocked support. Do not hold round material by hand while cutting it with an angle grinder.
Support Both Sides Effectively
Supporting both sides of the cut helps prevent sudden movement, but the support must be placed correctly. If both supports let the material sag toward the cut, the kerf can close and grab the disc. Place supports so the work remains stable and the cut can open slightly instead of squeezing shut.
When safe and practical, use a nonflammable wedge or spacer to keep the kerf open after the cut has started. Do not force a wedge into the wheel path, and never place your fingers near the open cut while the wheel is moving.
Maintain a Level Cutting Surface
A stable, level cutting surface gives you better control and lowers the chance of binding. Clear the area of scrap, cords, loose tools, oily rags, and anything that could shift under the workpiece.
Before you cut, check that you can stand with both feet planted, see the cut line clearly, and move through the cut without twisting your wrist. A comfortable stance matters because sudden body movement can push the wheel sideways.
Pre-Cut Safety Checklist
Use this checklist before every cut, even if the job looks simple:
- Inspect the wheel: Do not use a wheel with cracks, chips, warping, water damage, or a missing label.
- Check the rating: The wheel’s maximum RPM must meet or exceed the grinder’s no-load RPM. OSHA/eCFR requires spindle speed to be checked so it does not exceed the maximum operating speed marked on the wheel.
- Match the wheel to the job: Use metal-cutting wheels for metal, masonry wheels for masonry, and diamond wheels only where they are rated for the material and tool.
- Confirm the size: Match the wheel diameter and arbor size to the grinder. Do not modify the arbor hole.
- Install the guard: 29 CFR 1910.243 requires portable abrasive wheels to be used on machines with safety guards, except for limited listed conditions.
- Secure the work: Clamp or fixture the material so both the main piece and off-cut stay controlled.
- Clear the spark path: Move flammables, fuel, solvents, paper, sawdust, and rags away from the work area.
- Wear PPE: Use safety glasses, a face shield, hearing protection, gloves that allow a solid grip, sturdy footwear, and fitted flame-resistant clothing.
Note: A ring test is required for many abrasive wheels before mounting, but thin organic bonded cut-off wheels may not ring like vitrified bench-grinder wheels. Always follow the wheel label and manufacturer instructions, and reject any wheel that looks damaged or has been dropped.
How to Use Proper Cutting Techniques and Pressure?
Good cutting technique keeps the wheel straight, cool, and free. The safest cut is usually a controlled, shallow cut that lets the wheel do the work instead of forcing it.
Use Light, Steady Pressure
Apply light to moderate pressure and let the wheel cut at its own speed. Pushing harder does not make the job safer. It increases friction, heats the disc, flexes the wheel, and can close the kerf faster.
Hold the grinder with two hands. One hand should control the main grip and trigger, and the other should support the side handle. Let the grinder reach full speed before the wheel touches the work.
Keep the Cut Straight and Consistent
Keep the wheel aligned with the cut line from start to finish. Do not steer the disc sideways inside the cut. If you need to correct the line, back out safely, let the wheel stop if needed, and restart the cut from a better angle.
Use shallow passes on thick material. A shallow groove helps guide the wheel and reduces the amount of disc trapped in the kerf. Forcing a full-depth cut in one pass can increase heat, friction, and kickback risk.
Avoid Excessive Force
Excessive force is one of the fastest ways to make a cut-off wheel bind. It can also hide warning signs, such as a changing motor sound, wheel chatter, or the workpiece beginning to move.
- Do not lean your body weight into the grinder.
- Do not twist the grinder to widen the cut.
- Do not use the side of a cut-off wheel to grind burrs.
- Do not bump the wheel into the workpiece.
- Do not restart the grinder while the wheel is trapped in the cut.
Pro Tip: Listen to the grinder. A smooth cut sounds steady. If the motor loads down, the wheel chatters, or sparks suddenly change direction, ease off and check the support before continuing.
What to Do If the Wheel Starts to Bind
If the wheel begins to pinch, do not yank the grinder out of the cut. A sudden pull can twist the disc and make kickback worse.
- Stop pushing immediately. Keep both hands on the tool.
- Release the trigger. Hold the grinder steady while the wheel slows.
- Wait for the wheel to stop. Do not set the grinder down while the disc is spinning.
- Remove the wheel carefully. If it is trapped, move the workpiece or open the kerf by adjusting the support. Do not pry with the disc.
- Inspect the wheel. Replace it if it is cracked, chipped, bent, glazed, or heavily worn.
- Fix the cause. Reclamp the work, support the off-cut, change your cutting angle, or make shallower passes.
Warning: Do not restart a grinder with the wheel buried in a closed kerf. Start outside the cut, let the wheel reach full speed, and re-enter only after the material is supported so the cut stays open.
Choosing the Right Cut-Off Wheel for Your Project
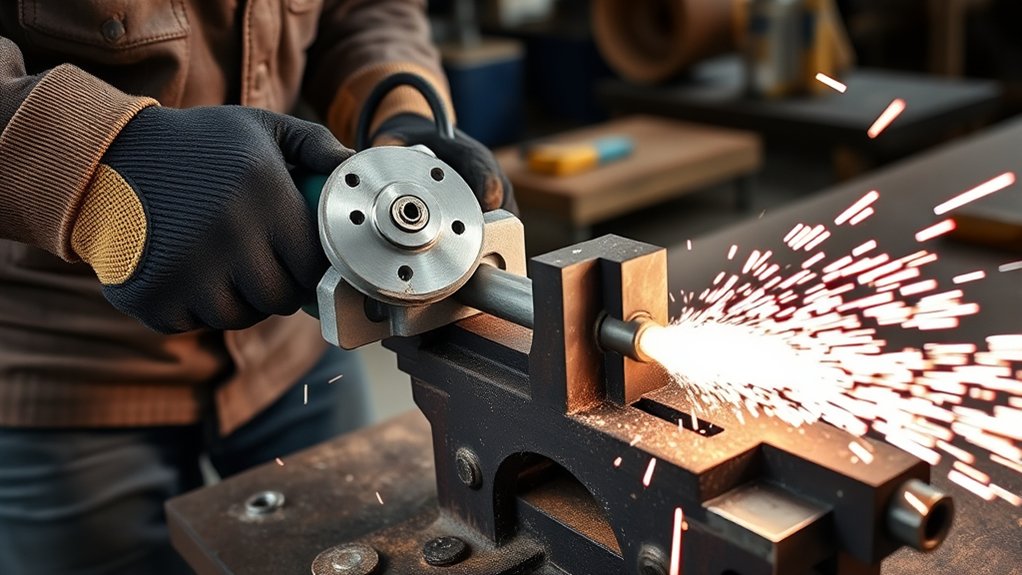
Choosing the right cut-off wheel is vital for safe cutting. Start by matching the disc to the material. Metal, stainless steel, masonry, tile, and concrete can require different wheel types.
Next, verify the wheel’s diameter and arbor size. The wheel must fit the grinder without adapters that are not approved by the manufacturer. Never enlarge the center hole or force a wheel onto the spindle.
Check the maximum RPM rating printed on the wheel. The wheel rating must be equal to or higher than the grinder’s no-load RPM. OSHA/eCFR abrasive wheel rules also require wheels to fit freely on the spindle and not be forced on, with the spindle nut tightened only enough to hold the wheel in place for applicable abrasive wheel machinery. See 29 CFR 1926.303 for construction abrasive wheel requirements.
Use a thin cut-off wheel only for cutting. Do not grind with it. SafeWork SA specifically warns against using a cutting disc for grinding or a grinding disc for cutting because the wrong disc can fail or grab the workpiece.
Products Worth Considering

[Diamond Technology] 1 equals 100, EZARC diamond 4 1/2 cut off wheel delivers 5,000+ more cuts for metal with much lower cost per cut compared to bonded cut-off wheels

【Fits All 4-1/2 Inch Angle Grinders】 PRETEC Cut Off Wheel is compatible with all 4-1/2 inch angle grinders with 7/8 inch arbor. The high rotating speed of up to 13,300 RPM, more than common 13,000 RPM, ensure maximum efficiency.

[Diamond Technology] 1 equals 100, EZARC diamond 4 1/2 cut off wheel delivers 5,000+ more cuts for metal with much lower cost per cut compared to bonded cut-off wheels
Regularly Inspect and Maintain Your Tools
Tool condition matters as much as technique. A damaged wheel, loose guard, worn flange, or bent spindle can turn a simple cut into a dangerous one.
- Check cut-off wheels for cracks, chips, soft spots, swelling, water damage, or missing labels before each use.
- Replace any wheel that has been dropped, pinched, or overheated.
- Confirm the guard, handle, flange, and locking nut are secure.
- Keep the grinder’s vents clean so the motor does not overheat.
- Store wheels flat and dry, away from extreme heat, moisture, and impact.
- Unplug corded tools or remove the battery before changing wheels.
For bench and floor-mounted abrasive wheel machinery, 29 CFR 1910.215 also includes rules for guards, work rests, flanges, blotters, wheel inspection, and ring testing. Those rules are not a substitute for your handheld grinder manual, but they show why wheel mounting and guarding are serious safety issues.
Essential Safety Gear and Best Practices for Operation
Cut-off wheels can throw sparks, hot chips, and wheel fragments. Wear safety glasses under a face shield, not one or the other. Add hearing protection, fitted gloves with good grip, long sleeves, sturdy footwear, and flame-resistant clothing when sparks are present.
Use respiratory protection and dust control when cutting masonry, concrete, painted metal, or any material that may release hazardous dust or fumes. Avoid loose sleeves, jewelry, dangling hoodie strings, and anything that could catch in the spinning disc.
Before you cut, stand out of the direct line of the wheel. Position the guard so sparks and fragments are directed away from your body. Keep bystanders away from the spark path, and use screens when other people are nearby.
Keep a fire extinguisher nearby when cutting metal. Sparks can travel farther than expected and ignite dust, cardboard, rags, fuel vapors, or dry debris after the cut is finished.
Products Worth Considering

SUPERIOR PROTECTION — Experience all-around face protection thanks to the curved design of this faceshield. The visor of this face guard is ANSI Z87+ certified, and up to 2x thicker for increased durability. Plus, you can comfortably wear your grinding face shield over prescription glasses.

HIGH IMPACT FACE SHIELD - Sellstrom's Advantage Face Shield is ideal for various types of machinery, welding, cutting, grinding, woodworking, and other types of work that present potential hazards to the face
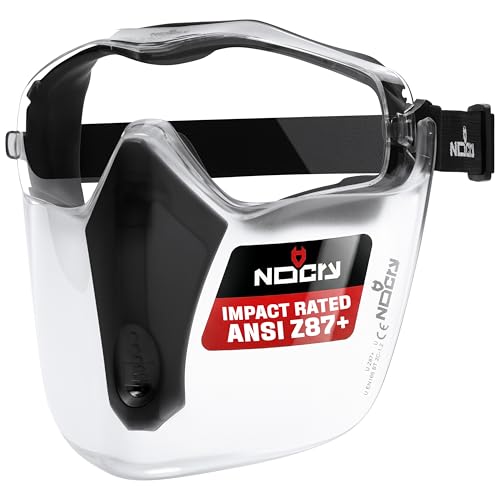
COMPLETE PROTECTION — Pairing anti-fog and scratch-resistant goggles with a tough polycarbonate torch face shield, this unbeatable duo has you covered from splashes, dust, and debris. And they are built to resist high-speed impacts, even in extreme temperatures.
Common Mistakes That Cause Cut-Off Wheel Kickback
- Cutting unsupported material: The off-cut drops and closes the kerf.
- Twisting the grinder: The wheel side-loads and binds.
- Forcing a deep cut: Too much disc is trapped in the material.
- Using the wrong wheel: The disc grabs, overheats, or breaks.
- Removing the guard: You lose protection from fragments and sparks.
- Restarting inside the cut: The wheel can catch before it reaches full speed.
- Cutting with one hand: You lose control if the wheel grabs.
Frequently Asked Questions
How do you safely use a cut-off wheel?
Use the correct wheel for the material and grinder, inspect it before mounting, keep the guard installed, clamp the work securely, and wear eye, face, hearing, hand, and body protection. Let the wheel reach full speed before entering the cut, use light pressure, and keep the wheel straight.
What type of guard should be used for cut-off wheels?
Use the guard specified by the grinder and wheel manufacturer for the wheel type and size. The guard should remain installed, secure, and positioned between you and the wheel. Do not use a damaged guard, and do not remove the guard to fit a larger wheel.
How do you put on a cut-off wheel?
Disconnect the power or remove the battery, inspect the wheel, confirm the RPM and arbor size, place the wheel on the spindle in the correct orientation, install the proper flange and locking nut, and tighten only as directed by the tool manufacturer. Spin the wheel by hand to check for rubbing before powering the tool.
How close should a tongue guard be to the grinding wheel?
On bench or floor-mounted abrasive wheel machinery with an adjustable tongue guard, OSHA/eCFR rules state that the opening between the wheel periphery and the adjustable tongue or top peripheral member must not exceed 1/4 inch. Most handheld angle grinders do not use a tongue guard. They use the correct factory wheel guard for the grinder and disc.
Why does my cut-off wheel keep binding?
The wheel usually binds because the material is sagging, the off-cut is dropping, the kerf is closing, the wheel is being twisted, or the cut is too deep. Reposition the supports, clamp the work, make shallower passes, and keep the grinder aligned with the cut.
Conclusion
Preventing cut-off wheel pinch and binding comes down to setup, wheel choice, and control. Clamp the work, support the off-cut, keep the kerf open, choose a wheel that matches the grinder and material, and never cut without the proper guard and PPE. If the wheel starts to bind, stop, let it come to rest, and fix the setup before you continue. A slower, controlled cut is safer than forcing the grinder through a closing kerf.
Sources
- eCFR 29 CFR 1910.243, Guarding of portable powered tools — supports portable abrasive wheel guard requirements.
- eCFR 29 CFR 1926.303, Abrasive wheels and tools — supports construction abrasive wheel guard, inspection, mounting, and eye protection requirements.
- eCFR 29 CFR 1910.215, Abrasive wheel machinery — supports abrasive wheel guard, tongue guard, flange, blotter, and ring-test details.
- SafeWork SA, Angle grinders — supports angle grinder kickback, guard, disc selection, cutting depth, two-hand operation, and PPE guidance.