Using an angle grinder without the side handle can turn a routine cut or grind into a loss-of-control hazard. The handle gives your second hand a stable grip point and helps you manage torque, wheel angle, and sudden movement. If your grinder was designed or supplied with a side handle, install it securely and use it every time.
Quick Answer
No—do not operate a conventional angle grinder without the side handle when its manufacturer supplies or requires one. The handle provides the second grip needed to control start-up torque, wheel angle, and kickback. Stop work if the handle is missing, loose, cracked, or cannot be tightened securely.
Key Takeaways
- A side handle is a control point, not an optional comfort feature, when the grinder’s instructions require it.
- Turn the grinder off, unplug it, or remove its battery before installing the handle, adjusting the guard, or changing an accessory.
- Never replace the correct handle with a bolt, clamp, pipe fitting, or homemade grip.
- The guard, wheel rating, PPE, body position, and workpiece support still matter. A side handle cannot make an unsafe setup safe.
- Stop using the grinder if its handle, mounting port, guard, switch, wheel, flange, cord, or battery connection is damaged.
At a Glance
| Time Required | About 1 to 3 minutes for a handle and tool check before each grinding or cutting task |
| Difficulty | The inspection is simple, but safe grinder operation requires training, the correct manual, and task-specific hazard awareness |
| Tools Needed | Angle grinder, correct side handle, correct guard, properly rated accessory, flange and wrench if required, clamps, safety glasses or goggles, face shield, hearing protection, well-fitting gloves, and suitable respiratory protection when required |
| Cost | Usually $0 for the inspection when the grinder and safety equipment are complete; replacement-handle and PPE costs vary by model and brand |
What Are the Risks of Not Using a Side Handle?
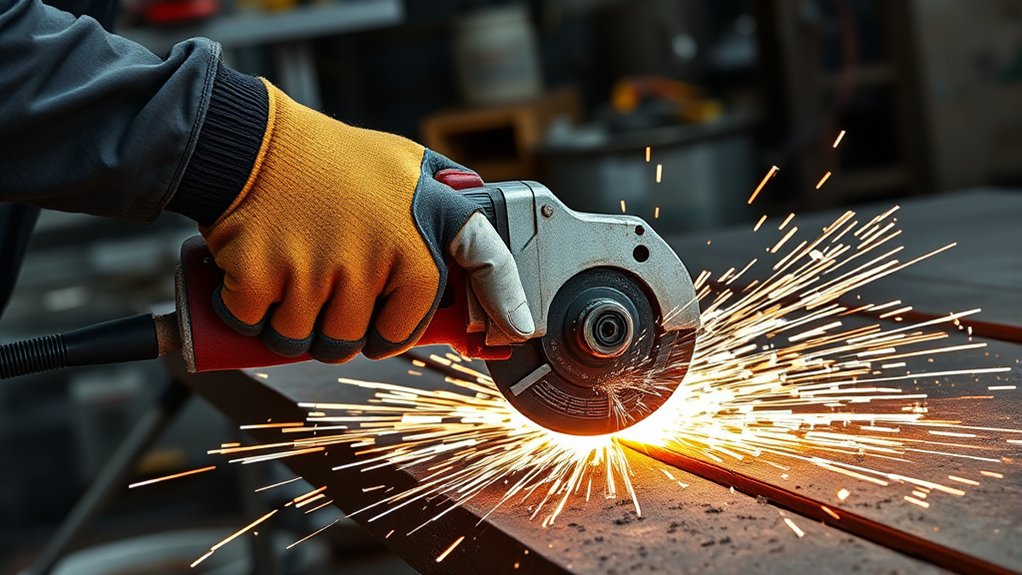
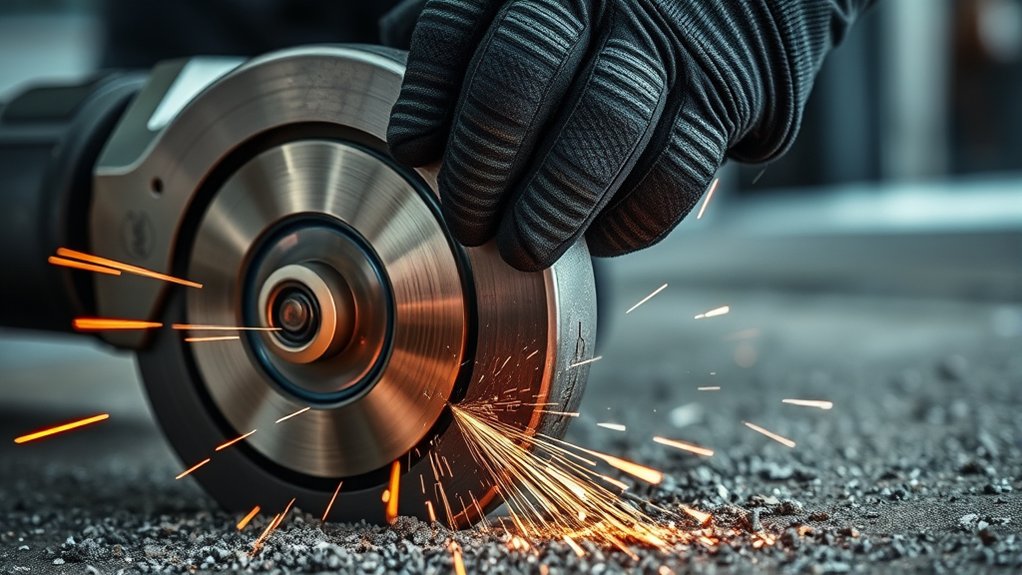
Using an angle grinder without its required side handle makes it harder to control the tool during start-up, cutting, grinding, and wheel binding. A fast-moving wheel can throw sparks, fragments, and debris. If the accessory catches an edge or gets pinched in a cut, the grinder can move suddenly toward or away from you.
The side handle gives you leverage against that movement. It lets you keep one hand on the tool body or rear grip and the other on the auxiliary handle. For example, the official DeWalt DWE402-series manual instructs operators to use the side handle, tighten it securely, and maintain a firm two-handed grip for control over kickback and start-up torque.
Warning: If your grinder was supplied with a side handle and the handle is missing, cracked, stripped, loose, or unable to tighten securely, do not use the grinder. Replace the handle with the correct manufacturer-compatible part or have the tool repaired.
Many compact angle grinders operate at several thousand revolutions per minute. Some common models are rated around 9,000 to 11,000 RPM, but the exact speed varies. Check the grinder’s nameplate and manual, then make sure every wheel or accessory is rated for at least the maximum speed marked on the tool.
Without the handle, an operator may twist one wrist, lean over the work, cross the arms, or place the support hand too close to the wheel. These positions reduce leverage and can make it harder to respond when the accessory snags.
Understanding Kickback and Its Risks
Kickback is a sudden reaction caused by a pinched, snagged, or jammed rotating wheel, backing pad, brush, or other accessory. The accessory can stall rapidly, forcing the grinder in the direction opposite the wheel’s movement at the point where it binds.
The side handle improves your ability to resist a sudden reaction, but it cannot prevent every kickback. Wheel choice, work support, guard position, stance, and cutting technique remain essential.
Kickback risk increases when you:
- Force the wheel through the cut: Excess pressure can overload the accessory and make it twist or bind.
- Use the wrong wheel: A cut-off wheel must not be used for side grinding. The accessory must match the grinder’s size, spindle or arbor, guard, flange, and speed rating.
- Cut unsupported material: Panels, pipe, sheet, and long stock can sag and pinch the wheel unless they are supported correctly.
- Work around corners or sharp edges: These areas can catch the accessory and pull the grinder off line.
- Stand in the kickback path: Poor body position can place your hands, arms, legs, torso, or face where the tool may travel.
- Restart with the wheel inside a cut: The wheel may bind, climb out, or kick back before it reaches full speed.
Keep both hands on the tool, maintain balanced footing, and position your body away from the grinder’s likely path if the accessory catches. Let the tool reach full speed before contacting the work, and wait until the accessory stops completely before setting the grinder down.
What to Do If the Grinder Wheel Binds
If a cut-off wheel begins to bind, do not pull the spinning wheel out of the cut. Follow these steps:
- Release the switch: Keep a firm two-handed grip and hold the grinder as still as possible.
- Wait for a complete stop: Do not twist, lift, or remove the accessory while it is moving.
- Disconnect the power: Unplug a corded grinder or remove the battery before inspecting the setup.
- Find the cause: Check for sagging material, a closing kerf, poor support, excessive pressure, a damaged wheel, or an incorrect cutting angle.
- Inspect the accessory and guard: Replace a chipped, cracked, warped, dropped, or otherwise questionable wheel.
- Correct the support: Support large workpieces near the cut and near their edges so their weight does not close the cut around the wheel.
- Restart outside the cut: Reconnect the power, stand out of the wheel’s plane, let it reach full speed, and then carefully re-enter the cut.
Note: A wheel that repeatedly binds is a warning that the accessory, support, cutting direction, pressure, or tool setup is wrong. Do not keep forcing the same cut.
What the Side Handle Actually Does
The side handle creates a wider two-handed grip. That matters because the grinder reacts not only to motor start-up but also to wheel friction, vibration, changing contact pressure, and sudden snagging.
A secure side handle helps you:
- Manage start-up torque: You are better prepared for the tool’s initial twist and for the first contact with the work.
- Hold a steady wheel angle: Two control points make it easier to prevent the wheel from tipping, digging in, or walking out of the cut.
- Share control between both hands: You do not have to steer and resist every force with one wrist.
- Respond to snagging: A wider grip provides more leverage when an accessory catches an edge.
- Keep the support hand away from the accessory: The handle creates a defined grip point outside the wheel area.
Note: The guard and side handle perform different jobs. The guard helps shield the operator from accidental wheel contact, sparks, and fragments. The handle helps control the grinder. Use both when required for the tool and accessory.
How to Check the Side Handle Before Use
Inspect the side handle and mounting point before every use. Complete the check before energizing the grinder.
- Isolate the power: Switch the grinder off, unplug it, or remove its battery. Keep your finger away from the switch.
- Read the exact manual: Confirm which handle, mounting ports, guard, flange, and accessories are approved for your model.
- Inspect the handle: Look for cracks, heat damage, looseness, stripped threads, contamination, or a damaged vibration-control section.
- Inspect the mounting port: Do not use a port with cracked housing, damaged threads, or missing parts.
- Choose the safest position: Many grinders allow left- or right-side mounting, and some offer a top position. Choose only a position approved in the manual that keeps your arms uncrossed and your support hand away from sparks.
- Thread the handle in straight: Do not force crossed threads. Tighten the handle securely according to the manufacturer’s instructions.
- Test for movement: Pull and twist the handle by hand. It should not wobble, rotate, or loosen.
- Check your stance: Hold the de-energized grinder with both hands and confirm that you can keep your body outside the wheel’s likely path.
Pro Tip: Mount the handle where you can guide the grinder without crossing your arms, leaning over the accessory, blocking the guard, or directing sparks toward yourself.
Essential Safety Gear for Angle Grinder Use
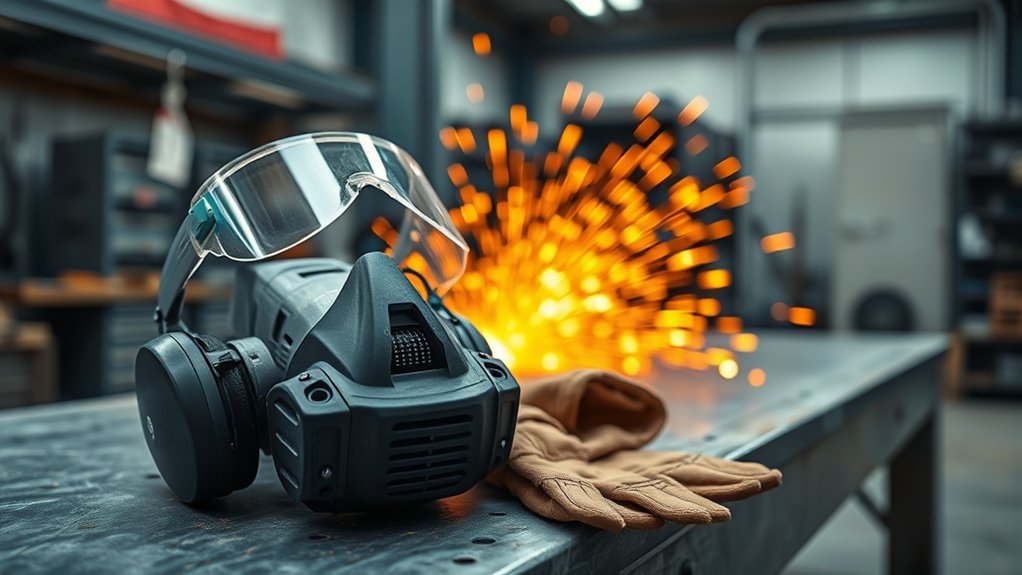
Wear eye protection that can stop flying particles. In workplaces, OSHA 29 CFR 1910.133 requires appropriate eye or face protection when employees are exposed to flying-particle hazards.
Use safety glasses with side shields or safety goggles that meet the requirements stated in your grinder manual. Add a full face shield for grinding, cutting, and wire brushing. A face shield protects more of the face, but it should be worn over primary eye protection rather than used as a substitute for safety glasses or goggles.
Wear hearing protection suitable for the noise level and exposure time. Use well-fitting work gloves that allow a secure grip and have no loose cuffs. Keep gloves away from the rotating accessory.
Cover exposed skin with natural-fiber or flame-resistant clothing. Avoid loose sleeves, drawstrings, jewelry, long unsecured hair, and other items that can catch in moving parts. Wear closed-toe work shoes or boots with stable, slip-resistant soles.
Grinding concrete, coatings, painted metal, galvanized material, stainless steel, and other surfaces may create hazardous dust or fumes. Identify the material before work. Use local exhaust ventilation, dust extraction, isolation, or another effective control whenever possible.
When respiratory protection is required at a workplace, follow OSHA 29 CFR 1910.134, including hazard evaluation, proper respirator selection, medical evaluation, fit testing, training, and a written respiratory-protection program. A disposable mask is not automatically suitable for every grinding hazard.
Products Worth Considering

HIGH IMPACT FACE SHIELD - Sellstrom's Advantage Face Shield is ideal for various types of machinery, welding, cutting, grinding, woodworking, and other types of work that present potential hazards to the face

INTERNATIONAL STANDARDS — Meets ANSI Z87.1 (US), CE EN166 (Europe), CSA Z94.3 (Canada), UKCA (United Kindom)

ALL-AROUND IMPACT PROTECTION – Full face shield with wraparound visor blocks flying debris, sparks, and dust. Meets ANSI Z87.1+ standards for certified industrial safety.
Top Safety Practices When Using an Angle Grinder
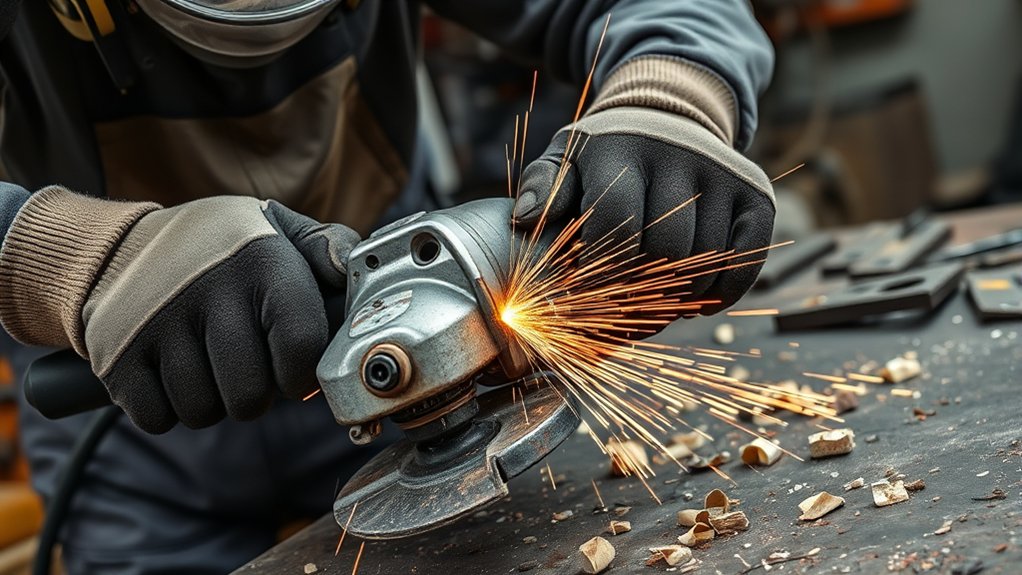
Safe grinder use depends on the complete setup, not the handle alone. Complete these checks before each task:
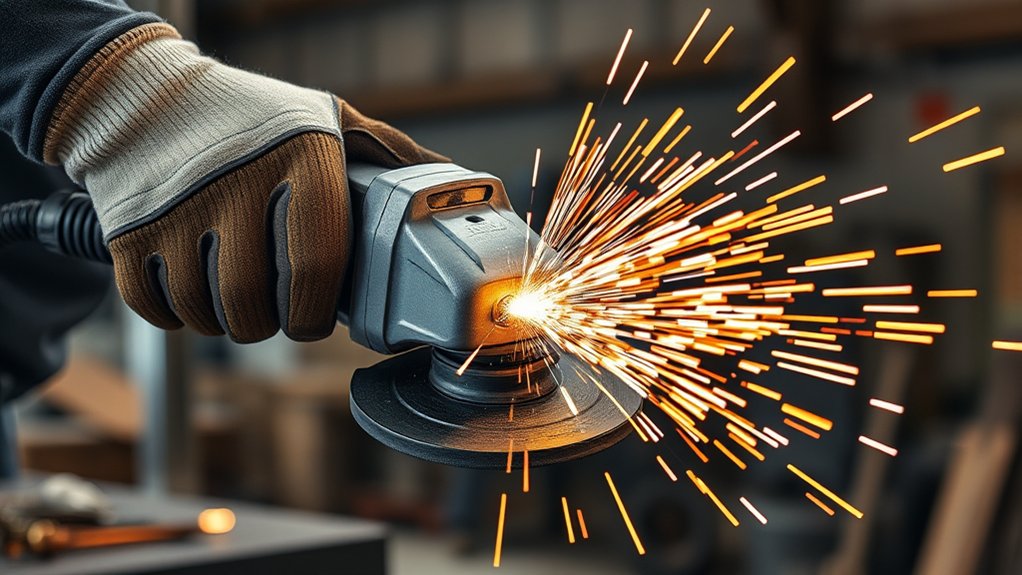
- Use both hands: Keep one hand on the side handle and the other on the tool body or main grip.
- Use the correct guard: Install the guard required for the specific wheel and operation. Under OSHA 29 CFR 1910.243, guards on covered right-angle grinders must be positioned between the operator and wheel.
- Match the accessory to the task: Use grinding wheels for approved grinding operations and cut-off wheels only for cutting. Never apply side pressure to a cut-off wheel.
- Verify the speed rating: The accessory’s rated speed must be at least equal to the maximum speed marked on the grinder.
- Check dimensions and mounting: Confirm that the wheel diameter, thickness, arbor or thread, flange, and guard match the tool.
- Inspect the accessory: Look for chips, cracks, warping, missing segments, loose wires, water damage, contamination, or unusual wear.
- Ring-test only when appropriate: Use a ring test only for wheel types and sizes for which the wheel manufacturer or applicable procedure permits it.
- Secure and support the workpiece: Clamp the work so it cannot shift, vibrate, sag, spin, or pinch the wheel.
- Check the switch: Do not use a grinder with a switch that sticks, fails to return properly, or cannot reliably turn the tool off.
- Keep the cord clear: Route a power cord behind the tool and away from the wheel, sparks, sharp edges, heat, and the cutting path.
- Test a newly installed accessory: Follow the manual’s no-load test procedure. Keep yourself and bystanders away from the accessory’s plane while the tool reaches full speed.
- Control sparks and debris: Remove combustible materials, solvents, fuel, oily rags, sawdust, and unprotected equipment from the spark path.
- Keep bystanders away: Fragments and sparks can travel beyond the immediate work area. Anyone who must enter needs suitable PPE.
- Do not force the tool: Use steady control and let the accessory cut or grind at the intended rate.
- Wait for a full stop: Keep both hands on the grinder until the wheel stops, then place it on a stable surface where it cannot roll or fall.
When Not to Use an Angle Grinder
Do not operate an angle grinder when the environment or setup cannot be made safe. Stop and choose another method when:
- Flammable liquids, gases, vapors, or combustible dust are present: Grinder sparks can ignite an explosive atmosphere. Workplace tasks may require a hot-work permit and fire-prevention controls.
- The area is wet or damp: Do not use a corded tool in wet conditions unless the manufacturer specifically approves the setup and the required electrical protection is in place.
- The material is unknown: Coatings, asbestos-containing material, lead paint, silica-containing masonry, and some metals require specific controls.
- Hidden utilities may be present: Check for electrical wiring, gas piping, water lines, and other concealed hazards before making a blind or pocket cut.
- The work cannot be secured: Do not hold small workpieces in your hand or against your body while grinding or cutting them.
- The correct guard or accessory is unavailable: A wheel that physically fits is not necessarily approved or safe.
- The tool is damaged: Remove a grinder from service when its switch, housing, side-handle mount, guard, spindle, flange, cord, plug, or battery connection is defective.
Warning: When a cutting accessory could contact hidden wiring or the grinder’s own cord, hold the tool only by its insulated gripping surfaces and follow the exact manufacturer instructions for that operation.
What If Your Angle Grinder Side Handle Is Missing?
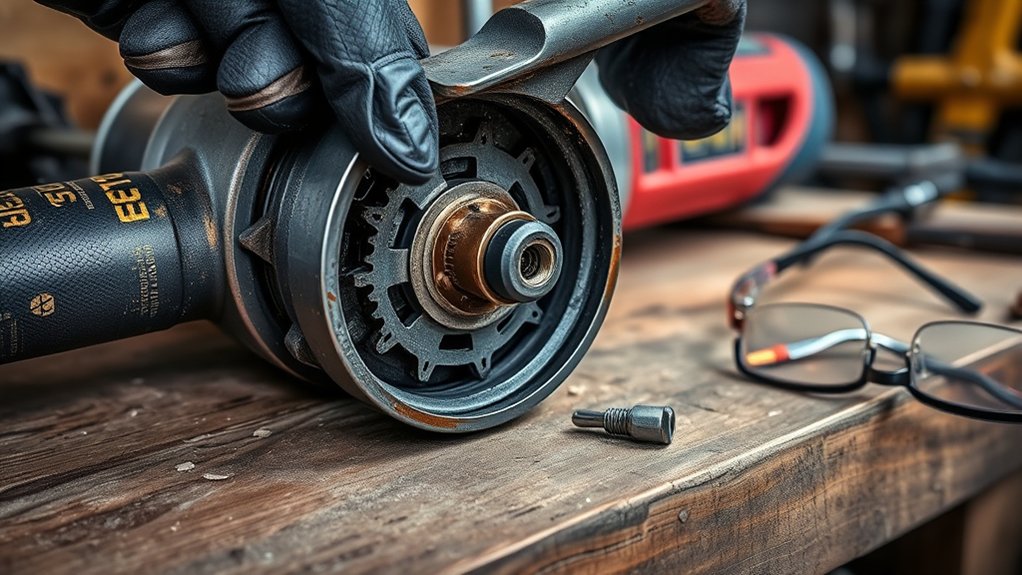
Do not treat a conventional angle grinder as a one-handed tool because its handle is missing. Find the model and type number, read the manual, and order the correct replacement from the manufacturer or an authorized parts source. The thread diameter, thread pitch, handle length, shoulder shape, vibration-control design, and approved mounting position may differ between models.
Do not substitute pliers, a bolt, clamp, pipe fitting, rod, or homemade grip. An improvised part can loosen, break, cross-thread the housing, interfere with the guard, or place your hand in the wheel and spark path.
If the correct handle will not tighten, inspect both the handle and mounting port while the grinder is disconnected from power. A stripped or cracked gear housing requires professional repair or replacement. Do not attempt to restore damaged threads with an unapproved insert or adhesive.
Training and Manufacturer Instructions Come First
Safe angle-grinder use requires more than wearing PPE. Operators need to understand wheel selection, guard compatibility, side-handle placement, kickback, work support, spark control, dust hazards, and shutdown procedures.
The OSHA-hosted Angle Grinder Safety toolbox sheet advises two-handed operation, correct wheel selection, wheel inspection, guard use, stable footing, and removal of flammable materials. Workplace users must also follow their employer’s hazard assessment, training, hot-work, PPE, and tool-inspection procedures.
The exact grinder and accessory manuals take priority over general advice. A guard, wheel, flange, or handle approved for one model may not be suitable for another, even when the parts appear to fit.
Frequently Asked Questions
Does an angle grinder need a handle?
Use the side handle whenever the grinder’s manufacturer supplies or requires one. It provides the second grip needed for control during start-up, normal contact, and a sudden snag or bind.
Can you use an angle grinder with one hand?
Do not use a conventional angle grinder one-handed when it is designed for a side handle. One-handed operation reduces leverage and makes it harder to control wheel angle, torque, and kickback. Follow the exact manual rather than assuming that instructions for another tool apply.
What are the dangers of using an angle grinder?
Major hazards include kickback, wheel breakage, flying particles, cuts, burns, sparks, fire, dust, fumes, noise, vibration, electrical shock, and contact with hidden utilities. Risk increases when the tool is damaged, the accessory is wrong, the guard or handle is missing, or the work is poorly supported.
What are the key safety precautions for using an angle grinder?
Use both hands, install the correct handle and guard, choose an approved accessory, verify its speed rating, inspect the tool and wheel, clamp the work, wear suitable PPE, control dust and sparks, stand outside the kickback path, and wait for a complete stop before setting the grinder down.
Is the guard enough if I do not have a side handle?
No. The guard helps reduce exposure to the wheel, sparks, and fragments. The side handle provides a second control point. One does not replace the other.
What should I do if the side handle will not tighten?
Stop using the grinder and disconnect its power. Confirm that the handle is the correct part, then inspect its threads and the mounting port. Replace the handle or have the grinder repaired if either part is stripped, cracked, or damaged.
Can I move the side handle to the other side?
Many grinders have left- and right-side mounting ports, and some also have a top port. Turn the tool off and disconnect its power before moving the handle. Use only a position approved in the manual, and make sure the handle does not interfere with the guard or place your hand in the spark path.
Can a face shield replace safety glasses?
No. Wear safety glasses with side shields or safety goggles as primary eye protection, then wear the face shield over them when the task can throw sparks, fragments, or wire bristles.
Does OSHA require an angle grinder side handle?
OSHA’s portable-grinder regulations contain detailed guard and wheel requirements, while OSHA-hosted grinder training material instructs users to operate with two hands. In a workplace, follow the applicable OSHA rules, employer procedures, and the grinder manufacturer’s handle instructions.
Conclusion
Using an angle grinder without its required side handle is not worth the loss of control. Before each job, disconnect the power, install and tighten the correct handle, position the proper guard, inspect the accessory, secure the work, and wear suitable PPE. Keep both hands on the grinder from start-up until the wheel stops. A grinder is useful only when you can control it safely.
Sources
- OSHA-Hosted Angle Grinder Safety Toolbox Sheet — supports two-handed operation, wheel inspection, guard use, PPE, spark control, stable footing, and removal of defective tools.
- OSHA 29 CFR 1910.243, Guarding of Portable Powered Tools — supports portable-grinder guard positioning, wheel inspection, and speed-rating requirements.
- OSHA 29 CFR 1910.133, Eye and Face Protection — supports protection from flying-particle eye and face hazards.
- OSHA 29 CFR 1910.134, Respiratory Protection — supports engineering controls, suitable respirator selection, fit testing, training, and workplace respiratory-protection programs.
- DeWalt DWE402-Series Angle Grinder Manual — supports side-handle use, two-handed grip, kickback response, guard and accessory selection, binding recovery, PPE, and workpiece support.
- Makita GA4040 / GA4540 / GA5040 / GA6040 Angle Grinder Manual — supports secure side-grip installation, two-handed operation, model-specific speeds, wheel compatibility, guard use, and kickback precautions.