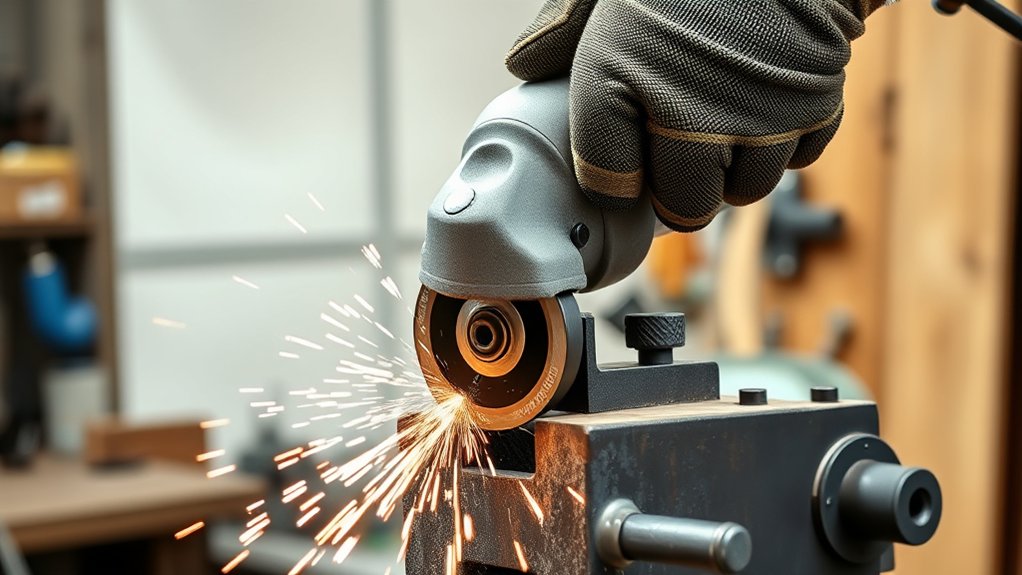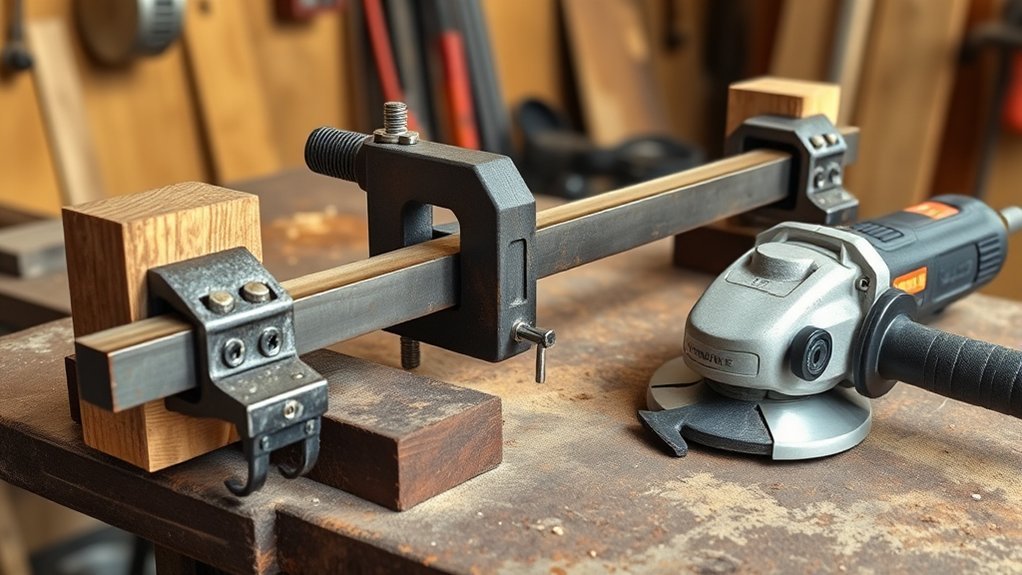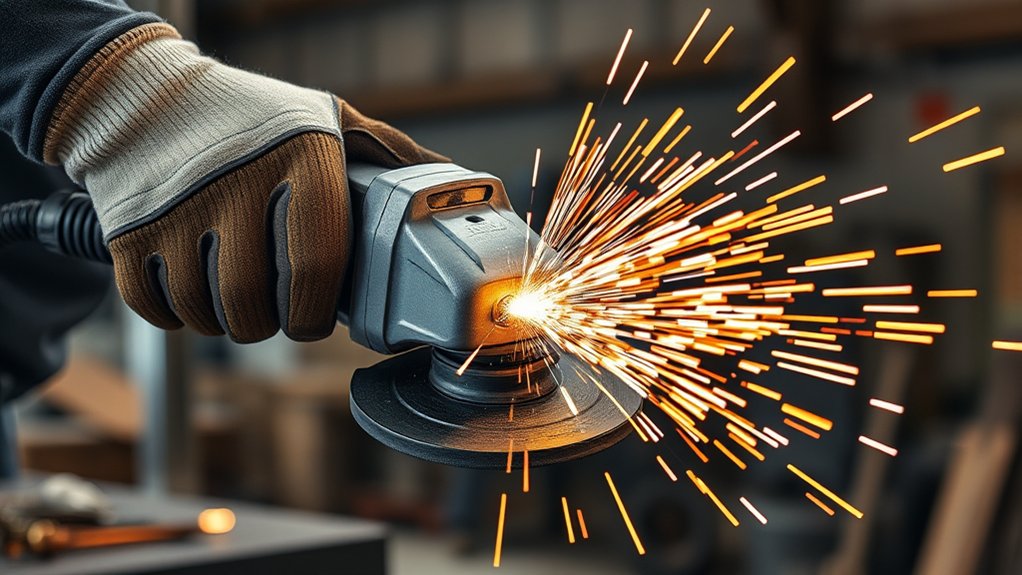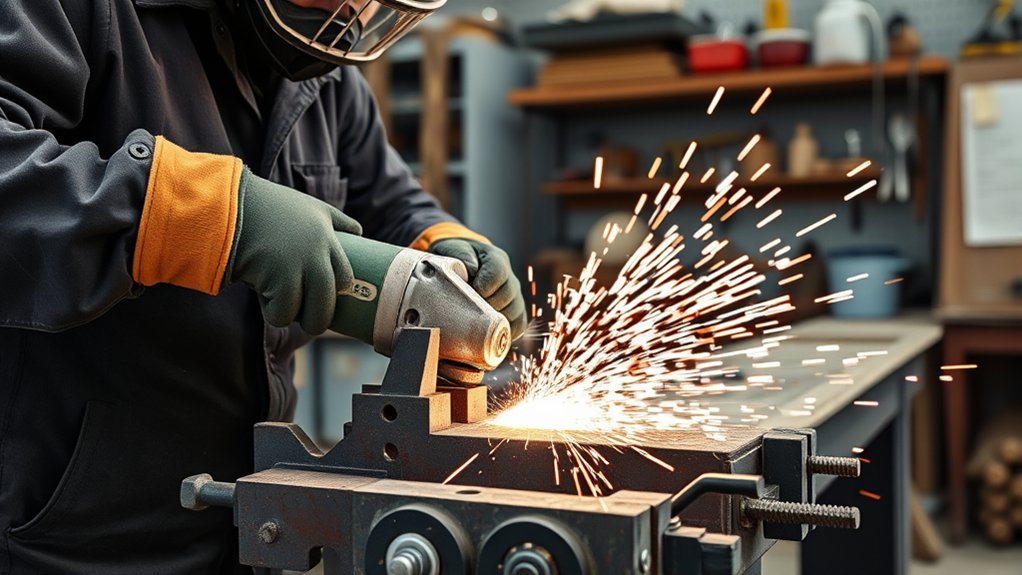
Angle grinder kickback happens when a rotating wheel becomes pinched, snagged, or stalled and the tool reacts suddenly. Reduce the risk by using the exact wheel, guard, flanges, and side handle approved for the grinder; clamping and supporting the work so the kerf stays open; holding the tool with both hands; keeping the wheel straight; and standing outside the likely reaction path. Stop immediately if the wheel binds, wobbles, rubs the guard, or makes an unusual sound.
Last updated: July 22, 2026. Safety guidance checked against current OSHA, manufacturer, first-aid, and abrasive-wheel sources.
Quick Answer
Prevent angle grinder kickback by using the correct guarded wheel, clamping and supporting the work so the cut stays open, holding the tool with both hands, and keeping the wheel straight. Never force, twist, or restart a wheel inside the cut. Stop and correct any binding before you continue.
Key Takeaways
- Kickback is a sudden reaction to a wheel or accessory that becomes pinched, snagged, or stalled.
- Support the workpiece so it cannot move or sag, but do not trap the offcut in a way that closes the kerf onto the wheel.
- Use the wheel, flange, arbor, side handle, and guard specified for your grinder and task.
- Keep both hands on the grinder, stay out of the likely reaction path, and never stand directly in line with a cut-off wheel.
- If the wheel binds, switch off the grinder and hold it still until the wheel stops completely before removing it from the cut.
- Electronic brakes and kickback controls can help, but they do not replace correct setup and technique.
At a Glance
| Preparation | Time varies by the tool, wheel, material, and work area. Do not start until the inspection, support, guarding, and hazard controls are complete. |
| Skill Level | Trained operator. Safe use requires stable two-handed control, correct accessory setup, and an understanding of wheel and kickback movement. |
| Essential Controls | Correct wheel and guard, secure side handle, compatible flanges, stable clamps or supports, two-handed grip, PPE, and task-appropriate dust and fire controls. |
| Stop Immediately If | The wheel binds, stalls, wobbles, vibrates unusually, rubs the guard, needs heavy force, or produces an unexpected sound, smell, or dust. |
What’s in This Article
- Understanding Angle Grinder Kickback
- Common Causes of Kickback
- Best Practices to Prevent Kickback
- Supporting the Workpiece Correctly
- Disc Selection and Maintenance
- Modern Grinder Safety Features
- Choosing the Right Grinder
- When to Use a Different Tool
- Work-Area, Material, and Fire Hazards
- PPE for Angle Grinder Use
- Kickback Troubleshooting
- Emergency Procedures
- Frequently Asked Questions
- Conclusion
- Sources
Understanding Angle Grinder Kickback: What It Is and Why It Happens
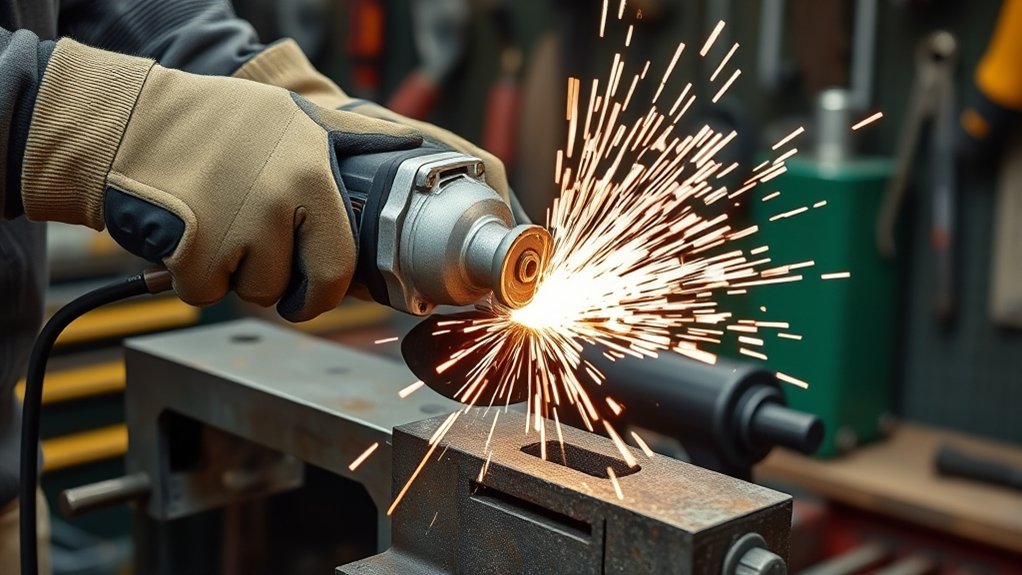
Angle grinder kickback is a sudden reaction to a rotating wheel or accessory that becomes pinched, snagged, or stalled. The accessory stops or slows rapidly, but the grinder’s motor and rotating mass still produce force. That force can make the tool climb out of the cut, twist sideways, or move toward or away from you.
The exact direction depends on the wheel’s rotation and the point where it catches. In general, the grinder moves opposite the wheel’s motion at the snag point. That is why the manufacturer’s angle-grinder safety instructions tell users to keep their bodies out of the area where the tool could travel during a kickback.
Poor cutting angles increase the risk because a crooked or overly deep cut puts extra load on the wheel. Twisting the grinder, trying to cut a curve with a straight cut-off wheel, bouncing across an edge, or applying side pressure can make the wheel grab or break.
Kickback is not random. It usually begins with a setup, support, wheel, or technique problem that causes the rotating accessory to pinch, snag, or stall.
Warning: Never use the side of a cut-off wheel for grinding unless the wheel is specifically marked for both cutting and grinding and your grinder manual approves that use. Side force can shatter a wheel designed only for straight peripheral cutting.
Identifying Common Causes of Kickback and How to Prevent Them
Kickback often begins when the cutting wheel cannot continue moving freely through the material. The following problems are common:
- The kerf closes: The workpiece sags, shifts, rolls, or pinches the wheel as the cut progresses.
- The grinder twists: The operator changes the wheel angle while it is inside the cut.
- The wheel is forced: Excessive pressure or cutting depth overloads the wheel and motor.
- The wheel snags an edge: Corners, welds, burrs, gaps, and sharp edges can catch the wheel.
- The wrong accessory is installed: An incorrect wheel, guard, flange, arbor size, or speed rating can cause poor control or breakage.
- The wheel is damaged: Cracks, chips, warping, moisture damage, excessive wear, or an unknown rating make the wheel unsafe to use.
- The workpiece moves: Hand-held, loosely supported, or rolling material can shift into the wheel.
- The cut hits a hidden object: Wiring, pipe, fasteners, reinforcement, or another concealed obstruction can stop or redirect the wheel.
Do not try to overpower any of these conditions. If the cut requires heavy force, stop and inspect the setup. A properly selected wheel should cut with a moderate feed rather than repeated pushing, rocking, or twisting.
Best Practices to Prevent Angle Grinder Kickback
Complete a Pre-Use Inspection
Disconnect the plug or remove the battery before touching the wheel, guard, flange, or spindle. Then check the following:
- Tool body: Look for cracks, missing fasteners, damaged vents, or signs that the grinder was dropped.
- Power source: Inspect the cord and plug, or check the battery for impact, heat, swelling, or housing damage.
- Switch: Confirm that the switch moves normally and returns or releases as designed.
- Side handle: Install it securely in the position recommended by the manual.
- Guard: Use the correct cutting or grinding guard and position it between your body and the exposed wheel.
- Wheel: Confirm its type, material rating, diameter, thickness, maximum RPM, arbor fit, condition, and expiration date when one is marked.
- Flanges and nut: Use the correct undamaged mounting hardware and orientation.
- Workpiece: Clamp and support it so it cannot shift, roll, or close onto the wheel.
- Work area: Remove combustibles, control bystanders, check for hidden utilities, and arrange dust collection when needed.
Position Your Body and Grinder
Hold the main grip and side handle firmly with both hands whenever the tool is designed for two-handed use. Keep your elbows slightly bent so your arms can resist a sudden torque reaction. Maintain stable footing and do not overreach.
Before switching on the grinder, confirm the spindle-rotation marking on the tool and any directional marking on the accessory. Picture where the grinder could move if the wheel catches at each point of the cut. Keep your head, torso, legs, and nearby people outside that path. Do not stand directly in line with and behind a rotating cut-off wheel.
Pro Tip: Practice your stance with the grinder unplugged or the battery removed. Confirm that you can follow the full cut without crossing your arms, leaning off balance, or moving into the wheel plane.
Make the Cut Without Twisting the Wheel
- Set the guard and side handle before connecting power.
- Hold the wheel clear of the workpiece and keep yourself and bystanders away from its plane.
- Start the grinder and let it reach full operating speed.
- Enter the material gradually with the wheel straight and square to the cut line.
- Use a moderate feed. Do not jam, rock, tilt, or force the wheel.
- Keep the wheel aligned for the full depth of the cut. Do not attempt a curved cut with a straight cut-off wheel.
- As the cut nears completion, reduce pressure and watch the offcut so it cannot fall, rotate, or pinch the disc.
- After leaving the cut, release the switch and hold the grinder securely until the wheel stops completely.
- Do not place the grinder on a bench or floor while the accessory is still spinning.
What to Do If the Wheel Binds or Stalls
- Release the switch immediately.
- Hold the grinder motionless. Do not pull, twist, or lift the moving wheel from the kerf.
- Wait for a complete stop. Keep both hands on the tool until all movement ends.
- Disconnect power. Unplug the grinder or remove the battery before inspecting it.
- Correct the cause. Check workpiece support, kerf width, wheel alignment, wheel damage, mounting hardware, and hidden obstructions.
- Restart outside the cut. Let the wheel reach full speed, then carefully re-enter the existing kerf without side pressure.
Warning: Never try to free a wheel by repeatedly pulling the trigger, rocking the grinder, or wrenching a rotating disc sideways. Repeated stalls can damage the wheel, motor, flange, or workpiece and can trigger a stronger kickback.
Supporting the Workpiece Without Pinching the Wheel
Correct support does more than stop the material from moving. It also controls how the cut opens as the wheel travels through it.
- Sheet and plate: Support large pieces near the cut and near their outer edges so they cannot sag. Arrange the supports so gravity does not close the kerf.
- Offcuts: Support or restrain the offcut enough to prevent a sudden fall, but do not trap it against the main workpiece. It should move away from the wheel rather than squeeze it.
- Pipe and tubing: Clamp the material so it cannot roll. Plan the cut sequence so the remaining wall does not rotate or pinch the wheel near breakthrough.
- Small parts: Clamp them in a suitable vise or fixture. Never hold a workpiece in one hand while operating the grinder with the other.
- Long stock: Use enough supports to prevent bowing, bouncing, and leverage that could twist the cut.
Note: “Support both sides” does not mean locking both pieces together so tightly that the kerf cannot open. The goal is to prevent sagging and uncontrolled movement while keeping the wheel free.
The Importance of Proper Disc Selection and Maintenance
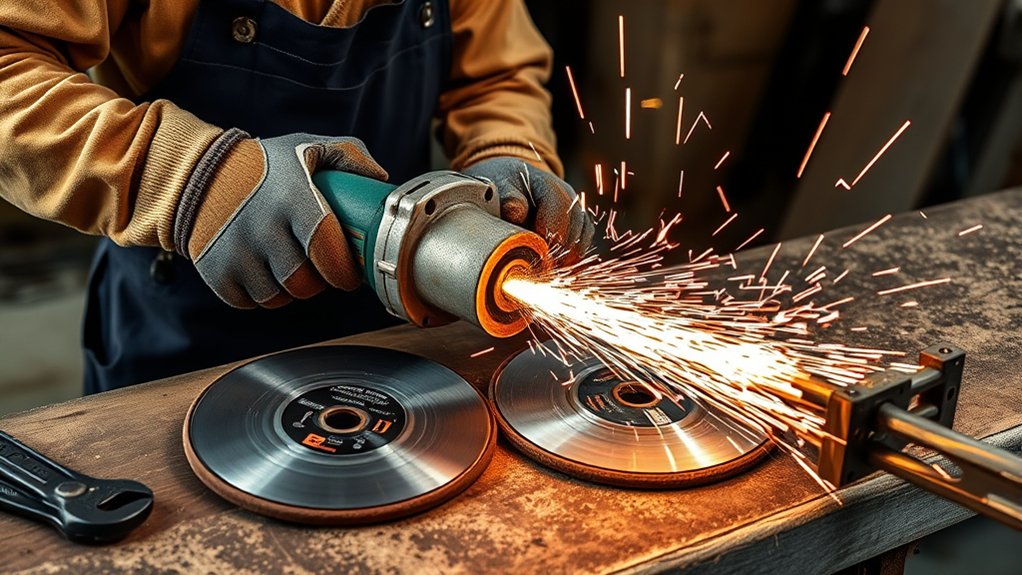
A damaged or mismatched disc can increase vibration, binding, breakage, and kickback risk. Use only an accessory that your grinder manufacturer permits for the specific operation.
| Aspect | Safe Recommendation |
|---|---|
| Disc Size | Match the diameter and thickness limits printed on the grinder and stated in its manual. |
| RPM Rating | Use a wheel whose maximum rated speed equals or exceeds the grinder’s maximum no-load speed. |
| Disc Type | Match the wheel to cutting, grinding, sanding, brushing, or another operation specifically approved by the tool manufacturer. |
| Material | Confirm that the wheel is labeled for the metal, masonry, concrete, tile, or other material being worked. |
| Arbor and Mounting | The arbor must fit the spindle or approved mounting system without makeshift bushings or adapters. |
| Flanges | Use the correct undamaged inner flange and locking nut in the orientation shown in the manual. |
| Guard | Install the guard or approved guard cover required for that accessory and operation. |
| Disc Condition | Reject wheels with cracks, chips, warping, heavy wear, moisture damage, missing segments, or unreadable identification. |
| Expiration Date | Do not use a bonded wheel after a marked expiration date. |
After mounting a wheel, position yourself and other people away from its plane. Run the grinder at no-load speed in a protected area as directed by the manual. Stop immediately if the wheel wobbles, vibrates, rubs the guard, or makes an unusual sound.
Warning: Do not attach a toothed circular-saw blade, saw-chain carving disc, or other accessory that the grinder manufacturer does not specify. Accessories that fit the spindle are not automatically safe for the tool.
Essential Safety Features in Modern Angle Grinders
Modern grinders may include electronic features that reduce some consequences of a bind, drop, power interruption, or switch release. Feature names and behavior vary by manufacturer, so check the exact model manual.
- Kickback control or kickback brake: Detects certain rapid stalls or binds and interrupts motor power. Some systems also apply an electronic brake.
- Electronic run-out brake: Brings the wheel to a stop faster after the switch is released.
- Restart protection: Prevents the grinder from restarting unexpectedly after power is restored.
- Soft start: Brings the motor up to speed gradually and reduces the startup torque reaction.
- Constant-pressure or paddle switch: Stops power when the operator releases the control, depending on the tool design.
- Drop control: Shuts the tool down when compatible sensors detect a fall.
- Vibration-reducing side handle: Can reduce fatigue and help the operator maintain control.
These features are useful backups, not permission to use poor support, the wrong wheel, one-handed operation, or excessive pressure. A system that reacts to an abrupt stall may not activate when a wheel twists, cants, or only partially snags. The grinder and wheel can also move before the motor or brake stops them.
Choosing the Right Angle Grinder for Your Needs
Choose a grinder that gives you enough capacity for the job without adding unnecessary wheel size, weight, or power. A larger grinder can make deeper or heavier cuts, but it also has more rotating mass and may be harder to control.
Products Worth Considering

LIGHTWEIGHT MINI ANGLE GRINDER FOR ONE-HAND OPERATION – Designed with a compact body weighing only about 1kg, this cordless angle grinder is easier to control than traditional 4.5-inch grinders. Ideal for overhead work, tight spaces, home repairs, automotive projects, and DIY tasks with reduced hand fatigue.

SUPERIOR PROTECTION — Experience all-around face protection thanks to the curved design of this faceshield. The visor of this face guard is ANSI Z87+ certified, and up to 2x thicker for increased durability. Plus, you can comfortably wear your grinding face shield over prescription glasses.

Premium metal construction for durability: Our angle grinder stand holder is made of high-quality metal material, ensuring strong hardness and long-lasting durability
Key Features to Consider
Look for a secure side-handle position, easy guard adjustment, a switch you can release quickly, clear wheel-speed markings, and a grip that fits both hands. Electronic braking, restart protection, soft start, and kickback control add useful layers of protection.
Brushless motors often require less routine motor maintenance than brushed motors, but motor type does not determine whether the tool is safe. Guard compatibility, wheel capacity, switch design, balance, and handling matter more for kickback control.
Disc Size Selection
Smaller grinders are often easier to control for light cutting and detail work. Larger grinders suit deeper cuts and heavier stock but require more space, stronger control, and the exact guard specified for the larger wheel.
Never install an oversized wheel or remove the guard to make a wheel fit. Do not put a worn wheel from a large, slower grinder onto a smaller grinder that may run at a higher speed.
Power Source Options
Cordless grinders provide mobility and remove a trailing power cord from the immediate cutting area. Inspect batteries after drops or impacts and keep them away from sparks, excessive heat, and sharp debris.
Corded grinders provide steady power for longer work. Route the cord behind you and away from the wheel, hot metal, sharp edges, water, and the offcut.
Pneumatic grinders work well in shops with a suitable air supply. Inspect the hose and fittings, secure connections, and keep the hose out of the wheel path and walking area.
When Is an Angle Grinder Not the Right Tool?
An angle grinder is not automatically the safest tool just because it can reach the material. Choose another tool when it gives you better guarding, straighter guidance, more stable work support, or effective dust control. Never remove the guard or install an unapproved accessory to make the grinder fit a task.
| Situation | Why to Reconsider the Grinder | Safer Direction |
|---|---|---|
| Long, straight sheet-metal cuts | Freehand travel can wander, twist the wheel, and create a closing kerf. | Use a guarded shear, nibbler, metal-cutting saw, or other tool approved for the material and cut. |
| Repeated pipe or bar cuts | Round stock can roll, and repeated freehand cuts make support and alignment harder to control. | Use a properly guarded chop saw, band saw, or fixture designed for repeatable cuts. |
| Wood cutting or carving | Toothed and chain-style accessories can create severe grab and kickback hazards when they are not approved for the grinder. | Use a saw or carving tool designed and guarded for wood. |
| Access that requires guard removal | Removing the guard increases exposure to the wheel and fragments and may allow an oversized accessory. | Use a smaller approved grinder, a different accessory system, or another tool that fits with its guard installed. |
| Masonry work without effective dust control | Dry cutting or grinding can create hazardous airborne dust that PPE alone may not control. | Use an approved shroud and extraction system, a wet method where permitted, or a tool designed with integrated dust control. |
Decision rule: If the cut cannot be completed with the correct guard installed, the work securely supported, both hands on the tool, and your body outside the reaction path, stop and choose a different method.
Work-Area, Material, and Fire Hazards
Angle grinders create sparks, hot particles, noise, dust, and flying fragments. The work area needs the same attention as the tool.
Control Sparks and Combustibles
Remove paper, sawdust, rags, fuel, solvents, aerosols, dust deposits, and other combustible material from the spark path. Use screens or guards when hazards cannot be moved. Workplace grinding may be treated as hot work and may require a permit, fire watch, or other controls under the employer’s program.
Never grind, cut, or weld a used drum, tank, pipe, or closed container unless a qualified procedure has confirmed that it is cleaned, vented, and safe. Residue or vapor can ignite or explode. Review OSHA’s hot-work requirements and the rules that apply at your site.
Check for Hidden Utilities
Before a pocket cut or blind cut, check for electrical wiring, gas lines, water pipes, fasteners, reinforcing steel, and structural components. Use suitable detection equipment or have utilities located when the material or wall construction is uncertain.
Control Dust and Fumes
Identify the material and any paint, plating, coating, adhesive, or contamination before cutting or grinding it. Use local exhaust or a compatible extraction guard when practical. Do not assume that a disposable nuisance mask protects against every dust, metal fume, gas, or vapor.
When workplace respiratory protection is required, follow OSHA’s respiratory-protection requirements, including proper respirator selection, medical evaluation, fit testing, training, and maintenance.
Protect Bystanders
Keep people outside the work area and outside the wheel plane. Anyone who must enter should wear the required eye, face, hearing, body, and respiratory protection for the task. Screens can help contain sparks and fragments, but they do not replace distance or PPE.
Must-Have PPE for Safe Angle Grinder Use
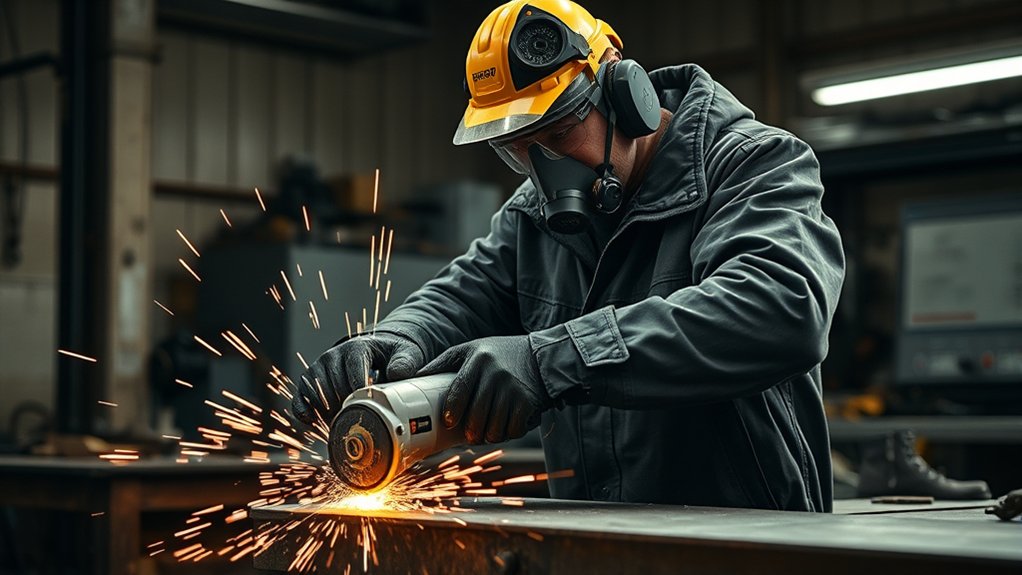
Personal protective equipment reduces exposure to flying particles, wheel fragments, sparks, sharp edges, noise, and dust. It does not replace the guard, correct wheel, stable support, or safe technique.
| Equipment | Purpose | Selection Guidance |
|---|---|---|
| Safety Glasses and Face Shield | Protect against particles, sparks, and fragments. | Wear impact-rated safety glasses with side protection under a task-appropriate face shield. A face shield is secondary protection, not a replacement for safety glasses or goggles. |
| Hearing Protection | Reduces damaging noise exposure. | Use properly fitted earplugs, earmuffs, or dual protection when required by measured exposure or the workplace hearing-conservation program. |
| Close-Fitting Work Gloves | Protect hands from sharp stock, hot particles, and rough surfaces. | Choose gloves that allow a secure grip. Keep hands and gloves away from the rotating wheel and avoid loose cuffs. |
| Protective Clothing | Reduces spark, hot-particle, and abrasion exposure. | Wear close-fitting natural-fiber or task-rated protective clothing. Use flame-resistant clothing when the hazard assessment or workplace rules require it. Avoid synthetic fabric that can melt. |
| Respiratory Protection | Reduces inhalation of hazardous dust, fumes, or particles. | Select protection for the identified material and exposure. Workplace respirator use may require medical clearance, fit testing, training, and a written program. |
| Safety Footwear | Protects against sharp offcuts, hot material, and dropped workpieces. | Use stable, closed-toe footwear suitable for the work area. Toe protection may be required in workplaces handling heavy stock. |
Follow OSHA’s eye and face protection requirements at covered workplaces. Tie back long hair and remove jewelry, hoodie strings, loose sleeves, and other items that could reach the wheel.
Products Worth Considering

Included: (1) DeWalt N441218 Angle Grinder Guard Replacement for Angle Grinder DCG414B

HIGH IMPACT FACE SHIELD - Sellstrom's Advantage Face Shield is ideal for various types of machinery, welding, cutting, grinding, woodworking, and other types of work that present potential hazards to the face
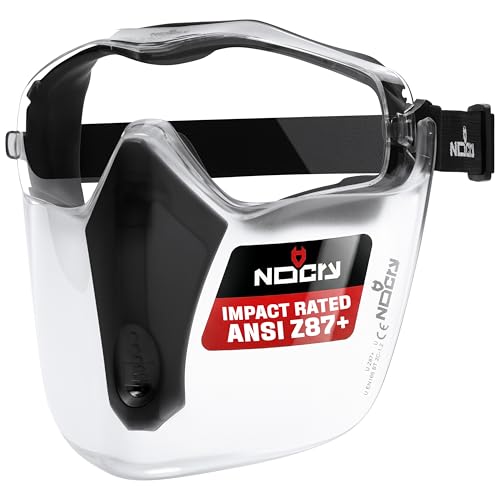
COMPLETE PROTECTION — Pairing anti-fog and scratch-resistant goggles with a tough polycarbonate torch face shield, this unbeatable duo has you covered from splashes, dust, and debris. And they are built to resist high-speed impacts, even in extreme temperatures.
Angle Grinder Kickback Troubleshooting
| Symptom | Possible Cause | Safe Response |
|---|---|---|
| Wheel binds in the cut | Closing kerf, twisted wheel, excessive depth, hidden obstruction, or unstable work. | Release the switch, hold still until stopped, disconnect power, and correct the support or alignment before restarting outside the cut. |
| Excessive vibration or wobble | Damaged wheel, debris on flange, incorrect arbor fit, loose mounting, or damaged spindle. | Stop immediately. Inspect the wheel and mounting parts; replace damaged components and remove the tool from service if the spindle or bearings are suspect. |
| Wheel walks or climbs out | Wheel entered at an angle, incorrect feed direction, snagged edge, or excessive pressure. | Stop, reposition your stance, smooth or approach the edge carefully, and re-enter straight at full speed with moderate feed. |
| Wheel rubs the guard | Wrong wheel size, incorrect guard, bent guard, bad flange orientation, or loose mounting. | Do not operate the grinder. Disconnect power and install the correct undamaged parts. |
| Cut requires heavy force | Wrong wheel, dull or glazed accessory, excessive depth, poor alignment, or unsuitable tool capacity. | Stop and select the correct accessory or tool. Do not compensate by pushing harder. |
| Unusual smoke, odor, or dust | Overheated wheel or motor, burning coating, hidden contamination, or inadequate extraction. | Stop, ventilate or leave the area as appropriate, identify the material, and correct the hazard before continuing. |
After-Use Inspection and Storage
Let the grinder and wheel cool before touching or storing them. Disconnect power, brush away loose debris without blowing dust into the air, and inspect the guard, wheel, flange, handle, cord, and battery.
Store wheels dry, flat or in the manufacturer-recommended position, and protected from impact, moisture, extreme temperature, and contamination. Label or quarantine any grinder or accessory that was dropped, damaged, involved in a severe bind, or produced unexplained vibration.
Emergency Procedures for Angle Grinder Accidents
If an accident happens, stop the tool and disconnect its power only when you can do so without placing yourself in danger. Keep other people away from a broken wheel, energized equipment, fire, unstable workpiece, or contaminated dust.
Emergency Response Steps
- Release the grinder switch and wait for movement to stop.
- Unplug the tool, remove the battery, or isolate the air supply when safe.
- Call emergency services for severe bleeding, deep wounds, eye penetration, breathing trouble, electric shock, major burns, loss of consciousness, or signs of shock.
- Do not restart or move damaged equipment until the scene and tool have been assessed.
First Aid Essentials
- Severe bleeding: Apply firm direct pressure with clean gauze or cloth. Add more material on top if blood soaks through. Do not remove a deeply embedded object.
- Eye injury: Do not rub the eye or pull out an embedded fragment. Protect the eye from pressure and obtain urgent medical care.
- Thermal burn: Use clean, cool running water for 5–20 minutes to cool the burn and reduce pain. Do not apply ice, grease, or butter. Cover loosely with a clean nonstick dressing when appropriate.
- Electric shock: Do not touch a person who is still connected to an energized source. Isolate power and call emergency services.
- Dust or fume exposure: Move to fresh air only when it is safe to do so and seek medical help for breathing difficulty, chest pain, confusion, or persistent symptoms.
Review the American Red Cross burn first-aid guidance and maintain a stocked first-aid kit suitable for your work area.
Reporting Procedures
Report workplace incidents and near misses to the supervisor or safety officer. Record the grinder model, wheel type and rating, guard used, workpiece setup, task, injury, and conditions at the time.
Remove the grinder, wheel, flanges, and related equipment from service until a qualified person determines why the event occurred. Review the work support, wheel choice, guard, switch, power source, and operator procedure before the same task resumes.
Note: A near miss involving a bind, broken wheel, damaged guard, dropped grinder, or unexpected restart deserves the same investigation as an injury. Correcting the cause can prevent the next event from becoming serious.
Safety Disclaimer: This article is for general informational purposes only. It does not replace the grinder and accessory manuals, hands-on training, a workplace hazard assessment, medical care, or applicable safety regulations. Follow the requirements for your tool, material, employer, and jurisdiction.
Frequently Asked Questions
How do you prevent kickback on an angle grinder?
Use the correct wheel and guard, clamp and support the work so the kerf stays open, hold the grinder with both hands, and keep your body outside the likely reaction path. Enter the cut at full speed, keep the wheel straight, use moderate pressure, and stop if it begins to bind or vibrate.
What should you do when an angle grinder wheel binds?
Release the switch and hold the grinder still until the wheel stops completely. Do not pull a moving wheel from the cut. Disconnect power, correct the support, alignment, wheel, or obstruction problem, then restart outside the kerf and re-enter only after the wheel reaches full speed.
Which direction does an angle grinder kick back?
The direction depends on wheel rotation and where the accessory snags. The grinder is generally forced opposite the wheel’s movement at the bind point. Confirm the grinder’s spindle rotation and any directional marking on the accessory, position the guard correctly, and keep your body away from the path the tool could follow.
How do you prevent angle grinder injuries?
Inspect the grinder and wheel, use the side handle and correct guard, secure the work, control sparks and dust, and keep bystanders clear. Wear impact-rated eye protection under a face shield, hearing protection, close-fitting clothing, suitable gloves and footwear, and task-specific respiratory protection when required.
What safety rules apply to angle grinders at work?
Covered workplaces must follow applicable tool-guarding, wheel, PPE, electrical, respiratory, noise, training, and hot-work requirements. In the United States, relevant OSHA provisions include 29 CFR 1910.243 for portable-tool guarding and 29 CFR 1910.133 for eye and face protection. Employer procedures and state-plan rules may add requirements.
What is a common angle grinder injury?
Common injuries include cuts, eye injuries, burns, hearing damage, punctures from wheel fragments or wire bristles, and injuries caused by loss of tool control. Dust, fumes, electrical faults, fire, and falling workpieces create additional hazards.
Can a damaged disc cause kickback?
Yes. A cracked, chipped, warped, worn, wet, expired, or poorly mounted disc can vibrate, snag, break, or run out of balance. Stop using any wheel whose condition, type, speed rating, or identification cannot be confirmed.
Can you grind with the side of a cutting disc?
Do not side-grind with a cut-off wheel unless it is specifically labeled for both operations and the grinder manufacturer approves the setup. A cutting-only wheel is designed for force at its outer edge and may shatter when side-loaded.
Should you remove the guard from an angle grinder?
No. Use the correct guard or approved guard attachment for the wheel and operation. Position it to expose as little wheel as practical toward your body. Removing the guard also makes it easier to install an oversized or unsuitable accessory.
Should you push or pull an angle grinder when cutting?
There is no universal push-or-pull rule for every grinder, wheel, material, and cut. Follow the tool and accessory manuals. In either direction, keep the wheel straight, use moderate feed, avoid forcing the wheel into an unsupported edge, and keep your body outside the likely reaction path.
Can you use an angle grinder without the side handle?
Use the side handle and a two-handed grip unless the manufacturer’s instructions describe a specific approved setup that does not use it. The handle gives you leverage to resist startup torque, binding, and sudden tool movement.
Does a kickback brake prevent every kickback?
No. A kickback brake or electronic clutch may detect certain stalls and interrupt power, but the grinder and wheel can move before stopping. Detection systems also vary by model. Correct setup, support, grip, wheel choice, and body position remain necessary.
Conclusion
Angle grinder kickback becomes less likely when you control the wheel, workpiece, work area, and your position before the cut begins. Use a compatible wheel and task-specific guard, clamp the material, support it so the kerf stays open, and hold the tool with both hands outside the likely reaction path.
Let the wheel reach full speed, keep it straight, and use moderate pressure. If it binds, release the switch and hold the grinder still until the wheel stops. Correct the cause instead of forcing the tool. Complete the inspection, support, guarding, and hazard controls before every cut instead of relying on your reaction after the grinder is already out of control.
Sources
- OSHA-supported Angle Grinder Safety handout — wheel speed, guards, two-handed operation, workpiece security, PPE, sparks, and disc inspection.
- OSHA Hand and Power Tools publication — portable abrasive-wheel guarding, wheel inspection, mounting, rated speed, startup, and eye protection.
- OSHA 29 CFR 1910.243 — guarding and controls for portable powered tools.
- Bosch Professional angle-grinder safety instructions — kickback reaction, grip, body position, guard selection, cutting technique, workpiece support, and bind recovery.
- OSHA 29 CFR 1910.133 — workplace eye and face protection requirements.
- American Red Cross burn guidance — immediate cooling and basic burn first aid.
- SafeWork SA angle-grinder guidance — tool selection, guarding, two-handed control, work support, training, and safe operating technique.
- Norton Abrasives wheel shelf-life guidance — storage and time limits for resinoid-bonded wheels.