Turn an Old Bike Into a Light-Duty Workshop Tool
What’s in This Article
- Why Turn an Old Bike Into a Tool?
- What You Can Make From Bicycle Parts
- Tools and Materials You Will Need
- Project Planning and Design Considerations
- Step-by-Step: Turning a Bike Wheel into a Bench Tool
- Practical Uses and Demonstrations
- Safety: Your Non-Negotiables
- Welding Tips and Techniques
- Maintenance and Troubleshooting
- Variations and Upgrades You Can Try
- Environmental and Cost Benefits
- See It in Action
- Frequently Asked Questions
♻️ Why Turn an Old Bike Into a Tool?
An old bicycle can become more than scrap if you treat its parts with care. Its hubs, spokes, wheel rims, cranks, pedals, axles, and frame pieces can support smart, low-cost workshop builds.
With basic welding, careful layout, and safe speed control, you can turn those parts into a light-duty finishing or rotary jig tool. This guide shows you how to plan, disassemble, fabricate, weld, test, guard, and maintain that tool.
Quick Answer
You can turn an old bike wheel, hub, and axle into a light-duty bench tool for sanding, polishing, deburring, and jig work. Keep the axle fixed, drive the hub or rim, and use only rated low-speed accessories. For true cutting or grinding, use a purpose-built spindle or grinder head with proper guards.
Key Takeaways
- Use the bike wheel and hub for light finishing, not unsafe high-speed grinding.
- Clamp the axle in place and drive the hub or rim with a belt, pulley, or friction roller.
- Service the bearings, true the wheel, and test for vibration before using the tool.
- Add guards, a tool rest, an emergency stop, and proper grounding before any powered test.
- Use purpose-built grinder parts if you need real cutting or heavy grinding.
🔧 What You Can Make From Bicycle Parts
You can build several useful tools from bicycle parts. This article focuses on turning a bicycle wheel, hub, and axle into a rotating light-duty finishing or rotary jig tool. You can drive it with a simple motor, belt system, friction roller, or hand crank.
This setup can work as a small bench-mounted finishing wheel or rotary jig for light fabrication. For true cutting or grinding, use a purpose-built, rated spindle or arbor with proper guards.
The wheel and hub work well because the rim already has a round shape, the hub gives you bearings, and the axle can serve as a fixed support. A wheel can still wobble or vibrate, so you must true, balance, and test it before use. Drive the hub or rim by pulley, friction roller, or rated arbor, and do not drive the axle.
🛠️ Tools and Materials You Will Need
Gather your parts before you start. Most items fit a small welding shop or a well-equipped garage.
- Bicycle parts: wheel, hub, axle, rim, spokes, and possibly the frame or fork for a stable mount.
- Motor or drive source: small electric motor, bench grinder motor, induction motor, direct current (DC) motor, or hand-crank system.
- Welding equipment: metal inert gas (MIG), tungsten inert gas (TIG), or stick welding machine for mounts and brackets.
- Cutting and grinding tools: angle grinder, cutoff discs, flap discs, and metal files.
- Measuring and layout tools: calipers, tape measure, marker, square, and alignment jigs.
- Fasteners and hardware: bearings if needed, retaining nuts, bolts, washers, and locking parts.
- Safety gear: welding helmet, gloves, eye protection, respirator, hearing protection, and protective clothing.
Products Worth Considering

【AUTO DARKENING FILTER】This welding helmet comes with high-end auto-darkening lens and 4 premium arc sensors which let you adapt to different working environments by adjusting the lens's shade and sensitivity while you are operating ARC/MIG/TIG Welding. DIN4 on light state, DIN5-9/9-13 on dark state.

Advanced Eye Protection with Blue Light Blocking Technology: This welding helmet features cutting-edge Blue Light Blocking outer lens, shielding your eyes from harmful blue light during welding, protects your eyes by filtering out most of harmful high energy blue light rays while letting through the less harmful portion of the blue light spectrum. This ensures long-lasting eye comfort and safety, making it ideal for extended welding sessions

★ADJUSTABLE SETTINGS: Our auto darkening welding helmet is equipped with sensitivity and delay settings to suit different environments and tasks. Enjoy enhanced visibility and color recognition. Light level of the filter is DIN4 and the time from dark to bright state is within 0.1s to 0.8s.
⚙️ Project Planning and Design Considerations
Every safe DIY tool starts with a simple plan. Decide what you want the repurposed bicycle tool to do before you cut or weld anything.
- Use it as a bench-mounted abrasive wheel for deburring and finishing.
- Use it as a circular cutter for thin sheet metal only with a purpose-built, rated grinder head or arbor and proper guards.
- Use it as a small rotary table for light fabrication tasks when speed and balance stay under control.
Check these design points before you build:
- Balance: Use a wheel that you can true and balance. Wobble creates vibration and unsafe movement at speed.
- Bearing condition: Service or replace hub bearings. Smooth bearings help the tool run longer and safer.
- Mounting: Build a strong mount that clamps the axle to a bench or frame. A welded fork or bracket often works well.
- Drive method: Keep the axle fixed and drive the hub/rim with a pulley, belt reduction, or friction roller.
- Safety guards: Guard the rotating rim, belt, shaft, and disc area. Add a no-volt release (NVR) switch and proper grounding.
Warning: Do not treat a bicycle rim as a rated grinding wheel or high-speed cutter.
🧰 Step-by-Step: Turning a Bike Wheel into a Bench Tool
Estimated total time: Plan for one full workshop day if you already have the parts, tools, and welding setup ready. Take more time if you need to service bearings, machine adapters, or build guards.
Use this step order to keep the build controlled and safe:
- Disassemble and inspect the wheel.
- Service the hub bearings.
- Prepare the axle and mounting points.
- Fabricate a bench mount or bracket.
- Attach the drive source.
- Add a rated abrasive or finishing surface.
- Balance and test the assembly.
- Install guards and make final adjustments.
Check alignment and fit at each step. Stop and correct problems early, because small runout can become dangerous once the wheel gains speed.
Products Worth Considering

【Durable Material】Made of aluminum alloy, bike bearing press set are durable to use for a long time.

Quick and easy access to hold virtually any wheel to perfectly position your work for a variety of tasks
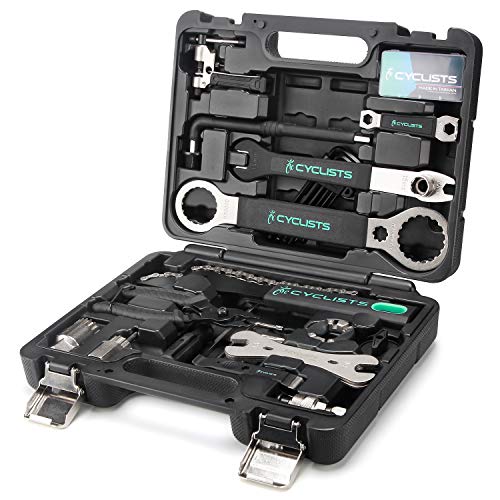
【Complete Bike Tool Kit】: The CYCLISTS 23 piece Bike Tool Kit contains all the tools to help you keep your bike in perfect working order, perform routine maintenance, repairs and upgrades.
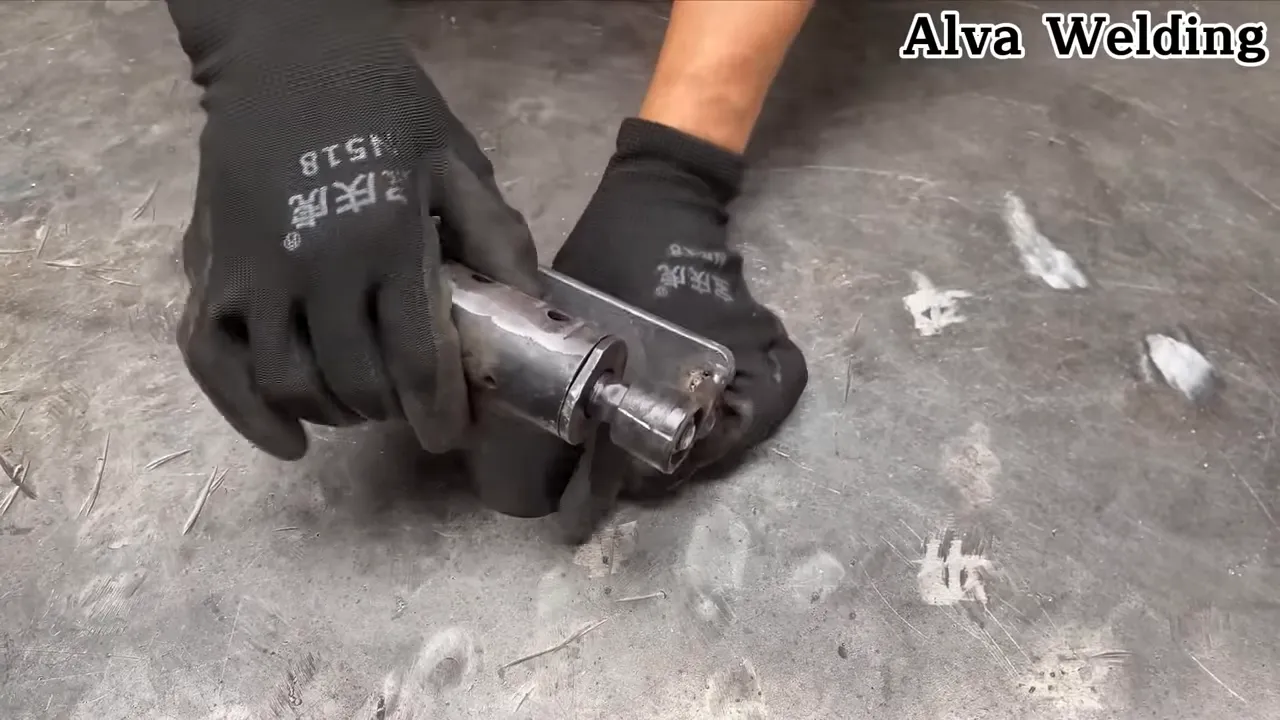
1. Disassemble and inspect the wheel
Remove the wheel from the bicycle. Strip off the tire, tube, rim tape, and any cassette or freewheel. Inspect the rim for dents, and check that the spokes stay intact.
Spin the wheel to check for wobble. Choose a better wheel if the rim has heavy bends. Avoid carbon rims. If you use a rear hub, remember that the freehub or freewheel may ratchet unless you lock it. A front disc hub often works best.
2. Service the hub
Open the hub if you can service it, then clean the bearings. Replace worn bearings or seals. If the hub uses sealed bearings and runs smoothly, you may keep it as-is.
For faster finishing work, choose bearings that match the speed and load you plan to use. A front disc hub also gives you a useful 6-bolt rotor interface for adapters or pulleys.

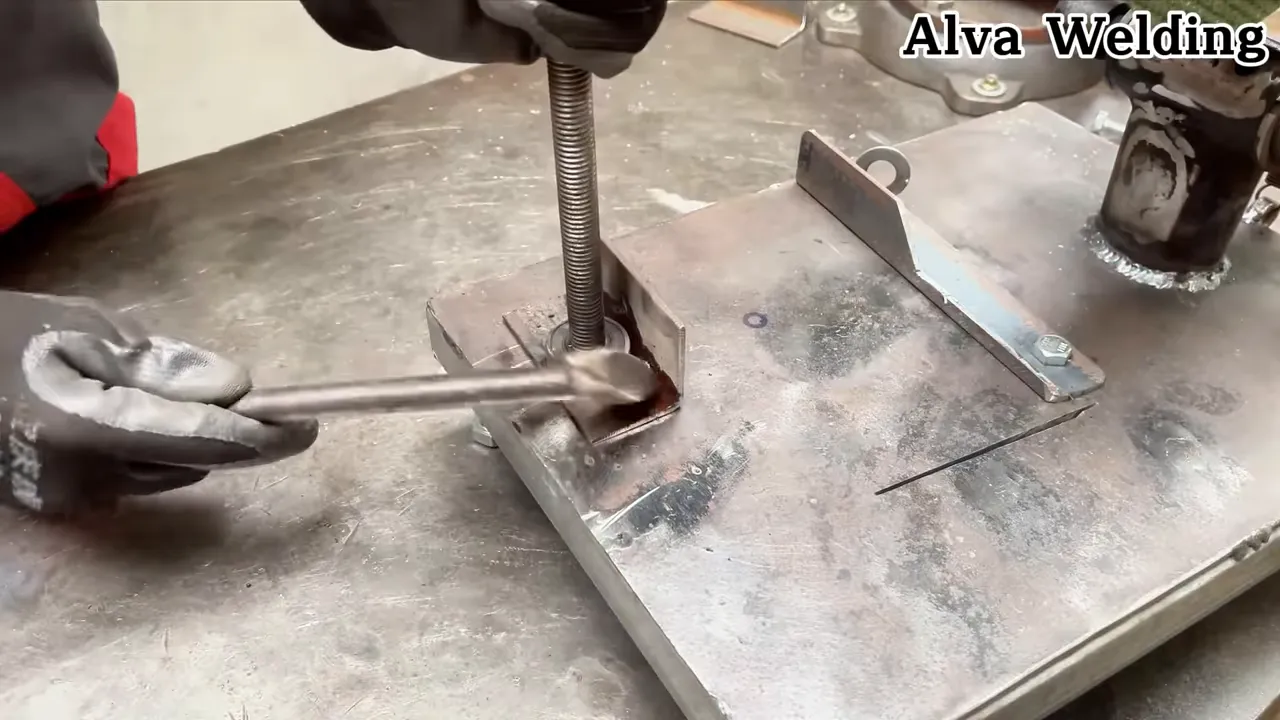
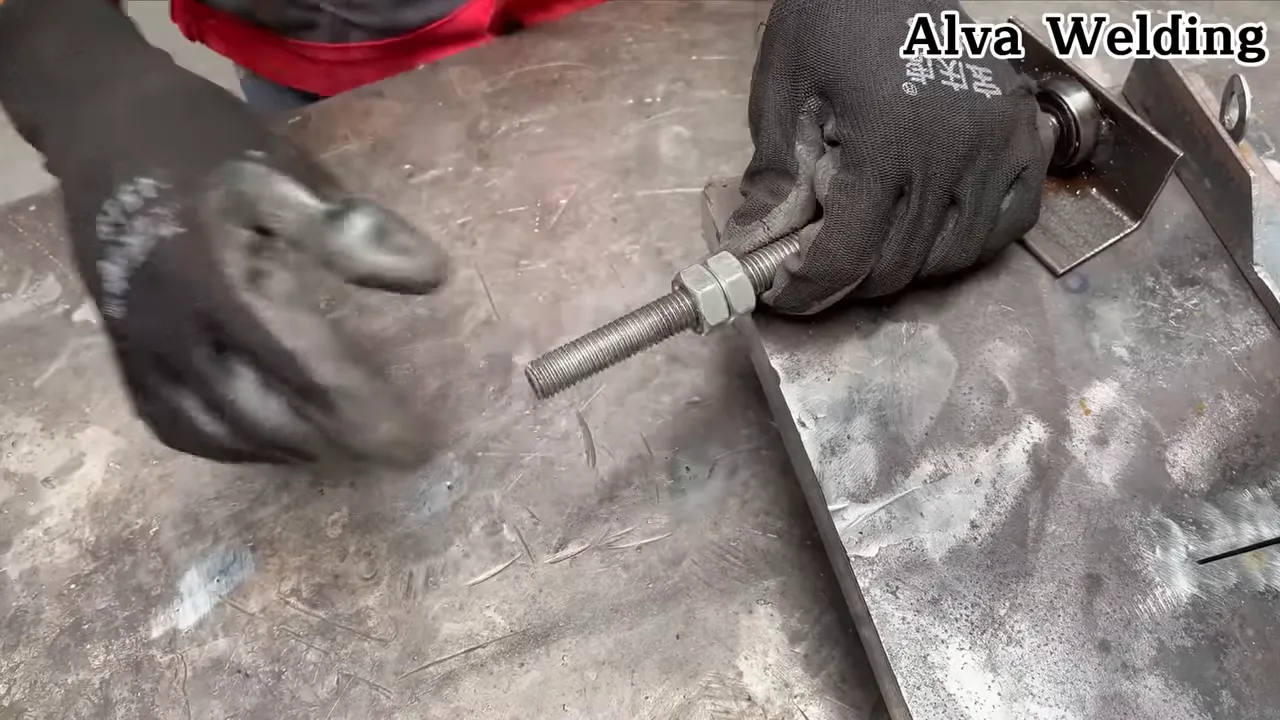
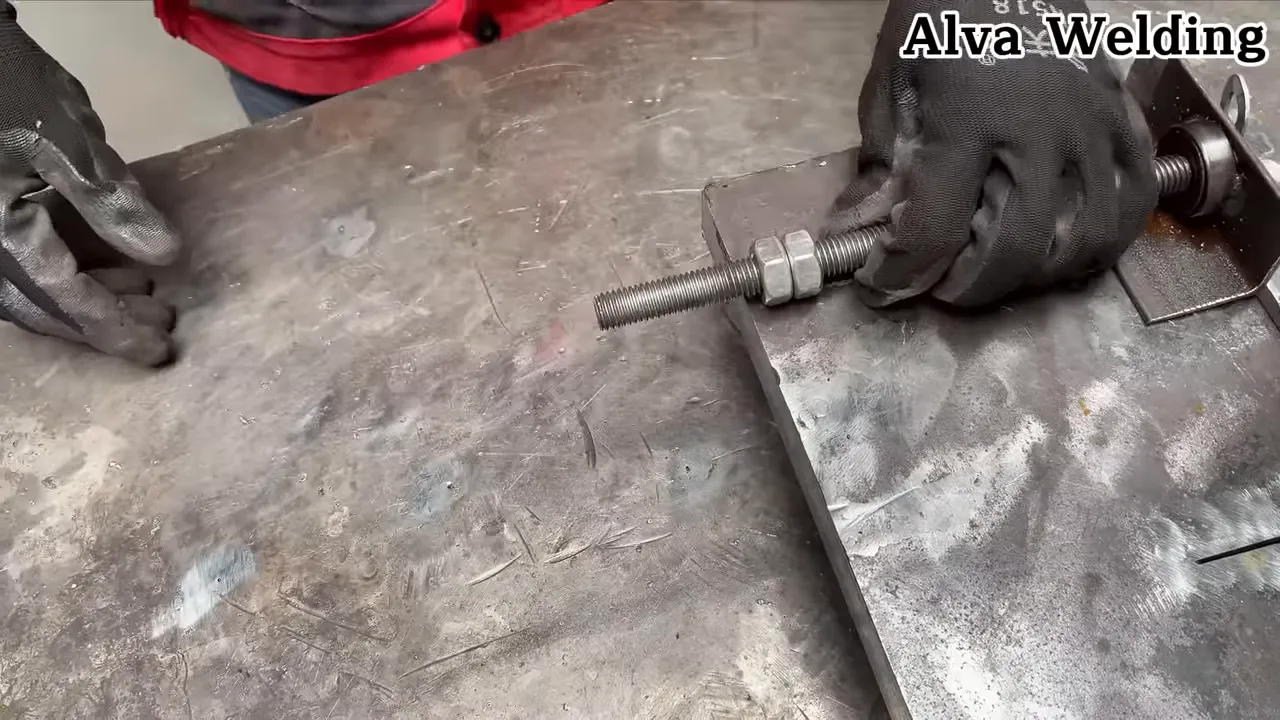
3. Prepare the axle and mounting
Clamp the axle firmly to your mount. Do not drive the axle. Adapt the hub, not the axle, to accept a pulley or plate.
Use the disc-rotor interface when possible, or clamp an adapter around the hub shell. Avoid welding directly to the axle, and align the parts carefully to reduce runout.
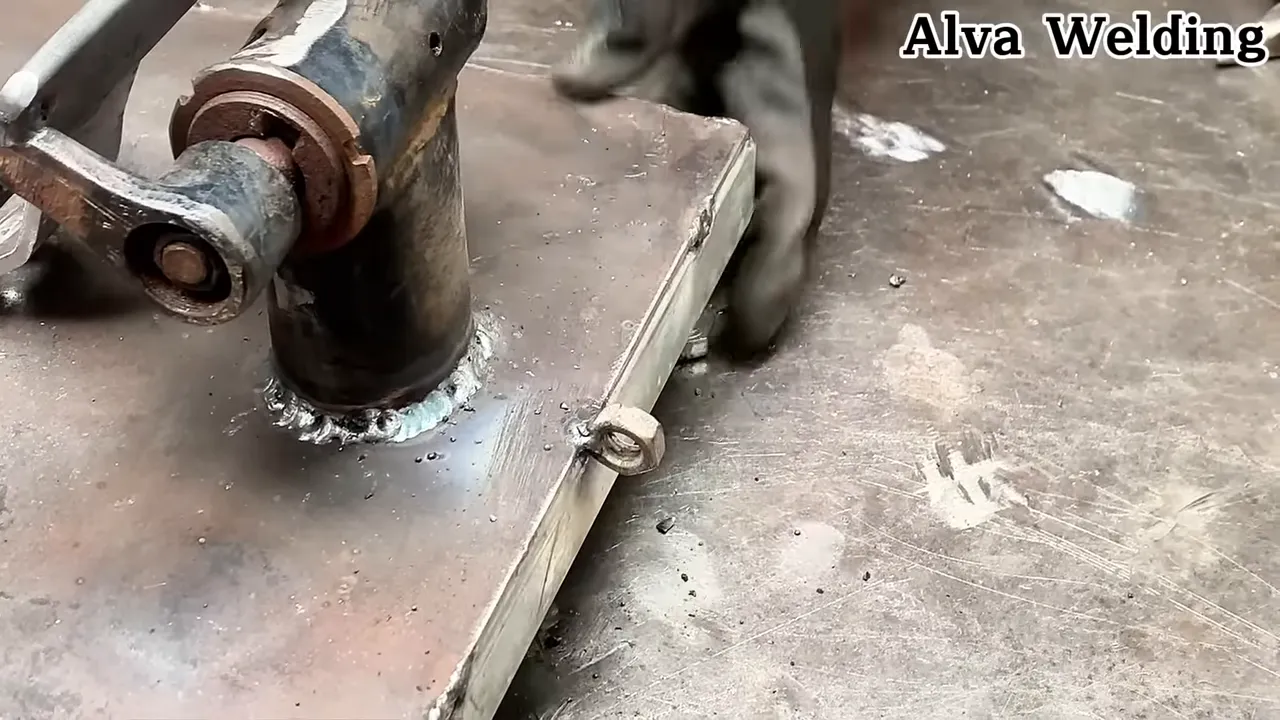
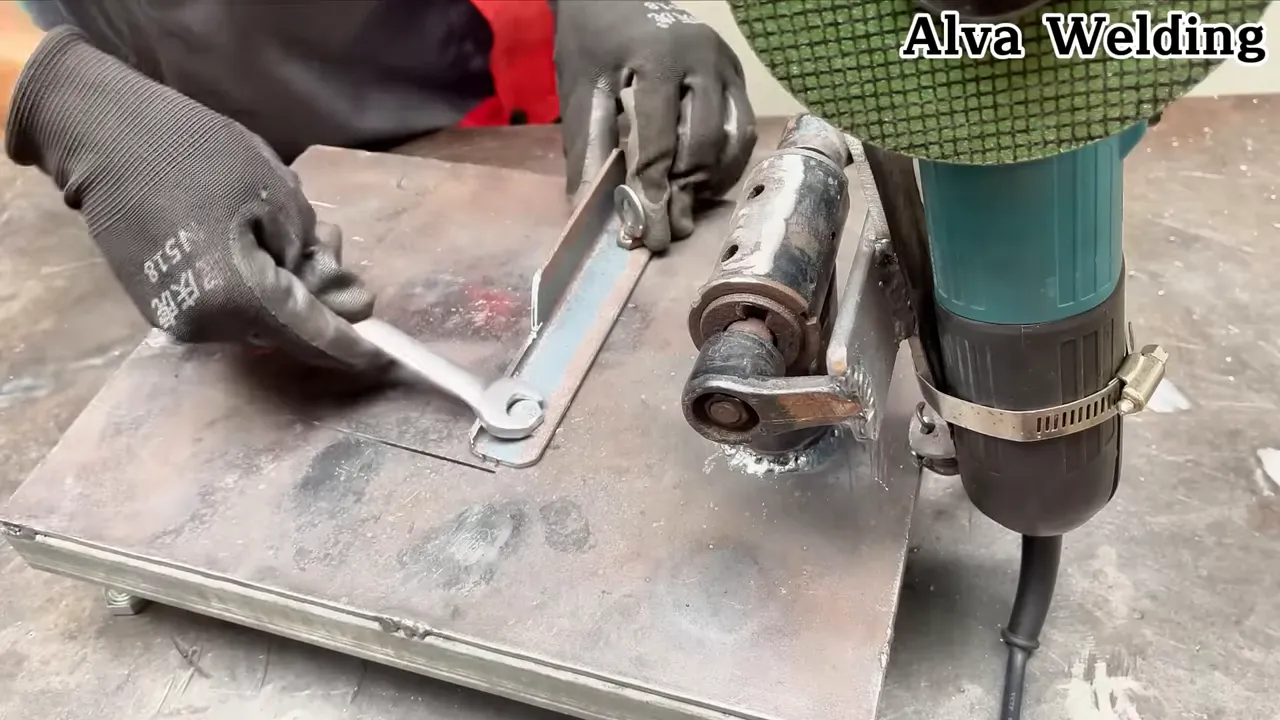
4. Fabricate a bench mount or bracket
Use square tubing, flat bar, or the original fork to create a mounting bracket. The mount must hold the axle at a steady height and fasten securely to your bench.
Tack-weld the parts first, then check alignment. Finish-weld only after the assembly sits square and steady. Reinforce any area that will carry load or vibration.

5. Attach the drive source
Choose friction drive, belt drive, or a rated direct spindle setup. For belt drive, attach a pulley to the motor and bolt a matching pulley or adapter to the hub’s rotor mount. Set belt tension so it grips without overloading the bearings.
For friction drive, place a rubber roller on the motor shaft so it bears against the rim. Use direct drive only through a rated spindle or arbor with proper guards. In every setup, keep the axle fixed and drive the hub/rim.
6. Add a rated abrasive or finishing surface
Do not mount angle-grinder cutoff discs to improvised plates. Choose rated low-RPM accessories, such as sanding wheels, flap wheels, or wire brushes designed for your speed range.
If you need true grinding or cutting, use a purpose-built grinder head or spindle with its factory guards. Stay within the accessory’s rated revolutions per minute (RPM) and required surface speed.

7. Balance and test the assembly
Run the tool at low speed before you use it on metal. Increase speed slowly while you listen for noise and watch for runout.
Balance the wheel and attachments by adjusting the adapter or adding small weights where needed. Stop the machine at once if you feel vibration, hear scraping, or see any movement in the mount.

8. Install guards and make final adjustments
Install shields and guards around the rim, belt, shaft, and disc area. Add a simple adjustable tool rest so you can support the workpiece.
Place an emergency stop switch near the tool so you can cut power fast. Use an NVR switch with proper grounding and belt/shaft guards before regular use.
🪓 Practical Uses and Demonstrations
After you test and guard the repurposed bike tool, you can use it as a light workshop helper. Match every job to the tool’s speed, stiffness, and accessory rating.
- Deburring and surface finishing: Use a speed-rated flap disc or abrasive wheel to remove rust, paint, or edge burrs.
- Thin sheet metal cutting: Cut only with a purpose-built, rated grinder head or arbor and proper guards.
- Shaping and profiling: Use mounted files or abrasive strips to shape small edges with light pressure.
- Rotary polishing and sanding: Use variable speed control for controlled light polishing or sanding.
- Jig and fixture work: Use the spinning wheel as part of a larger jig for repeat fabrication steps.

🧯 Safety: Your Non-Negotiables
Safety must guide every fabrication project. Rotating parts can throw fragments, grab loose clothing, or pull work from your hands.
Use these checks before any powered test:
- Eye and face protection: Wear a face shield and safety glasses because flying debris can cause severe injury.
- Hearing protection: Use ear protection when sanding, grinding, or cutting creates high noise.
- Respiratory protection: Use a respirator or strong ventilation when dust, paint, rust, or fumes may form.
- Guards and shields: Cover rotating parts where possible so shields can help block fragments.
- Speed limits: Stay within the accessory’s rated RPM and observe any minimum effective speed from the manufacturer.
- Emergency stop and electrical safety: Add a quick power cutoff, use an NVR switch, ground the tool, and guard belts and shafts.
🧩 Welding Tips and Techniques
Welding helps you build a strong mount and fit parts together. Good prep matters more than speed.
- Clean joints: Remove paint, rust, and grease from every weld area so the weld has less contamination.
- Use tack welds first: Hold parts in position with tack welds, check alignment, then finish-weld.
- Limit heat on thin parts: Use short stitch welds on thin parts to reduce warping.
- Choose the right filler: Match the filler metal to the base metal when you weld steel parts.
- Control heat: Preheat thick sections only when needed, and avoid overheating small parts.
- Prefer bolted adapters: Use bolted adapters on disc hubs instead of welding thin rim sections when possible.
Pro tip: Build the mount with extra stiffness first, then solve drive alignment after the wheel spins true.

🛠️ Maintenance and Troubleshooting
Repurposed tools need routine checks because the build uses adapted parts. Inspect the bearings, fasteners, guards, belt, and abrasive contact surfaces before use.
Use this list to solve common problems:
- Vibration: Check wheel trueness, bearing condition, and balance. Tighten loose spokes if the wheel uses spoke tension for truing.
- Overheating bearings: Check lubrication and drive alignment. Replace bearings that show heat damage or rough movement.
- Disc or belt slippage: Use secure mounts and locking parts. If belts slip, adjust tension and clean oil from the belt path.
- Excessive wear: Replace worn discs and abrasive attachments on a set schedule. Keep spare parts ready for quick changes.

🔁 Variations and Upgrades You Can Try
The basic build gives you a starting point. You can upgrade it once the mount, drive, guards, and speed control work safely.
- Speed control: Add a variable frequency drive for alternating current (AC) motors or a pulse-width modulation (PWM) controller for DC motors.
- Quick-change adapters: Build a flange system that lets you swap compatible discs or attachments faster.
- Replaceable abrasive segments: Attach a segmented abrasive ring to the rim so you can replace worn sections.
- Dust collection: Add a hood and shop vac connection to collect dust near the source.
- Foot control: Add a foot pedal for hands-free control when you need precise positioning.
🌍 Environmental and Cost Benefits
Repurposing an old bike into a shop tool can save money and reduce waste. Instead of throwing parts away, you give them a second use in your workshop.
This project also builds practical skills. You practice layout, welding, bearing service, speed control, guarding, and safe testing in one build.
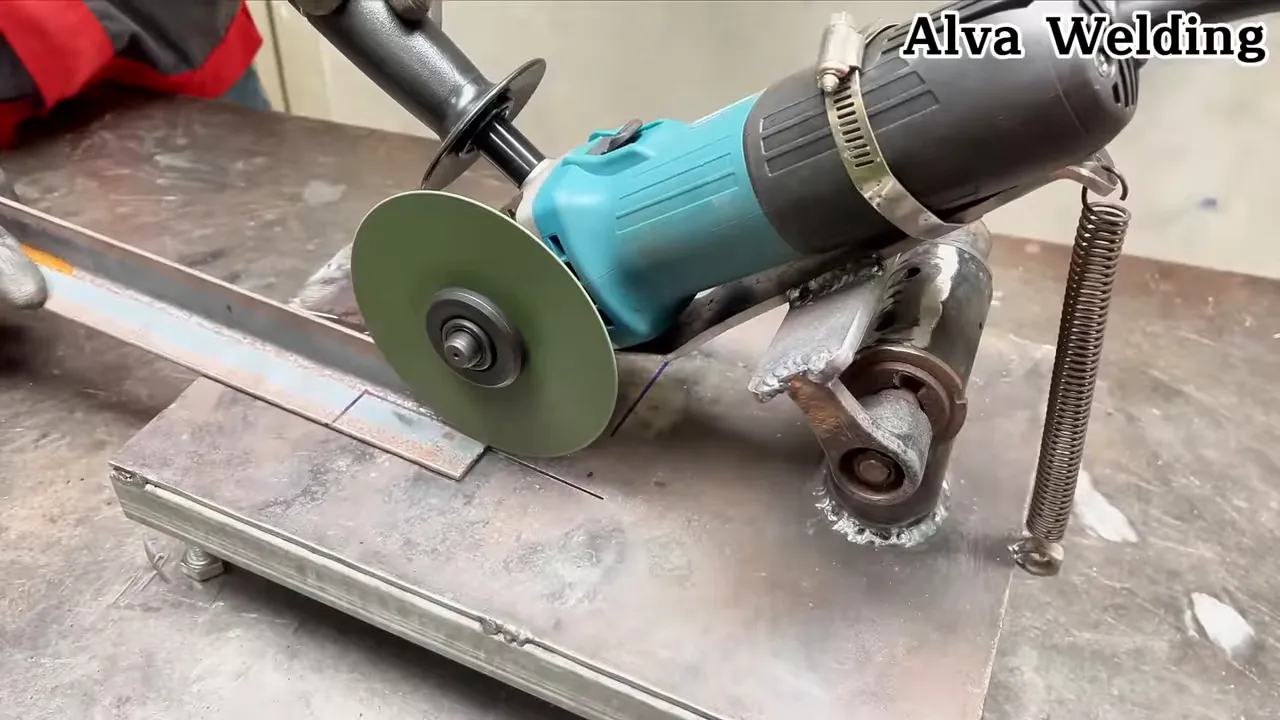
🎥 See It in Action
The best way to understand the tool is to watch the parts move slowly first. Look for balance, belt tracking, guard clearance, and workpiece control before you try any finishing task.
❓ Frequently Asked Questions
Is it safe to use a bicycle rim as a high-speed grinding wheel?
No. A bicycle rim was not designed as a rated grinding wheel. You can use a balanced rim at low to moderate speeds for light finishing, but only with proper guards, safe accessories, and careful testing.
What type of motor should I use to drive this tool?
A small bench grinder motor, induction motor, or DC motor can work if its speed and torque match your setup. A belt-drive with pulley changes gives you better control. Keep the axle fixed and drive the hub or rim.
Do I need to balance the wheel, and how do I do it?
Yes. Balance helps reduce vibration and bearing stress. Run the wheel slowly, mark the heavy area, then adjust the adapter or add small counterweights until the wheel runs smoother.
Can I weld directly to the rim?
You should avoid welding directly to most rims. Thin rims can warp, crack, or weaken from heat. Do not weld carbon rims, and do not weld aluminum rims unless you have the right skill, process, and filler.
What safety guards should I install?
Install fixed guards around the rotating surface, belt, and shaft. Add a tool rest close to the accessory and a shield that helps block fragments. Secure every guard so it cannot loosen during use.
How do I adapt the hub to a motor shaft?
Use a pulley, flexible coupling, machined adapter, or plate bolted to the hub, such as through a 6-bolt disc-rotor mount. Measure carefully so the adapter clamps or bolts squarely. Do not drive the axle.
What maintenance does this tool require?
Check the bearings, fasteners, belts, guards, and abrasive parts before use. Lubricate serviceable bearings as needed and replace cracked guards or worn accessories. Stop using the tool if vibration changes suddenly.
Can I use this tool for cutting thick metal?
No. This tool suits light finishing, polishing, deburring, and very limited thin-sheet work only when you use rated cutting parts. Use a purpose-built saw, grinder, or cutoff tool for thick metal.
Safety Disclaimer: This article is for informational purposes only and does not replace professional fabrication, welding, electrical, or machine-safety advice. Consult a qualified welder, electrician, or machine safety professional before building or using powered workshop equipment.
🧭 Final Thoughts and Next Step
An old bicycle can become a useful light-duty workshop tool when you build it around safety, balance, and proper drive design. Start with a straight wheel, a smooth hub, and a strong mount.
Keep the axle fixed, drive the hub or rim, and use only accessories rated for your speed range. Add guards, an NVR switch, grounding, and a tool rest before you try real work.
With patience and careful testing, you can turn scrap parts into a practical tool that teaches valuable fabrication skills. Build slowly, test often, and keep safety ahead of every shortcut.
Happy welding, finishing, and recycling.

