How to Replace Carbon Brushes in an Angle Grinder
Your angle grinder can lose power, spark more than usual, or run unevenly when its carbon brushes wear down. Replacing them is a simple maintenance job if you work carefully and match the brushes to your grinder model. This guide shows you how to spot worn brushes, remove the old set, install new brushes, and check the tool before you use it again.
What’s in This Article
- Why Replace Carbon Brushes in Your Grinder?
- What You’ll Need Before Replacing Carbon Brushes
- How to Disassemble Your Angle Grinder Safely
- Signs Your Carbon Brushes Need Replacement
- How to Install New Carbon Brushes
- Best Practices for Connecting Carbon Brush Wires
- Ensure Everything Is Tightly Reassembled
- Avoid These Common Mistakes When Replacing Brushes
- Maintain Your Grinder for Longer Life
- Where to Find Replacement Parts for Your Grinder
- Frequently Asked Questions
Quick Answer
Unplug the angle grinder, remove the rear housing, release the brush spring, and pull the worn carbon brush from its holder. Slide the matching replacement brush into place, reconnect the wire, secure the spring, and reassemble the tool tightly before testing it.
Key Takeaways
- Unplug the grinder before you remove any cover or internal part.
- Use carbon brushes that match your exact grinder model.
- Replace both brushes at the same time for even motor contact.
- Secure the brush springs and wires before you reinstall the housing.
- Test the grinder briefly after reassembly and stop if you hear rattling, grinding, or heavy sparking.
Why Replace Carbon Brushes in Your Grinder?
Carbon brushes transfer electricity to the motor armature so your angle grinder can run. Friction wears them down over time, especially when you use the grinder often or cut hard materials.
Worn brushes can cause weak power, uneven speed, extra sparking, or intermittent operation. Replacing them early helps protect the motor and keeps the grinder ready for the next job.
What You’ll Need Before Replacing Carbon Brushes
Set up your work area before you open the grinder. A clear bench helps you keep small parts from rolling away.
- Replacement carbon brushes that match your grinder model
- Phillips screwdriver or the driver your grinder requires
- Needle-nose pliers for small wire connections
- Small container for screws and springs
- Safety goggles to protect your eyes from dust and debris
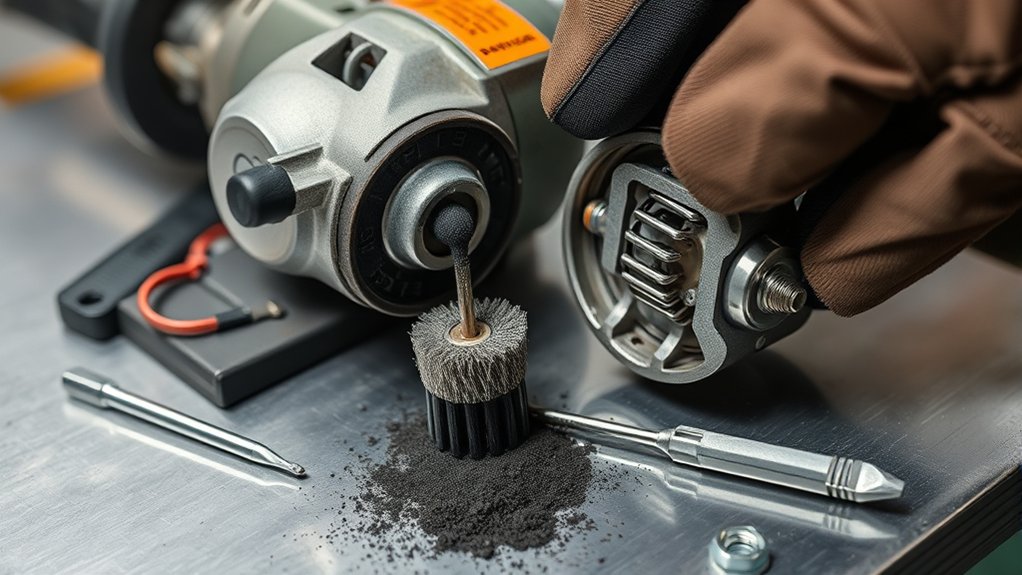
- Clean cloth or soft brush for removing dust from the housing
Plan on about 15 to 30 minutes for the job if the brush holders are easy to reach. Check your grinder manual if the rear housing or brush caps use a model-specific layout.
Warning: Always unplug a corded grinder or remove the battery from a cordless grinder before opening the housing.
Products Worth Considering

S85 Replacement Carbon Brush Set

Durable Material: Our Electric Motor Carbon Brushes are made of quality graphite and copper, crafted from premium-grade materials, ensuring minimal electrical noise and reduced sparking

Premium Graphite & Copper Build – Crafted from high-quality graphite and copper, these carbon brushes deliver excellent conductivity, stable performance, and extended durability—ensuring your power tools and motors run at their best.
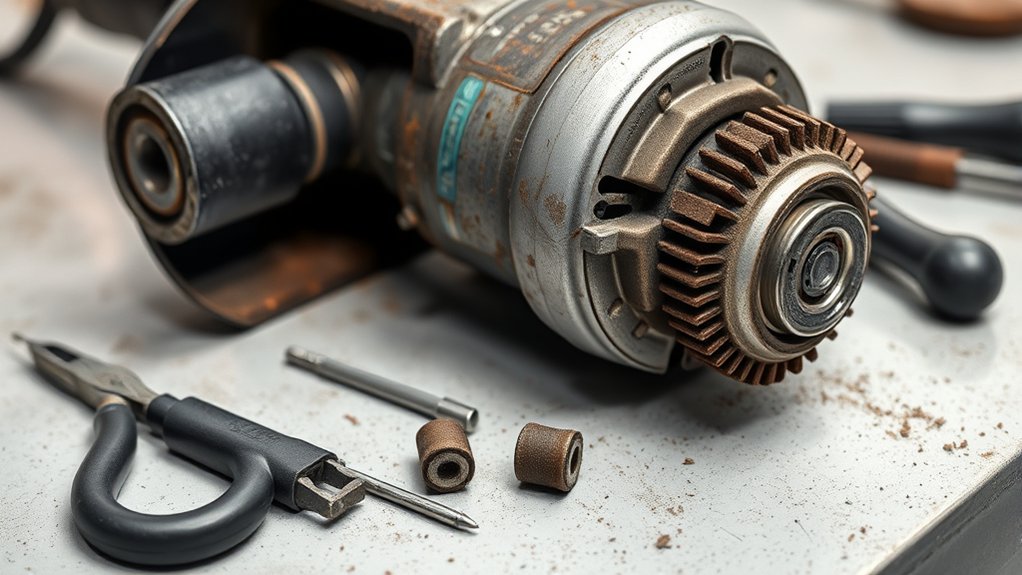
How to Disassemble Your Angle Grinder Safely
Work slowly when you open the grinder. Small springs and wire tabs can bend or fall out if you pull parts too hard.
- Unplug the grinder. Disconnect the power source before you touch the housing, switch, or brush assembly.
- Remove the side handle and guard. This gives you more room to handle the tool and inspect the body.
- Remove the rear housing screw. Use the correct screwdriver and place the screw in a small container.
- Lift off the rear housing. Pull it away gently so you don’t pinch or break internal wires.
- Release the brush spring. Move the spring away from the carbon brush to remove pressure.
- Detach the brush connection. Use pliers to pull the connector from the brush holder without twisting the wire.
- Remove the worn brush. Slide the old brush out and note its direction before installing the new one.
Many grinders use similar brush access points, but the exact layout can vary by brand and model. If a part does not move with light pressure, check the manual before you force it.
Signs Your Carbon Brushes Need Replacement
Check the brushes when your grinder loses power, sounds different, or sparks more than normal. These signs often point to weak contact between the brush and the armature.
Common Performance Issues
A worn carbon brush can make the grinder struggle under load. You may notice slower starts, sudden stops, reduced power, or frequent speed changes while cutting or grinding.
Heavy sparking near the motor area can also point to brush wear. Stop using the grinder if you smell burning or see smoke, then inspect the brushes and wiring before you restart it.
Visual Wear Indicators
Remove each brush and compare its length with the replacement brush or the minimum length in your manual. Replace the brush if it looks short, chipped, cracked, scorched, or uneven.
The brush should slide smoothly in its holder. Clean out dust if it sticks, but replace it if the carbon body shows damage.
Grinding Noise Changes
Noise changes can warn you before the grinder fails. High-pitched sounds, rattling, or rough motor noise can mean the brush no longer makes steady contact.
| Symptom | Possible Cause | What to Check |
|---|---|---|
| Increased grinding noise | Worn carbon brushes | Brush length and surface wear |
| High-pitched sound | Poor brush contact | Brush spring pressure |
| Intermittent operation | Loose or weak connection | Brush wire and holder |
| Sparks or arcing | Deteriorating brushes | Brush face and armature area |
Some light sparking can occur in brushed motors. Stop the tool and inspect it when sparking becomes heavy, uneven, or paired with heat or smoke.
How to Install New Carbon Brushes
Install both new carbon brushes the same way you removed the old ones. Replacing only one brush can cause uneven contact and shorter service life.
- Match the new brush. Compare the new brush with the old one for size, shape, wire style, and terminal type.
- Slide the brush into the holder. Keep the brush straight so it moves freely and sits flat.
- Reconnect the wire. Press the terminal firmly into place without bending the wire sharply.
- Reset the brush spring. Place the spring back over the brush so it applies steady pressure.
- Repeat the process. Install the second brush before you close the housing.
- Tuck wires neatly. Keep wires away from moving parts, screw posts, and housing edges.
Run the grinder briefly at no load after reassembly. Let the new brushes settle under light use before you push the tool hard.
Pro tip: Take a phone photo before you remove the first brush so you can match the wire route during reassembly.
Best Practices for Connecting Carbon Brush Wires
Carbon brush wires need firm, clean contact. A loose connection can cause heat, weak power, or intermittent operation.
Use pliers to grip the terminal, not the wire itself. Avoid sharp bends because they can weaken the wire and lead to failure later.
If your grinder uses an insulated connector, check that the insulation still covers the metal terminal. Do not leave bare wire where it can touch the housing or another internal part.
| Step | Action | Tool Needed |
|---|---|---|
| Check the terminal | Look for damage or looseness | None |
| Connect the wire | Press the terminal onto the brush holder | Pliers |
| Protect the connection | Keep insulation in place | None |
| Route the wire | Tuck it away from moving parts | None |
Ensure Everything Is Tightly Reassembled
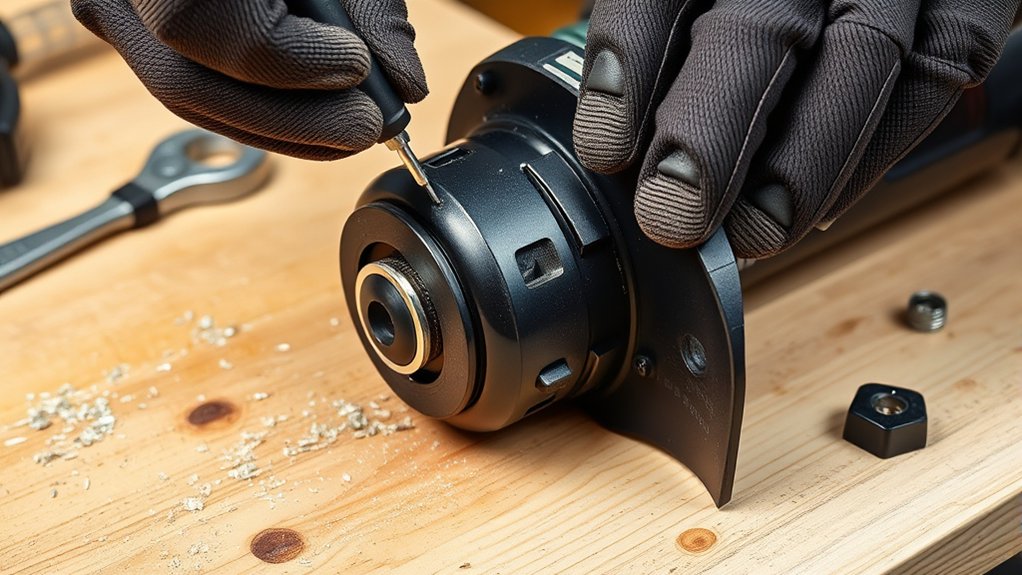
Loose parts can make a grinder unsafe. Check each fastener and moving part before you plug the tool back in.
Check All Fasteners Securely
Tighten the rear housing screw after the brush wires sit clear of the cover. Reinstall the side handle and guard before you test the grinder.
Use firm hand pressure, but don’t overtighten small screws. Stripped threads can make the housing loose during operation.
Inspect for Loose Parts
Shake the grinder lightly before you power it on. You should not hear rattling inside the rear housing.
- Check that all external screws sit snugly.
- Confirm the brush springs hold both brushes in place.
- Make sure the side handle feels firm.
- Verify that the guard aligns correctly.
- Look for pinched wires near the rear cover.
Verify Functionality Before Use
Start the grinder without a load and listen to the motor. It should run smoothly without heavy sparks, smoke, rattling, or sudden speed changes.
Stop right away if the grinder sounds rough or smells hot. Open the housing again and check the brush seating, springs, and wire connections.
Avoid These Common Mistakes When Replacing Brushes
Most brush replacement problems come from rushed work. Slow down and check each step before you close the housing.
- Don’t work on the grinder while it has power.
- Don’t use brushes that almost fit but don’t match the model.
- Don’t pull the brush wire by the cable instead of the terminal.
- Don’t leave the brush spring out of position.
- Don’t pinch wires under the rear housing.
- Don’t use the grinder hard before a short no-load test.
Replace both brushes together, even if one looks less worn. Matched brushes help the motor run more evenly.
Maintain Your Grinder for Longer Life
Regular care helps your angle grinder run better and last longer. Clean dust from vents, inspect cords or battery contacts, and check the guard before each use.
Look at the brushes during routine maintenance, especially if you use the grinder often. Store the tool in a dry place to reduce corrosion and protect electrical parts.
Where to Find Replacement Parts for Your Grinder
The safest choice is a replacement brush set made for your exact grinder model. Check the model number on the tool label, then match it to the part listing or the owner’s manual.
You can buy carbon brushes from the grinder manufacturer, tool repair shops, or replacement-parts retailers such as eReplacementParts.com. Read the part description carefully and confirm the brush size, terminal style, and model compatibility before you order.
- Search by the grinder’s full model number.
- Compare photos with your old brush before buying.
- Check whether the listing includes one brush or a pair.
- Choose the correct brush holder style for your model.
- Keep the old brush until the new one fits and works.
Products Worth Considering

Material is Carbon and Metal, size is 13x9x6mm/0.51"x0.35"x0.23“

Cost-Effective 6 Pcs Angle Grinder Wire Wheel: WENORA Angle grinder brushes are made of high strength hardened carbon steel wire for better performance than comparable products. Wire brush sets for angle grinders are a better value than buying from your local tool store.

[Compatibility]: Compatible With WS125, Black & Decker G720.
Frequently Asked Questions
How long does it take to replace carbon brushes on an angle grinder?
Most brush replacements take about 15 to 30 minutes. The job can take longer if the brush holders sit deep inside the housing or the screws feel stuck.
Do you need to replace both carbon brushes at the same time?
Yes, replace both brushes at the same time. A matched pair helps the motor keep steady contact and reduces uneven wear.
Which way do carbon brushes go?
Match the new brush to the direction of the old one. In most brushed grinders, the contact face must sit against the armature and the brush must slide freely in the holder.
Do carbon brushes need to bed in?
New carbon brushes often settle during the first few minutes of light use. Run the grinder with no load first, then avoid heavy pressure until it sounds smooth.
What happens if you use a grinder with worn carbon brushes?
Worn brushes can cause weak power, heavy sparking, overheating, and motor damage. Stop using the grinder when performance changes and inspect the brushes before the problem gets worse.
Conclusion
Replacing carbon brushes helps restore power and protects your angle grinder from motor strain. Check the brush length, match the replacement parts to your model, and secure every spring, wire, and screw before use.
Make a quick no-load test part of your repair routine. With steady maintenance, your grinder will stay safer, smoother, and ready for the next cut or grind.


