I love finding new life in old metal. Instead of letting a worn-out bicycle rust away, I turned the frame and a few salvaged parts into a compact, sturdy angle grinder stand and multi-purpose workshop tool. It saves money, uses parts you already have, and gives you a versatile fixture for cutting, grinding, and polishing.
Quick Answer
- Strip an old steel bicycle frame down to the head tube, fork, and main tubes.
- Fabricate two mounting plates (6–10 mm steel) and use the fork as a pivot point.
- Bolt the angle grinder into the bracket so it swings like a mini chop saw.
- Weld the assembly solid, add stop blocks, and bolt the stand to your workbench.
- Always match the disc’s RPM rating to your grinder and keep the guard fitted at all times.
🛠️ What we’ll make and why
My goal was simple: build a reliable, safe fixture that holds an angle grinder in a repeatable position so I can use it like a mini chop saw, bench grinder, or sanding station. The bicycle frame provides a ready-made backbone. The wheel hub and fork make great pivot points. A few plates and welds turn everything into a rigid tool.
🔧 Materials and tools you’ll need
- Old bicycle frame (any size works, but a sturdy steel frame is best)
- Angle grinder (the tool the stand will hold)
- Metal plate stock for mounting brackets (6–10 mm recommended)
- Bolts, nuts, and a pivot bolt with locknut
- Wheel hub or fork piece for the pivot
- Welding equipment (MIG or stick both work)
- Angle grinder discs suited to the task: cutoff wheels for cutting, grinding wheels for grinding, flap or wire wheels for finishing
- Measuring tools, clamps, and a marker
- Personal protective equipment: welding helmet, gloves, eye and hearing protection
⚙️ Step-by-step build process
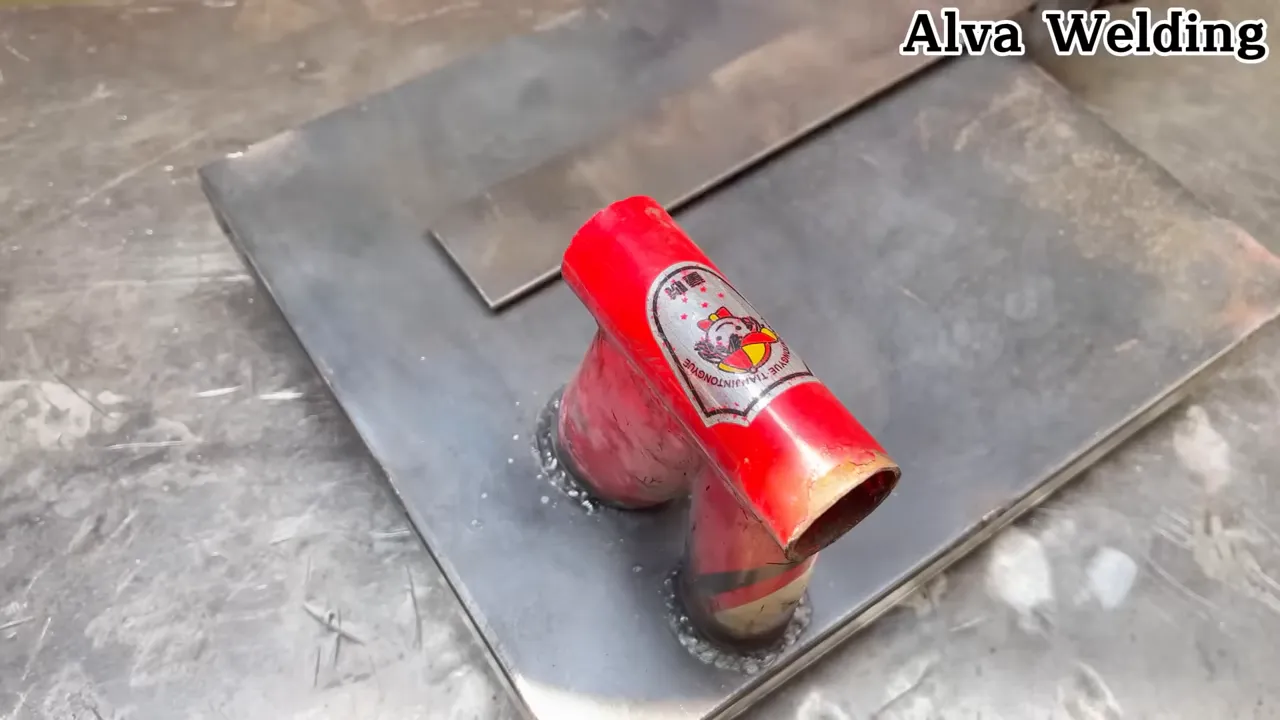
1. Strip the bicycle and plan the layout
Start by removing the wheels, handlebars, seat, and anything else you don’t need. Keep the head tube, fork, and a section of the top and down tube — these become the mounting frame. Lay out where the angle grinder will sit and how the pivot will work. Think about cutting clearance and handle movement so you can reach the trigger, use the lock, and change discs without the frame getting in the way.
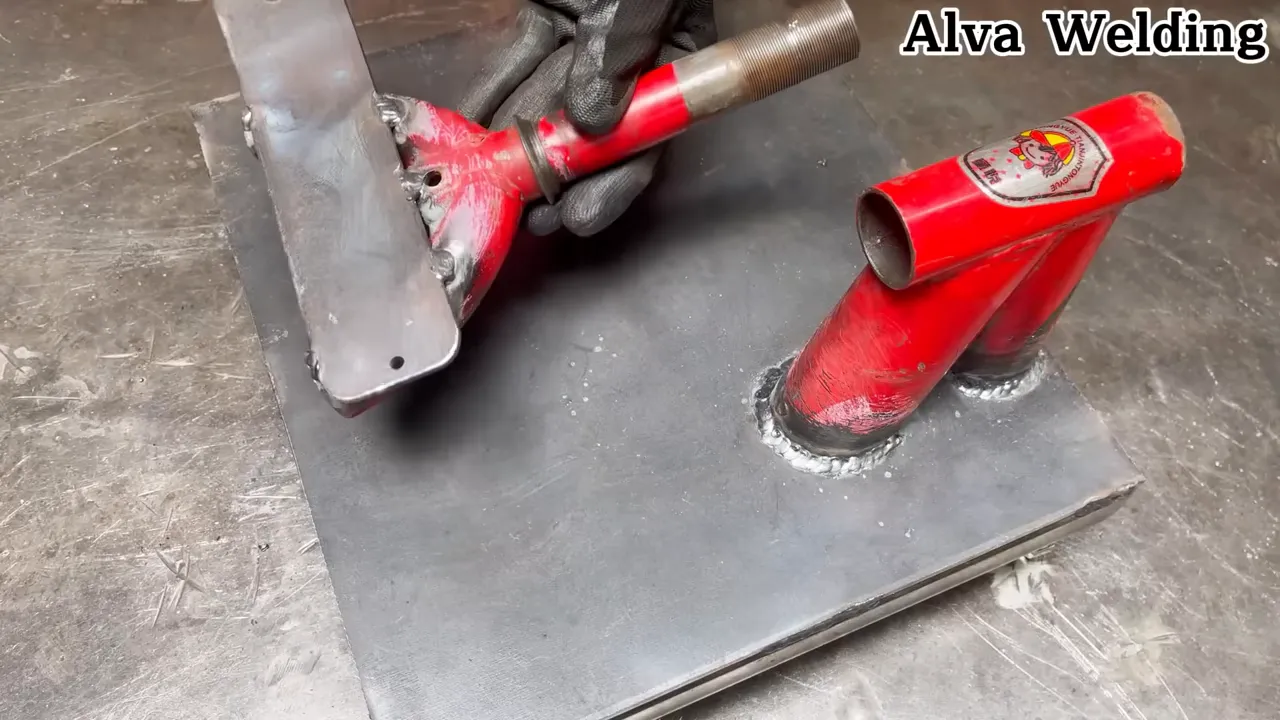
2. Fabricate the mounting plates
Cut two matching metal plates that will clamp the grinder to the frame and form the pivot bracket. Drill holes for the pivot bolt and for mounting to the bicycle frame. I use 6–10 mm plate to keep things rigid. Chamfer the holes slightly to remove sharp edges and make bolting easier.

3. Build the pivot and attach the grinder
Repurpose the fork or wheel hub as the pivot point. Bolt the mounting plates around the grinder body so the grinder sits like a removable cartridge. Run a pivot bolt through the fork and bracket so the grinder tilts like a small chop saw. Add washers or bushings to keep movement smooth without wobble. For hardware reference, the Engineering Toolbox fastener guide is a handy resource for choosing the right bolt grade and size.
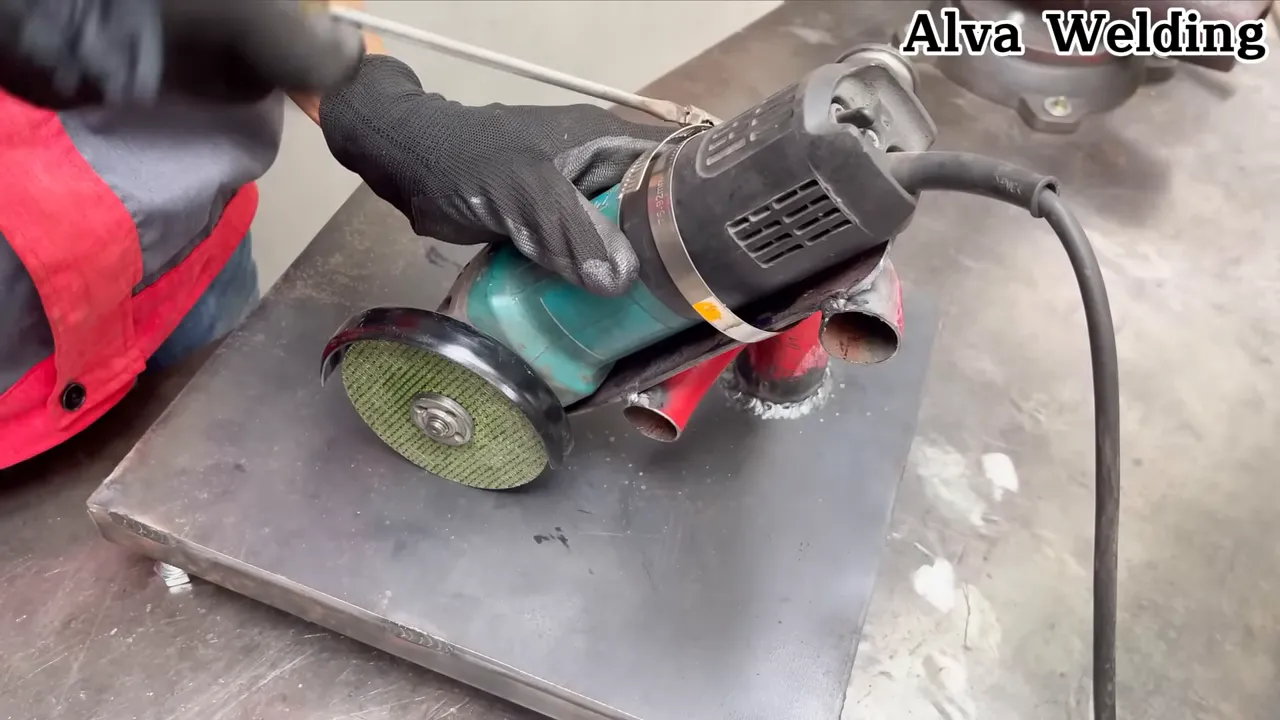
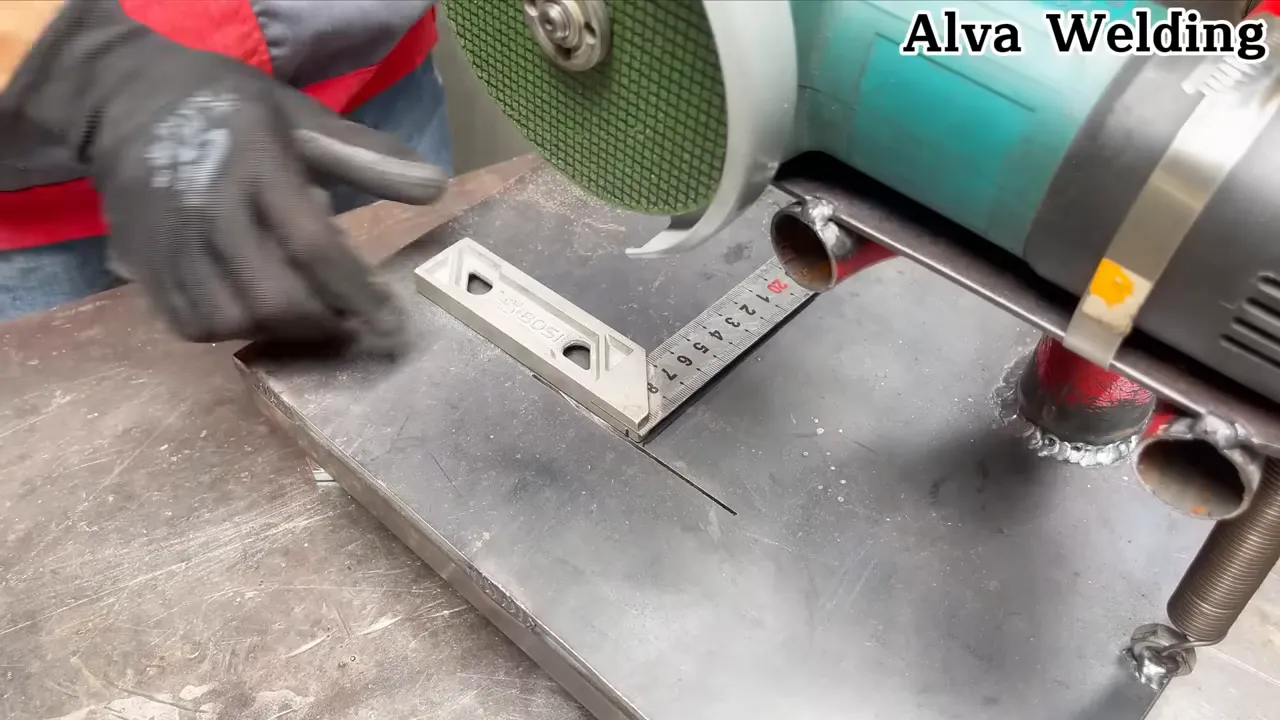
4. Weld and finish the assembly
Once fit and layout look right, tack-weld the brackets and reinforcements, check alignment, then finish-weld. Grind welds smooth where they could interfere with the grinder’s guard or handle. Add stop blocks so the grinder can’t pivot past a safe working angle, and fit a locking bolt to hold the head when not in use.
5. Adjustments, safety guards, and final setup
Fit a guard between the tool and the workpiece to direct sparks and fragments away from your face. Check all fasteners, confirm the grinder guard is intact, and test the pivot slowly. Eliminate any play at the pivot — small movement becomes dangerous vibration at grinder speeds. Bolt or clamp the stand to the workbench so it can’t tip.
🔥 Practical use cases and tips
- Use it for short, repeatable cuts like trimming bolts, pipe ends, and small stock.
- Fit a wire wheel or flap disc for polishing and finishing. The fixed position makes light polishing much easier.
- Weld a small fence or jig to the frame so workpieces land in the same spot every time.
- Orient the guard to shield your face while directing sparks away. Never remove or defeat the guard.
⚠️ Safety rules I always follow
- Always wear eye protection, a welding helmet when welding, hearing protection, and gloves.
- Keep the grinder’s guard fitted. Never use a cracked disc or one past its expiration date. The wheel’s RPM rating must meet or exceed the grinder’s no-load speed. OSHA’s abrasive wheel machinery guidelines are worth a read before you start.
- Balance the pivot and eliminate axial play. Even small vibration can turn unsafe fast.
- Disconnect power before adjusting or changing discs.
“Repurpose first, buy later”
❓FAQ
Can I build this without welding?
You can put together a working bracket using heavy-duty bolts, clamps, and U-bolts instead, but welding gives the most compact, rigid, and safe result. If you skip welding, over-engineer every clamp and check for loosening often.
Will this work with any angle grinder size?
Most grinders will fit, but the mounting bracket needs to match the body diameter and handle position. Smaller grinders are easier to balance and produce less vibration. Make sure the disc size suits the clearance in your setup.
Is it safe to use a bicycle hub for the pivot?
Yes. A solid bicycle hub or fork section works well because it was built for rotating loads. Check that the bearings are in good shape, or replace them with a simple bushing rated for the pivot bolt’s compressive load. Sealed bearings or dust shields help cope with abrasive dust.
What are other uses for this bicycle-based fixture?
Beyond cutting and grinding, you can convert it into a sanding station, a light polishing bench, or a clamp-and-hold fixture for welding small pieces. The core idea is the same: a rigid frame, a repeatable pivot, and a solid stop.


