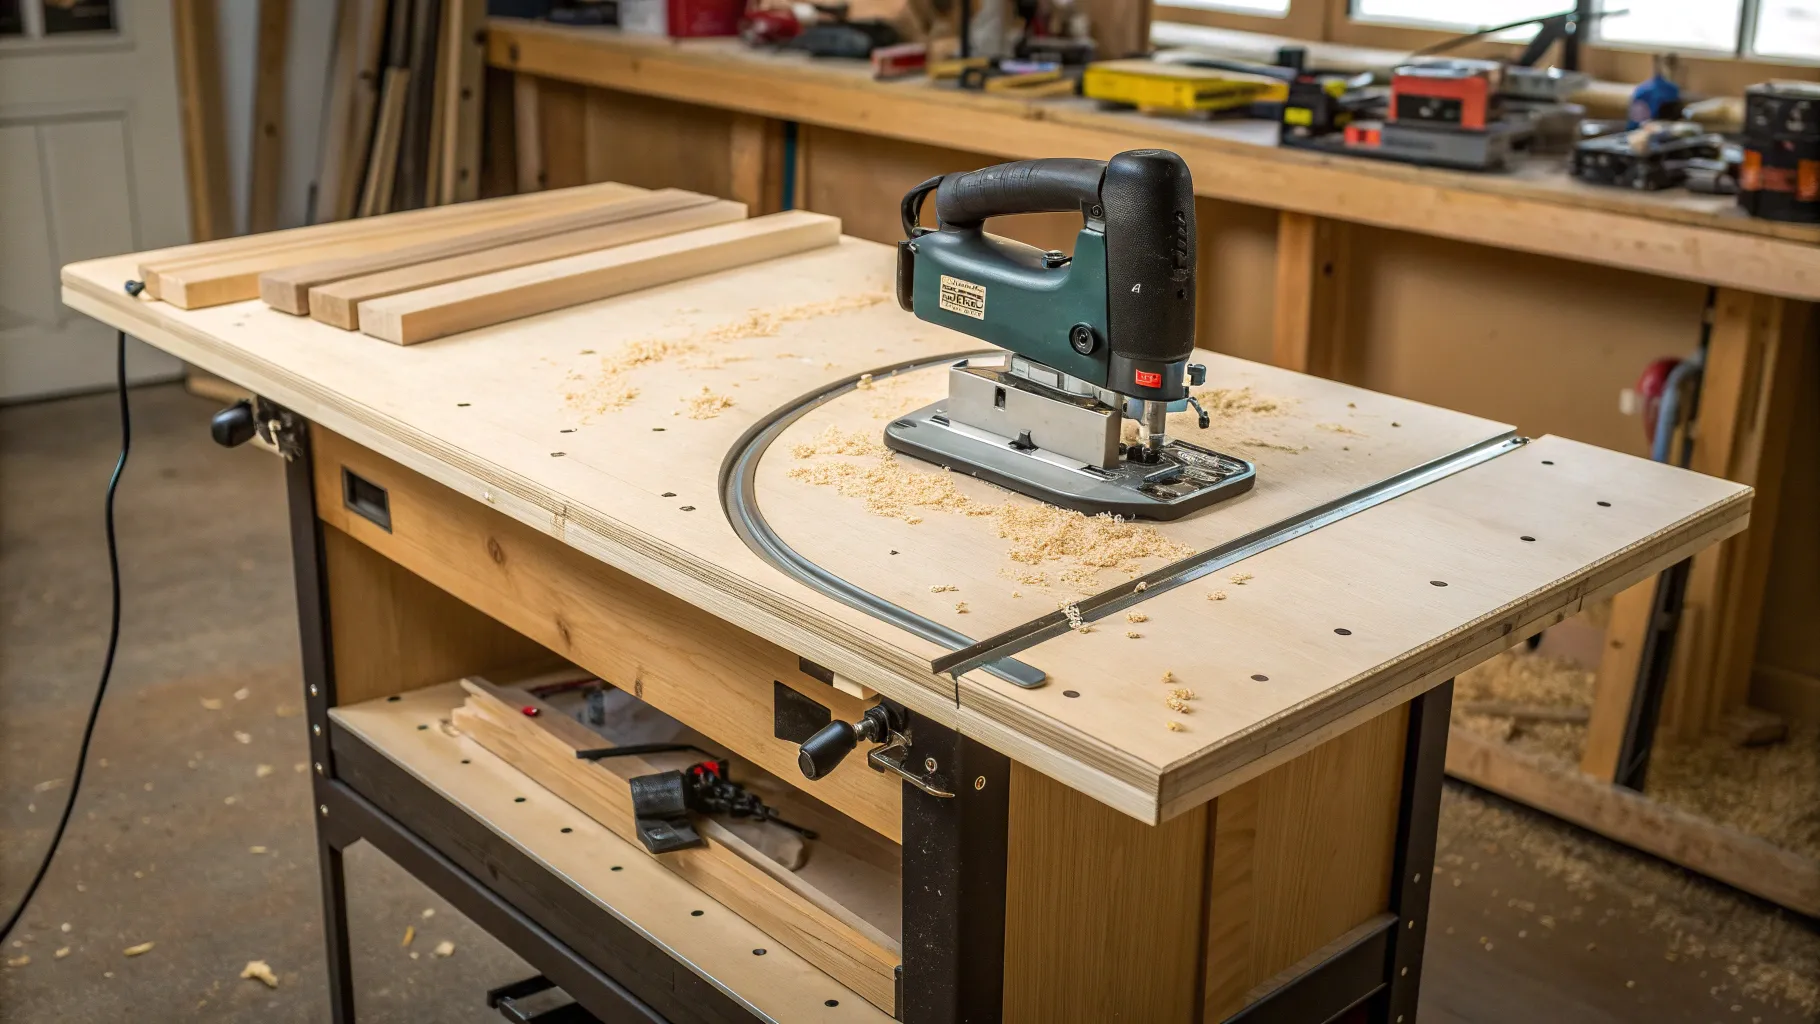
A homemade jigsaw table can support curves, templates, and small detail work when a handheld jigsaw is awkward to guide. It also changes the tool into a stationary machine with an exposed reciprocating blade, so the build must include a rigid mount, a close-clearance insert, an adjustable guard and hold-down, dust control, and a power system that prevents an unexpected restart.
Quick Answer
Build a homemade jigsaw table only after confirming that your jigsaw can be mounted safely. Use a flat top, a non-damaging clamp mount, a close-clearance insert, an adjustable blade guard, a stock hold-down, dust extraction, and a rated no-volt-release switch. Never tape a trigger on or operate with the blade unguarded.
Key Takeaways
- Treat the table as a new machine, not as a simple accessory. Guard the exposed blade and keep hands out of the cutting zone.
- Use existing shoe holes or a removable clamping cradle. Do not drill, weld, or modify the jigsaw unless the manufacturer approves it.
- A no-volt-release switch and an ordinary foot switch are not the same. Use controls rated for the tool and designed to prevent an automatic restart.
- Use a close-clearance replaceable insert, an adjustable hold-down, and a carrier or push tool for small parts.
- Expect more blade drift than with a scroll saw or band saw. Feed slowly, use the correct blade, and stop if the workpiece binds or chatters.
At a Glance
| Time Required | About 4–8 hours for a guarded wood-cutting station; longer if you fabricate a metal mount or enclosed base |
| Difficulty | Intermediate; advanced if mains wiring or welded fabrication is required |
| Tools Needed | Jigsaw, drill, square, clamps, wrench or screwdriver set, and optional router, metalworking tools, or welder |
| Cost | Low to moderate, excluding the jigsaw; the rated switch, guard, hold-down, and dust fittings usually cost more than the tabletop |
🔧 Why a Homemade Jigsaw Table Makes Sense
A table-mounted jigsaw can make it easier to guide a template or a small workpiece while both hands remain on the stock or its carrier. It is useful for gentle curves, notches, thin sheet goods, and repeatable craft parts when a full-size band saw or scroll saw is unavailable.
The tradeoff is important: a handheld jigsaw normally keeps its shoe against the workpiece and places much of the blade below the material. Turning the tool upside down exposes the blade above the table and removes the normal hand position, so the table needs machine-style guarding and controls. OSHA’s general machine-guarding rule states that a hazardous point of operation should be guarded, and its woodworking guidance shows an adjustable guard set close to the stock on a vertical saw. Those workplace rules may not govern a home shop, but they are sound design principles for this build.
A homemade jigsaw table is not a scroll saw or band saw. The blade is supported at only one end, so drift and deflection remain normal limits of the tool.
🛠️ What You Need: Materials and Tools
Keep the build simple, but do not treat the guard, hold-down, and switch as optional upgrades. Choose parts for flatness, stiffness, electrical rating, and easy inspection.
Products Worth Considering

PREMIUM BUILD QUALITY: Router fence kit with a heavy-duty, anodized aluminum fence built with corrosion resistance and extrusion. Includes universal t-slots (front and top), 32" length and 3-1/2" height for durability and precision on routing tasks.
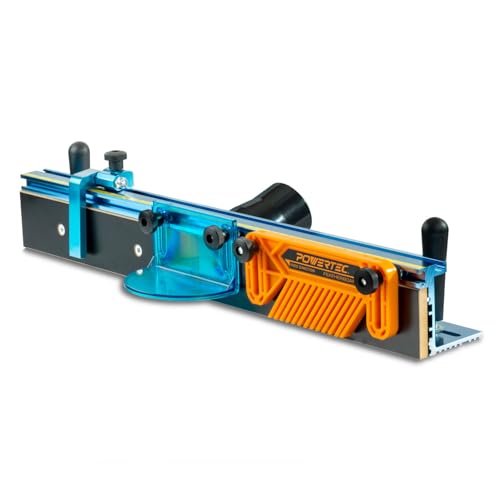
PREMIUM BUILD QUALITY: Router fence with a heavy-duty, anodized aluminum fence built with corrosion resistance and extrusion. Includes universal t-slots (front and top), 24" length and 3-3/8" height for durability and precision on routing tasks.

Material: Made of high quality ABS plastic for long term use. Please note: To prevent cracking, do not overtighten screws.
Materials
- A flat sheet of 12 mm plywood or MDF for a compact top, reinforced underneath; 18 mm sheet material is a stiffer option when weight is acceptable
- Plywood or metal battens for underside stiffening
- A removable mounting plate or clamping cradle that fits the jigsaw shoe without blocking vents, controls, or the blade-release mechanism
- Steel or plywood rails for an adjustable fence or small-parts sled
- Bolts, locknuts, washers, T-nuts, threaded inserts, and wing knobs for removable or adjustable parts
- A replaceable plywood, phenolic, or similar rigid insert around the blade opening
- An adjustable transparent blade guard and a separate hold-down shoe, roller, or pressure finger
- A rated no-volt-release switch, enclosed wiring components, and strain relief for a corded tool
- A dust hose adapter sized to the jigsaw port or vacuum hose
- Rubber feet or leveling bolts
Tools
- Handheld jigsaw and the manufacturer’s instruction manual
- Drill and bits
- Combination square or machinist’s square
- Clamps
- Wrenches and screwdrivers
- Router or chisel for a flush insert recess, if needed
- Metalworking tools or a welder if you fabricate a steel mount
Note: If the build requires new mains wiring, use a listed, enclosed switch assembly or have the electrical work completed by a qualified person. Do not leave exposed terminals, loose cable entries, or an undersized switch inside a dusty cabinet.
⏱️ Before You Begin: Safety, Compatibility, and Time
Plan about 4 to 8 hours for a simple but complete build. The original tabletop and mount can be made faster, but a guard, hold-down, close-clearance insert, dust connection, and properly mounted switch take additional time.
Warning: Do not operate a table-mounted jigsaw with an unguarded blade. Disconnect the plug or remove the battery before mounting, changing a blade, clearing a jam, adjusting the guard, or reaching below the table. Wear safety glasses with side protection, secure loose hair and clothing, and keep loose gloves away from the moving blade.
Check whether your jigsaw is suitable
Read the manual before you design the mount. Manufacturer instructions commonly cover handheld use, workpiece clamping, accidental-start prevention, dust extraction, and blade changes. An inverted table installation is model-specific, so confirm that the setup does not defeat a finger guard, cooling vent, bevel lock, safety switch, or blade-release system.
- Shoe: It should be flat, rigid, and lock securely at 0 degrees.
- Mounting: Prefer existing holes, an accessory interface, or a removable cradle. Do not drill the shoe or housing unless the manufacturer approves the modification.
- Blade access: You must be able to change and inspect the blade without placing a hand near an energized tool.
- Ventilation: The mount must not cover motor vents or pack dust tightly around the tool.
- Control: A corded model is usually easier to integrate with an external no-volt-release switch. A cordless jigsaw cannot be made safe by adding a mains switch upstream of its battery.
- Trigger: Never tape, wedge, or wire the trigger in the on position. Use only a manufacturer-provided lock-on feature and a compatible external control, or choose another tool.
Choose the correct power control
Use a switch that is rated for the jigsaw’s voltage and current and that prevents the tool from restarting automatically after power is restored. OSHA’s woodworking standard specifically calls for restart prevention where an automatic restart could injure the operator. A normal latching foot switch may turn a tool on and off but may not provide no-voltage release.
- A magnetic or no-volt-release switch should drop out after a power failure and require a deliberate restart.
- A foot control should be guarded against accidental operation and should be a momentary, dead-man type unless the overall system has separate restart protection.
- Place the stop control within easy reach from the normal cutting position and away from the blade.
- Use GFCI protection when a power tool must be operated in a damp location, and keep the station dry.
🔩 Design Goals and Measurements
Your main goals are a flat top, a rigid and removable jigsaw mount, minimal blade-slot clearance, adjustable guarding, and enough space below the top for the tool’s full stroke, cord, dust hose, and cooling airflow.
Tabletop size
A tabletop of about 500 mm by 350 mm, or 19-11/16 in. by 13-3/4 in., is a useful compact example rather than a required standard. Increase the size if you will support larger work, but brace the underside so the center does not sag. The table must be clamped or bolted to a stable bench before use.
Blade opening and insert
Use a removable insert with a close-clearance slot that clears the blade through its full stroke and at every intended bevel or orbital setting. Do not make the opening larger than needed for routine blade changes. Instead, remove the insert or the jigsaw when changing blades. A true zero-clearance slot can contact a deflecting blade, so leave a small verified gap on both sides.
Under-table clearance
Cycle the unplugged tool by hand if the design permits, or measure the manufacturer’s stated stroke and blade position. Confirm that the blade, shoe, body, dust adapter, and cord cannot hit a brace, enclosure, or fastener. Leave service access for blade changes and mount inspection.
Mounting plate
A plywood cradle is often enough for a light-duty build. For a compact metal plate, 4–6 mm steel or 6–8 mm aluminum can be a practical starting range, but stiffness depends on the unsupported span, mounting pattern, and plate shape. Flatness and support matter more than a single thickness number.
Guard and hold-down
Use two separate functions: a transparent guard to block casual blade contact and a hold-down that keeps the stock flat against the table. Adjust both to sit just above the workpiece without touching it. A small-parts sled or carrier should keep fingers away from the blade when the work is too small to control directly.
🧰 Step-by-Step Build
-
Plan the layout and dry-fit the jigsaw
Place the unplugged jigsaw beneath the top and mark the blade centerline, shoe outline, vents, controls, dust port, and blade-release path. Position braces so they support the top without blocking the tool. Confirm that the future guard post, fence rails, and dust hose will not interfere with one another.
-
Build the tabletop
Cut the plywood or MDF to size and check it with a straightedge. Reinforce the underside with battens so the top does not flex. If you use MDF, seal exposed edges after machining to reduce moisture uptake. Add rubber feet only if the table will be a freestanding unit; otherwise, provide holes or cleats for clamping it to a bench.
-
Prepare the jigsaw mounting
Choose a removable method that holds the shoe firmly without damaging the tool.
- Existing-hole mount: Use only holes or accessory points that the manufacturer identifies for mounting. Add broad washers and locknuts, and make sure fasteners cannot contact moving or electrical parts.
- Clamping cradle: Build a plate or bracket that captures the shoe at several points while leaving vents, the bevel lock, blade release, and dust port accessible.
- Fabricated steel mount: Tack the bracket first, remove the jigsaw before welding, allow the plate to cool, then check it for distortion. A bolt-on flat-steel bracket avoids heat distortion and is easier to service.
Install the jigsaw, set the shoe to 0 degrees, and tighten the mount evenly. The tool should not shift when pushed from any direction.
-
Cut the insert recess and blade slot
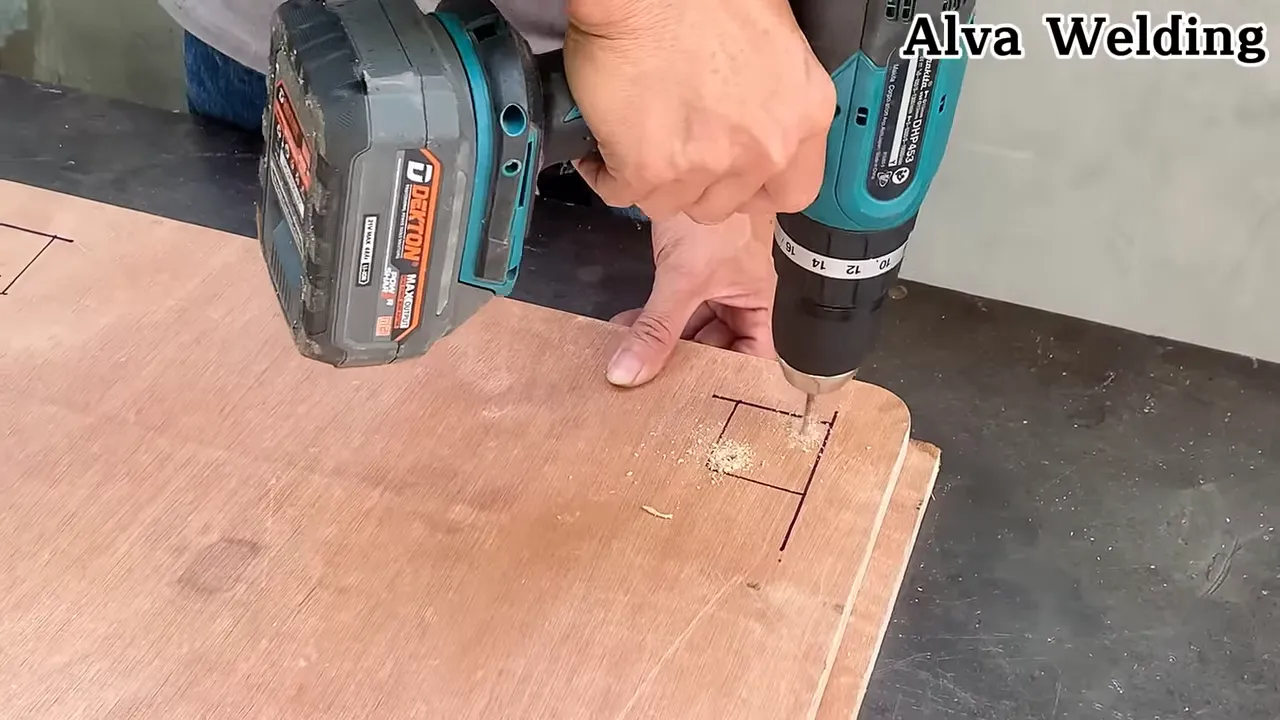
Make a flush recess for the replaceable insert. Start with a drilled clearance hole, install the insert, and raise the unplugged blade through it. Enlarge the slot gradually until the blade clears through the full stroke without touching either side. Round and sand the insert edges so stock cannot catch.
-
Add an adjustable guard and hold-down
Mount a rigid post behind or beside the blade. Attach a transparent guard that covers the front and sides of the exposed blade while still allowing the cut line to be seen. Add a separate spring-loaded shoe, roller, or smooth pressure finger that keeps the workpiece flat. The assembly must lock securely and adjust for different material thicknesses.
-
Add a fence, sled, and small-parts carrier
Install T-nuts or slots so a straight fence can slide and lock. Use the fence only for light straight cuts with a blade designed for straight tracking. Do not force a drifting blade against the fence, because side pressure can bend the blade or bind the workpiece. A crosscut sled, pivot guide, or sacrificial carrier is usually safer for short parts and repeat cuts.
-
Add dust collection
Connect the jigsaw’s built-in dust port when available. Add a second pickup near the blade opening only if it does not interfere with the guard or hold-down. Match the opening to the actual hose or adapter rather than using a fixed 38–50 mm hole for every vacuum. Local exhaust works best when the pickup is close to where dust is generated.
-
Install safe power control
Mount a listed no-volt-release switch in an enclosure where you can reach the stop control without leaning over the blade. Use strain relief on each cord entry. Keep plugs and receptacles out of the dust stream. Test the anti-restart function by switching the tool on, interrupting power upstream, restoring power, and confirming that the jigsaw remains off until you deliberately restart it.
-
Square, level, and test the table
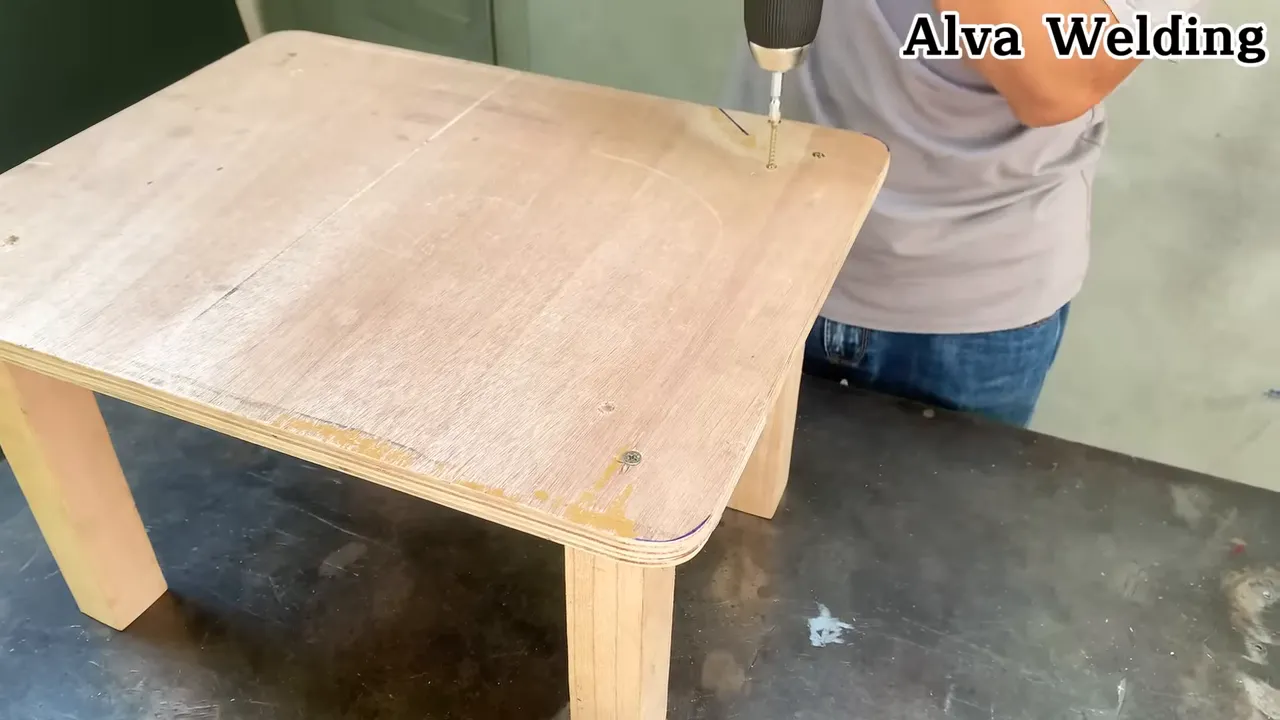
Fit leveling feet or clamp the station to the bench. Use a square to check the blade at the front and side, then rotate or replace the blade and check again to separate a bent blade from a mounting error. Run the tool briefly without stock while standing clear. Stop immediately if the blade touches the insert or guard, the mount moves, the switch fails, or vibration increases.
Pro Tip: Make the insert, guard, hold-down, and jigsaw mount removable. You will inspect and clean the station more often when every service point can be reached without dismantling the entire table.
🔍 Tips and Tricks for Better Results
- Make several spare blade inserts at the same time so a damaged slot can be replaced quickly.
- Start with orbital action at 0 for tight curves and detailed cuts, then increase it only when the blade and material instructions allow.
- Use the shortest blade that fully clears the workpiece through the entire stroke. Excess blade length increases flex.
- Feed at a steady rate and let the blade cut. Pushing harder usually increases drift instead of speed.
- Use a straight-cut blade for guided cuts and a narrow scrolling blade for tight curves.
- Support large panels on the infeed and outfeed sides so their weight does not twist the blade.
- Make a test cut on scrap from the same material before cutting the final part.
🧤 Safe Operating Procedure
- Disconnect power and inspect the blade, insert, guard, hold-down, mount, switch, cord, and dust hose.
- Choose the correct blade and confirm that it clears the insert and guard through the full stroke.
- Clamp the table to a stable bench and remove loose tools from the work area.
- Set the guard and hold-down just above the workpiece.
- Mark the waste side and plan the feed path before starting the tool.
- Place the workpiece against a sled, carrier, or fence when appropriate. Never hold a tiny offcut close to the blade.
- Start the dust extractor, then start the jigsaw while the blade is clear of the stock.
- Feed slowly with both hands outside the danger zone. Use a push tool or carrier as the cut approaches the blade.
- If the blade stalls, chatters, bends, or pulls the stock, stop the tool and wait for the blade to stop before moving the workpiece.
- Switch off the jigsaw, wait for a complete stop, and disconnect power before clearing scraps or making an adjustment.
🪚 Blade Selection and Material Limits
Use a blade that matches the material, thickness, radius, and finish you need. The jigsaw manual and blade package take priority over general advice.
- Wood curves: Use a narrow scrolling blade and a slow feed rate.
- Straighter wood cuts: Use a wider, thicker blade designed for straight tracking, but still expect more drift than a band saw.
- Clean surface cuts: Most standard jigsaw blades have upward-pointing teeth in normal handheld use. In an inverted mount, that cutting direction generally draws the stock toward the table. Reverse-tooth or down-cut blades can push the stock away from the table, so use them only with a secure hold-down and the blade manufacturer’s instructions.
- Plastic: Use a blade and speed intended for the plastic, and stop if heat begins to melt the kerf closed.
- Metal: Do not cut metal on a station contaminated with wood dust. Sparks and hot chips can ignite dust or damage a wood insert. Use a separate, cleaned setup with suitable guarding, chip control, blade, speed, and lubrication only when the tool manufacturer permits it.
Note: Do not use this table for plunge cuts, freehand cutting of round stock, or work that requires your fingers to pass close to the blade. Use a purpose-built jig, scroll saw, band saw, or another suitable machine instead.
Products Worth Considering

POINTED TEETH REDUCE SPLINTERING ON BOTH SIDES OF THE WORKPIECE

T-shank design compatible with over 90% of current jigsaws including Bosch, DEWALT, Hitachi, Makita, Milwaukee, Metabo, Porter-Cable, and Craftsman jig saws

High Carbon Steel Edge - It provides fast and effortless cuts in soft materials.
⚠️ Safety and Maintenance
Always disconnect the plug or remove the battery before adjusting the jigsaw, changing the blade, cleaning the cabinet, or removing the tool. Manufacturer instructions warn that disconnecting power before adjustments reduces the risk of accidental starting, and that a damaged or uncontrollable switch must be repaired before use.
Inspect the following before each session:
- Mounting bolts, locknuts, clamps, and welds
- Blade straightness, sharpness, and correct installation
- Insert clearance and damage around the slot
- Guard and hold-down adjustment
- No-volt-release and stop-switch operation
- Cord, plug, strain relief, and enclosed connections
- Dust hose, adapter, filter, and blocked airflow
Replace dull, bent, cracked, or damaged blades. Sharp cutting edges are less likely to bind and are easier to control. Clean dust from the jigsaw vents and the underside of the table without blowing it into the motor or electrical enclosure.
Wood dust should be captured as close to the blade as practical. Wear suitable respiratory protection when the material or exposure calls for it, and use hearing protection based on the tool manual and noise level. Stop using the table if the mount loosens, the blade wobbles, the guard cannot be set correctly, the switch does not work, or the tool becomes unusually hot.
🔄 Variations and Upgrades
You can customize the jigsaw table after the basic station passes its safety and alignment checks.
- Add a removable miter slot and sled for controlled angled cuts.
- Make a foldable or removable top for a small shop, but include a positive lock that cannot collapse during use.
- Add a large paddle-style stop in series with the no-volt-release control.
- Use a transparent dust shroud that also supports the guard, provided it does not hide the cut line or trap the workpiece.
- Add a replaceable sacrificial fence face for repeat parts.
- Use a stiff, flat metal mounting plate when the plywood mount flexes, while keeping the tool removable for service.
- Add task lighting that cannot contact the blade, guard, or workpiece.
🧪 Troubleshooting a Homemade Jigsaw Table
The blade wanders
Install a sharp blade intended for straight cuts, reduce the feed rate, start with orbital action at 0, check that the shoe and mount are rigid, and support the workpiece. Stop using a fence if it forces the stock sideways against the blade.
The workpiece chatters or lifts
Lower the hold-down, reduce speed or orbital action, check for a reverse-tooth blade, and confirm that the table is firmly clamped. Do not continue if the stock cannot stay flat.
The blade touches the insert
Disconnect power. Replace a bent blade, square the mount, and enlarge or replace the insert only enough to provide verified clearance through the full stroke. Do not run the tool while the blade rubs the insert.
Vibration increases
Stop immediately and check the blade, shoe lock, mounting fasteners, tabletop bracing, and guard post. A loose mount or bent blade can worsen quickly.
Dust escapes around the blade
Move the pickup closer without blocking the guard, seal obvious cabinet leaks, clean the filter, and confirm that the hose is not collapsed. Keep the jigsaw’s own extraction port connected when the design allows it.
The switch restarts after power is restored
Stop using the station. The control does not provide the required no-volt-release function or is wired incorrectly. Disconnect it and replace the assembly or have it inspected by a qualified person.
🚫 Common Mistakes to Avoid
- Leaving the blade exposed: Eye protection does not replace a physical guard and safe hand position.
- Using a foot switch as the only anti-restart device: Many foot controls do not drop out after a power failure.
- Taping the trigger on: This defeats a control and can allow unexpected operation.
- Drilling the jigsaw shoe without approval: A new hole can weaken the shoe, interfere with internal parts, or place the tool outside its intended configuration.
- Calling the insert zero-clearance: A reciprocating blade can flex. Verify a small running gap instead of allowing contact.
- Forcing stock against a fence: Blade drift can turn the fence into a binding point.
- Cutting pieces that are too small to hold: Attach them to a carrier or use a purpose-built scroll saw.
- Ignoring dust below the table: Dust can block cooling vents, hide loose fasteners, and collect around electrical parts.
❓ Frequently Asked Questions
What size should my jigsaw table be?
Choose a size that fits your bench and the stock you normally cut. About 500 mm by 350 mm is a compact starting point, not a standard. Flatness, underside clearance, bracing, and a secure bench attachment matter more than the exact outside dimensions.
Do I need to weld anything to build this table?
No. A plywood cradle or bolt-on steel bracket can hold the shoe without welding. Welding can make a compact mount, but remove the jigsaw before welding, tack the parts first, check for distortion, and keep the finished tool removable for inspection.
Can I use any jigsaw model?
No. Check the manual, shoe shape, shoe lock, vents, controls, blade release, dust port, and power system. Do not use a model that requires a taped trigger, blocks its cooling airflow, loses its built-in guard, or cannot be removed safely for blade changes.
How do I handle dust collection?
Connect the jigsaw’s dust port when available and place any added pickup close to the blade without interfering with the guard or hold-down. Match adapters to the actual hose, maintain the vacuum filter, and clean dust from the cabinet and motor vents regularly.
What blade should I use for the cleanest cuts?
Use a sharp blade made for the material and finish. A narrow scrolling blade follows tight curves, while a wider straight-cut blade resists drift. Start with orbital action at 0 for detailed work and make a test cut on scrap before changing speed or feed pressure.
Is a homemade jigsaw table safe?
It is not inherently safer than handheld use. It can provide better stock support for some tasks, but it adds an exposed-blade hazard. Use it only with a rigid mount, adjustable guard, hold-down, small-parts carrier, safe power controls, dust collection, and a disciplined operating procedure.
Can I use a foot switch instead of an NVR switch?
Only when the complete control system still prevents an automatic restart. A standard latching foot switch may not provide no-voltage release. Use a guarded momentary or dead-man foot control rated for the load, plus separate restart protection when required.
Can I cut metal on the same jigsaw table?
Do not cut metal on a station that contains wood dust or a combustible insert. Hot chips and sparks can create a fire hazard. Use a cleaned, material-appropriate setup with the correct blade, speed, guarding, chip control, and manufacturer-approved lubrication.
📌 Summary: Is a Homemade Jigsaw Table Worth Building?
A homemade jigsaw table can be worthwhile for curves, templates, and small craft parts when you understand its limits. Build around a flat top, a removable mount, a close-clearance insert, an adjustable guard and hold-down, source-capture dust collection, and a no-volt-release switch. Test every safety function on scrap, stop at the first sign of binding or vibration, and choose a purpose-built scroll saw or band saw when the work demands better blade support or smaller hand clearance.
Sources
- OSHA 29 CFR 1910.212, General Requirements for All Machines — point-of-operation guarding principles
- OSHA 29 CFR 1910.213, Woodworking Machinery Requirements — restart prevention and woodworking-machine controls
- OSHA 29 CFR 1910.133, Eye and Face Protection — eye protection for flying-particle hazards
- OSHA, A Guide for Protecting Workers from Woodworking Hazards — guards, push tools, electrical controls, maintenance, and dust control
- DEWALT DCS334/DCS335 Jig Saw Instruction Manual — manufacturer guidance on clamping, accidental-start prevention, PPE, blade condition, and dust extraction
- Bosch JS260 Jig Saw Operating and Safety Instructions — blade tooth direction, blade selection, and small-workpiece support