Quick Answer
A mini circular saw uses a small high-speed motor, a rated mini blade, a solid arbor, and a guarded metal frame to make controlled cuts in thin stock. You should build it only if you can mount the blade securely, keep the blade within its rated RPM, guard the cutting area, and wire the power system safely.
Key Takeaways
- Match the blade, arbor, motor speed, and power system before you cut any metal or wood.
- Use a fixed upper guard, a retractable lower guard when possible, and a secure switch you can reach fast.
- Keep the frame rigid so the blade runs true and does not chatter during a cut.
- Clamp every workpiece and keep your hands away from the blade path.
- Test the saw on scrap at low speed before you make useful cuts.
🛠️ What this mini saw is and why build one
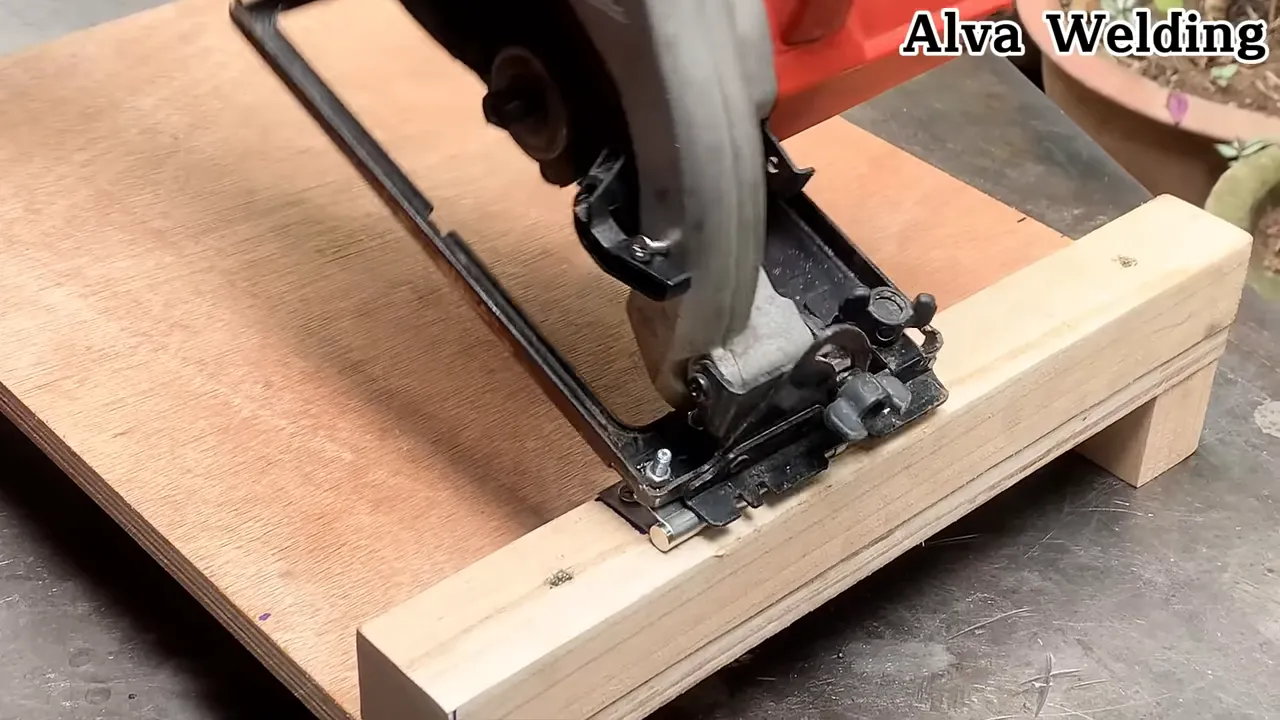
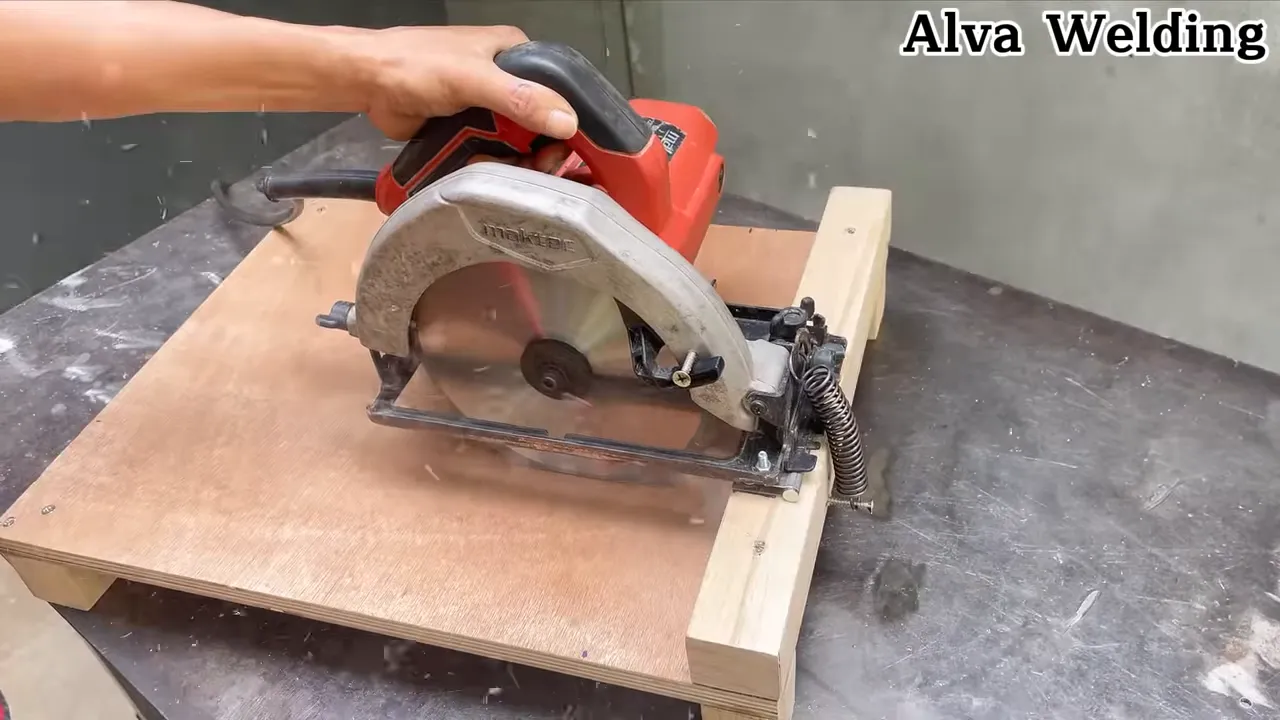
This mini circular saw is a compact cutter built from a small high-RPM motor, a proper mini circular blade, and a welded metal housing and guard. It suits small shop work where you need more control than a handheld saw and faster cuts than a jigsaw on thin metal, plastic, or plywood.
The goal is a rigid, simple tool that supports detailed cuts and repeatable small ripping or trimming jobs. Safety comes first because even a small blade can kick back, shatter, or grab stock if you build the saw poorly.
Warning: Do not build or test a homemade saw unless you understand blade RPM limits, electrical wiring, guarding, and workholding.
🔩 What you need to build a mini circular saw
Use parts that match each other as a system. Substitute parts you already have only when the blade rating, arbor fit, motor speed, and power rating still line up safely.
- Motor: Use a small brushed or brushless motor from a suitable power tool or hobby setup. Choose a motor speed that fits the blade size and never exceeds the blade’s maximum RPM.
- Mini circular blade: Use a 3 to 5 inch blade rated for the material you plan to cut. Match the arbor size to the motor shaft or use a properly rated adapter.
- Arbor adapter and flange: Use a secure arbor, flange, and nut that clamp the blade flat without wobble.
- Housing and guard: Use mild steel plate and sheet for the motor mount, base, and blade guard.
- Fasteners: Use bolts, washers, and locknuts for mounting, guarding, and depth adjustment.
- Switch: Use a magnetic no-volt release (NVR) paddle switch with the correct current rating. Add an emergency stop if you can.
- Power supply: Use a corded or battery system matched to the motor. Add a suitable speed controller, fuse, and wiring protection.
- Tools: Use welding gear, an angle grinder, a drill press or drill, files, clamps, and measuring tools.
Products Worth Considering

80 Teeth and Thin kerf offer precision ground teeth for smooth clean cuts
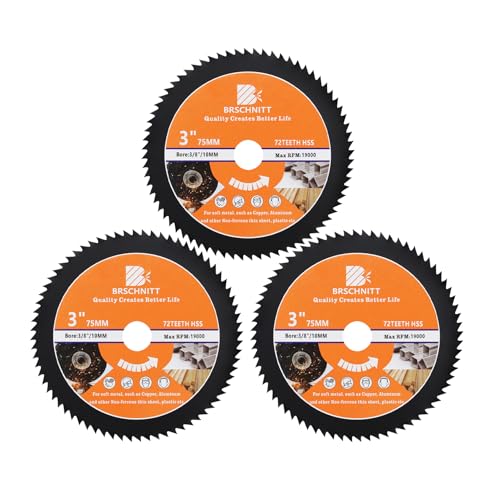
Size--3pcs Diameter: 3 inch (75mm); Arbor:3/8 inch(10mm); Carbide Teeth:72t; Recommended RPM: 11000, MAX RPM: 19000.
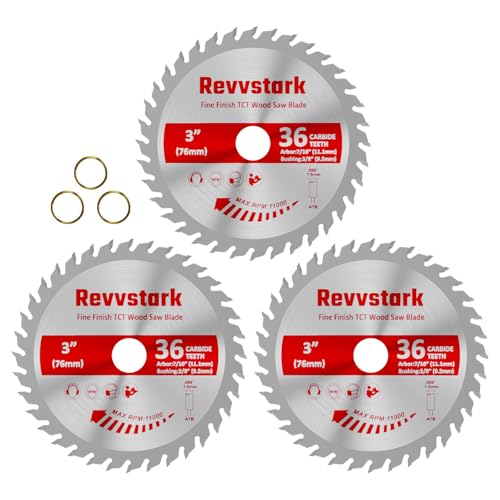
SPECIFICATION: Diameter: 3 inch circular saw blade(76 mm); Arbor size: 7/16 inch(11.1 mm) ; Bushing: 3/8"(9.5 mm); Max Rpm:11000; Carbide Teeth: 36 T
✅ Before you begin: check fit, speed, and safety
Confirm the blade’s maximum RPM before you connect power. Your motor and controller must keep blade speed below that limit under normal use.
Check the arbor fit, blade direction, guard clearance, and switch location before you fabricate the final mount. Plan the saw so you can unplug it, change the blade, and clean debris without reaching near sharp edges.
Note: Estimated build time depends on your parts and skill level, but most simple shop builds need several hours of careful layout, fabrication, wiring, and testing.
Products Worth Considering

Fits Makita models 5005BA, 5007NB, 5057KB, 5046DwB, 5621DWA Circular Saws

Comprehensive Saw Blade Protection: The soft yet durable silicone saw blade storage wraps around the blade, effectively preventing stacked blades from rubbing against each other or making contact, which avoids chipped teeth, blunting, and surface marring, ensuring the blades remain sharp and extending their lifespan

Genuine, OEM Replacement Part
🧰 Step-by-step mini circular saw build
Follow these stages in order. Stop and correct any wobble, weak mount, exposed wire, or guard issue before you move to the next step.
- Prepare the motor and shaft: Clean the motor shaft and check that it runs true. Use a rated sleeve adapter if the arbor does not match the shaft. Keep the blade mount balanced to reduce vibration.
- Make the mounting plate: Cut a small steel plate to act as a base. Drill holes that let you bolt the motor firmly in place. Keep the motor low and tight to improve rigidity.
- Fabricate the blade guard: Weld a curved guard over the blade area and leave only the cutting face exposed. Shape the guard so it directs debris away from you and blocks finger access. Add a retractable lower guard that covers the blade when you are not cutting, if your design allows it.
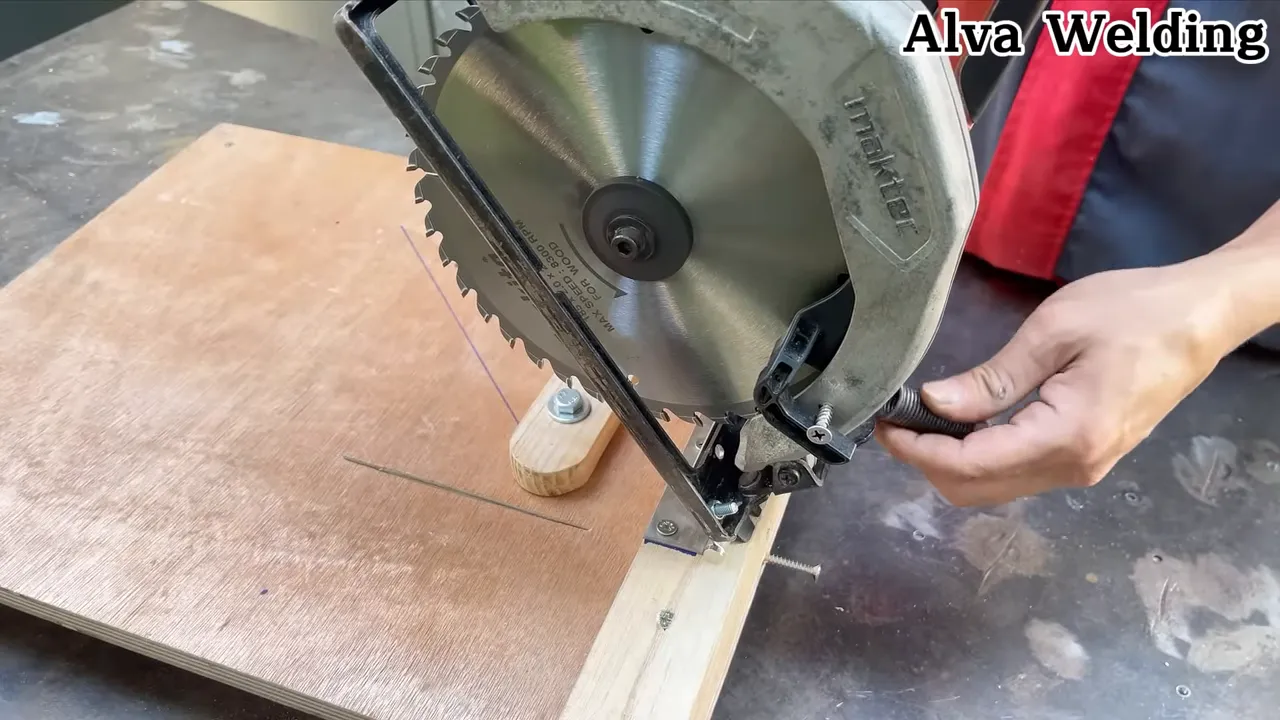
- Install the blade: Fit the adapter and blade, then tighten the flange evenly. Spin the blade by hand to check clearance and runout. Correct any wobble before you apply power.
- Confirm blade rotation and RPM: Check that the blade arrow matches motor rotation. Set the controller so the motor cannot exceed the blade’s maximum RPM.
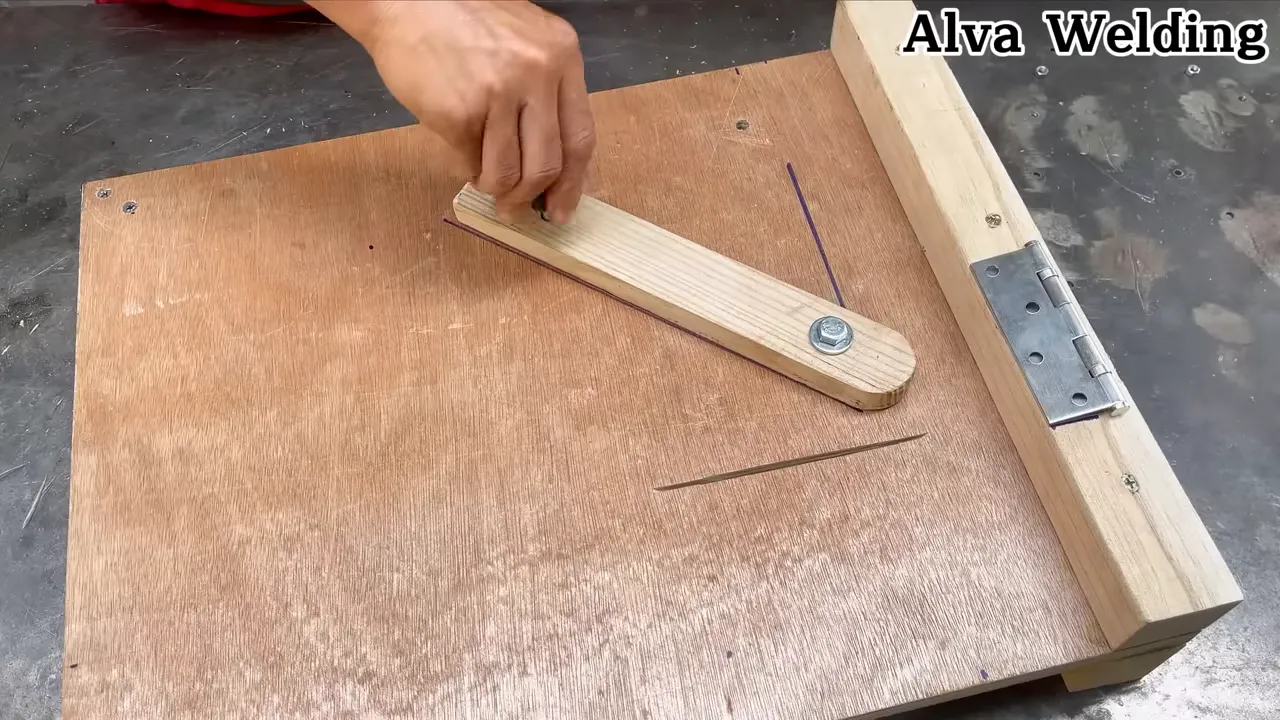
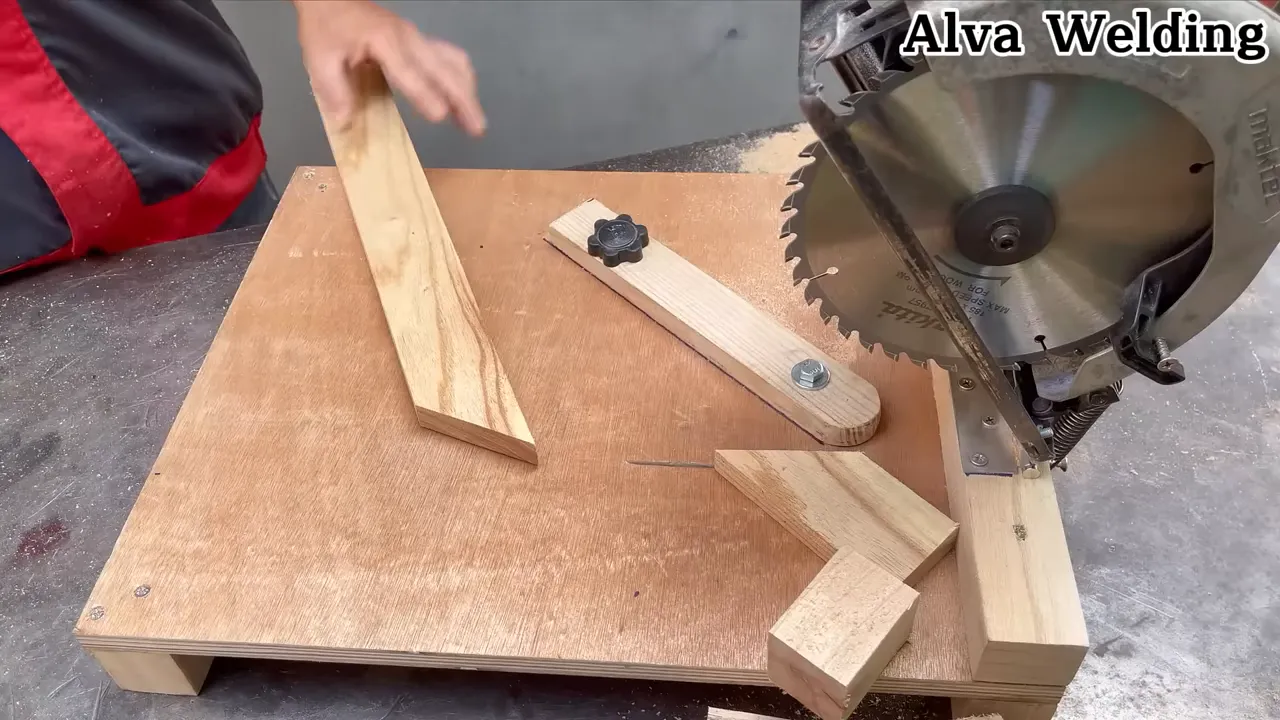
- Mount a depth stop and fence: Use a simple bolt and slot setup to set cutting depth. Add a small removable fence for straight rip cuts.
- Wire the switch and power: Use a properly rated NVR paddle switch, correct wire gauge, strain relief, and grommets. Ground or earth the metal housing on corded builds. Use a fuse or breaker, and use a GFCI/RCD outlet when possible.
- Protect a battery system: Use a secure battery connector and fuse. Use a pack with a battery management system (BMS) or low-voltage cutoff. Do not mix battery packs or chemistries.
- Run final checks: Tighten all fasteners, check blade alignment, test the switch, and clear the blade path. Wear hearing protection and eye protection for every test cut.
⚠️ Mini circular saw safety checklist
Safety should shape every part of the build. A compact saw still has enough speed and torque to throw chips, break a blade, or pull stock from your hand.
- Use a blade guard and keep it functional during every cut.
- Wear eye protection, hearing protection, and snug work gloves when the task calls for them.
- Clamp the workpiece before cutting. Never hold small pieces with your hands near the blade.
- Check fasteners and blade runout before each use.
- Use a fuse or circuit breaker that matches the motor and wiring.
- Add a splitter or riving knife for wood cuts to reduce pinching and kickback.
- Keep the blade below its maximum RPM at all times.
- Unplug the saw or remove the battery before blade changes, cleaning, or adjustments.
🔧 Useful hacks and practical tips
Small upgrades can make the saw cleaner, safer, and easier to control. Add these features only when they do not weaken the frame or reduce guard coverage.
- Use a sacrificial fence: Attach a thin hardwood strip to the fence to create a zero-clearance edge. This helps reduce tear-out and avoids metal-to-metal contact.
- Reduce kickback risk: Feed material slowly and set blade depth only as deep as needed. A small zero-clearance insert can reduce tear-out and support the cut.
- Choose the right blade: Use blades designed for the material. Choose fine teeth for plywood and thin metals, and choose more aggressive tooth patterns for suitable wood cuts.
- Build for rigidity: Use short, stout welds to tie the motor mount to the base. If you do not weld, use high-strength bolts, steel shim plates, and locknuts.
- Make test cuts: Cut scrap first to set speed, feed rate, and depth. Stop if the saw vibrates, burns the cut, stalls, or pulls the stock.
Pro tip: Mark the blade’s maximum RPM on the guard so you can check the speed limit before every blade change.
🚫 Common mistakes to avoid
Avoid mounting the blade directly to a shaft without a proper flange. A loose or uneven blade mount can cause wobble, rough cuts, and dangerous blade movement.
Do not remove the guard to gain more cutting depth. Redesign the base, fence, or depth stop instead.
Avoid using one blade for every material. A blade made for wood, non-ferrous metal, or abrasive cutting has a specific tooth form and RPM rating.
🔍 Finishing touches and maintenance
Good maintenance keeps the saw safer and more accurate. Check the saw before each session, not only when something feels wrong.
- Clean debris from the guard and motor area after each use.
- Check blade sharpness and replace or sharpen the blade when cut quality drops.
- Lubricate moving clamps and pivots if your design uses them.
- Inspect electrical connections for heat damage and replace frayed wires.
- Test the guards, splitter or riving knife, and NVR switch before each session.
❓ Frequently asked questions
- What blades can you use with this mini saw?
- Use blades sized for the motor RPM and arbor size. A 3 to 5 inch blade works for many small saw builds. Choose material-specific blades and never exceed the blade’s maximum RPM.
- Can you use a battery motor from an old tool?
- Yes, if the battery and motor can provide enough sustained power and you can mount them safely. Use proper cooling, a secure connector, a fuse, and a BMS or low-voltage cutoff. Do not mix different packs or chemistries.
- Do you need welding to build this saw?
- No. Welding can create a compact and rigid frame, but bolted steel plates and brackets can work well. Keep the assembly stiff and lock every fastener so vibration cannot loosen it.
- What safety features should you prioritize?
- Prioritize a solid blade guard, a retractable lower guard when possible, a reliable NVR switch, a secure blade mount, and proper personal protective equipment (PPE). For wood cuts, add a splitter or riving knife. Do not remove guards for convenience.
- Why does blade runout matter on a mini circular saw?
- Blade runout makes the blade wobble as it spins. That wobble can cause rough cuts, vibration, heat, and unsafe blade contact. Fix arbor, flange, or shaft issues before you power the saw.
🔚 Final notes for a safer mini circular saw build
A useful mini circular saw starts with a rigid frame, a rated blade, a secure arbor, and a guard that stays in place. Your next step is to match the motor speed, blade rating, power system, and workholding before you cut any material.
Build slowly, test on scrap, and stop at the first sign of vibration or poor control. A compact saw can serve you well when you treat it like a full-size power tool.

