9 Workshop Hacks and Homemade Tools for Welding and DIY Projects
What’s in This Article
- 1. Quick Adjustable Angle Gauge for Accurate Welding Angles
- 2. Magnetic Sliding Stop for Repetitive Cuts and Brackets
- 3. Simple Heat Block for Controlled Shrinking and Painting Prep
- 4. Low-Cost Weld Fume Diverter and Air Guide
- 5. Reversible Clamp Plate for Odd Shapes
- 6. Simple Corner Jig for Box Fabrication
- 7. Cheap Edge Guide for Straight Plasma or Angle Cuts
- 8. Portable Vibration Damping Mat for Finishing Work
- 9. Multi-Function Welding Spacer and Gap Gauge
- How to Choose the Right Workshop Hack for Your Job
- Practical Examples and Project Scenarios
- Materials, Tools, and Shop-Prep Checklist
- Safety Reminders for Homemade Shop Tools
- Maintenance and Longevity Tips
- Frequently Asked Questions
- Final Thoughts on Workshop Improvisation
- Resources and Next Steps
Small shop problems can slow you down fast. A poor clamp, a shifting stop, or a rough measurement can turn a simple job into rework.
These nine workshop hacks give you low-cost ways to build better, safer, and faster. You can make most of them from scrap steel, common fasteners, and basic tools.
Use them as starting points. Test each jig with scrap first, then adjust the design to match your workbench, tools, and project style.
Quick Answer
The best workshop hacks solve one clear problem, then make that task repeatable. Start with an angle gauge, magnetic stop, corner jig, or gap gauge if you do a lot of cutting, tacking, or layout work. Add heat, fume, and finishing helpers when your projects need more control and safer workflow.
Key Takeaways
- Use simple jigs to make cutting, welding, clamping, and layout more repeatable.
- Build each tool from scrap first, then refine it after a few test runs.
- Secure magnetic stops with clamps when vibration or cutting force could move them.
- Control fumes, heat, sparks, and electrical paths before you start any welding job.
- Label and maintain homemade tools so they stay accurate and safe over time.
1. Quick Adjustable Angle Gauge for Accurate Welding Angles 🔧
Getting the angle right helps you make cleaner welds and straighter DIY builds. Whether you tack square tube or align a gate hinge bracket, a simple adjustable angle gauge saves time and reduces rework.
Materials
- Thin steel strip or aluminum flat stock, about 1/8 inch thick, 1 inch wide, and 12 to 18 inches long
- Two small hinge bolts or a welding pin joint
- Small locking nut or wing nut for locking the angle
- Marker and scribe for angle markings
How it works
This gauge uses two strips joined with a pivot. One strip rests on one workpiece, and the other rests on the mating workpiece.
You open or close the pivot to match the angle, then lock it in place. Mark common angles, such as 30, 45, and 60 degrees, so you can set the gauge quickly before fine-tuning with clamps.
Step-by-step
- Cut two strips of flat stock to equal length, then deburr the edges.
- Drill a hole at one end of each strip and assemble them with a bolt to form a pivot.
- Leave enough clearance so the strips can rotate freely.
- Scribe angle marks by matching the gauge to a known square or a protractor.
- Add a small locking nut or wing nut on the pivot so you can hold the angle while tacking.
Tips
- Use a non-threaded pin with a cotter pin for quick jobs where speed matters.
- Use a dial protractor when precision matters, then transfer the marks to the gauge.
- Add small welded pins at repeat marks if you use the same angles often.
- Use the gauge to pre-check thin metal fit-up before heat and clamps cause distortion.
Why you’ll like it
This tool feels fast and portable. You can carry it to a job site or keep it in your toolbox for quick fit-up checks.
It also helps beginners. You can see the angle, lock it, and tack with more confidence.
Products Worth Considering
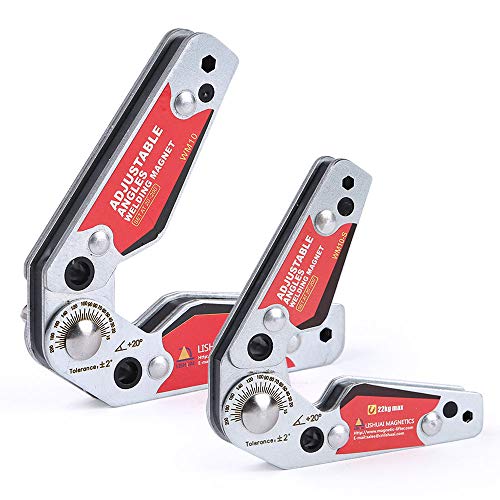
This adjustable angle magnet offer clear secale display,hold metal 25°-200° for welding and fabrication.

Powerful welding magnet:The welding fixture has a powerful magnet embedded in it that holds ferrous objects tightly, and the magnet can withstand up to 48 lbs/22kg.

POWERFUL HOLDING FORCE: Featuring robust magnets embedded in the welding holder, these durable magnets boasts a strong magnetic holding force of up to 77lbs/35kg, ensuring reliable performance.
2. Magnetic Sliding Stop for Repetitive Cuts and Brackets 🧲
Repetitive cuts offer one of the easiest ways to save time. If you make multiple brackets or trim pipes to the same length, a magnetic sliding stop helps each cut match without measuring every piece.
Materials
- Small, strong neodymium magnets with countersunk holes if possible
- Short length of thin flat steel or aluminum strip for the sliding stop
- Rubber or vinyl cap to protect finished parts
- Screws or rivets
How to build
- Attach a magnet to the steel strip.
- Countersink the hole if needed so the screw head sits flush.
- Place the strip along your saw fence and test the setup with scrap.
- Use the magnet to hold the strip on a ferrous fence while you clamp or mark the position.
- Finish the contact edge with a vinyl cap or thin rubber to avoid marring stock.
Usage tips
- Test with a scrap piece before batch cuts.
- Use a clamping block with a screw clamp on non-ferrous fences.
- Add a small lip to the stop so round stock can seat against it.
Warning: Magnets do not replace mechanical stops during heavy, high-speed, or high-vibration cutting.
Clamp the stop after you position it if the operation could shift the magnet. Keep magnets away from active weld zones because magnetic fields can affect the arc and weld quality.
Products Worth Considering
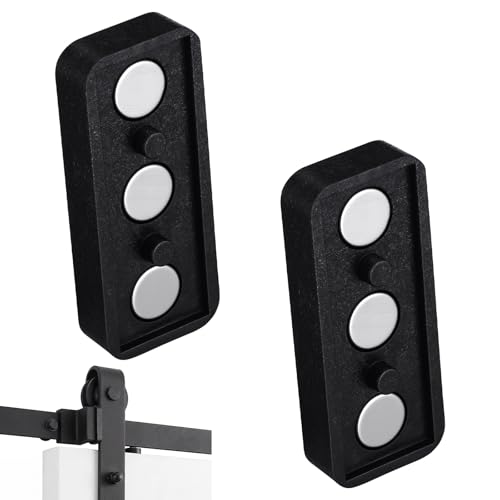
Compatible and Discreet: designed for flat track sliding barn doors, fits 1.57in / 40mm flat track, verify track dimensions before purchase; Sleek black finish blends seamlessly while providing a solid hold to keep doors stable

Replacement magnets for magnetic limit switch sliding gate openers-Adesigned for optimal compatibility and performance

Powerful Magnetic Force: Our magnetic door catch strong enough , houses a single magnet to hold opening kitchen cabinet doors or drawers closed.suitable for using on the door which the latch or hinge is useless.
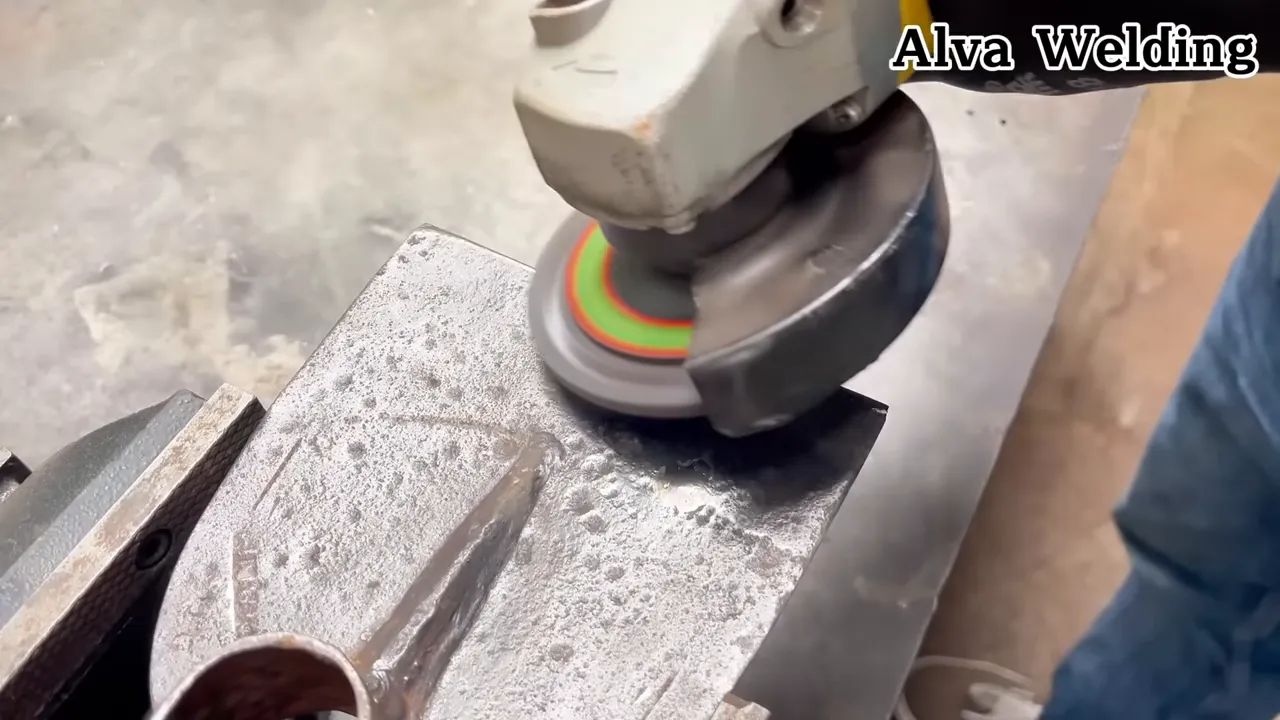
3. Simple Heat Block for Controlled Shrinking and Painting Prep 🔥
Controlled heat helps you shrink, loosen, or dry a small area without heating the whole part. A small heat block focuses a torch or heat gun so you can work with better control.

Materials
- Short length of black pipe or steel tube for the heat shield
- Metal plate for the base
- Screws or small welds
- Optional small ceramic tile to focus heat
Construction
- Weld or bolt the short tube to the base plate at an angle.
- Set the opening so it directs heat exactly where you need it.
- Add a ceramic tile inside the tube if you want to reflect heat forward.
- Use it with a small torch or heat gun, and keep the base plate on a fire-safe surface.
Common uses
- Shrinking a warped panel after welding by heating a small area.
- Drying paint or coating in a tight spot without heating nearby paint.
- Loosening small seized bolts by heating the threads instead of the full assembly.
Safety
Heat can start fires fast. Keep flammable items away, wear gloves and eye protection, and work on a fire-resistant surface.
Keep a fire extinguisher close when you use heat in the shop. Avoid quenching high-carbon or hardened parts unless you know the metal type, because sudden cooling can increase hardness and brittleness.
4. Low-Cost Weld Fume Diverter and Air Guide 🌀
Welding fumes can harm your breathing zone, even during small jobs. A simple diverter made from a shop vacuum adapter and ducting can help pull fumes away from your face.
Parts
- Shop vacuum used on suction with a high-efficiency cartridge, or a small inline extraction fan
- Flexible metal or high-temperature ducting
- Stainless steel or mild steel nozzle adapter
How to assemble
- Attach the ducting to the shop vacuum inlet.
- Shape the nozzle so it opens near, but not directly on, your weld zone.
- Secure the ducting to a magnetic base or articulated arm.
- Turn on the vacuum before striking the arc so airflow starts first.
Tips
- For MIG or TIG, keep the nozzle about 100 to 150 mm, or 4 to 6 inches, from the weld.
- Keep the nozzle farther away if suction disturbs shielding gas or causes porosity.
- For stick welding, you can usually position the nozzle a little closer.
- Vent exhaust outdoors when possible, especially if your vacuum lacks proper filtration.
- Use metal ducting and a spark arrestor where practical to protect hoses and filters.
- Place the work clamp on the workpiece, not on the ducting or nozzle.
Note: High-efficiency filters capture many particles, but they do not remove all welding gases.
Use a respirator rated for the job when fume exposure remains possible. Follow your local welding safety rules, especially indoors or on coated metal.
Why this helps
This setup cannot replace a proper fume extraction system for regular welding. But it can improve airflow during small jobs and make your bench more comfortable.
5. Reversible Clamp Plate for Odd Shapes 🪛
Odd shapes make clamping frustrating. Round pipe, angle iron, and stacked sheet metal all need different contact faces.
A reversible clamp plate with interchangeable inserts solves that problem quickly. You can swap the insert to match the shape, then clamp with better contact.

Materials
- Flat steel plate, 3/16 or 1/4 inch thick
- Interchangeable steel inserts shaped for pipe, V-grooves, or flat stock
- Screw holes and bolts to mount inserts
Design concept
Make one clamp plate with threaded holes. Then create inserts for the jobs you do most.
Use a V-groove insert for round stock, a flat insert for plates, and a curved insert for larger pipes. When the job changes, unbolt one insert and install the next one.
Build steps
- Cut and drill the clamp plate to match your clamp jaw size.
- Mill, file, or grind inserts to the shape you need.
- Drill insert holes so they align with the clamp plate.
- Harden or replace inserts if high clamping force wears them down.
Use cases
- Hold pipe for tacking without buying specialty pipe clamps.
- Move from sheet work to tube work without changing the whole clamp setup.
- Protect softer surfaces by matching the insert to the workpiece shape.
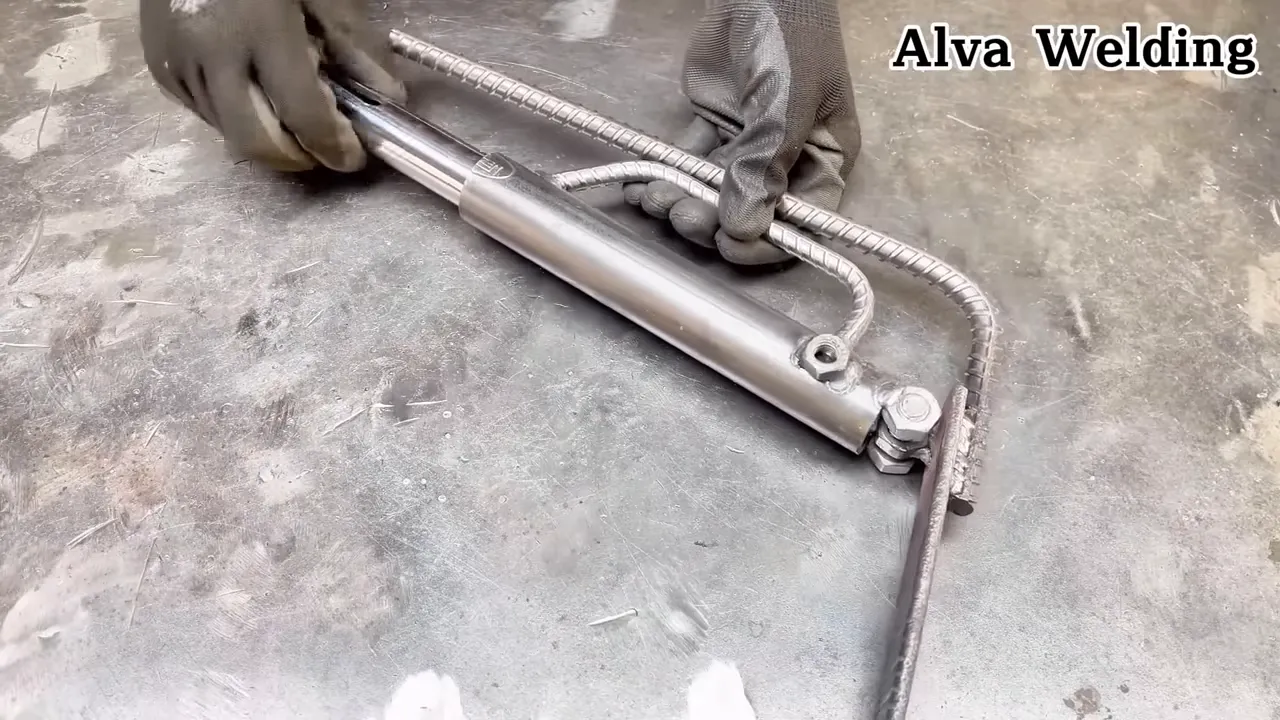
6. Simple Corner Jig for Box Fabrication 📐
Square, flat boxes can be harder to build than they look. A lightweight corner jig holds pieces at 90 degrees while you tack weld.
Materials
- Steel angle iron, 1 inch or 1.5 inch
- Two pieces of flat stock for clamping faces
- Bolts to hold the assembly together and clamp to the workpiece
How it helps
The jig holds two members at 90 degrees and gives you a third face for alignment. This helps keep the outside edges flush.
You can clamp it, tack one corner, then move it to the next corner. That makes box work more repeatable.
Build and use
- Weld or bolt the angle iron to a flat base.
- Add faces at the correct offset for your material thickness.
- Drill through holes in the base if you need bolt-down clamping.
- Place your piece in the jig, clamp it, tack it, then move to the next corner.
Pro tips
- Use minimal heat and short tacks on thin metal to reduce distortion.
- Check corners after tacking and before full welding.
- Pair the corner jig with the adjustable angle gauge for faster setup checks.
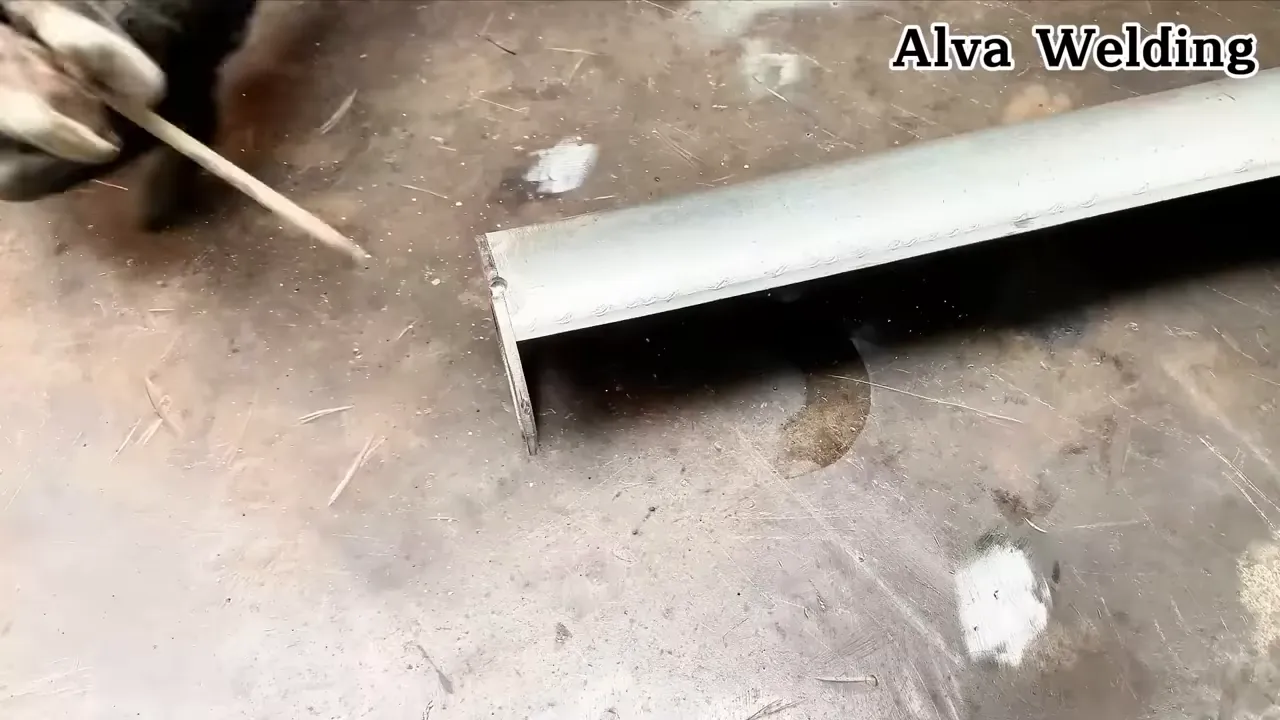
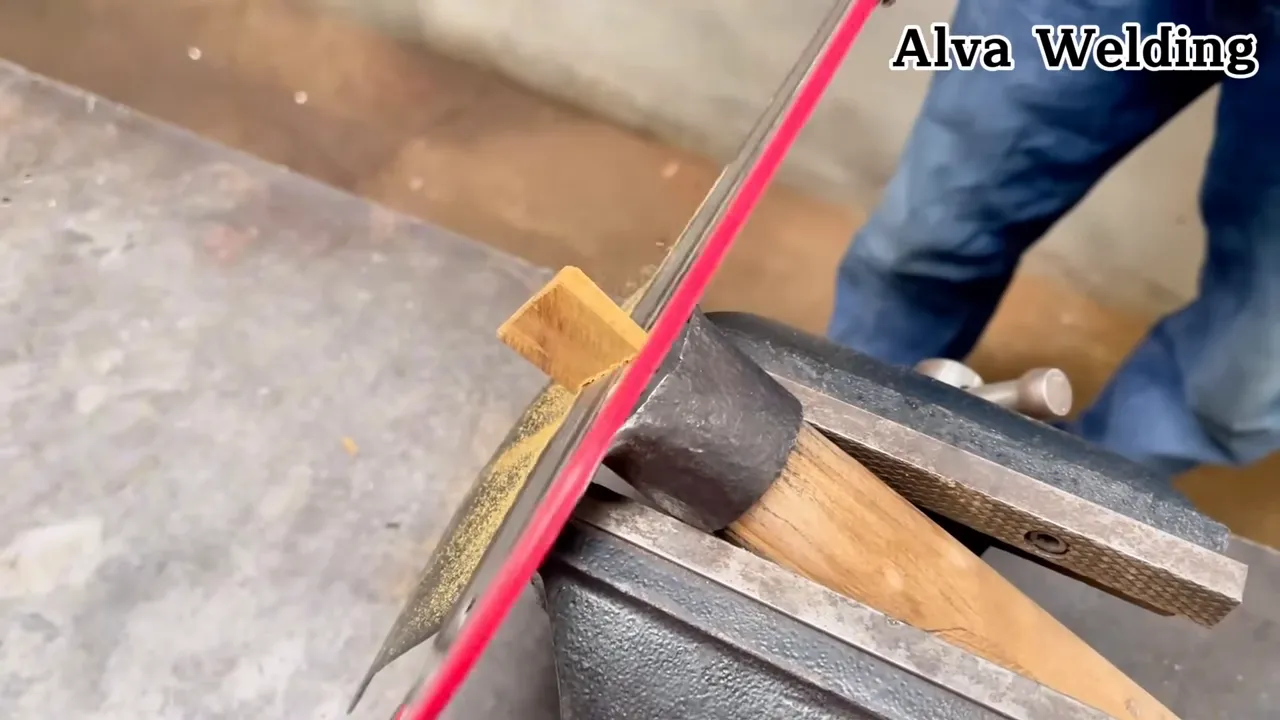
7. Cheap Edge Guide for Straight Plasma or Angle Cuts ✂️
You do not need an expensive guide to make straighter plasma or grinder cuts. A steel strip and a screw clamp can keep your tool at a steady distance from the edge.

Materials
- 1/8 inch steel strip long enough to span the cut length
- Small clamp and adjustable bolt
- Rubber or leather strip to prevent slipping
How to use
- Clamp the strip to the workpiece so the outer edge becomes your tool reference.
- Run the cutting tool along the strip so the guide controls the path.
- For internal cuts, use one guide for measuring and one guide for cutting.
- Move the measuring guide forward as the cut progresses.
Safety note
Place the work clamp on the workpiece, not on the guide. Expect the guide to get hot, wear gloves, and keep the guide out of the direct arc path.
Why it matters
A steady distance helps prevent jagged edges and reduces grinding time after the cut. This matters most when you are learning to control a plasma torch or grinder.
8. Portable Vibration Damping Mat for Finishing Work 🧽
Sanding, polishing, and filing can chatter on light benches. A small damping mat gives you a steadier surface for finishing small parts.
Materials
- Piece of dense rubber matting
- Sheet of plywood or thin steel for backing
- Adhesive to bond the mat to the backing
Construction
- Cut the rubber mat to the size you want.
- Glue it to the backing sheet.
- Add a thin rim or non-slip tape to the back.
- Use the mat as a small workstation for hand or power-tool finishing.
Benefits and usage
- Reduces vibration so sandpaper and polishing pads ride more smoothly.
- Protects finished surfaces from bench marks.
- Makes small brackets, decorative pieces, and thin metals easier to finish.
9. Multi-Function Welding Spacer and Gap Gauge 🧰
Consistent gaps help you weld more cleanly. A wedge-shaped spacer with notches works as a gap gauge, temporary setup aid, and distance holder.
Materials
- Thin steel strip or flat stock with a wedge cut
- Notches cut to common gap widths
- Paint or marker to label the widths
How to use
- Insert the gauge between two mating parts to set the gap.
- Use the notches to choose common gaps, such as 0.5, 1.0, or 1.5 mm.
- Use imperial marks, such as 1/32 or 1/16 inch, if your shop works in inches.
- Tack the parts, remove the gauge, and finish the weld.
- Use it as a repetitive spacer for brackets or fastened assemblies.
Why it works
A gauge like this removes guesswork and speeds up repeated joint setup. It also lasts longer than thin card gauges in a metalworking shop.
How to Choose the Right Workshop Hack for Your Job 🧠
These hacks share three useful traits: simplicity, repeatability, and adaptability. You can build each tool from common shop stock and a few fasteners.
They do not replace commercial tools when you need certified accuracy or high-force fixtures. They fill gaps when a special tool is not available or when speed matters more than perfect precision.
How to choose the right hack
- Start with the pain point. Decide whether you lose time on measuring, clamping, cutting, heat control, fumes, or finishing.
- Consider frequency. Build a stronger version for tasks you repeat often.
- Keep quick builds simple. Use a basic version for one-off problems.
- Think about safety first. Do not let an improvised tool create a new hazard.
These hacks work because they solve clear mechanical problems:
- Angle gauges and corner jigs remove guesswork from alignment.
- Magnetic stops and edge guides make repeated cuts faster and more consistent.
- Heat blocks and fume diverters control heat and fumes in smaller areas.
- Clamp plates and gap gauges improve fit-up before welding starts.
Practical Examples and Project Scenarios 🛠️
These tools work even better when you combine them. Use the examples below to see how they fit into common shop projects.
Building a garden gate from square tubing
For a 36-inch gate made from 1.5-by-1.5 square tube and flat-bar bracing, you can use several hacks together.
- Use the angle gauge to set brace angles and check corner squareness.
- Use the corner jig to tack the four corners before final welding.
- Use the magnetic sliding stop on the cutoff saw for repeated brace lengths.
- Use the reversible clamp plate when tacking round handle mounts.
Sequence
- Cut all tubes with the magnetic stop.
- Use the edge guide for any plasma cuts on panels.
- Assemble the frame in the corner jig and tack the corners.
- Check diagonal measurements and adjust before final welding.
- Weld bracing and attachments with the clamp plate to protect shape and alignment.
Repairing a small rusted bracket on a trailer
The heat block and fume diverter help during this type of repair. Heat the target area lightly to loosen a stuck bolt, then weld a small patch with the spacer gauge to hold the gap.
Use the damping mat as a steady finishing platform after the weld cools. It helps you control the grinder while you clean the patch.
Batch production of simple brackets
When you make many identical brackets, the magnetic sliding stop, gap gauge, and reversible clamp plate can save hours. Set the stop once, clamp each part with the correct insert, and use the gap gauge for consistent seams.
The result should fit better and need less adjustment. You also reduce measurement mistakes across the batch.
Materials, Tools, and Shop-Prep Checklist ✅
Before you build any jig, gather your materials, consumables, and safety gear. A short prep routine helps you work faster and avoid mistakes.
Checklist
- Personal protective equipment: welding helmet, gloves, respirator, hearing protection, and proper clothing.
- Basic stock: flat steel, angle iron, pipe, bolts, nuts, and wing nuts.
- Hand tools: drill, grinder, cut-off wheel, clamps, bench vise, files, measuring tape, square, and scribe.
- Optional items: shop vacuum, neodymium magnets, ceramic tiles, rubber matting, and non-slip tape.
Preparation steps
- Clean and de-rust stock before welding.
- Test-fit inserts and removable parts before permanent assembly.
- Label jigs and inserts by use, size, or angle.
- Test each homemade tool with scrap before using it on a real project.
Safety Reminders for Homemade Shop Tools ⚠️
Improvised tools can help, but they can also hide risks. Treat each jig as a tool that needs inspection before use.
- Ventilation: Assume welding creates fumes, and use airflow plus respiratory protection when needed.
- Fire safety: Move flammables away and keep an extinguisher within reach.
- Electrical safety: Inspect cables, leads, and work clamp placement before starting.
- Mechanical safety: Secure clamps and stops before applying force.
- Heat safety: Let hot guides, jigs, and plates cool before handling or storing them.
Pro tip: Write “hot” on temporary jigs with soapstone before you set them aside after welding or cutting.
Maintenance and Longevity Tips 🔩
Homemade jigs need basic care to stay useful. A few small habits can extend their life and keep them accurate.
- Keep threaded parts lightly oiled to prevent seizing and rust.
- Touch up worn V-grooves, clamp faces, and guide edges with a quick grind.
- Replace magnets if heat, impact, or age weakens them.
- Check adhesive-bonded rubber parts before each heavy use.
- Store jigs off the floor in a dry place.
Frequently Asked Questions
How accurate are homemade welding jigs compared to commercial tools?
For most DIY and light shop tasks, these jigs can give you enough repeatable accuracy. They do not match certified gauges or precision fixtures. Use commercial measuring tools when the job requires tight tolerances.
Can you use a fume diverter on MIG and TIG without affecting shielding gas?
Yes, but you need to keep the nozzle back from the weld. Start around 4 to 6 inches away, then adjust if you see porosity or gas coverage problems. Move the diverter farther away if suction pulls shielding gas from the weld area.
Are angle gauges and corner jigs safe for thin metal?
Yes, if you use light clamping force and short tacks. These tools can help you avoid over-clamping thin sheet or tubing. Check alignment before full welds because heat can still warp thin metal.
What thickness should you use for a clamp plate and inserts?
For general shop use, 3/16 to 1/4 inch steel works well for the clamp plate. Use thicker inserts when you clamp pipe or apply higher force. Replace or rebuild inserts if they start to deform.
Do these workshop hacks require welding skill to build?
Basic welding skill helps, but you can build several of these tools with bolts and screws. If you weld the jig, simple fillet welds and tack-welding skills are usually enough. Test every jig under light load before trusting it on real work.
Can you use the heat block for brazing?
Yes, you can use it for small brazing jobs that need local heat. Use the right flux and filler metal for the base material. Watch nearby painted, coated, or heat-sensitive areas.
How do you adapt an edge guide for non-ferrous fences?
Use a clamping block with an adjustable bolt if magnets will not hold. You can also add a screw clamp to the strip. Do not rely on tape alone for a guide near cutting heat or vibration.
Which homemade shop tool should you build first?
Start with the tool that fixes your most common problem. Build a magnetic stop if you make repeat cuts, a corner jig if you build frames, or a gap gauge if you weld many small joints. Test the first version with scrap before improving it.
Final Thoughts on Workshop Improvisation ✨
Small, repeatable tools can save you more time than one big upgrade. Start with one jig that solves a real problem in your shop.
Use scrap, test slowly, and refine the tool after a few projects. Keep safety first, especially around heat, fumes, sparks, and cutting force.
The goal is not to copy every jig exactly. The goal is to build shop habits that help you align once, tack with care, and avoid preventable rework.
Resources and Next Steps 📚
If you want to make these hacks stronger or more precise, start with the ideas below.
- Improve the angle gauge with a protractor or digital angle finder.
- Upgrade magnetic stops with countersunk, recessed rare-earth magnets.
- Add better filtration and outdoor venting to any fume-control setup.
- Study welding forums and maker communities for jig variations and templates.
Whether you are learning thin-metal welding, building with square tube, or improving a small home shop, these hacks can become part of your regular workflow. Pick the tool that solves your biggest problem today, build a simple version, and make it better after real use.

