How to Clean Your Angle Grinder After Metal Grinding
Metal dust can damage your angle grinder if you let it sit after grinding. It can clog vents, wear moving parts, and make the tool less safe to use. To clean your angle grinder after metal grinding, unplug it or remove the battery first, then wear safety glasses and gloves. Brush or vacuum loose debris, blow dust from the vents with compressed air, wipe the housing, inspect the disc and guard, lubricate moving parts as the manual allows, and store the grinder in a dry place.
Quick Answer
Unplug your angle grinder or remove its battery before you clean it. Remove metal dust with a brush, shop vacuum, or compressed air, then wipe the outside with a dry or lightly damp cloth. Check the disc, guard, cord, vents, and handle before you store the tool.
Key Takeaways
- Disconnect power before you touch the disc, guard, vents, or spindle area.
- Clean metal dust from vents and crevices so the motor can cool properly.
- Inspect the disc, guard, cord, and side handle before your next use.
- Use only the lubricant your grinder manual recommends.
- Store the grinder in a dry case or rack to reduce rust and impact damage.
Ensure Safety Before Cleaning
Before you clean your angle grinder, protect yourself from sparks, sharp edges, and loose metal dust. Disconnect the grinder from the power source or remove the battery. This step prevents accidental starts while your hands sit near the disc or guard.
Wear personal protective equipment (PPE), including safety glasses and work gloves. Let the grinder cool after use because metal parts can stay hot. Clear your work area of flammable dust, rags, solvents, and scraps before you clean the tool.
Warning: Never clean an angle grinder while it remains plugged in or while the battery stays installed.
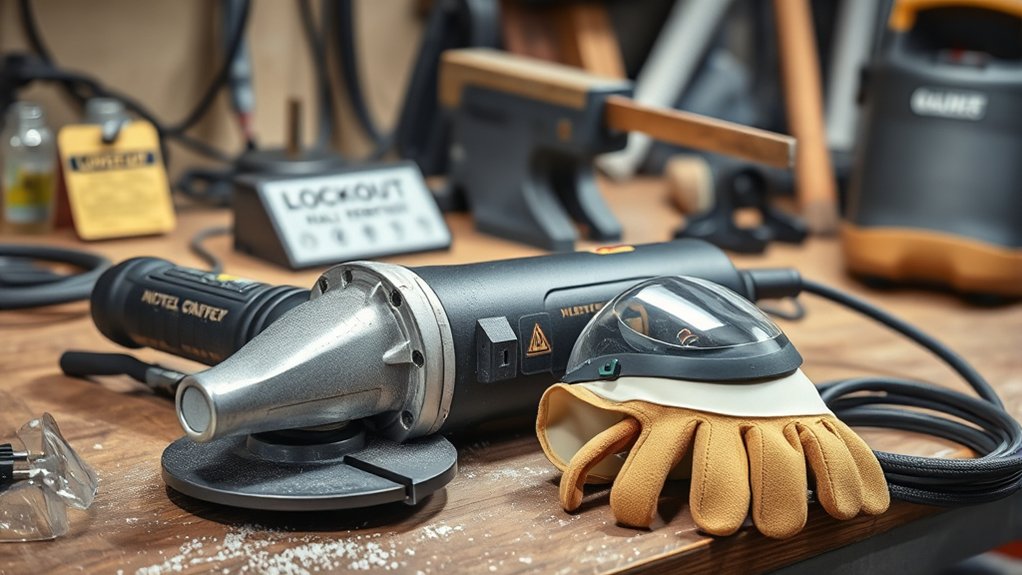
Before You Begin
Gather the cleaning tools before you start. This keeps the process simple and helps you avoid touching the tool more than needed.
- Safety glasses
- Work gloves
- Wire brush or nylon brush
- Shop vacuum
- Compressed air
- Clean dry cloth
- Mild cleaner or degreaser for the outer housing
- Light machine oil only if your manual allows it
Estimated time: Most quick cleaning jobs take about 10 to 15 minutes. A deeper clean may take longer if the vents, guard, or spindle area hold heavy metal dust.
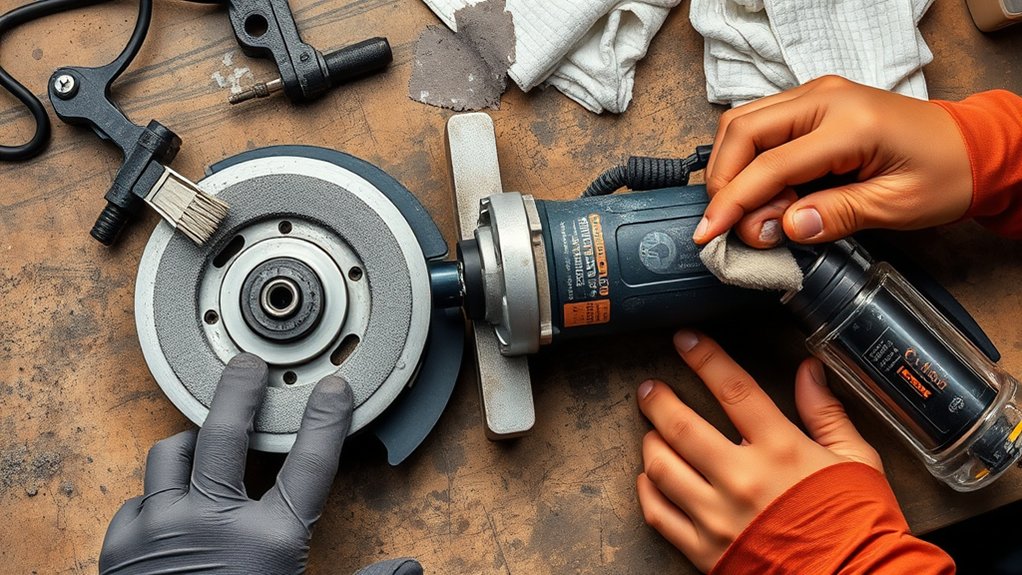
Initial Cleaning Steps for Your Grinder
Start by making sure the angle grinder stays unplugged or the battery stays removed. This step protects you while you work near the disc and guard. Keep your gloves on because metal shavings can cut your hands.
- Remove loose debris: Use a wire brush, nylon brush, or shop vacuum to clear dust from the body, vents, and crevices.
- Blow out hidden dust: Use compressed air in short bursts to clear vents and tight areas without forcing debris deeper.
- Wipe the outside: Use a clean cloth and a suitable cleaning solution on the housing, but keep liquid away from vents and switches.
- Dry the grinder: Wipe the tool dry before you inspect it or store it.
After the first pass, inspect the grinder for visible wear or damage. Check the disc, guard, side handle, switch, and cord before you put the tool away.
Products Worth Considering
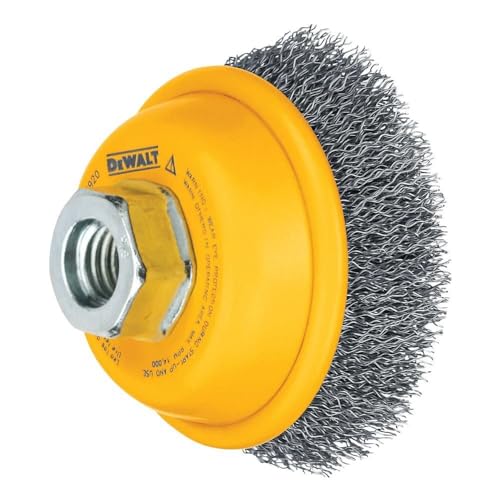
CUP BRUSH, ARBOR, 0.014

Compatibility -- Fits all 4-1/2" angle grinders and grinders with 5/8"-11 threaded arbors. Easy to mount wire wheel for angle grinder for both professionals and DIY users. Do wear protective gear before operation for safe rust removal and cleaning!!!

✅ ENHANCED CLEANING EFFICIENCY WITH DURABLE BRISTLES: The Nanoskin 5" Rotary Brush features resilient blue nylon bristles designed for deep and thorough cleaning. Engineered for durability, these bristles effectively remove stubborn dirt and debris without causing damage to surfaces. This makes the brush an essential tool for automotive detailing as well as general home cleaning tasks.
Deep Cleaning Techniques for Better Performance
Deep cleaning helps your angle grinder run cooler and last longer after heavy metal grinding. Focus on dust-prone areas first, especially the vents and guard.
- Disconnect power: Unplug the angle grinder or remove the battery before you start.
- Remove loose debris: Brush or vacuum metal filings from the grinder housing, guard, and vents.
- Clean the guard area: Remove built-up dust from around the guard and spindle without forcing parts.
- Apply cleaner carefully: Put degreaser or mild cleaner on a cloth, then wipe the housing only.
- Inspect the grinding disc: Replace the disc if you see cracks, chips, warping, or heavy wear.
Do not spray cleaner directly into the motor vents, switch, or battery contacts. Liquid can damage electrical parts and create a safety risk.
Pro tip: Clean the grinder before dust hardens around the guard, spindle, and vents.
Products Worth Considering

【Deep Cleaning, Done Right】 Flexible stainless-steel shafts bend effortlessly into dryer vents, fridge coils, AC units, and behind heavy appliances—removing lint, dust, and debris from hard-to-reach areas.

Cost-Effective 6 Pcs Angle Grinder Wire Wheel: WENORA Angle grinder brushes are made of high strength hardened carbon steel wire for better performance than comparable products. Wire brush sets for angle grinders are a better value than buying from your local tool store.

Application: OSFTBVT 4in crimped wire wheel brush great for quickly surface rust cleaning, paint stain removing, weld cleaning, weld spatter removal, deburring, scale removal etc. Ideal for most object 2nd step surface cleaning.
How to Check for Damage When Cleaning Your Angle Grinder
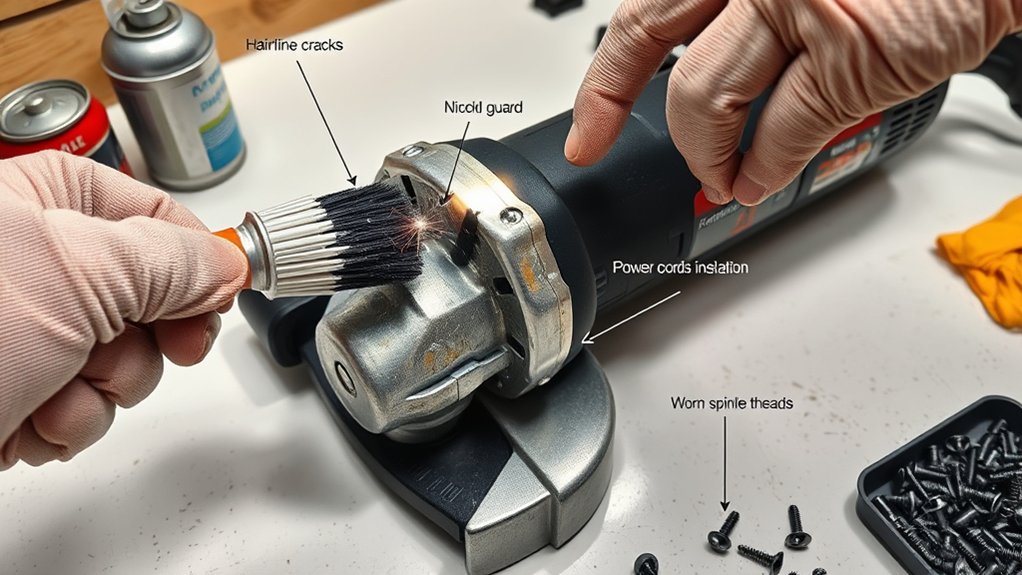
Use cleaning time to check the tool for damage. Start with a slow visual inspection. Look for cracks or chips on the disc, confirm that the guard sits tight, and check the power cord for fraying.
Next, test the spindle lock without forcing it. It should move smoothly and release properly. If any part feels loose, damaged, or unsafe, stop using the grinder until you fix or replace the part.
Visual Inspection Techniques
A thorough visual inspection helps you keep your grinder safe and reliable. Check these areas before your next use:
- Inspect the housing: Look for cracks, dents, melted spots, or signs of impact damage.
- Examine the grinding wheel: Check the disc for cracks, chips, uneven wear, or warping.
- Check the power cord: Look for cuts, frays, loose plugs, or exposed wires.
- Inspect the guard and side handle: Confirm that both parts stay secure and free from damage.
Wear safety glasses during this inspection because trapped dust can fall from vents and crevices.
Functional Component Assessment
Check the grinder’s main working parts before storage. First, inspect the guard and make sure it locks in place. A loose guard can fail to deflect debris during grinding.
Next, check the spindle lock so you can change discs safely. Review the disc condition and remove any wheel that looks cracked, chipped, or worn. Examine power cords and hoses for frayed wires, cuts, or leaks.
Check the motor housing for heat damage, burning smells, or unusual marks. These signs can point to internal problems that need repair before further use.
Effective Lubrication Techniques for Angle Grinders
Lubrication can help some grinders run smoothly, but not every grinder needs the same oil or grease. Always check your owner’s manual before you add lubricant.
- Use the recommended lubricant: Follow the manual and avoid random oils or sprays.
- Target approved moving parts: Lubricate only the parts the manufacturer lists.
- Service air-powered grinders: Add air tool oil to the air inlet only when the tool manual requires it.
- Keep safety first: Remove power before you apply any lubricant.
Do not over-lubricate the grinder. Extra oil can attract metal dust and create more buildup around moving parts.
Note: Many sealed electric grinders need little user lubrication beyond routine cleaning and inspection.
Common Mistakes to Avoid When Cleaning an Angle Grinder
Small cleaning mistakes can damage your tool or create a safety risk. Avoid these common problems after metal grinding:
- Cleaning the grinder while it remains plugged in
- Spraying liquid cleaner into vents, switches, or battery contacts
- Using a cracked or heavily worn grinding disc again
- Ignoring clogged vents after heavy grinding
- Storing the tool before it fully dries
If the grinder makes new noises, smells hot, or vibrates more than usual, stop using it. Have a qualified repair person inspect it before your next job.
How to Safely Store Your Angle Grinder After Use
After you clean and inspect your angle grinder, store it in a way that protects the tool. Make sure the grinder stays unplugged, cooled, clean, and dry before storage.
Keep it in a dry, dust-free place to reduce rust and corrosion. Use a dedicated case, rack, or shelf so the grinder does not fall or strike other tools. If you have covers or packaging for spare discs, use them to protect the wheels from chips and moisture.
Label your storage area if you keep many tools together. Good storage helps your grinder stay ready for your next project.
Frequently Asked Questions
How Do You Clean an Angle Grinder?
Unplug the grinder or remove the battery first. Brush or vacuum loose metal dust, then use compressed air in short bursts to clear vents and crevices. Wipe the housing dry and inspect the disc, guard, handle, and cord.
Can You Use Water to Clean an Angle Grinder?
You should not rinse an electric angle grinder with water. Water can enter vents, switches, or electrical parts and cause damage. Use a dry brush, shop vacuum, compressed air, and a lightly damp cloth on the outer housing only.
Should You Remove the Disc Before Cleaning?
Remove the disc if you need better access to the guard or spindle area. Disconnect power first and follow the tool manual for disc removal. Replace the disc if you see cracks, chips, or heavy wear.
How Often Should You Clean an Angle Grinder After Metal Grinding?
Give the grinder a quick clean after each metal grinding session. Do a deeper clean after heavy use, dusty work, or long jobs. Regular cleaning helps prevent clogged vents and early wear.
What Are Key Safety Checks Before Using a Grinding Machine?
Check the disc, guard, side handle, power cord, switch, and vents before use. Wear safety glasses, gloves, hearing protection, and a dust mask when needed. Secure your workpiece before you start grinding.
Safety Disclaimer: This article is for informational purposes only and does not replace professional tool training or the manufacturer’s instructions. Always follow your grinder manual and ask a qualified repair technician if you find damage or unsafe operation.
Conclusion
A clean angle grinder runs safer, cooler, and more reliably after metal grinding. Disconnect power, remove dust from vents and crevices, inspect key parts, and store the tool in a dry place. Replace damaged discs and stop using the grinder if you see signs of electrical or mechanical trouble. With steady care, your grinder stays ready for cleaner, safer work.


