To remove a stuck angle grinder nut safely, first make certain the grinder is unplugged. If it’s a cordless model, remove the battery too. Wear protective gear like gloves and safety goggles. Use a grinder wrench to lock the disc in place, then gently tap around the stubborn nut with a Tappy Stick to loosen it. Regular tool maintenance can prevent such issues. If you face persistent problems, there’s a variety of tools and techniques that can help enhance grip and efficiency during removal.
Quick Answer
- Unplug the grinder (and remove the battery on cordless models) before you start
- Wear gloves and eye protection to reduce injury risk
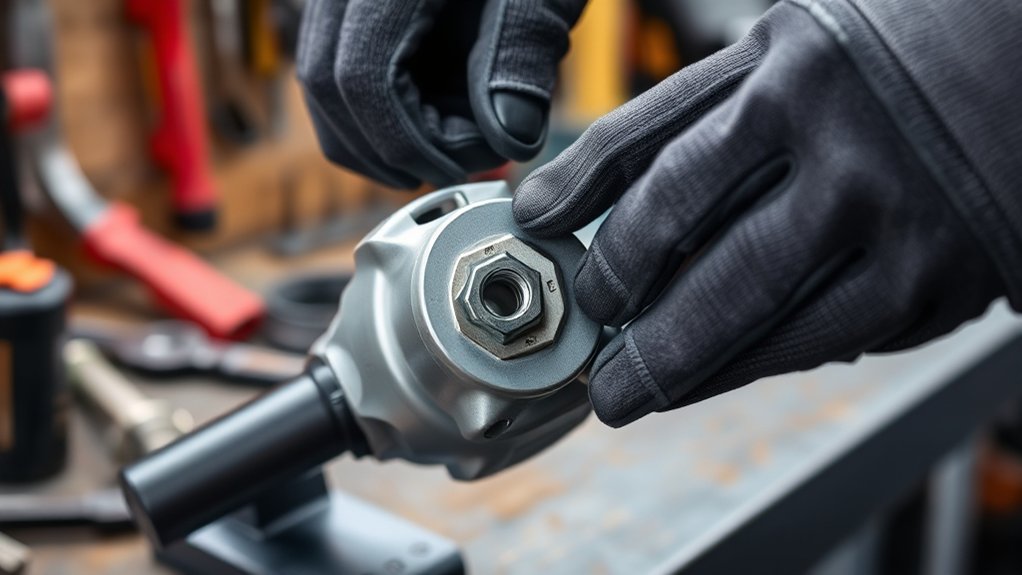
- Lock the disc/spindle and use the grinder wrench or spanner with steady pressure
- If it won’t move, gently tap around the nut (light taps help break resistance)
- After removal, clean and maintain the tool so the nut is less likely to seize again
Step-By-Step Guide to Removing Stuck Grinder Discs
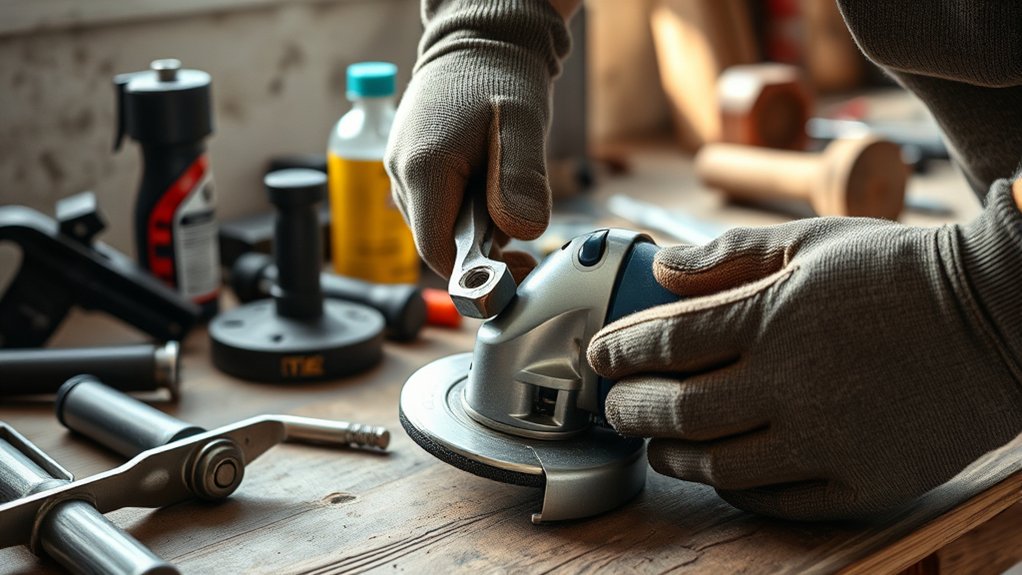
Removing a stuck grinder disc can be challenging, but following a systematic approach makes it much easier. First, verify your angle grinder is unplugged (and remove the battery if it’s cordless). Wear protective gear to prevent injury.
Use a grinder wrench or spanner to lock the disc in place, then apply steady pressure to loosen the nut. If the nut remains stubborn, gently tap around it with a Tappy Stick. Light tapping can help break resistance without damaging the grinder.
For an easier experience, consider a Fixtec Nut, which features a flip-up tab for better grip. This can reduce the effort needed to loosen tight nuts during disc changes. After you remove the disc, get into the habit of regularly clean and maintain your tools. This helps prevent stuck nuts and keeps your angle grinder in good working condition.
Essential Tools for Removing Stuck Angle Grinder Nuts
When tackling a stuck angle grinder nut, having the right tools on hand matters. A grinder wrench is a staple in most toolkits and is designed to loosen angle grinder nuts. If you run into tool compatibility issues, consider the Fixtec Nut, which includes a flip-up tab for extra grip and leverage. A spanner can also help, especially if you’re used to traditional hand tools. For a gentler approach, the Tappy Stick lets you apply light taps to loosen a resistant disc without damaging the grinder.
As part of good upkeep, incorporate these grinder maintenance tips into your routine so nuts are less likely to seize. If you switch to alternative nut designs, confirm your tools are compatible so removal stays straightforward.
Products Worth Considering

[7PCS 5/8"-11 Angle Grinder Nut Wrench Replacement Kit] 1 piece angle grinder wrench and 6 angle grinder nuts (3 inner flange nuts, 3 outer flange nuts) for lock nut removal, wheel/disc replacement.Compatible with most arbor grinders and lock nuts, Perfect for home DIY, workshop projects, and professional grinder parts replacement
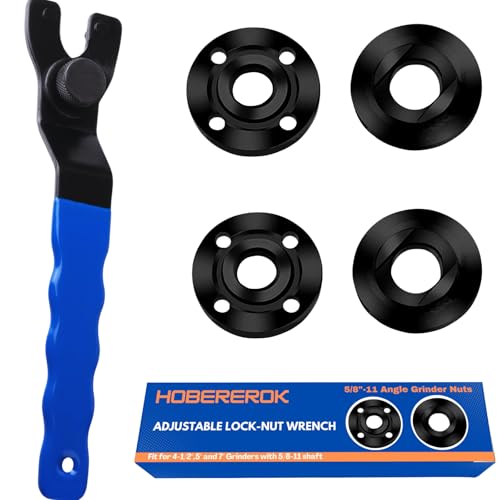
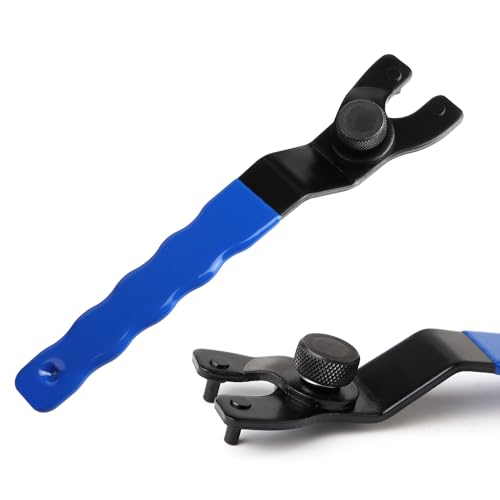
[ Universal Adjustable Angle Grinder Wrench & Nut Kit] Solve the problem of lost or missing wrenches. This versatile set includes 1 adjustable wrench that fits major brands like DeWalt, Milwaukee, and Makita, plus 4 replacement flange nuts (2 inner, 2 outer).. Perfect for DIY, workshops, and professional grinder parts replacement.
Material: Chisel Tool Steel
What If the Nut Still Won’t Move?
If the nut still won’t loosen, don’t force it with sudden, extreme pressure. That can damage the tool or cause a slip.
Instead, try a few safe next steps. Re-check that the disc is properly locked and the wrench is fully seated. If available, apply a small amount of penetrating oil to the nut and threads and give it time to work before trying again. If you’re still stuck after a careful attempt, it may be safer to have the grinder inspected or serviced rather than risking damage or injury.
Why Is Safety Crucial When Removing Grinder Nuts?
Ensuring safety is paramount during the removal of grinder nuts, as mishandling can lead to severe injuries from accidental starts or tool damage. Following established safety protocols is essential for injury prevention. Always disconnect the grinder from power sources before attempting any maintenance. This simple step can prevent electrical shocks and unintended activation. For additional guidance, see OSHA guidance on hand and power tools.
Wearing protective equipment, such as gloves and safety goggles, reduces risks from cuts and flying debris during the nut removal process. For more on eye protection, reference NIOSH eye safety. Improper techniques or excessive force can also damage the tool and raise repair costs.
Familiarizing yourself with safe handling techniques and the specific tools for nut removal improves control and reduces the chance of accidents. By prioritizing safety, you can work efficiently while minimizing potential hazards.
How to Use the Fixtec Nut for Quick and Safe Disc Changes
To change discs quickly and safely, the Fixtec Nut offers a user-friendly solution that streamlines the process for angle grinder users. Its flip-up tab helps you grip and turn the nut with better leverage, improving disc changing efficiency. This design reduces the physical effort needed to loosen tight discs, making it practical for many users. As with any accessory, confirm it’s compatible with your grinder before use.
Products Worth Considering

THREAD SIZE: Features standard 5/8-11 thread size commonly used in angle grinders for secure attachment of grinding wheels

【Value Sets】The grinder nut set includes 1 angle grinder wrench and 6 angle grinder nuts (3 inner flange nuts, 3 outer flange nuts). Please check size and compatibility before ordering. Please contact us with any questions or concerns. We prioritize your satisfaction .

COMPATIBILITY: Designed specifically for Milwau-ke angle grinders models 2783-20 and 2785-20, ensuring perfect fit and functionality
How to Tackle Common Grinder Nut Removal Problems
Removing a stuck angle grinder nut is frustrating, but a few common issues show up again and again. One common mistake is neglecting tool maintenance. Regular cleaning and basic upkeep help prevent nuts from becoming stuck in the first place. Also check that your wrenches and spanners are in good condition so they seat properly and don’t slip.
Different nut types, such as the standard nut and Fixtec nuts, can require specific handling techniques. If you hit a stubborn nut, avoid forcing it. Use a Tappy Stick to gently tap it loose without causing damage. Always wear protective gear like gloves and safety goggles to reduce injury risk during removal. By recognizing these common problems and using the right technique, you can remove stuck nuts more reliably and with less hassle.
Frequently Asked Questions
How to Remove Stuck Angle Grinder Nut?
To remove a stuck angle grinder nut, guarantee proper angle grinder maintenance. Utilize safe removal techniques like a traditional wrench or Tappy Stick for stubborn cases. Explore stuck nut solutions to prevent future issues effectively.
How to Unscrew a Grinder That’s Stuck?
To unscrew a stuck grinder, use safe removal techniques like a traditional wrench or spanner. Incorporate stuck nut solutions, and apply gradual force with patience. These angle grinder tips will help you achieve liberation effectively.
How to Remove Grinder Wheel Without Tool?
To remove a grinder wheel without a tool, try a Fixtec Nut for leverage. Don’t forget safety precautions, wear protective gear. If stubborn, use a Tappy Stick or penetrating oil to ease removal.
How to Remove a Grinder Guard?
To remove a grinder guard, identify its type and installation features. Unplug the grinder, locate screws or quick-release mechanisms, and gently tap the locking mechanism if stuck, prioritizing safety throughout the process.
Conclusion
In the world of angle grinders, the stuck nut can feel like a real obstacle. The good news is that the right tools and a calm approach usually solve it. Remember, safety is your shield. Disconnect power first, wear protective gear, and use steady pressure instead of brute force. With patience and the right method, you’ll conquer that stubborn nut and keep your grinder ready for the next job.


