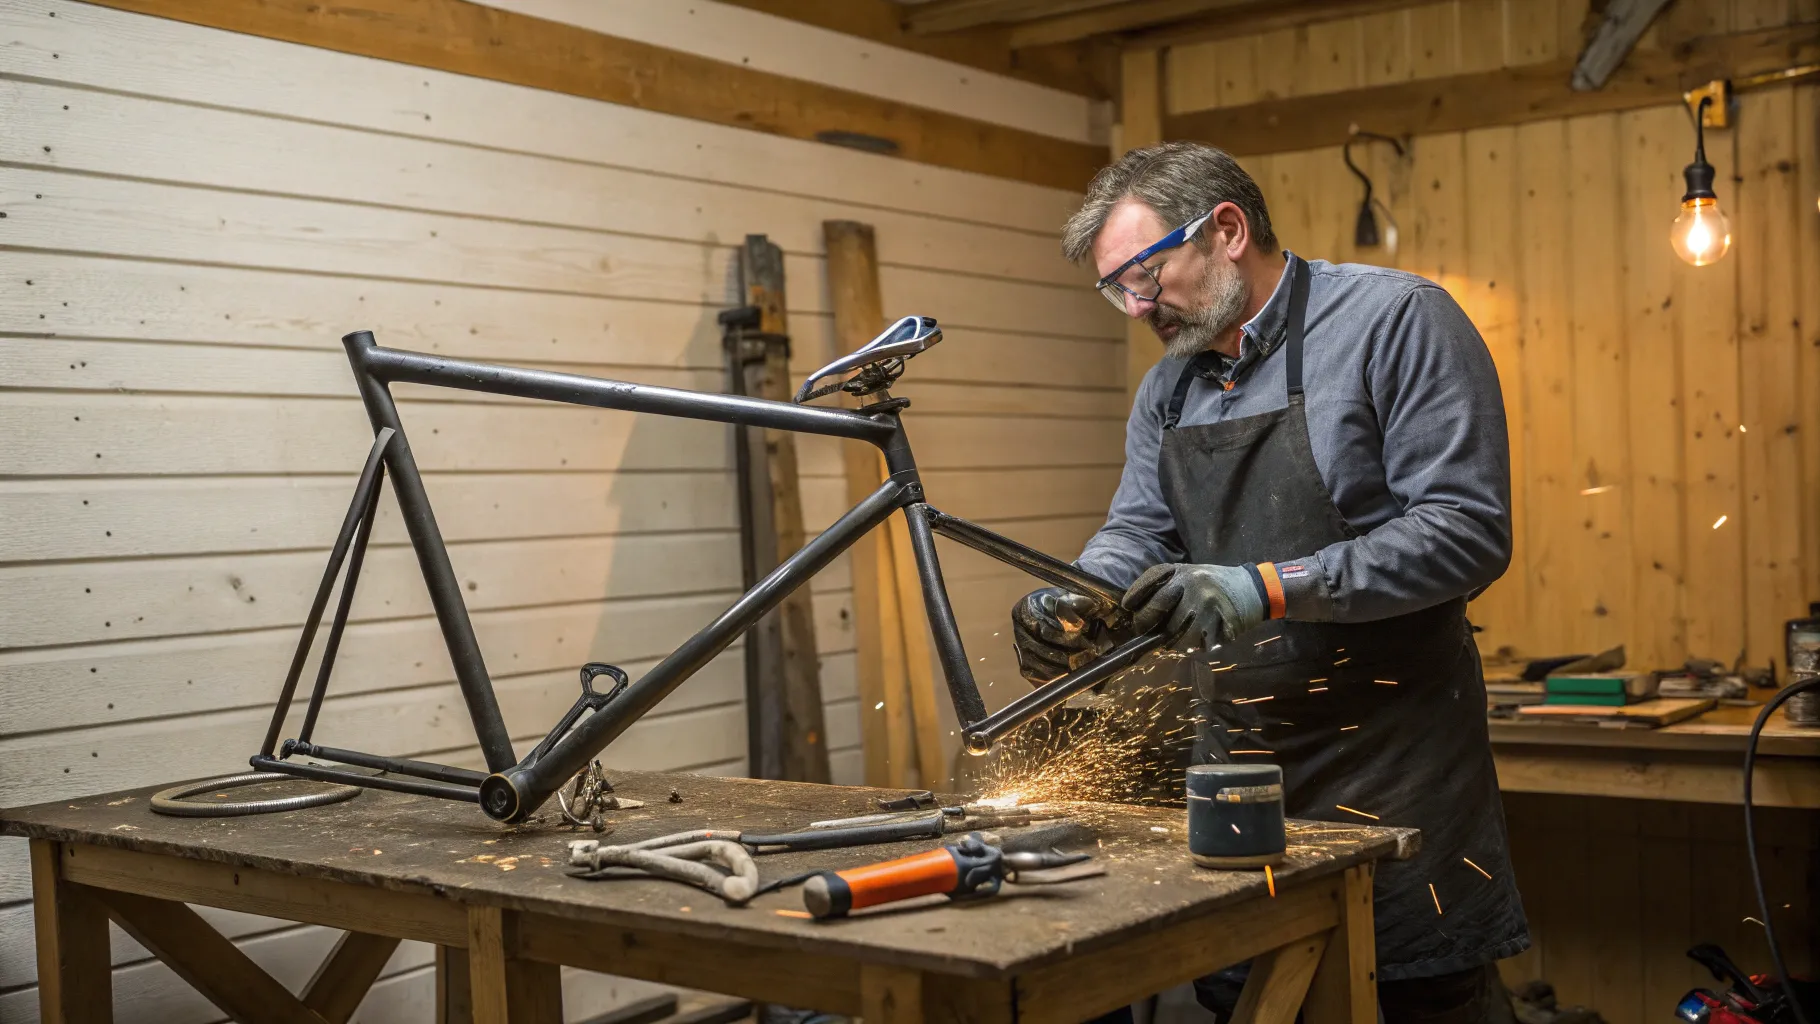
♻️ Why recycle your old bike?
Old bicycles are full of value. Frames, hubs, sprockets, and chainrings are made of strong metal, perfect for repurposing into shop fixtures, jigs, and cutting tools. Instead of letting that frame rust in the yard or throwing it away, you can transform it into a practical, low-cost tool that makes metal cutting easier, safer, and more efficient.
🛠️ What I turn a bike into
I take the key components of an old bicycle and use them to build a compact cutting rig that stabilizes an angle grinder and guides it along a consistent, controllable cutting path. The result is a tool that helps you make cleaner cuts on metal, reduces hand fatigue, and keeps sparks and kickback under control.
🔧 Materials and tools you’ll need
Basic parts salvaged from the bike
- Frame or fork pieces for structural mounts
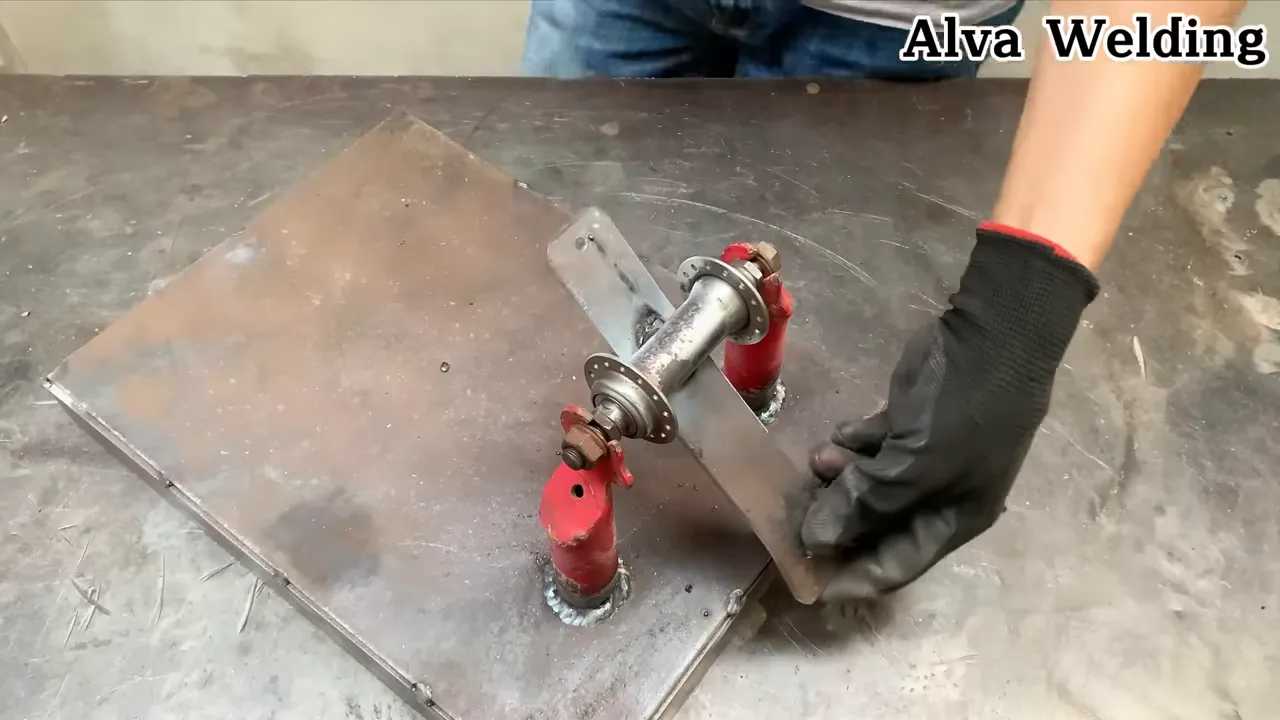
- Rear hub and sprocket for rotating elements or mounts
- Chain or gears if you want a geared feed
Workshop tools
- Angle grinder (the cutting tool)
- Welding gear for fabricating brackets and mounts
- Metal cutting and drilling tools for customizing parts
- Clamps and measuring tools to ensure alignment and safety
🪚 Step-by-step: building the cutting rig
1. Assess the bike and pick the strongest pieces. I prioritize thicker tubing and solid hubs for load-bearing components.
2. Strip down the bike to the parts you need: remove the chain, gears, handlebars, cables, and any worn components.
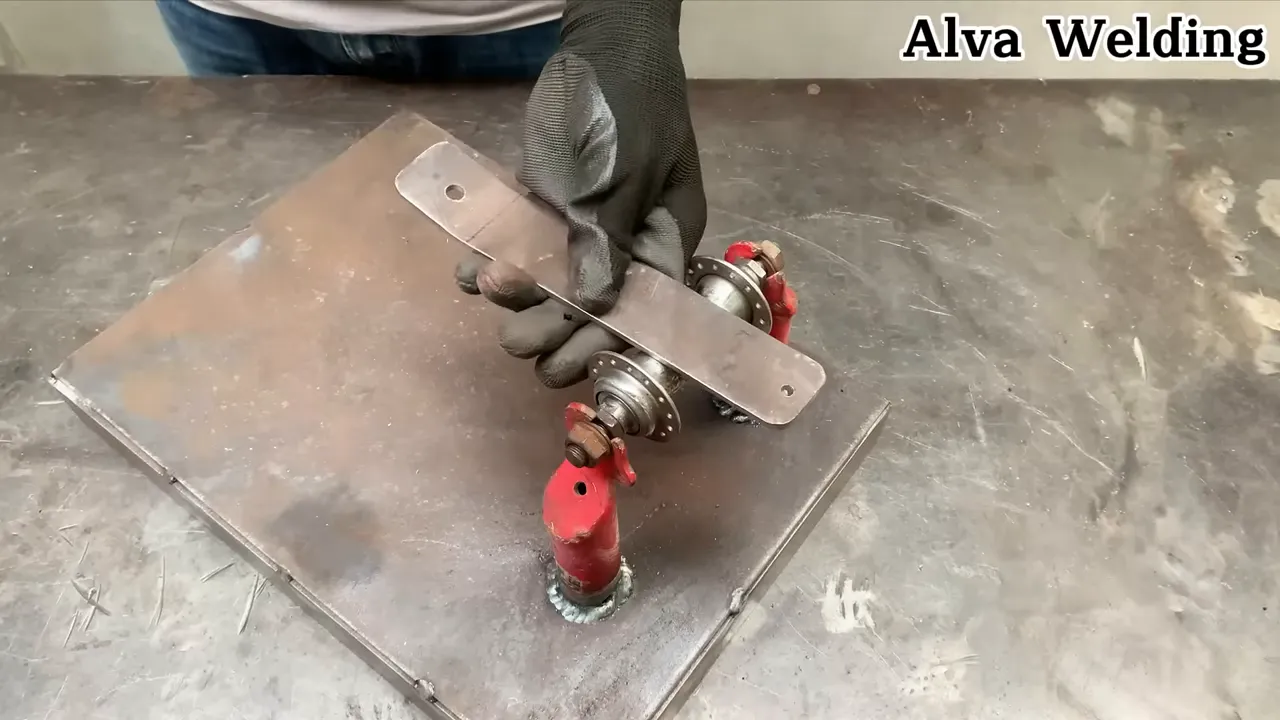
3. Mock up the mounting plate. Use the hub as a pivot point and tack-weld brackets to a plate that will hold the angle grinder securely. The grinder’s own arbor must carry the cutting wheel; do not attempt to mount a wheel to bicycle parts.
4. Fit the grinder into the bracket and align the cutting wheel with the guide. Adjust so the grinder passes smoothly along the intended cut line. Clamp the workpiece securely; never freehand feed stock into the disc.
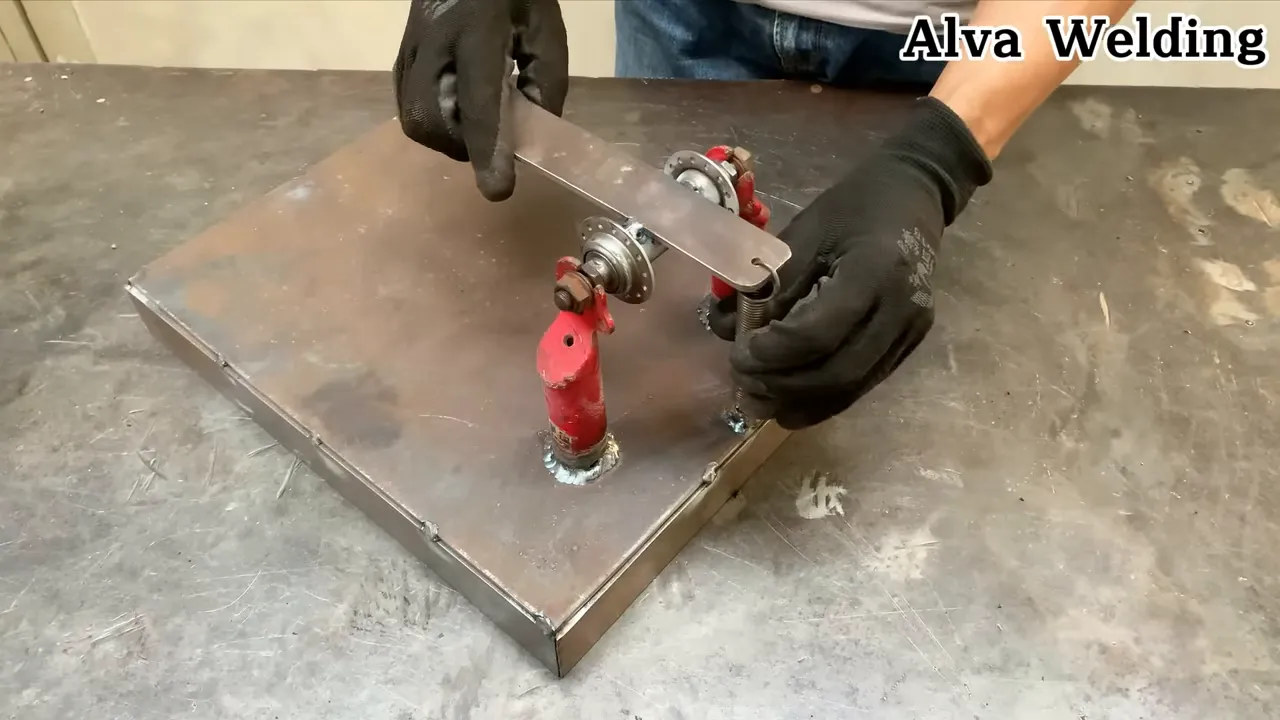
5. Reinforce welds and add stops or guards to keep the cut consistent. Finalize by grinding welds smooth and testing the tool with small scraps first.

⚠️ Tips, safety, and best practices
Always prioritize safety when converting salvaged parts into tools.
- Wear eye protection, gloves, a face shield, and hearing protection when cutting and welding.
- Ensure all welds are structurally sound before applying full load.
- Keep the OEM guard installed. Add a fixed secondary guard to direct sparks away from you and combustible materials.
- Always clamp the workpiece; never hold stock by hand while cutting.
- Use Type 1 (cut-off) wheels only, rated at or above the grinder’s RPM. Do not use grinding wheels for cutting; inspect wheels before use.
- Use a switchable outlet or foot pedal with an emergency stop and no-volt release; never tape the trigger. Prefer RCD/GFCI-protected power.
- Maintain a clear spark path, keep combustibles 3+ meters away, and have a Class ABC extinguisher nearby.
- Test your setup on scrap metal to confirm alignment and stability.
- If you are new to welding or metal fabrication, practice basic welds and seek guidance before attempting load-bearing fabrications.
🔁 Practical variations and upgrades
You can adapt this concept in many ways:
- Add a simple feed mechanism using a small sprocket and chain to feed stock consistently.
- Use different wheel sizes on the grinder to change cut depth and control.
- Mount the rig to a bench plate for repeatable cuts and easier handling.
🧰 A short, playful aside
I often speak out loud while working. Sometimes that turns into a repetitive mantra that helps me focus. I have been known to say things like:
“I’m going to make a little one.”
“1 tbsp of butter, 1 tbsp of flour, 1 tbsp of salt.”
These little lines are just me tuning into a steady rhythm as I fabricate and test parts. They keep the pace calm and methodical.
❓ Frequently asked questions
Can any old bike be used for this project?
Most steel-framed bikes offer usable parts. Lightweight aluminum frames are usable for some brackets but are harder to weld. Prioritize solid, undamaged steel components for structural elements.
Do I need to be an expert welder to build this?
Basic welding skills are necessary for structural attachments. If you are a beginner, practice on scrap metal first or have a more experienced friend help with critical welds.
What cuts is this tool best for?
This rig is ideal for controlled, repeatable cuts on thin to medium-thickness metal, trimming pipes, angle iron, and plate. It improves safety and consistency when compared to handheld grinding alone.
Is it safe to use a standard angle grinder in a fixed mount?
A fixed mount carries added risk and many manufacturers discourage improvised stationary setups. If you proceed, keep the OEM guard installed and add a fixed guard to reduce the risk of kickback, use a proper emergency stop/no-volt release, and clamp the work securely. Use only Type 1 cut-off wheels rated above the grinder’s RPM. For many users—especially beginners—a purpose-built cut-off saw is the safer choice. Always follow the grinder manufacturer’s safety recommendations. See this fixed guard discussion for more safety context.
Where can I learn more or get help?
Look for beginner welding courses, local makerspaces, or online tutorials covering welding basics, safe grinder use, and metal fabrication techniques. Practice on scrap and ask for guidance when in doubt.
Final notes
Turning an old bicycle into a useful cutting tool is a rewarding DIY project. It saves a bike from the scrap heap, reduces workshop costs, and gives you a practical tool tailored to your needs. Keep safety first, plan your mounts and welds carefully, and enjoy the process of making something new from something old.


