An old bike can become more than scrap metal, but a cutting rig demands careful planning.
This project uses bike parts to help stabilize an angle grinder, guide repeat cuts, and reduce hand strain. You’ll learn what parts to salvage, how to plan the build, and where the biggest safety risks sit before you start cutting metal.
Quick Answer
You can reuse strong steel bicycle parts to build a compact guide rig for an angle grinder. The grinder must still hold its own cutting wheel, and you must clamp the workpiece before every cut. For many beginners, a purpose-built cut-off saw offers a safer choice.
Key Takeaways
- Choose solid steel bike parts for mounts, pivots, and supports.
- Keep the angle grinder’s original guard and arbor in place.
- Clamp every workpiece before cutting to reduce movement and kickback.
- Use only Type 1 cut-off wheels rated for your grinder’s speed.
- Test the rig on scrap metal before you use it for real cuts.
♻️ Why recycle your old bike into a cutting rig?
Old bicycles can provide strong, useful metal parts. Frames, hubs, sprockets, and chainrings can serve as mounts, pivots, guides, and shop fixtures.
Instead of letting that frame rust in the yard or sending it to scrap, you can turn select parts into a practical tool. The goal is not to make a homemade saw from bike parts. The goal is to build a stable guide that helps you control an angle grinder more safely.
🛠️ What this bike-to-grinder rig does
This project uses key bicycle components to build a compact cutting rig. The rig stabilizes an angle grinder and guides it along a more consistent cutting path.
A good setup can help you make cleaner cuts on metal. It can also reduce hand fatigue and help control sparks, vibration, and kickback risk. You still need solid fabrication skills, careful alignment, and safe cutting habits.
Warning: A fixed angle grinder mount adds risk, so follow the grinder maker’s safety guidance and stop if the setup feels unstable.
🔧 Materials and tools you’ll need
Basic parts salvaged from the bike
- Frame or fork pieces for structural mounts
- Rear hub and sprocket for pivots, rotating elements, or mounts
- Chain or gears if you want a controlled feed mechanism
Workshop tools
- Angle grinder with the original equipment manufacturer (OEM) guard installed
- Welding gear for making brackets and mounts
- Metal cutting and drilling tools for shaping and fitting parts
- Clamps and measuring tools to keep the setup aligned and secure
Products Worth Considering
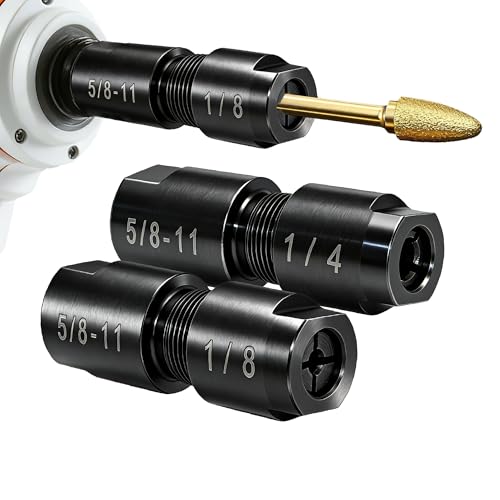
🔄【Instant Angle Grinder Conversion】Transform your standard 5/8"-11 threaded angle grinder into a precision die grinder instantly. This adapter accepts both 1/4" (6mm) and 1/8" (3mm) bits, enabling rotary carving, polishing, and engraving tasks with your existing power tool.

🏆【Scouring Specialist】: NuoDunco Polishing Flap Disc consists of more than 60 small square "scour pads" that remove rust, oxides and corrosion without harming the metal surface. It also brightens metal, restoring its original luster and color

1/4 inch angle die grinder has a free speed of up to 20,000 RPM with 0.32HP motor, small size, and high power, suitable for working in tight spaces.
⏱️ Estimated time and skill level
Plan on several hours for stripping the bike, mocking up the mount, welding, alignment, and test cuts. The exact time depends on your tools, bike parts, and welding skill.
This project suits people with basic metal fabrication experience. If you have never welded a load-bearing bracket, practice on scrap first or ask an experienced welder to check your work.
Products Worth Considering

【Value Sets】The grinder nut set includes 1 angle grinder wrench and 6 angle grinder nuts (3 inner flange nuts, 3 outer flange nuts). Please check size and compatibility before ordering. Please contact us with any questions or concerns. We prioritize your satisfaction .

Universal Fit: it is suitable for different types of angle grinders.Compatible with disc grinders for 100mm, 115mm, or 125mm angle grinder that have two mounting holes on the left and right side of the head, and the hole size is M8 or M10.

Complete Angle Grinder Nut & Wrench Kit : Includes 1 angle grinder wrench and 6 flange nuts (3 inner flange nuts + 3 outer flange nuts) for easy disc replacement and nut removal
🪚 Step-by-step: how to build the cutting rig
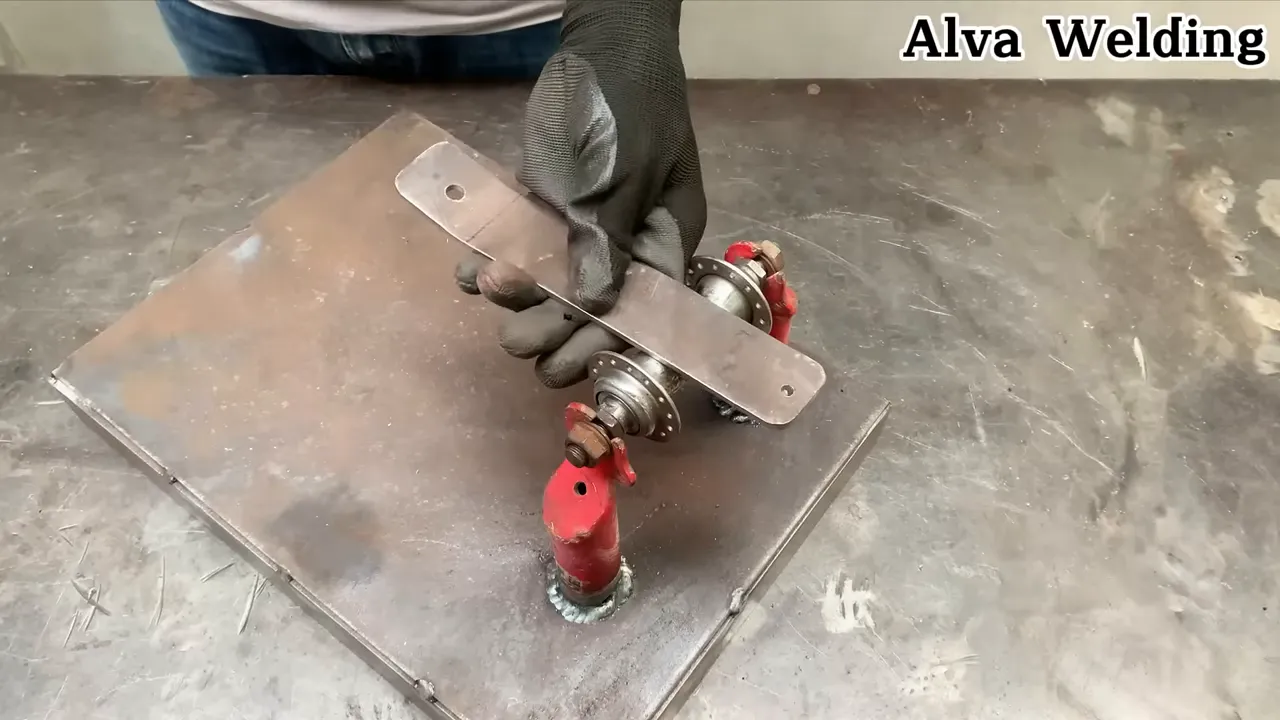
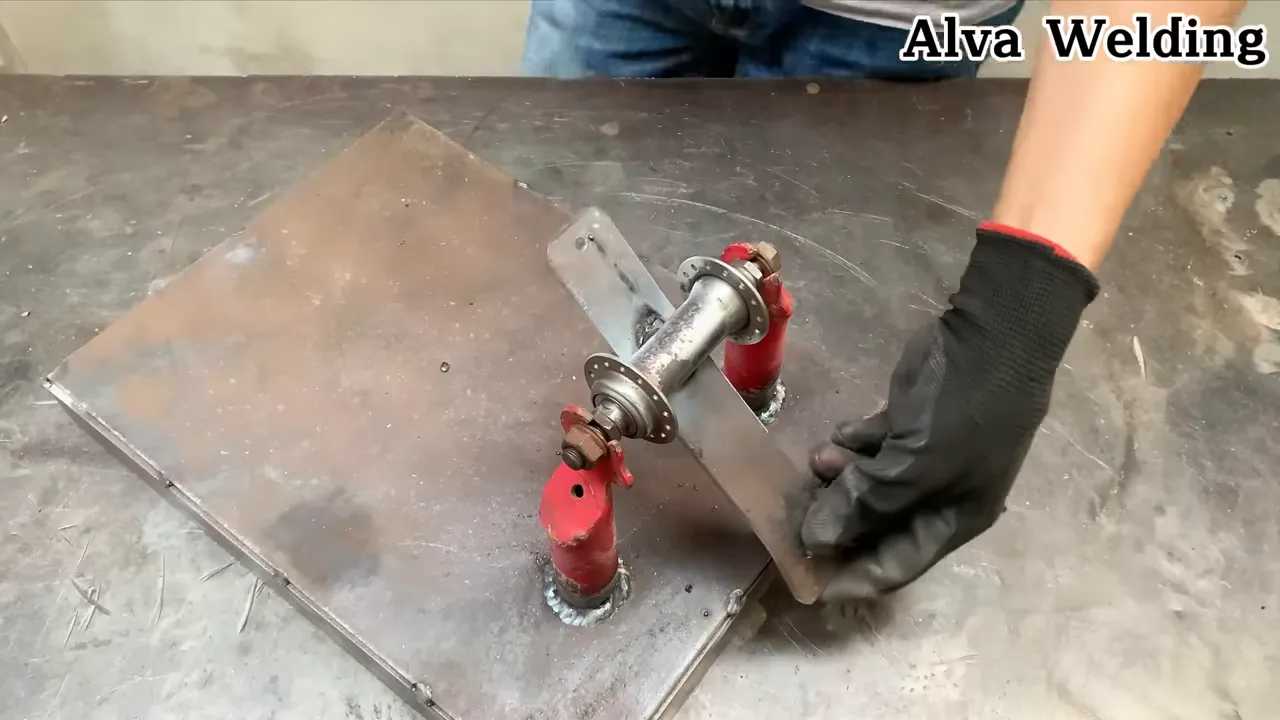
- Assess the bike and choose the strongest pieces. Prioritize thicker steel tubing, solid hubs, and parts with no cracks, deep rust, or bends.
- Strip the bike down to usable parts. Remove the chain, gears, handlebars, cables, and worn components you don’t need.
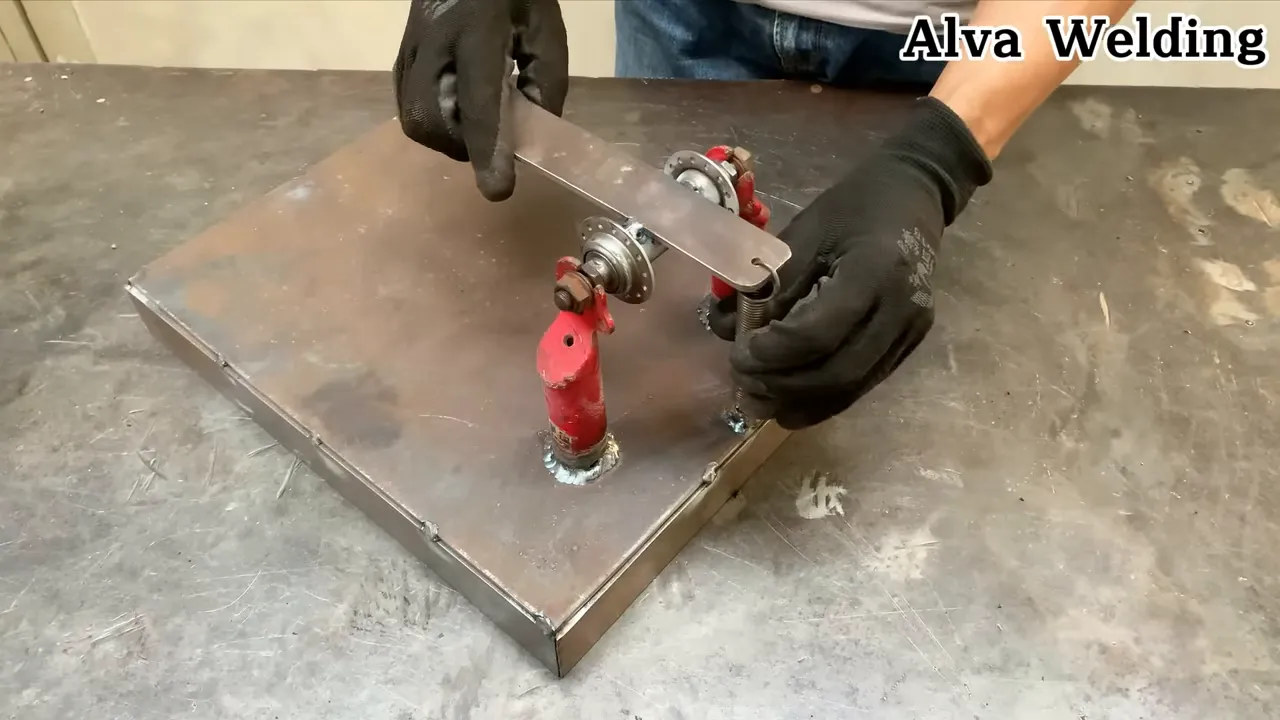
- Mock up the mounting plate. Use the hub as a pivot point and tack-weld brackets to a plate that will hold the angle grinder securely. The grinder’s own arbor must carry the cutting wheel. Do not mount a cutting wheel to bicycle parts.
- Fit the grinder and align the cut path. Place the grinder in the bracket and line up the cutting wheel with the guide. Adjust the mount until the grinder moves smoothly along the planned cut line. Clamp the workpiece securely; never freehand feed stock into the disc.
- Reinforce the frame and add stops or guards. Strengthen the welds, add travel stops, and install fixed guards where they help direct sparks away from you.
- Test the rig on scrap metal. Start with small pieces, check the cut line, and inspect the mount after each test cut.

⚠️ Tips, safety, and best practices
Always put safety before speed when you turn salvaged parts into tools.
- Wear eye protection, gloves, a face shield, and hearing protection when cutting and welding.
- Check every weld before you apply full cutting force.
- Keep the OEM guard installed. Add a fixed secondary guard to direct sparks away from you and combustible materials.
- Always clamp the workpiece; never hold stock by hand while cutting.
- Use Type 1 (cut-off) wheels only, rated at or above the grinder’s revolutions per minute (RPM). Do not use grinding wheels for cutting. Inspect wheels before use.
- Use a switchable outlet or foot pedal with an emergency stop and no-volt release. Never tape the trigger. Choose residual-current device (RCD) or ground-fault circuit interrupter (GFCI) protected power when you can.
- Keep a clear spark path, move combustibles at least 3 meters away, and keep a Class ABC extinguisher nearby.
- Test your setup on scrap metal to confirm alignment and stability.
- If you are new to welding or metal fabrication, practice basic welds and seek guidance before attempting load-bearing builds.
Pro tip: Mark the grinder’s travel path before welding the final bracket so you can catch alignment issues early.
🔁 Practical variations and upgrades
You can adapt this concept in several useful ways:
- Add a simple feed mechanism with a small sprocket and chain to move stock at a steady pace.
- Use different grinder wheel sizes to change cut depth and control.
- Mount the rig to a bench plate for repeatable cuts and easier handling.
- Add a stop block when you need several pieces cut to the same length.
🧰 A short, playful aside
You may find that steady work sounds and repeated phrases help you keep a calm pace. Some makers talk through each cut, measurement, and tack weld as they work.
The original shop rhythm for this build included lines like:
“I’m going to make a little one.”
“1 tbsp of butter, 1 tbsp of flour, 1 tbsp of salt.”
Use that kind of rhythm only if it helps you stay focused. Stop and recheck the setup any time the work feels rushed or unclear.
❓ Frequently asked questions
Can any old bike be used for this project?
Most steel-framed bikes offer usable parts. Lightweight aluminum frames may work for some non-structural brackets, but they need different welding skills and equipment. Prioritize solid, undamaged steel components for structural elements.
Do I need to be an expert welder to build this?
You need basic welding skills for structural attachments. If you are a beginner, practice on scrap metal first or ask a more experienced welder to help with critical welds.
What cuts is this tool best for?
This rig works best for controlled, repeatable cuts on thin to medium-thickness metal. It can help with trimming pipe, angle iron, and plate when the workpiece is clamped securely.
Is it safe to use a standard angle grinder in a fixed mount?
A fixed mount carries added risk, and many manufacturers discourage improvised stationary setups. If you proceed, keep the OEM guard installed, add a fixed guard where practical, use a proper emergency stop and no-volt release, and clamp the work securely. Use only Type 1 cut-off wheels rated above the grinder’s RPM. For many users, especially beginners, a purpose-built cut-off saw is the safer choice. Always follow the grinder manufacturer’s safety recommendations. See this fixed guard discussion for more safety context.
Where can I learn more or get help?
Look for beginner welding courses, local makerspaces, or online tutorials covering welding basics, safe grinder use, and metal fabrication techniques. Practice on scrap and ask for guidance when in doubt.
Safety Disclaimer: This article is for informational purposes only and does not replace professional training, manufacturer instructions, or local safety rules. Cutting, welding, and improvised tool mounts can cause serious injury. Get qualified help if you are unsure about any part of the build.
Final notes
Turning an old bicycle into a useful cutting rig can save material and solve a real workshop problem.
Start with solid steel parts, plan the mount carefully, and test each change on scrap before you rely on it. Keep the grinder’s own safety parts in place, clamp every workpiece, and stop whenever the setup feels unstable.
With patience and safe habits, you can give an old bike a second life as a practical shop aid.
References
- Angle Grinder Wheel Guards Safety Discussion — ToolGuyd
- Beginner Welding Courses — Lincoln Electric
- Welding Fundamentals — American Welding Society

