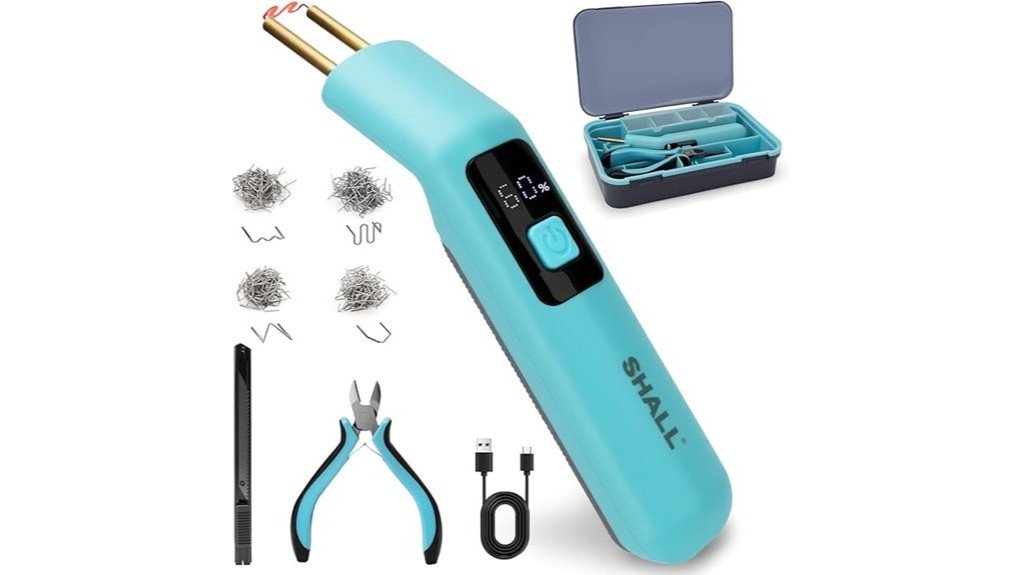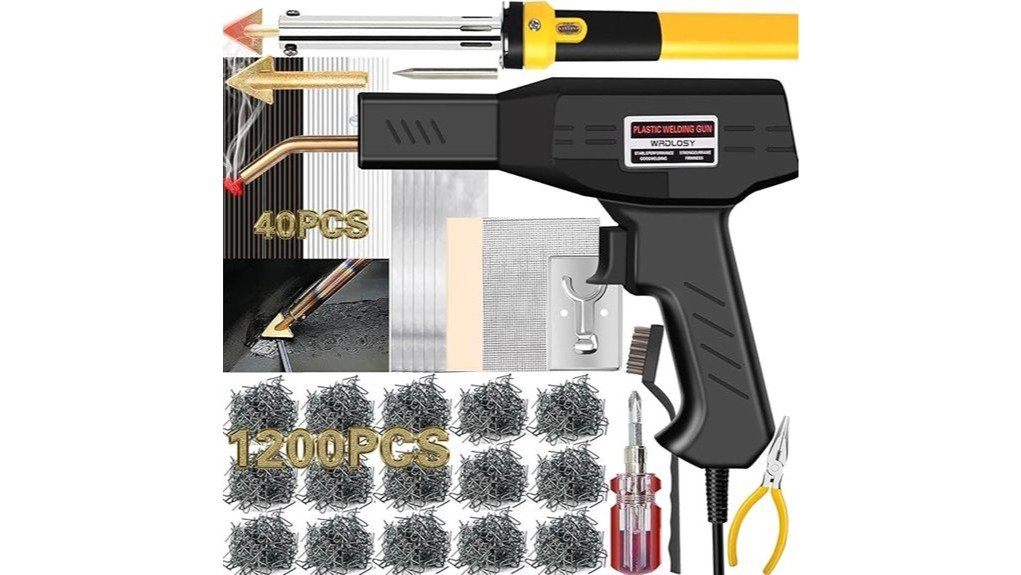
Quick answer: The 220W plastic welder kit is a hot-stapler style repair set. Per the listing it combines a 220W welder, a 150W welding iron, 1,200 hot staples, 40 plastic rods, four tips, aluminum repair tape and stainless steel mesh. It suits non-structural cracks in bumpers, trim and household plastic. Skip it for safety-critical parts.
Cracked tabs and split bumper covers are often cheaper to repair than replace, but glue alone rarely holds a flexing crack. The 220W plastic welder kit adds mechanical reinforcement: you press heated staples across the crack, then finish with rods, tape or mesh where needed. This review covers what the kit includes, who it fits, how to use it and where it falls short. We have not tested it ourselves, so specs below are as stated on the listing; confirm them before you buy.
Specs at a glance (per the listing)
| Item | Per the listing |
|---|---|
| Type | Plastic welder and hot staple repair kit |
| Main tool | 220W plastic welder |
| Second tool | 150W welding iron |
| Hot staples | 1,200 pieces |
| Plastic rods | 40 pieces |
| Tips | Four welding tips |
| Support materials | Aluminum repair tape and stainless steel mesh |
| Docs | User manual |
| Check before buying | Voltage and plug type, brand, warranty and return terms |
What the 220W plastic welder kit includes
The main tool is a 220W hot stapler. The 150W iron is a second heat source for smoothing, shaping and melting rod material into gaps. The 1,200 staples are enough for practice pieces as well as real repairs, which matters because staple depth and heat take a few tries to learn.
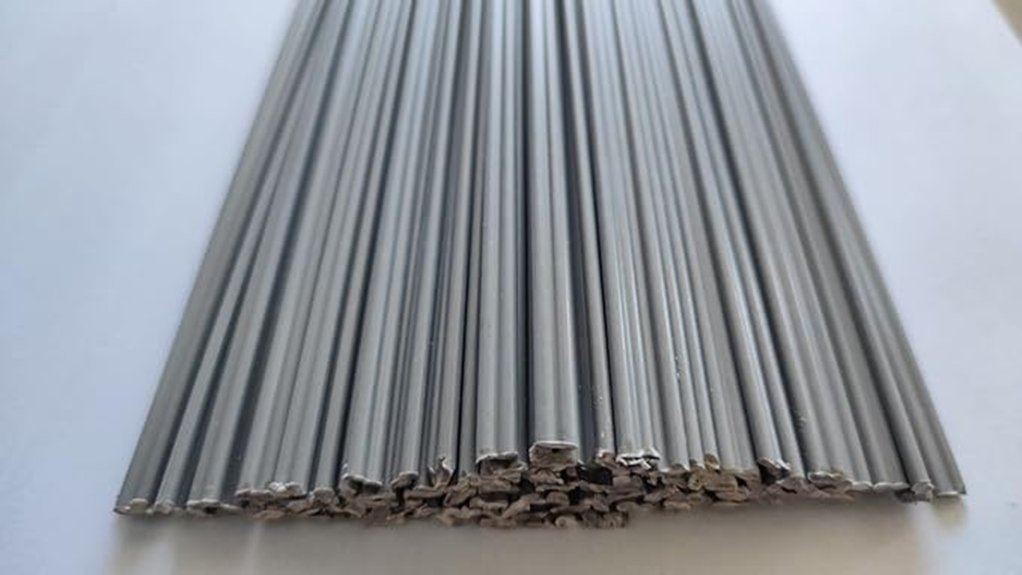
The rods are filler for small gaps, and the four tips let you switch shapes for different jobs. The aluminum tape and stainless mesh give you a way to back up a crack or hole instead of relying on staples alone.
Who it fits
Best for
- Cracked bumper covers, tabs and trim that are not structural.
- Plastic furniture, bins, housings and hobby projects.
- Buyers who want staples, rods, mesh and tape in one box.
Skip if
- The part is load-bearing, a fuel part, or tied to airbags or sensors.
- You are not comfortable with hot tools and fumes.
- You need confirmed brand, warranty or certification details first.
How to use it
- Identify the plastic from the molded code on the back of the part. If there is none, test on a hidden spot.
- Clean the area, remove loose bits and let it dry.
- Align the crack and hold it closed with clamps or tape.
- Practice on scrap of the same plastic to learn heat time and staple depth.
- Press staples across the crack, working from the back when you can, at intervals along its length.
- Add mesh or rod material for backing on wider damage, then let everything cool before trimming.
- Sand and finish only after the repair has cooled fully.
Pro tip: Do not push staples through thin plastic. You want them embedded, not burned through the face.
Safety
Safety note: Work in a ventilated space, wear eye protection and heat-resistant gloves, and keep the tool away from flammables. Heated plastic can give off fumes that should not be breathed. Do not use a staple repair on fuel, pressure, airbag, high-voltage or structural parts. Replace those or use a qualified shop.
Pros and limitations
Pros
- Two heat tools, 220W and 150W, in one kit.
- A large staple supply for repeat repairs.
- Rods, tips, tape and mesh widen the repairs you can try.
- Includes a manual for first-time users.
Limitations
- Brand, dimensions, weight and warranty are not confirmed here, so check the listing.
- Results depend on the plastic type and your technique.
- Staples can show on the visible face unless you finish over them.
Alternatives to consider
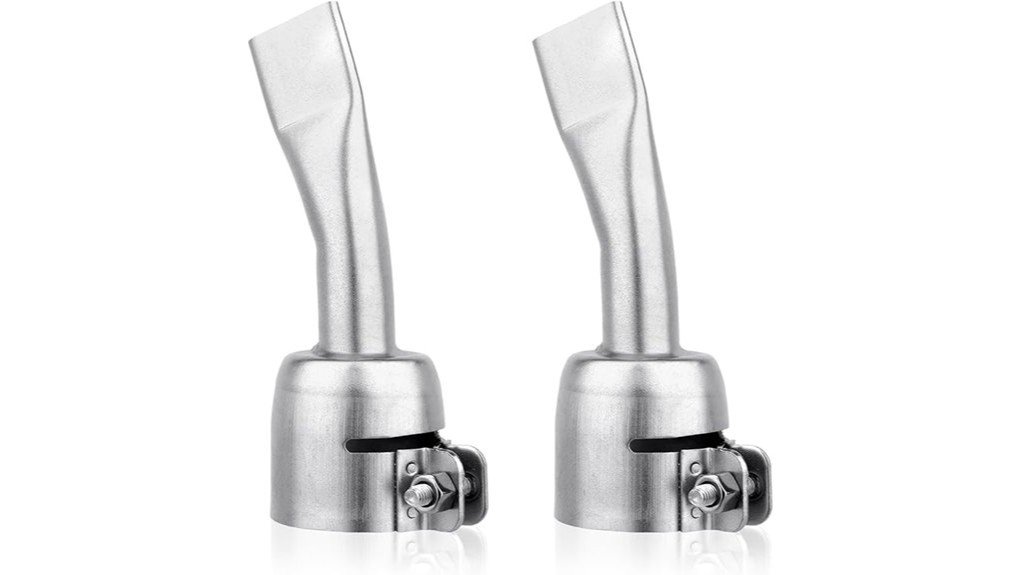
Glue and epoxy are easier for small cosmetic cracks but add no mechanical strength. A hot-air plastic welder with rods suits long seams and bigger rebuilds. A staple kit like this one is the middle option for cracks that need stitching.
Related guides: 220W plastic welder kit with toolbox · 220W 2-in-1 plastic welder kit · 220W plastic welder with 2,000 staples · plastic welding staples guide
Frequently Asked Questions
Can the 220W plastic welder kit repair every type of plastic?
No. Hot-stapler repairs work best on plastics that soften evenly, such as many bumper and household plastics. Check the molded code, test on scrap, and avoid unknown plastics.
Can it repair a cracked car bumper?
It can reinforce non-structural cracks and broken tabs on a bumper cover. Do not use it for parts that affect crash protection, sensors or lighting alignment.
Is the kit beginner friendly?
It includes a manual and plenty of staples to practice with, but it uses heat and melted plastic. Practice on scrap first and wear eye and hand protection.
How do I avoid burning through the plastic?
Let the tool reach temperature, press the staple in with light pressure, and stop when it sits flush. Thin plastic needs less heat and a shorter press.
What should I check on the listing before buying?
Voltage and plug type, the exact contents, brand, warranty and return terms. This page does not confirm those details.
Bottom line
The 220W plastic welder kit is a sensible all-in-one for DIY plastic repairs, as long as you pick non-structural jobs and practice first. If you want a simpler, lower-heat fix for a tiny crack, glue or epoxy may be enough.