To test weld strength at home, you’ll want to start by cutting groove welds into strips. Polish the edges with a Scotch-Brite grinder and use an etching solution to assess penetration depth. Make certain you warm the weld area before etching for better results. Always prioritize safety by wearing PPE and working in a well-ventilated space. By avoiding common mistakes, you can achieve accurate evaluations. Explore further techniques to enhance your welding skills and quality assessments.
How to Effectively Test Your Welds at Home
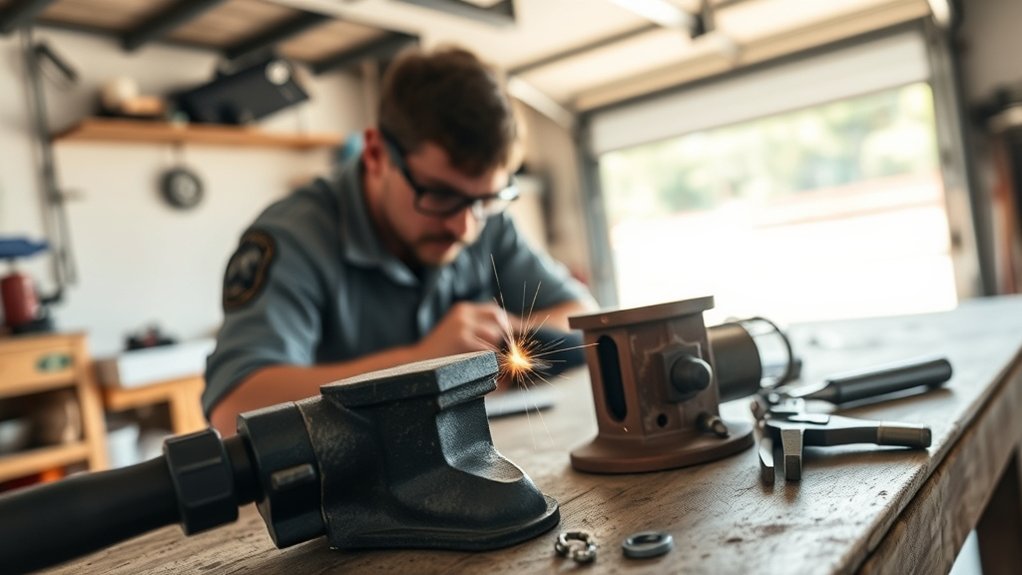
To effectively test your welds at home, start by cutting groove welds into strips for a straightforward evaluation of weld quality. This method allows for precise inspection of penetration and fusion. After cutting, polish the ends of the strips with a Scotch-Brite grinder to prepare them for etching. It’s essential to apply an etching solution immediately after polishing, as the reaction is more effective on warm surfaces, revealing the depth of the weld penetration.
You can apply this testing technique to fillet joints as well, following similar polishing and etching steps. These methods not only help you assess the quality of your welds but also provide a tangible way to track your progress and enhance your skills. By regularly practicing these techniques, you empower yourself to refine your welding abilities and achieve greater mastery in your craft. Additionally, understanding flux core welding can further improve your overall welding quality and technique.
Essential Tools for Weld Testing
Essential tools for weld testing are fundamental for ensuring the integrity and quality of your work. First, a Scotch-Brite grinder is essential for polishing weld ends, preparing them effectively for testing and etching. When it comes to evaluating weld quality, groove welds can be cut into strips, allowing for practical strength testing. Always prioritize safety; personal protective equipment (PPE), including gloves and goggles, is vital to protect against hazards during the testing process. Proper ventilation is also crucial, especially when working with etching solutions, as harmful fumes can pose serious health risks. By equipping yourself with the right testing equipment and adhering to safety protocols, you can confidently assess the strength and quality of your welds. These essential tools not only enhance your testing capabilities but also empower you to maintain high standards in your welding projects. Additionally, using flame-resistant clothing during the testing process can help protect you from potential hazards.
Products Worth Considering

Professional Ggs Flow Tester / Meter Peashooter Style

OneTigris Tactical Hood with Mesh Mask: Polyester fabric that's light, and highly breathable

NOTES - The welding protection spray is used for cleaning and keeping the welding nozzles clean. It also protects the part to be welded from spattering without affecting the weld seam.
Step-by-Step Guide to Groove Weld Testing
To effectively test groove welds, you’ll need specific tools and materials. Begin by cutting the welds into manageable strips and polishing the ends to prepare for etching. This step-by-step guide will outline the testing procedure, enabling you to assess and refine your welding skills efficiently. Additionally, understanding the importance of flux core welding can help improve the quality of your welds, ensuring stronger joints.
Products Worth Considering

RECOMMENDED APPLICATIONS: Cleaning, finishing, surface preparation, rust removal, light scale removal and coating removal
![3M Scotch-Brite BF-DC Aluminum Oxide Deburring Disc - Medium Grade - Arbor Attachment - 6 in Dia 1/2 in Center Hole - 4000 Max RPM - 64145 [PRICE is per DISC]](https://m.media-amazon.com/images/I/51-kn0CrcwL._SL500_.jpg)

3M Scotch Brite 18730 Roloc Bristle Disc 50 Grade (1 disc)
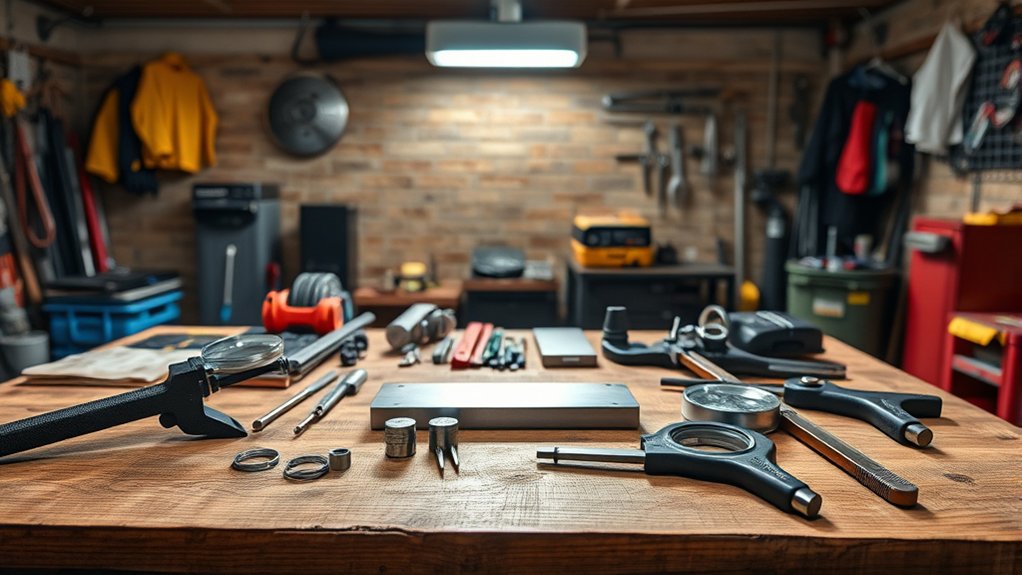
Necessary Tools and Materials
Groove weld testing requires specific tools and materials to guarantee accurate assessment of weld quality. Start by cutting the weld into strips of consistent width; this guarantees uniformity in your tests. Use a Scotch-Brite grinder for thorough polishing of the weld strip ends, providing a clean surface essential for effective weld inspection techniques. Once polished, spray an etching solution on the warm surface to enhance visibility of weld penetration. Allow it to bubble for a few minutes before rinsing, revealing depth and quality. Don’t forget your safety gear—gloves, goggles, and proper ventilation are essential when using etching solutions. These preparations are critical for reliable testing accuracy methods.
Testing Procedure Steps
Testing groove welds at home involves a systematic approach to guarantee accurate results. Start by cutting the welds into strips, ensuring clean edges for effective evaluation. Polish the ends of the strips with a Scotch-Brite grinder to prepare them for the etching process. Next, spray a warm, polished weld with an etching solution and observe the bubbling reaction, which helps assess penetration depth. Allow the etching solution to sit for a few minutes before rinsing it off; this will reveal the depth of weld penetration visually. This method not only enhances your welding skills but also aids in weld failure analysis, providing clear, tangible results for self-assessment and practice.
Polishing Welds: Tips for Best Results
Polishing welds is essential for ensuring a smooth surface that enhances the effectiveness of etching. You’ll find that using a Scotch-Brite grinder helps achieve a uniform finish, which is critical for accurate testing results. Remember to keep the weld warm during polishing to improve etching solution adhesion and focus on consistency across the entire weld area. Additionally, maintaining vibration damping is crucial for achieving high-quality welds that can withstand rigorous testing.
Essential Polishing Techniques
Achieving a smooth, polished finish on welds is essential for accurate quality assessment. Start with a Scotch-Brite grinder to refine your weld surface, ensuring it’s clean for testing. Apply consistent, even pressure while polishing; this prevents uneven surfaces that could skew your results. Before applying an etching solution, make sure the weld is warm, as this enhances the etching process and reveals penetration better. Immediately after polishing, use the etching solution to prevent oxidation, which can obscure crucial quality indicators. Regular practice of these polishing techniques will not only enhance your skills but also elevate the overall quality of your welds. Mastering these methods empowers you to achieve the precision you desire in your welding projects.
Tools for Effective Polishing
To achieve effective polishing of welds, selecting the right tools is vital. A Scotch-Brite grinder stands out as an effective choice, providing a smooth finish without excessive material removal. Before you begin, confirm thorough surface preparation by cleaning the weld area to eliminate contaminants. This step is essential for achieving peak results. When polishing, maintain a consistent direction to prevent uneven surfaces that could compromise weld integrity. Keep your workspace well-lit for detailed inspection of the weld’s surface as you progress. Regularly inspect your polishing pads or discs, replacing them as needed to maintain efficiency. By following these polishing techniques, you’ll enhance both the appearance and strength of your welds, empowering your metalworking projects.
The Art of Weld Etching: A Quick Overview
While understanding weld integrity is essential for any welder, weld etching offers a straightforward method to visually assess penetration depth and overall weld quality. This technique involves spraying a solution on warm, polished welds to create bubbles that act as visual penetration indicators. Immediate application after polishing is vital; otherwise, the results may be compromised.
Weld etching techniques are versatile, suitable for both groove welds and fillet joints, requiring the same preparation steps. After applying the etching solution, wait a few minutes to enhance visibility before rinsing it off. This brief waiting period allows the bubbles to form effectively, providing clearer insights into weld integrity.
Utilizing weld etching not only improves your skills but also offers tangible feedback, making it an invaluable tool for both beginners and seasoned welders alike. Additionally, this method can help ensure uniform stretching of your welds, contributing to their overall strength and durability. Embrace this method for a more profound understanding of your welding projects.
Using Etching Solutions for Weld Analysis
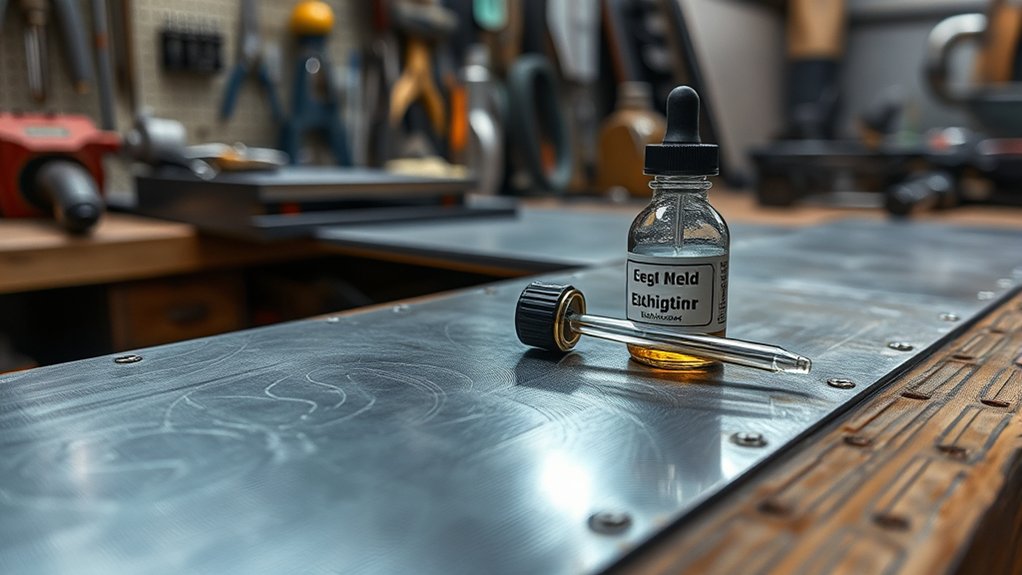
Understanding how to use etching solutions for weld analysis can greatly enhance your evaluation of weld quality. Begin by preparing your welds—ensure they’re warm, polished, and smoothed, especially for fillet joints. Apply the etching solution promptly, as this will help reveal penetration depth through enhanced visibility. You’ll notice bubbling as the solution reacts with the surface, providing immediate feedback on weld penetration evaluation. Wait a few minutes to allow the etching techniques to work effectively before rinsing it off. This process not only offers insight into the integrity of your welds but also serves as a valuable practice tool, enabling you to refine your welding skills at home. By mastering these techniques, you empower yourself to produce higher-quality welds and develop a deeper understanding of welding dynamics. Additionally, ensuring proper torch alignment can significantly influence the quality of your welds, making it crucial for optimal results.
How to Check Weld Penetration in Fillet Joints
Checking weld penetration in fillet joints is vital for guaranteeing structural integrity and weld quality. Start by polishing the weld area with a Scotch-Brite grinder, creating a smooth surface for accurate assessment. Once polished, spray an etching solution onto the warm weld; immediate application is essential for effective results. You’ll notice the etching solution bubbling upon contact, indicating a reaction with the weld surface and revealing penetration depth. Allow the solution to sit for a few minutes before washing it off; this enhances visibility of the weld quality. This method provides a clear visual assessment of weld penetration, highlighting any issues that may need addressing. Additionally, ensure you are wearing proper PPE to protect yourself during the inspection process. By mastering this technique, you gain valuable insights into your welding practices, empowering you to refine your skills and guarantee the integrity of your work.
Top 5 Mistakes to Avoid While Testing Your Welds
Testing your welds is essential for guaranteeing quality and safety, but common pitfalls can lead to misleading results. Here are the top five mistakes to avoid:
| Mistake | Consequence |
|---|---|
| Not polishing before etching | Surface imperfections obscure weld quality |
| Skipping pre-etch heating | Poor visibility of penetration depth |
| Neglecting safety gear | Exposure to harmful chemicals |
| Insufficient etching time | Incomplete assessments of weld integrity |
| Overlooking ventilation | Health risks from harmful fumes |
Proper surface preparation and adherence to etching techniques are vital for accurate inspection methods. Always make sure you give the etching solution enough time to react and work in a well-ventilated area. By avoiding these mistakes, you enhance your weld quality assessments and guarantee a safer testing environment. Understanding maximum fillet weld size is also crucial to ensure structural integrity during your welding projects.
Must-Know Safety Tips for Home Weld Testing
After addressing common mistakes in weld testing, it’s crucial to prioritize safety in your home workspace. Proper safety equipment and a thorough hazard assessment can greatly reduce risks. Here are three must-know safety tips:
- Wear Personal Protective Equipment (PPE): Always don gloves, goggles, and a face shield to shield yourself from sparks and harmful chemicals during weld testing.
- Guarantee Proper Ventilation: When using etching solutions, make sure your workspace is well-ventilated to avoid inhaling toxic fumes.
- Keep Fire Safety in Mind: Keep a fire extinguisher handy and guarantee your work area is clear of flammable materials to prevent accidents.
Regularly inspect your safety gear and equipment to confirm they’re in good working condition. Taking these precautions will empower you to test your welds confidently and safely, enhancing your home workshop experience.
Frequently Asked Questions
How to Test Welds at Home?
To test welds at home, perform a visual inspection for defects, then conduct destructive testing by cutting the welds into strips. Analyze the weld integrity through examination and guarantee safety throughout the process.
Can You Make $100,000 a Year Welding?
Absolutely, you can make $100,000 a year welding. With the right skills and certifications, your welding career’s income potential skyrockets, especially in high-demand areas. Don’t underestimate the power of continuous education and networking.
How Do You Test Weld Strength?
To test weld strength, perform tensile testing to measure the weld’s ability to withstand pulling forces, and conduct bend testing to assess flexibility. These methods provide critical insights into the weld’s durability and integrity.
What Are the 4 Methods of Testing After Welding?
You can use four methods: visual inspection, non-destructive testing, destructive testing, and the etching method. Each provides unique insights into weld quality, ensuring safety and reliability in your projects while liberating your craft.
Conclusion
So, you’ve bravely ventured into the world of weld testing at home—congratulations! As you polish those joints and etch your way to glory, just remember: a failed weld isn’t a disaster; it’s a character-building exercise, right? After all, who needs structural integrity when you’ve got a riveting story about your “unique” welding technique? Embrace the chaos, avoid the mistakes, and maybe—just maybe—you’ll turn your backyard into a welding wonderland, or at least a cautionary tale!


