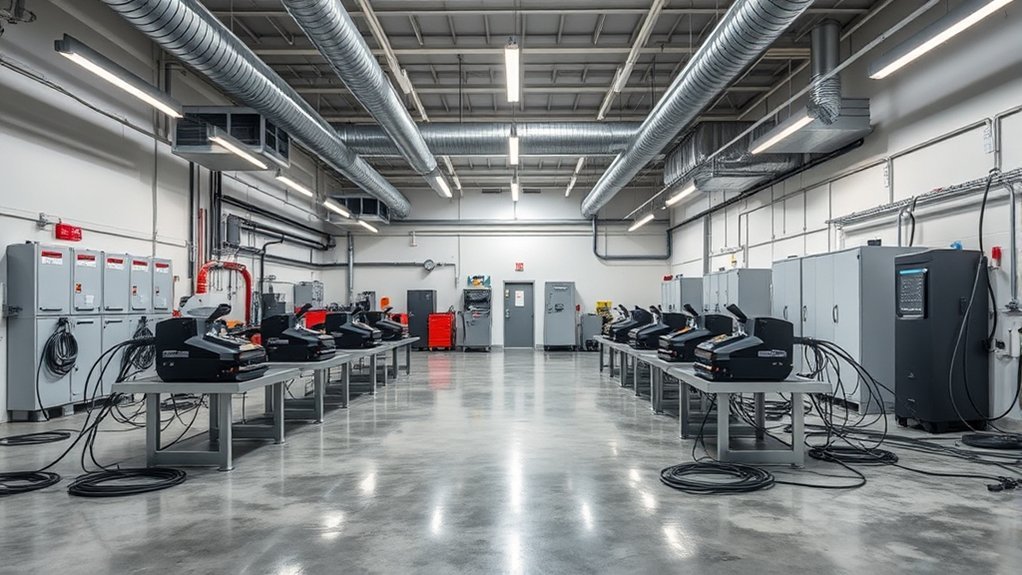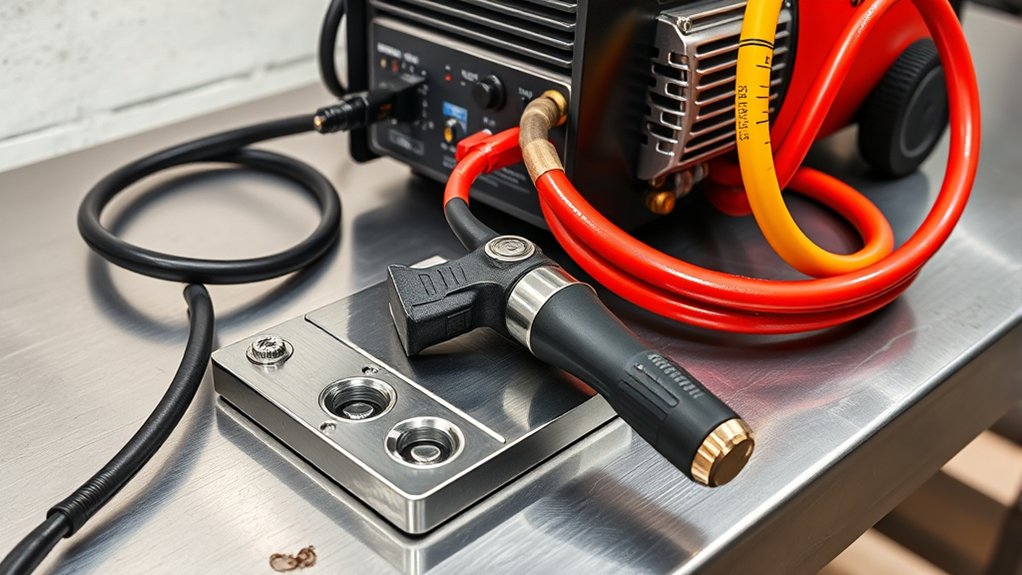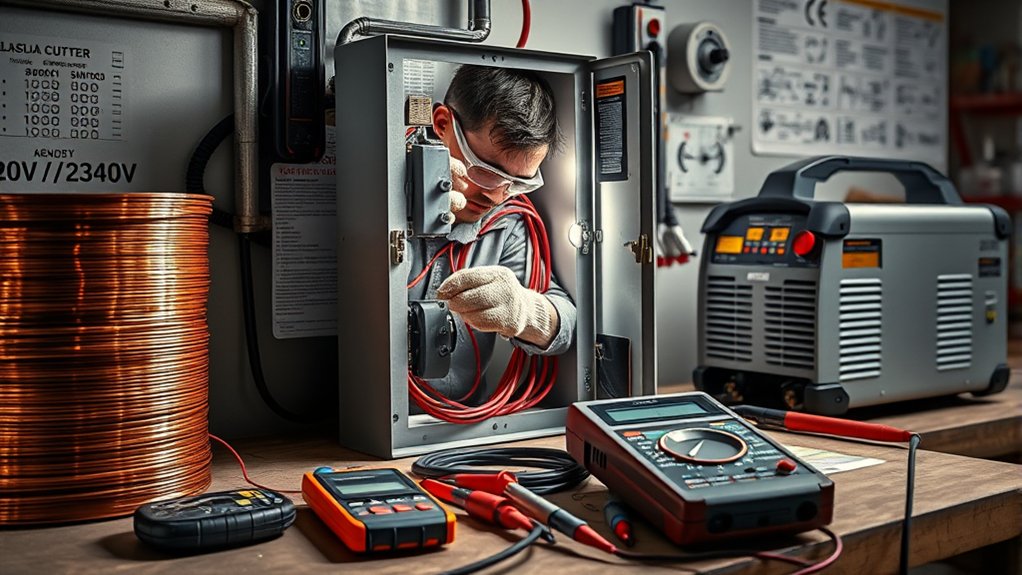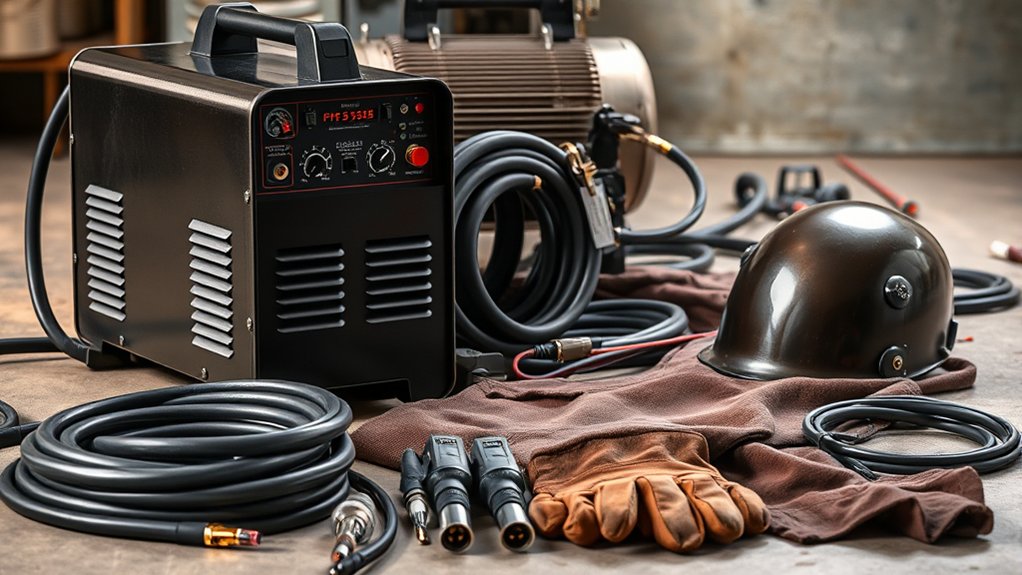
A plasma cutter needs more than electricity and a torch. A safe, reliable setup also depends on the correct input circuit, a clean and dry gas supply, compatible consumables, a solid work connection, proper personal protective equipment, fume control, and a fire-safe cutting area. Check the exact requirements in your machine’s operator manual before connecting power or striking an arc.
Quick Answer
To use a plasma cutter, you need the cutter and compatible torch, the manufacturer-specified power circuit, clean and dry compressed air or approved gas, a secure work clamp, correct consumables, rated eye and face protection, flame-resistant clothing, ventilation, and a fire-safe work area.
Key Takeaways
- Use the voltage, circuit size, plug, extension-cord limits, and air specifications listed for your exact plasma cutter.
- Size the compressor by delivered airflow at the required pressure, not by tank size alone.
- Wear dry flame-resistant clothing, leather gloves, safety footwear, hearing protection, and correctly shaded eye and face protection.
- Attach the work clamp to clean bare metal close to the cut and use consumables made for the torch and amperage.
- Control fumes at the source, remove combustibles, and never cut a sealed or contaminated container.
At a Glance
| Time Required | About 10–20 minutes for a routine pre-cut setup; allow more time to read the manual and inspect a new machine. |
| Difficulty | Beginner to intermediate, with hands-on training and the operator manual. |
| Tools Needed | Plasma cutter, compatible torch and work lead, approved gas supply, air filter or dryer when required, correct consumables, PPE, scrap metal, guide or straightedge, and a suitable fire extinguisher. |
| Cost | Equipment-dependent. Confirm power and air requirements before buying; consumables, filters, and PPE are recurring costs. |
What You Need for a Plasma Cutter
Before cutting, make sure the full system is ready. A basic handheld setup normally includes:
- A plasma power supply with a compatible hand torch and work lead.
- The correct input plug, branch circuit, breaker, and grounding arrangement for the machine.
- Clean, dry, oil-free compressed air or another gas specifically approved by the manufacturer.
- An air hose, regulator, filter, water separator, and dryer when the manual or shop conditions require them.
- Correct electrodes, nozzles, shields, swirl rings, or cartridge consumables for the torch and selected amperage.
- A clean, electrically conductive workpiece and a stable metal cutting table or support.
- Eye, face, hand, body, foot, hearing, and respiratory protection selected for the hazards.
- Local exhaust or another effective ventilation system, plus fire-control equipment.
Some portable cutters have a built-in air compressor, while others need a separate shop-air supply. Do not assume that a compressor, plug adapter, torch parts, or drag shield from another model will work safely.
Essential Power Supply for Plasma Cutting
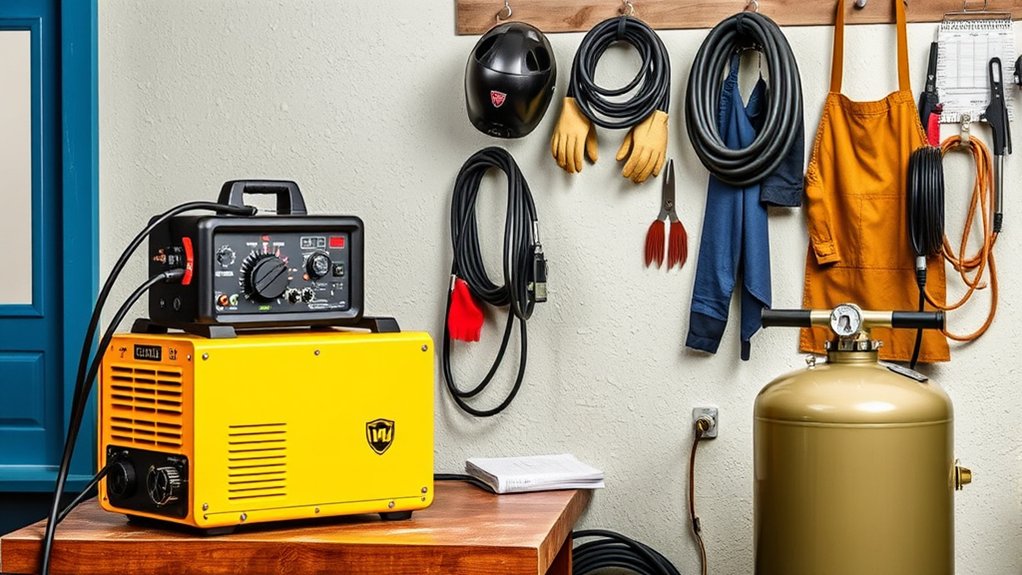
Your plasma cutter needs the input voltage and circuit capacity stated on its nameplate and in its owner’s manual. Small portable machines may support 120-volt input, 240-volt input, or both. Larger systems may require a dedicated higher-capacity circuit or three-phase power.
Do not choose a breaker size from the cutter’s output amperage. Output current at the torch is not the same as input current from the wall. Follow the manufacturer’s input-current and branch-circuit instructions, and use a qualified electrician when a new receptacle or circuit is needed.
The safe circuit is the one specified for the exact cutter, input voltage, duty cycle, and cord length—not a circuit chosen from a generic plasma-cutter chart.
Dual-voltage machines can be useful in more than one shop, but their cutting capacity may change with the available circuit. The Miller handheld plasma guide notes that input power and breaker capacity can affect the performance of some 120/240-volt units. Review the manual before changing voltage or using an adapter.
Use an extension cord only when the manufacturer allows it. The cord must have the correct conductor size, insulation rating, plug, grounding path, and maximum length. An undersized or overly long cord can cause voltage drop, poor performance, overheating, or nuisance breaker trips.
Warning: Keep the torch, work lead, cables, gloves, clothing, and floor dry. Disconnect input power before opening the machine or performing service beyond the operator-level tasks allowed in the manual.
Why Clean Compressed Air Matters in Plasma Cutting
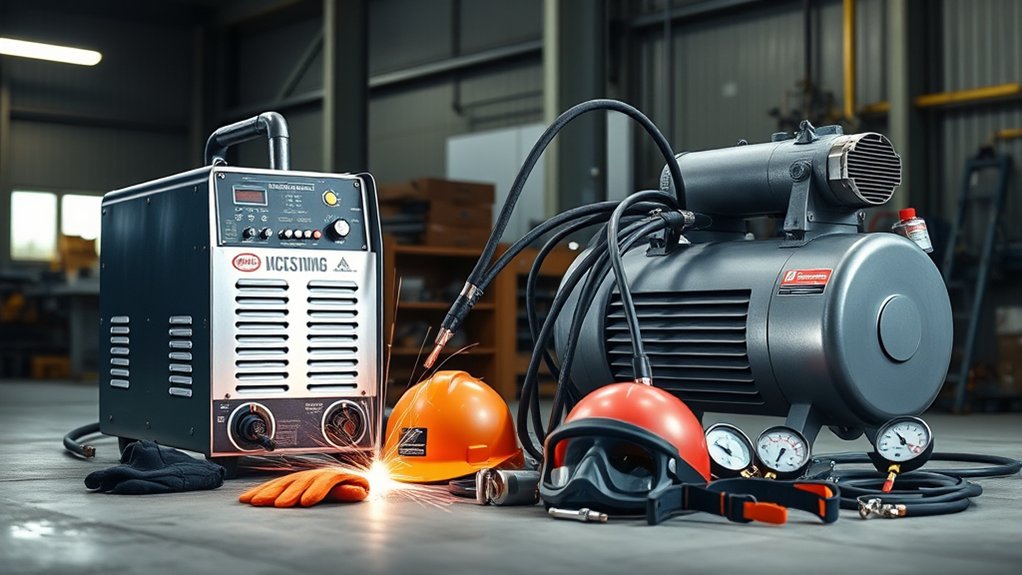
Compressed air forms and constricts the plasma jet on many handheld systems. It also helps remove molten metal from the kerf. The cutter needs enough airflow while the torch is actually flowing gas, not only enough pressure while the machine is idle.
Pressure and airflow requirements vary by model. Use the exact inlet-pressure range and continuous SCFM or L/min rating in the manual. Do not size a compressor from tank gallons alone. A large tank can delay pressure loss, but it cannot make up for a pump that delivers too little air during a long cut.
Clean, dry, oil-free air protects the torch and helps maintain cut quality. Moisture, compressor oil, rust, and dirt can disturb the arc, shorten consumable life, and create rough or incomplete cuts.
- Compare the compressor’s delivered SCFM at the required pressure with the cutter’s demand.
- Allow enough reserve capacity so the compressor can keep up during the longest expected cut.
- Install the filtration, water separator, coalescing filter, or dryer recommended for the system.
- Drain the compressor tank and moisture traps regularly.
- Check hoses, quick-connect fittings, and regulators for leaks or restrictions.
- Set pressure while air is flowing if the manual requires a dynamic-pressure check.
Pro Tip: If the arc sputters, starts poorly, or leaves a rough edge, check flowing air pressure, leaks, and moisture before replacing several parts at once.
Necessary Personal Protective Equipment for Plasma Cutting
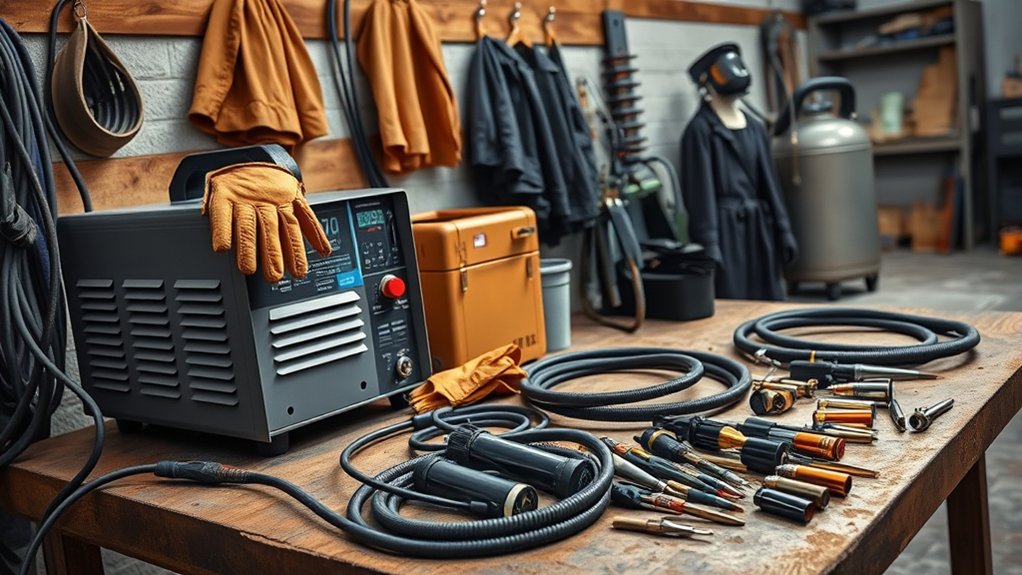
Plasma cutting exposes you to bright ultraviolet and infrared radiation, flying sparks, molten metal, sharp edges, noise, electricity, and fumes. Protect your eyes, face, skin, hands, feet, and hearing before the torch is energized.
- Eyes and face: Use a plasma-cutting helmet, hand shield, or face shield with the correct filter shade for the amperage and applicable safety standard. Wear safety glasses with side protection under the primary face protection when required by the PPE manufacturer or workplace rules.
- Hands: Wear dry leather welding gloves or gauntlets that protect against heat, sparks, and sharp cut edges.
- Body: Wear flame-resistant long sleeves and long pants. Avoid exposed cuffs, open pockets, and synthetic garments that can melt.
- Feet: Wear sturdy leather safety footwear and keep pant legs over the boots so sparks cannot fall inside.
- Hearing: Use suitable hearing protection when the process, air system, or work environment produces hazardous noise.
- Breathing protection: Use ventilation first. Respirator selection must match the metal, coating, fume level, and work conditions; workplace respirator use also requires a compliant respiratory-protection program.
Do not use one shade number for every plasma cutter. The OSHA eye and face protection table lists minimum filter shades for covered workplace operations, while manufacturers may give additional amperage-based instructions. Use the more protective requirement that applies to the job.
Warning: Clear safety glasses alone do not protect against the intense arc radiation from plasma cutting. Protect nearby workers and bystanders with suitable screens and eye protection as well.
Products Worth Considering

Impact resistant helmet with 6 ventilation holes for high breathability

【Professional Welding Safety Goggles】Made of high quality PC + ABS material, features anti-ultraviolet, infrared radiation, anti-glare, which can resist 99% of the harmful light to the eyes.

Detachable Design: Our welding helmet offers the convenience of a separable design where the face shield and the welding goggles can be detached, ensuring an easier and more comfortable use for welders.
Key Accessories for Better Plasma Cutting Performance
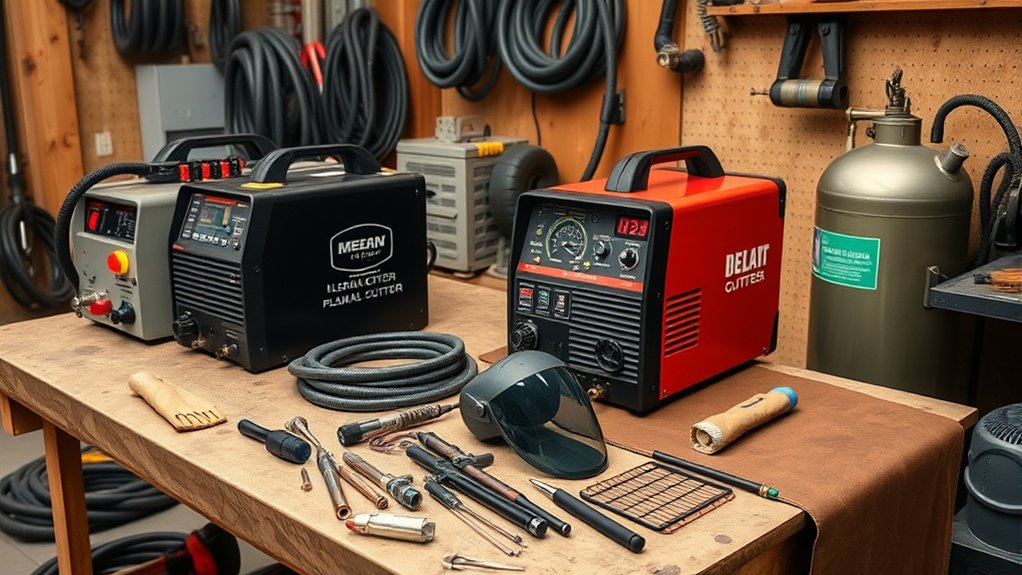
Once the power, air, and safety systems are correct, the remaining accessories help the torch cut accurately and consistently.
- Correct consumables: Match the electrode, nozzle, shield, swirl ring, retaining cap, or cartridge to the exact torch, process, and amperage.
- Spare wear parts: Keep a clean matched set nearby so you do not continue cutting with a damaged nozzle or worn electrode.
- Work clamp: Keep the clamp jaws and contact area clean. Attach the clamp to bare metal on the workpiece, as close to the cut as practical.
- Guide or straightedge: Use a noncombustible guide that is compatible with the torch shield and required standoff.
- Cutting table: Support the work so molten metal and sparks can fall without striking people, hoses, cords, cylinders, or combustibles.
- Air-treatment parts: Keep replacement filter elements and drain components available.
Inspect the nozzle opening for distortion, nicks, or enlargement. Check the electrode for wear as described in the torch manual. Worn consumables can widen the kerf, increase bevel and dross, cause poor starts, and eventually damage the torch.
Note: The clamp commonly called a “ground clamp” is the work clamp in the cutting circuit. It does not replace the equipment’s protective electrical grounding.
Products Worth Considering

Package Include: 10 Shield Cups, 50 Nozzles, 20 Swirl Baffle, and 30 Electrodes.

[Achieve Precise Cuts] PT31 Plasma Cutting Consumables – Your Essential Tool for Efficient Cutting! Whether you're working with sheet metal, steel, or any other material, superior cutting performance ensure clean, accurate, and smooth cuts.

High-Quality Material:Made of high quality material to ensure a longer lifespan and superior performance.
How to Set Up a Plasma Cutter Safely
- Read the manual and nameplate. Confirm input voltage, branch-circuit requirements, duty cycle, gas type, inlet pressure, airflow, consumables, torch mode, and filter-shade guidance.
- Inspect the equipment. Look for damaged insulation, cracked torch parts, loose connections, worn consumables, clogged vents, leaks, and missing guards.
- Prepare the work area. Remove combustibles, shield openings where sparks could travel, provide ventilation, and place a suitable extinguisher within reach.
- Identify the material. Confirm that it is electrically conductive and determine whether paint, plating, oil, insulation, or another coating could create hazardous fumes.
- Connect the gas supply. Install approved filtration, connect the hose, set the pressure by the manual’s procedure, and verify that airflow stays adequate while gas is flowing.
- Connect the work clamp. Remove rust, paint, or scale at the clamp point. Attach it directly to clean bare metal close to the planned cut when practical.
- Install the correct consumables. Use parts made for the torch and selected amperage. Confirm that they are seated and tightened as directed.
- Put on all PPE. Protect your eyes, face, skin, hands, feet, hearing, and breathing zone before energizing the torch.
- Set amperage and cutting mode. Use the cut chart or manual for the material type and thickness. Set drag-cutting, standoff, expanded-metal, or gouging mode only when supported.
- Make a test cut on scrap. Hold the torch at the required angle and standoff. Adjust travel speed so the arc passes fully through the metal and sparks exit below the cut.
For a handheld cut, start at an edge when possible. If a pierce is required, use the pierce height and delay stated in the manual so molten metal does not blow back into the shield and nozzle.
Ventilation and Work Area Safety
Plasma cutting can produce metal fume, gases, smoke, sparks, and hot slag. The amount and toxicity depend on the base metal, coating, cutting current, work location, air movement, and ventilation controls.
Use local exhaust ventilation close to the plume whenever practical. Position the capture hood or extractor so fumes move away from your breathing zone and are not blown toward another person. General fans can help move air, but outdoor work or an open door does not automatically provide adequate exposure control. OSHA advises keeping the operator’s head out of the fume and using local exhaust close to the source.
Remove paint, solvent residue, oil, and other coatings from the cutting area when it can be done safely. Galvanized, stainless, lead-painted, cadmium-plated, and unknown materials can produce especially hazardous fumes. Review the safety data sheet and complete a hazard assessment before cutting coated or unfamiliar metal.
Warning: Do not plasma-cut a sealed container, pressurized vessel, fuel tank, drum, barrel, or piping that contains or previously contained a flammable, combustible, or toxic substance unless it has been professionally cleaned, isolated, ventilated, and verified safe under an approved hot-work procedure.
Clear paper, cardboard, sawdust, fuel, solvents, aerosols, dust accumulations, and other combustibles from the spark path. Check below and behind the work because molten metal can pass through cracks and openings. Continue checking the area after cutting until there is no remaining fire hazard.
What Materials Can a Plasma Cutter Cut?
A plasma cutter works on electrically conductive metals. Common examples include mild steel, stainless steel, aluminum, copper, and brass. The machine’s rated cut capacity, amperage, consumables, and cut chart determine the practical thickness and quality.
Plasma does not cut nonconductive materials such as wood, plastic, glass, stone, or ceramic. It also should not be used merely because a coated part is electrically conductive; the coating and any trapped contents must be evaluated first.
Common Plasma Cutting Mistakes and Troubleshooting
Many cut problems come from setup rather than a failed power supply. Change one variable at a time and test on scrap.
| Problem | Likely Checks |
| Arc will not start | Power and breaker, torch lock, consumable installation, work-clamp contact, inlet pressure, and worn electrode or nozzle. |
| Arc sputters or stops | Airflow while cutting, water or oil in the air, leaks, duty-cycle limit, loose connections, and damaged consumables. |
| Incomplete cut | Travel speed too fast, amperage too low, material beyond rated capacity, excessive standoff, low airflow, or a worn nozzle. |
| Heavy bottom dross | Travel speed, amperage, torch height, cut direction, air quality, and consumable condition. |
| Wide kerf or excess heat | Travel speed too slow, amperage too high, excessive dwell, incorrect consumables, or poor torch control. |
| Short consumable life | Moisture or oil, incorrect pressure, piercing too close, dragging a non-drag tip, loose parts, excessive pilot-arc use, or wrong consumables. |
Hypertherm’s plasma-cutting guidance explains that moving too fast can leave an incomplete cut or a hard bead of dross. Moving too slowly can widen the kerf, increase heat, and create heavier low-speed dross. Drag the torch only when the installed shield and manual permit drag cutting; otherwise, maintain the specified standoff.
Frequently Asked Questions
How does plasma cutting compare with other cutting methods for precision?
Handheld plasma cutting is fast and practical for conductive metal, but final accuracy depends on torch control, consumables, cut height, speed, and the machine. CNC plasma can be more repeatable. Laser and waterjet systems may hold tighter tolerances or create a smaller kerf for some materials and thicknesses, but they require different equipment and operating costs.
Can a plasma cutter be used on every type of metal?
Plasma cutting works on electrically conductive metals, including steel, stainless steel, aluminum, copper, and brass. The machine may not produce the same cut quality or capacity on every alloy. Coatings, contamination, and sealed sections can also create fume, fire, or explosion hazards that must be addressed first.
What should you check when a plasma cutter malfunctions?
Start with the error indicator and operator manual. Then check input power, breaker status, torch assembly, work-clamp contact, flowing air pressure, leaks, filters, moisture, consumables, and duty-cycle limits. Disconnect power before service, and do not bypass safety interlocks.
How does temperature affect plasma-cutter performance?
Use and store the cutter within the temperature range in its manual. High ambient heat can reduce available duty cycle or trigger thermal protection. Cold equipment can develop condensation when moved into a warm shop, and cold hoses may become stiff. Let the system acclimate and dry before use.
What maintenance helps a plasma cutter last longer?
Inspect consumables, torch leads, the work cable, filters, vents, hoses, fittings, and the work clamp on the schedule in the manual. Drain moisture traps and the compressor tank, keep cooling airflow clear, and replace damaged parts promptly. Internal service should be completed only by qualified personnel.
What air-compressor size do you need for plasma cutting?
Choose a compressor that continuously delivers at least the airflow required by the cutter at the specified inlet pressure, with enough reserve for hose loss, leaks, and long cuts. Compare SCFM at the stated psi. Tank size affects how long pressure is buffered, but pump output determines whether the compressor keeps up.
Why does a plasma cutter leave dross on the metal?
Dross can result from travel speed, amperage, torch height, cut direction, material condition, air quality, or worn consumables. Make a test cut and change one factor at a time. Some dross may remain near corners or on material outside the machine’s best-quality range.
Do you need a separate air compressor for every plasma cutter?
No. Some portable plasma cutters include an internal compressor, while many shop models require an external air supply. Check the product specifications before buying a compressor, filter, hose, or fittings.
Can you use a plasma cutter without attaching the work clamp?
A conventional plasma system needs a complete cutting circuit through the work lead. Attach the work clamp as the manufacturer directs, preferably to clean bare metal on the workpiece near the cut. Poor contact can cause unreliable starting and poor cut performance.
Safety Disclaimer: This article is for general information and does not replace hands-on training, the plasma cutter’s operator manual, a workplace hazard assessment, or applicable electrical, fire, ventilation, and respiratory-protection rules. Consult the manufacturer, a qualified electrician, or a welding-safety professional when the material, power supply, fumes, container history, or work conditions are uncertain.
Conclusion
A dependable plasma-cutting setup combines the correct power circuit, adequate clean air, compatible consumables, a good work connection, full PPE, effective fume control, and fire prevention. Before every cut, inspect the torch and leads, verify flowing air pressure, identify the material and coatings, clear the spark path, and test settings on scrap. Those checks improve cut quality while reducing equipment damage and injury risk.
Sources
- OSHA 29 CFR 1910.133: Eye and Face Protection — filter-shade and eye-protection requirements.
- OSHA 29 CFR 1910.252: Welding and Cutting — arc-cutting PPE, fire prevention, and used-container precautions.
- OSHA: Controlling Hazardous Fume and Gases During Welding — fume hazards, coatings, work positioning, and ventilation controls.
- Miller: Plasma Cutting Safety Makes Sense — arc radiation, coated-metal fumes, gas systems, and bystander protection.
- Miller: How to Select and Operate a Hand-Held Plasma Cutter — input power, work-clamp placement, setup, and cutting technique.
- Hypertherm: 10 Common Plasma Arc Cutting Mistakes — air quality, torch height, travel speed, dross, and consumable care.