Abrasive Grit Size for Metalworking
What’s in This Article
- What Is Abrasive Grit Size and Why Does It Matter?
- How to Choose the Right Grit for Metalworking Tasks
- Understanding Grit Sizes: Coarse vs. Fine
- Common Mistakes When Selecting Grit Size for Metalwork
- How Sandpaper Material Affects Grit Selection
- Effective Sanding Techniques for a Smooth Finish
- Why Does Grit Progression Matter in Metalworking?
- How to Maintain and Care for Your Sandpaper
- Frequently Asked Questions About Sandpaper Grit
- Conclusion
The wrong grit can leave deep scratches, waste sanding discs, and make metal harder to finish. The right grit helps you remove rust, smooth marks, and prepare the surface for paint or polish. This guide shows you how grit size works, which range to choose, and how to move from coarse to fine without damaging the metal.
Quick Answer
Use coarse grit, such as 40 to 60, for heavy rust, paint, or weld cleanup. Use medium grit, such as 80 to 120, to smooth scratches and prepare the surface. Use fine grit, such as 150 to 220 or higher, when you want a smoother finish before coating, painting, or polishing.
Key Takeaways
- Lower grit numbers cut faster and remove more metal.
- Higher grit numbers leave a smoother surface with fewer visible scratches.
- Soft metals usually need finer grit to reduce deep scratch marks.
- Skipping grit steps can leave scratches that fine sandpaper cannot remove quickly.
- Clean the surface between grit changes so loose debris does not damage the finish.
What Is Abrasive Grit Size and Why Does It Matter?
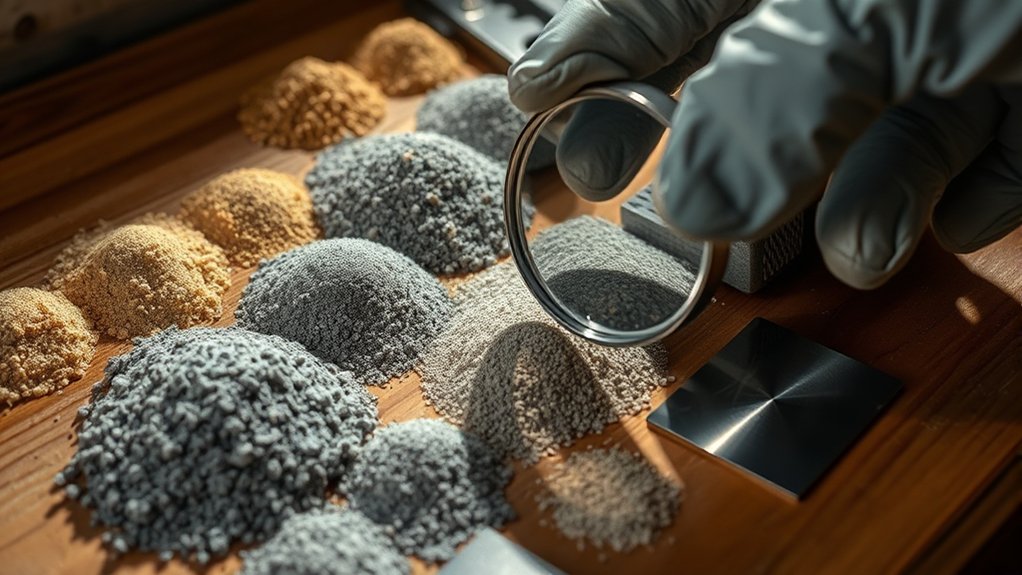
Abrasive grit size tells you how large the abrasive particles are on sandpaper, sanding discs, or flap wheels. Lower numbers mean larger, rougher particles. Higher numbers mean smaller, finer particles.
Coarse grits, such as 40 to 60, work well for fast rust removal, paint stripping, and heavy surface cleanup. Medium grits, such as 80 to 120, smooth the surface and reduce marks from coarse sanding. Fine grits, such as 150 to 220 or higher, prepare metal for paint, coating, or light polishing.
Your grit choice affects the final surface. A coarse grit cuts fast but leaves deeper scratches. A fine grit removes less material but gives you better control and a smoother finish.
How to Choose the Right Grit for Metalworking Tasks
Choose grit based on your goal, the metal type, and the finish you want. Start with the least aggressive grit that can still do the job. This helps you remove material without adding deep scratches.
For heavy material removal, use a coarse grit. For surface blending and scratch removal, use a medium grit. For final smoothing, move to fine grit in small steps.
Products Worth Considering

PREMIUM QUALITY: These flat flap discs, also known as cut off wheels 4 1/2 inch, are constructed with industrial grade premium aluminum oxide abrasive for strength, durability, and fine finishes.

[SIZE] - 6" Diameter 40 Grit sanding discs, suitable for use with random orbit sander.

What You'll Get: the package includes 80 pieces of 60 grit grinding wheels, sufficient quantity can meet your daily use and replacement needs, and you can also share them with your family and friends
Understanding Grit Types
Each grit range has a clear job in metalworking. Use this guide as a simple starting point:
- Coarse grits (40 to 60): Use these for rust, paint, scale, and heavy marks.
- Medium grits (80 to 120): Use these to smooth rough areas and blend scratches.
- Fine grits (150 to 220): Use these to refine the surface before painting or coating.
- Very fine grits (320 and above): Use these for finer finishing, wet sanding, or polishing prep.
Aluminum oxide works well for many general metal sanding jobs. Silicon carbide can cut hard surfaces quickly. Zirconia and ceramic abrasives often suit tough grinding or high-pressure work.
Matching Grit to Material
Different metals react in different ways. Softer metals, such as aluminum, can show deep scratches quickly. Harder metals, such as steel, can often handle a more aggressive starting grit.
Always test on a small area if the finish matters. This simple step helps you avoid scratch marks that take extra time to remove.
| Grit Type | Grit Range | Best Use |
|---|---|---|
| Coarse Grits | 40 to 60 | Heavy rust, paint, scale, and weld cleanup |
| Medium Grits | 80 to 120 | Smoothing and preparing surfaces |
| Fine Grits | 150 to 220 | Final smoothing before coating or paint |
| Very Fine Grits | 320 and higher | Polishing prep and fine finishing |
Understanding Grit Sizes: Coarse vs. Fine
Coarse and fine grits serve different purposes. Coarse grit removes more material with each pass. Fine grit removes less material and leaves a cleaner surface.
- Coarse grits (40 to 60): Choose these when you need speed and strong cutting action.
- Medium grits (80 to 120): Choose these when you need to smooth rough sanding marks.
- Fine grits (150 to 220): Choose these when you need a cleaner finish before paint or coating.
Do not jump from very coarse grit straight to very fine grit. Fine sandpaper may polish the high spots while deeper scratches remain visible.
Common Mistakes When Selecting Grit Size for Metalwork
Many sanding problems start with the wrong grit choice. A grit that cuts too fast can change the shape of your part. A grit that cuts too slowly can waste time and clog quickly.
Watch for these common mistakes before you start sanding.
Ignoring Material Compatibility
Metal hardness matters when you choose grit. Softer metals often need finer grit because they scratch more easily. Harder metals can handle coarser grit when you need fast removal.
- Choose grit by metal type: Use finer grits on aluminum when the surface finish matters.
- Choose abrasive by job: Use aluminum oxide for general work and tougher abrasives for harder grinding tasks.
- Choose grit by finish: Use finer grits when you need a smooth surface before coating.
Skipping Grit Progression
Skipping grit progression can leave deep scratches in your workpiece. For example, jumping from 40 grit to 220 grit often leaves marks that take longer to remove.
Move through grit ranges in stages. Coarse grit removes damage, medium grit blends the marks, and fine grit prepares the surface for finishing.
Pro tip: Stop sanding as soon as the old scratches disappear, then move to the next finer grit.
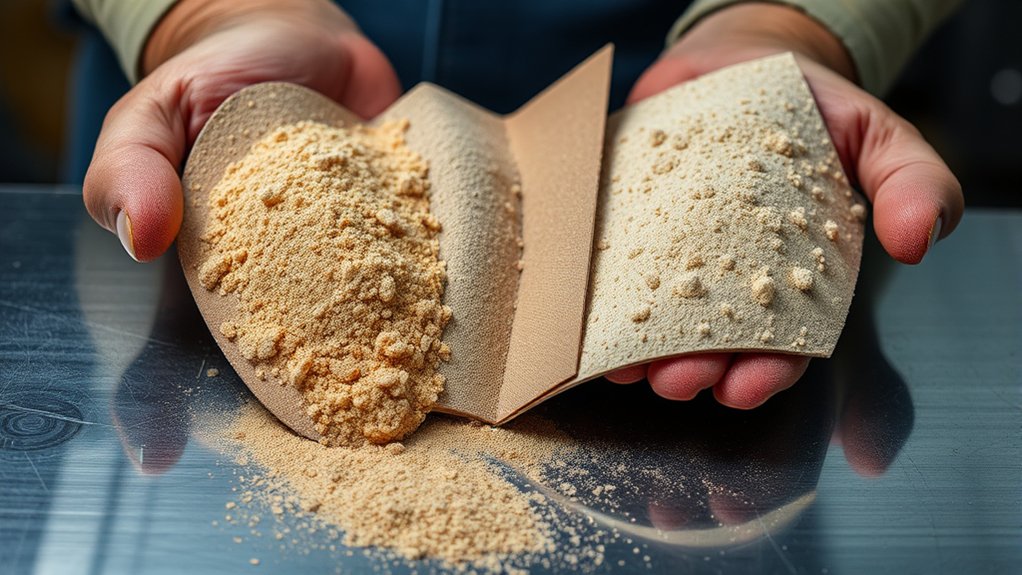
How Sandpaper Material Affects Grit Selection
Sandpaper material affects cutting speed, heat, clogging, and lifespan. The same grit number can feel different when the abrasive material changes.
Selecting the right sandpaper material helps you cut faster, control scratches, and improve the final metal finish.
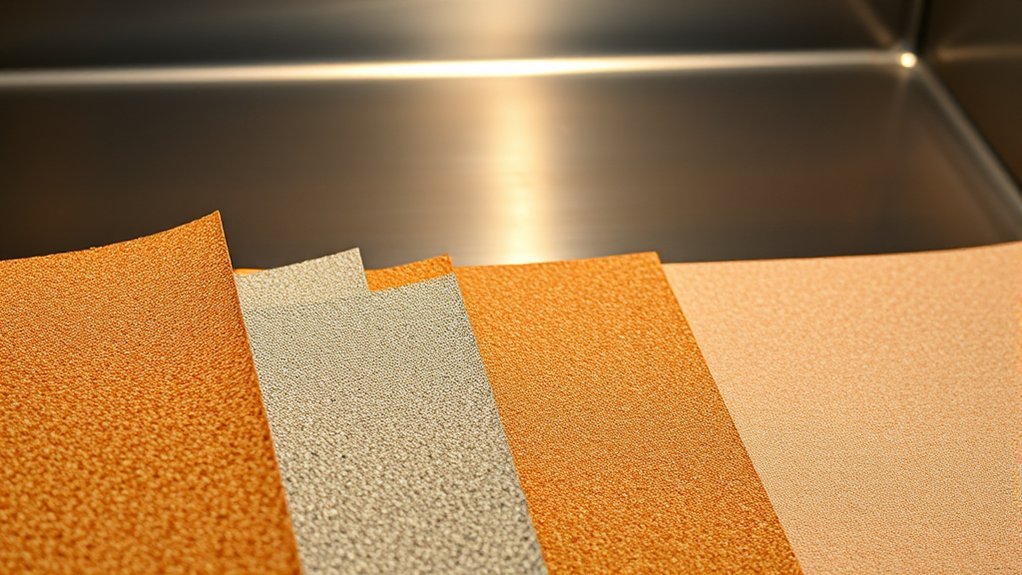
- Aluminum oxide: Choose it for many general metal sanding jobs.
- Silicon carbide: Choose it when you need sharp cutting on hard surfaces or fine finishing.
- Zirconia alumina: Choose it for tougher work where you need longer abrasive life.
- Ceramic abrasive: Choose it for demanding grinding jobs that need high cutting power.
Match the abrasive material to the pressure and heat of the job. Heavy grinding usually needs a tougher abrasive than light hand sanding.
Products Worth Considering

PREMIUM SURFACE GRINDING DISCS: The Benchmark Abrasives grinding disc 4 1/2 Inch is designed for maximum efficiency. Ideal for various abrasive tasks such as grinding, blending, sanding, chamfering, and paint or rust removal. Experience the versatility of our angle grinder discs for a smoother, more refined surface in your projects.

MULTI PACK OF ASSORTED GRADES: (2) 80plus, (2) 120plus, (2) 180plus, (2) 220plus, (2) 240plus, (2) 320plus

【Ceramic Shaped Grain】These flap discs are made with industrial-grade ceramic abrasives, offering double the grinding power and superior heat dissipation. Ceramic discs also last three times longer than zirconia discs and five times longer than aluminum oxide discs.
Effective Sanding Techniques for a Smooth Finish
Good sanding technique matters as much as grit size. Start with coarse grit only when the surface needs strong cutting. Then move to medium and fine grits in order.
Sand in the direction of the metal grain when the grain is visible. This helps reduce cross-grain scratches and gives the finish a cleaner look.
| Grit Type | Purpose |
|---|---|
| Coarse Grit | Remove heavy imperfections |
| Medium Grit | Blend scratches and prepare the surface |
| Fine Grit | Refine the surface for paint, coating, or polish |
Clean the workpiece between grit changes. Loose metal dust and old abrasive particles can scratch the surface during the next pass.
Warning: Wear eye protection, gloves, and a dust mask when sanding or grinding metal.
Why Does Grit Progression Matter in Metalworking?
Grit progression matters because each grit removes scratches from the grit before it. This step-by-step process gives you a smoother surface and better control.
Grit progression helps you reduce scratch depth, protect the shape of the part, and improve the final finish.
- Material removal: Coarse grits remove rust, paint, scale, and heavy marks quickly.
- Surface preparation: Medium grits smooth the rough marks left by coarse sanding.
- Final smoothing: Fine grits prepare the metal for coating, paint, or polish.
If you skip too many steps, you may spend more time fixing scratches than you saved. A steady grit sequence usually gives you a cleaner result.
How to Maintain and Care for Your Sandpaper
Clean sandpaper cuts better and lasts longer. Check your sandpaper often and replace it when the abrasive looks dull, worn, or clogged.
Use a brush or compressed air to remove dust and metal debris between uses. Store sandpaper in a cool, dry place so moisture does not weaken the backing or damage the abrasive.
Do not press harder to make worn sandpaper work. Heavy pressure can heat the metal, clog the paper, and leave uneven marks.
Frequently Asked Questions About Sandpaper Grit
These common questions can help you choose grit with more confidence before you start sanding metal.
What grit size should you start with?
Start with the least aggressive grit that can remove the problem. Use 40 to 60 grit for heavy rust or paint. Use 80 to 120 grit if the surface only needs smoothing.
When should you switch to medium grit?
Switch to medium grit after coarse grit removes the main damage. Medium grit helps blend rough marks and prepares the surface for finer sanding.
How do you achieve a smoother metal finish?
Move through grit sizes in order and clean the surface between each stage. Finish with 220 grit or higher if you need a smooth surface before paint, coating, or light polishing.
Is 80 or 120 grit rougher?
80 grit is rougher than 120 grit. Use 80 grit when you need stronger cutting. Use 120 grit when you want to smooth the surface before moving to finer grits.
How do you determine what grit to use?
Look at the surface condition first. Choose coarse grit for heavy removal, medium grit for blending, and fine grit for finishing. Test a small area if you work on soft metal or visible surfaces.
Is P400 the same as 400 grit?
P400 and 400 grit can be close in use, but they may come from different grit grading systems. Always check the product label if you need an exact match for finishing work.
Which is finer, 2000 or 3000 grit?
3000 grit is finer than 2000 grit. Use these very fine grits for advanced finishing, wet sanding, or polishing prep when the surface already looks smooth.
Conclusion
The best grit size depends on how much material you need to remove and how smooth the final surface must be. Start coarse only when you need fast cutting, then move through medium and fine grits in order.
Clean the metal between stages and let each grit remove the marks from the last one. With the right grit sequence, your metalwork will look cleaner, feel smoother, and take paint or coating more evenly.


