Why Your Angle Grinder Cuts Crooked and How to Fix It
A crooked angle grinder cut can ruin a workpiece fast. It also points to a setup, wheel, pressure, or safety issue you should fix before you keep cutting. This guide shows you how to check the wheel, guard, grip, blade choice, power supply, and grinder condition so you can make straighter, safer cuts.
What’s in This Article
- Common Causes of Crooked Angle Grinder Cuts
- How to Identify Uneven Blade Wear
- Is Your Cutting Guard Misaligned?
- How to Maintain Steady Pressure for Better Cuts
- Why Choosing the Right Blade Matters
- How to Troubleshoot Electrical and Mechanical Issues
- Essential Maintenance Tips for Angle Grinders
- What Safety Gear Do You Need Before You Start?
- When to Get Professional Help
- Frequently Asked Questions
Quick Answer
Your angle grinder may cut crooked because the wheel sits loose, worn, damaged, or matched to the wrong material. Too much pressure, poor grip, a misaligned guard, or worn spindle parts can also pull the tool off line. Stop cutting, inspect the wheel and grinder, then correct the setup before you continue.
Key Takeaways
- Check wheel alignment first because a loose or tilted wheel often causes crooked cuts.
- Use light, steady pressure and let the grinder maintain its own cutting speed.
- Match the wheel type to the material so the blade cuts cleanly and safely.
- Inspect the guard, spindle, flanges, cord, and switch before each job.
- Stop using the grinder if you notice smoke, burning smells, severe vibration, or wobble.
Common Causes of Crooked Angle Grinder Cuts

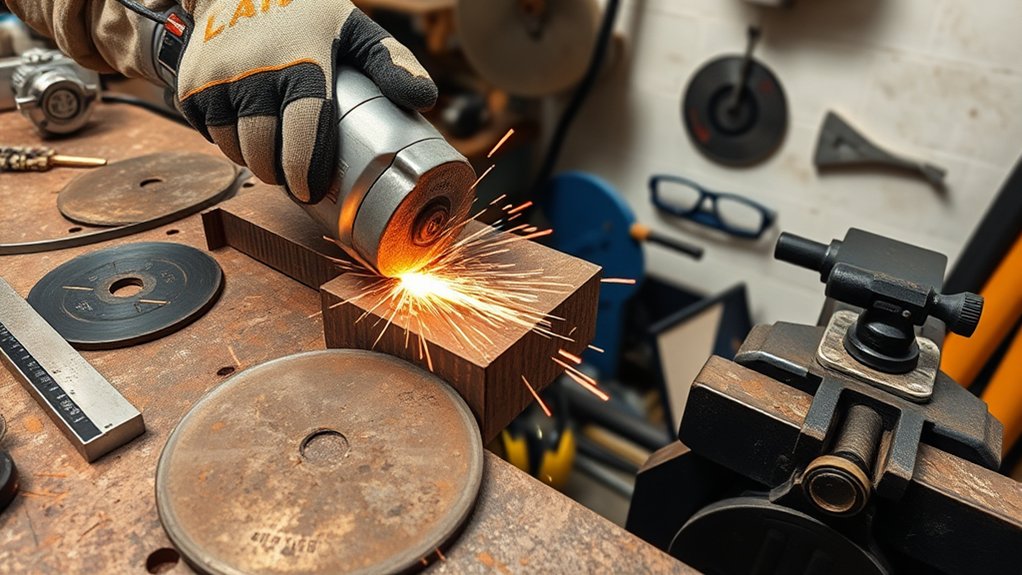
When your angle grinder cuts crooked, start with the wheel. A loose, damaged, or poorly mounted wheel can drift away from the cut line. Make sure the wheel sits flat, tight, and square against the flange before you start.
Next, check your pressure. Too much force can bend the wheel path, bind the blade, and pull the grinder sideways. Keep both hands on the tool and let the wheel do the cutting.
Also inspect the wheel for cracks, chips, glazing, or uneven wear. Replace any wheel that looks damaged or worn. A wrong wheel type can also cause poor tracking, heat, vibration, and rough cuts.
Mechanical issues can cause the same problem. Worn bearings, damaged flanges, spindle runout, or a loose guard can make the wheel wobble. If the grinder feels unstable after basic checks, stop and inspect it before using it again.
Warning: Never use a cracked, chipped, or badly worn grinder wheel because it can break during use.
How to Identify Uneven Blade Wear
Accurate cuts depend on a wheel that wears evenly. Uneven wear often shows up as one side of the wheel looking sharper, thinner, flatter, or more damaged than the other side. You may also feel more vibration or notice that the cut gets harder to control.
Inspect the wheel in good light before each use. If you have a caliper, measure thickness at several points around the wheel. Large differences can mean the wheel no longer tracks safely.
Here’s a quick reference table for identifying uneven blade wear:
| Inspection Method | Signs of Uneven Wear | Recommended Action |
|---|---|---|
| Visual Inspection | One side looks sharper, thinner, or more worn | Replace the wheel or correct the setup |
| Thickness Measurement | Thickness varies around the wheel | Check mounting parts and replace the wheel |
| Performance Monitoring | Vibration, heat, or slower cutting | Stop and inspect pressure, wheel type, and grinder condition |
Is Your Cutting Guard Misaligned?
Check the alignment of your cutting guard before you start work. A guard that sits in the wrong position can limit your view, push your hand position off line, or leave you exposed to sparks and debris. Adjust it so it protects you while keeping the cut line visible.
Follow your grinder’s manual for the correct guard position. Each model may use a different lock, clamp, or adjustment system. Secure the guard firmly so it does not shift during the cut.
Products Worth Considering

DURABLE CONSTRUCTION: This electric drill angle grinder attachment is made of solid steel and alloy materials, providing stability and strength when used at high speeds, ensuring long-term performance and wear resistance when cutting, sanding or grinding

Brand New Genuine DeWalt N441218 Guard DCG414B DCG414T1 DCG414T2 DWE4214 OEM...

INSTANT CONVERSION:With standard 5/8"-11 thread, this angle grinder adapter transforms tools into die grinders. A versatile grinder adapter supporting 1/4"(6mm) & 1/8"(3mm) bits for rotary carving and polishing tasks.
Alignment Check Process
To maintain clean cutting performance, check the guard before you cut. A properly aligned guard helps you hold the grinder in a stable position and keeps sparks moving away from you.
- Mount the cutting guard securely and check for movement.
- Use a straightedge or ruler to compare the guard position with your cutting line.
- Review the manufacturer’s guide for your grinder model.
Repeat this check when you change wheels or move to a new cutting angle. Small changes in setup can affect cut control.
Adjusting Guard Position
A misaligned cutting guard can reduce control and raise safety risks. To adjust it, unplug the grinder or remove the battery first. Loosen the guard clamp or screws, move the guard to the correct position, then tighten it firmly.
Make sure the guard does not touch the wheel. Spin the wheel by hand after adjustment to confirm it moves freely. Always wear proper personal protective equipment (PPE) when you adjust or use the grinder.
Ensuring Secure Attachment
Your cutting guard must stay locked in place during use. A loose guard can vibrate, shift, and make the grinder harder to control. Check the attachment points before each job.
- Confirm the guard lines up with the wheel and cut direction.
- Inspect the guard for cracks, bends, or worn locking points.
- Tighten the guard according to the manufacturer’s instructions.
If the guard will not lock securely, do not use the grinder. Repair or replace the damaged part first.
How to Maintain Steady Pressure for Better Cuts
Steady pressure helps the wheel stay on the cut line. It also reduces heat, binding, and vibration. Hold the grinder firmly, keep your body balanced, and move at a pace the wheel can handle.
Do not force the grinder through the material. If the tool slows down, sparks change direction, or the wheel starts to bind, ease off and reset your position.
Proper Grip Technique
A proper grip gives you better control and safer cuts. Use both hands whenever the grinder design allows it. Keep one hand on the main handle and the other on the side handle.
- Firm grip: Hold the grinder securely without locking your arms.
- Stable stance: Keep your feet shoulder-width apart for balance.
- Clear line of sight: Position your body so you can see the cut line.
Check your grip during long cuts. Fatigue can make your wrist twist and pull the wheel off line.
Even Pressure Distribution
Even pressure keeps the wheel in steady contact with the material. Apply moderate pressure and guide the grinder along the line. Pushing too hard can cause binding, overheating, and uneven cuts.
Check the workpiece and wheel alignment before you start. A clamped workpiece helps you keep control and reduces movement. Smooth, steady motion gives you cleaner results than short, forced pushes.
Pro tip: Mark the cut line clearly and use a straightedge guide when the workpiece allows it.
Consistent Angle Maintenance
Keep the grinder at a consistent angle from start to finish. A changing angle can widen the cut, bind the wheel, or create a slanted edge. Match the wheel position to the material and cut type.
- Use both hands: Stabilize the grinder and reduce tilt.
- Choose the right wheel: Match the wheel to metal, masonry, tile, or concrete.
- Control the pace: Move slowly enough to keep the wheel on track.
Why Choosing the Right Blade Matters
The right blade helps your angle grinder cut straighter, cooler, and safer. A blade made for the wrong material can skip, bind, overheat, or wear unevenly. Match the wheel to the job before you start.
For example, use a suitable metal cutting wheel for steel and a suitable diamond blade for masonry or concrete. Check the wheel label for material type, size, arbor size, and maximum revolutions per minute (RPM). The wheel’s RPM rating must meet or exceed your grinder’s speed.
Inspect the wheel before each cut. Look for chipping, cracks, glazing, warping, or heavy wear. Replace the wheel if you see damage or if it no longer cuts cleanly.
Products Worth Considering

Specifications: Revvstark diamond cutting wheel diameter 4-1/2 in (115 mm), hole diameter 7/8 in (22.23 mm), thickness 0.047 inch (1.2 mm); The maximum safe operating speed is 13,300 RPM

【50 PACK】This is for a pack of 50 pieces of our cutting wheels. Outer diameter:4.5inch inside diameter:7/8 inch, operating up to 13,300 RPM. optimized for 4.5"angle grinders. 100 pack SKU available

How to Troubleshoot Electrical and Mechanical Issues
Electrical and mechanical faults can make a grinder cut poorly. Start with simple checks before you open the tool. Confirm the outlet, battery, cord, plug, and switch work correctly.
Next, inspect these key areas:
- Switch function: A faulty switch can cause weak or uneven operation.
- Wheel installation: A loose or tilted wheel can cause crooked cuts.
- Spindle and flanges: Worn parts can cause wobble and vibration.
If you know how to use a multimeter, you can test switch continuity on a corded grinder. Unplug the tool first. If you feel unsure about electrical work, let a qualified repair person inspect it.
Essential Maintenance Tips for Angle Grinders
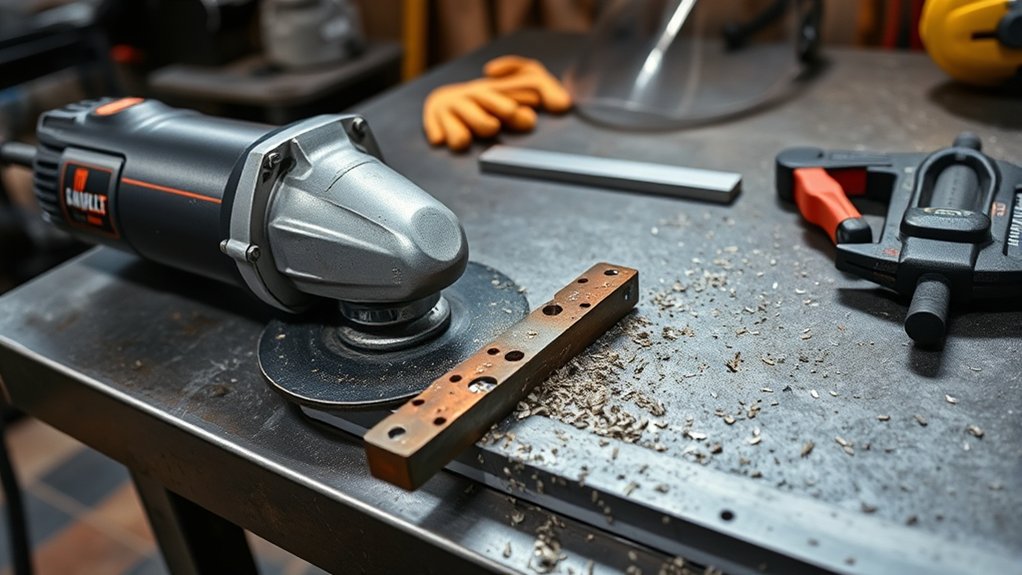
Regular maintenance helps your angle grinder cut better and last longer. Inspect the wheel, guard, cord, switch, flanges, and handle before each use. Replace damaged parts before they create a safety problem.
Keep air vents clean so the motor can cool properly. Dust and metal grit can block airflow and raise heat. Store wheels in a dry, safe place so edges do not chip or crack.
Follow the manufacturer’s instructions for wheel size, wheel type, mounting hardware, and RPM rating. Correct setup protects the tool and helps you keep control during the cut.
What Safety Gear Do You Need Before You Start?
Wear proper safety gear before you use an angle grinder. Sparks, dust, sharp edges, and broken wheel fragments can cause serious injuries. Do not rely on glasses or thin gloves alone.
Wearing the right safety gear helps reduce the risk of eye, hand, hearing, and breathing injuries while using an angle grinder.
- Safety goggles or a face shield: Protect your eyes and face from sparks and debris.
- Ear protection: Use earmuffs or earplugs to reduce loud tool noise.
- Heavy-duty gloves: Protect your hands from heat, sharp edges, and burrs.
- Dust mask or respirator: Reduce dust exposure when cutting masonry, concrete, or coated metal.
- Non-slip footwear: Improve your stance and reduce the risk of slipping.
Keep loose clothing, jewelry, and long hair away from the spinning wheel. Clear the area of flammable materials before cutting.
When to Get Professional Help
Some grinder problems need professional repair. If you already checked the wheel, guard, pressure, and blade type but the grinder still cuts crooked, stop using it. The tool may have spindle, bearing, flange, or internal alignment damage.
Get help if the grinder fails to start, cuts in and out, smokes, smells burnt, overheats, or vibrates hard. These signs can point to wiring, switch, motor, bearing, or spindle faults. A repair technician can inspect the tool more safely.
You should also get help if you do not have the right tools for internal inspection. Guessing can damage the grinder or put you at risk. A safe repair costs less than a serious injury.
Frequently Asked Questions
What Happens When a Grinder Wheel Is Unbalanced?
An unbalanced grinder wheel can cause vibration, rough cuts, faster wear, and poor control. It can also raise the risk of kickback or wheel failure. Stop using the wheel if it wobbles or feels unstable.
How Do You Cut Straight With an Angle Grinder?
Mark the cut line clearly, clamp the workpiece, and use both hands on the grinder. Keep steady pressure and let the wheel cut without force. Use a straightedge guide when the job allows it.
What Are Two Common Faults With Grinding Wheels?
Two common faults are uneven wear and binding. Uneven wear can pull the cut off line, while binding can cause heat, vibration, and kickback. Regular inspection helps you catch both problems early.
What Causes Angle Grinder Kickback?
Kickback can happen when the wheel binds, grabs the material, or twists in the cut. Worn wheels, poor grip, wrong wheel choice, and too much pressure can make it worse. Keep a firm grip and avoid forcing the tool.
Can a Wrong Wheel Make an Angle Grinder Cut Crooked?
Yes, the wrong wheel can make the grinder drift, overheat, or bind. Choose a wheel made for your material and grinder size. Check the label before use.
Conclusion
Crooked cuts usually come from wheel setup, pressure, blade choice, guard position, or worn grinder parts. Start with the simple checks, then move to deeper mechanical and electrical inspection if the problem continues. Wear the right safety gear and stop using the tool if it vibrates, smokes, or feels unsafe. With a clean setup and steady technique, you can make straighter cuts and work with more confidence.


