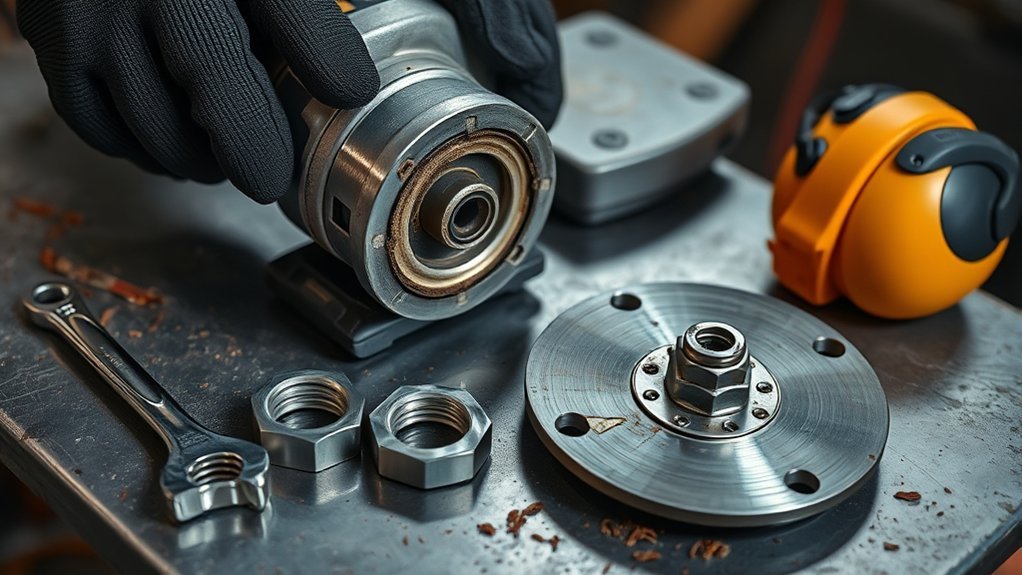
If your angle grinder disc keeps loosening, stop using the tool until you find the cause. A loose or poorly seated wheel can wobble, break, or come off the spindle. The problem may be as simple as an incorrectly assembled flange, but it can also point to an incompatible wheel, damaged mounting hardware, worn spindle threads, or internal runout.
Quick Answer
An angle grinder disc usually loosens because the wheel, backing flange, or lock nut is installed incorrectly, is incompatible with the grinder, or is worn or damaged. Stop using the tool, disconnect power, compare the assembly with the owner’s manual, clean and inspect every mounting surface, then replace damaged parts before testing.
Key Takeaways
- Flange-nut direction is model-specific. Use the diagram in the manual for your exact grinder and accessory.
- Confirm the wheel type, diameter, arbor, maximum RPM, guard, flange, and spindle are compatible before mounting it.
- Unplug the grinder or remove its battery before touching the wheel, flange, nut, or spindle lock.
- Do not keep adding torque to a wheel that repeatedly loosens. Stop and inspect the complete assembly.
- After installation, test the grinder at no-load according to its manual while standing outside the wheel’s plane.
At a Glance
| Time Required | About 10–20 minutes for basic inspection and remounting |
| Difficulty | Beginner for inspection; professional service for damaged threads, bearings, or spindle runout |
| Tools Needed | Owner’s manual, supplied lock-nut wrench or pin wrench, clean dry cloth or nylon brush, and good lighting |
| Cost | No cost for cleaning and inspection; replacement wheels, flanges, nuts, and repairs vary by model |
Warning: Do not operate a grinder with a loose, wobbling, cracked, incorrectly mounted, or incompatible disc. Switch it off, wait for the wheel to stop completely, unplug it or remove the battery, and keep it out of service until the cause is corrected.
Understanding the Loosening Issue: Common Symptoms and Concerns
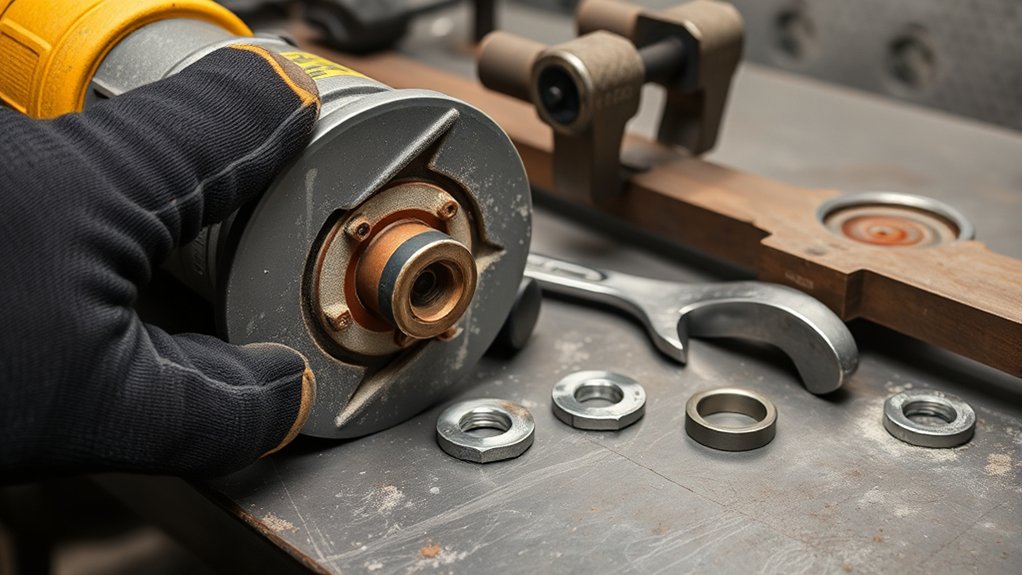
A properly mounted grinder wheel should sit flat and centered on the correct backing flange or mounting surface. It should not shift by hand after the lock nut has been tightened as directed by the manufacturer.
Stop immediately if you notice any of these warning signs:
- The wheel moves even though the lock nut feels tight.
- The grinder begins vibrating more than normal.
- The wheel appears to move from side to side during a no-load test.
- You hear scraping, clicking, rattling, or grinding from the spindle area.
- The lock nut, flange, or wheel is visibly crooked.
- The wheel becomes loose while the grinder is slowing down.
- The wheel or grinder has been dropped, struck, pinched, or badly bound in a cut.
Abrasive wheels rotate fast enough to eject wheel fragments and workpiece debris. Current OSHA requirements for portable powered tools address wheel inspection, maximum speed, clean mounting surfaces, flanges, and guards because all of these items affect safe operation.
If a correctly mounted wheel loosens again, the grinder is not ready for more torque—it is ready for a complete inspection or professional service.
What Causes Angle Grinder Discs to Loosen?
An angle grinder disc can loosen when the wheel is not fully clamped, is not centered, or is being held by incompatible or damaged hardware. Vibration may contribute, but vibration is often a symptom of the underlying problem rather than the only cause.
| Possible Cause | What You May Notice | Corrective Action |
|---|---|---|
| Incorrect lock-nut or flange orientation | The nut feels tight but the wheel can still turn or shift | Reassemble it exactly as shown in the grinder’s manual |
| Wrong wheel, arbor, spindle thread, or flange set | Poor centering, excess clearance, or incomplete clamping | Use only a manufacturer-approved combination that matches every specification |
| Dust, grit, burrs, or damage on contact surfaces | The wheel sits crooked or develops immediate vibration | Clean the surfaces and replace any burred, cracked, bent, or distorted part |
| Worn spindle threads or damaged lock nut | The nut binds, skips, tilts, or will not tighten smoothly | Stop using the grinder and replace the approved part or obtain service |
| Missing or damaged model-specific ring or spacer | The accessory loosens during coast-down | Inspect and replace the exact ring or spacer identified in the manual |
| Cracked, warped, damaged, or out-of-balance wheel | Wobble or vibration remains after correct mounting | Discard the wheel and install a compatible undamaged replacement |
| Bent spindle or worn bearings | Runout remains with more than one known-good wheel | Have the grinder inspected by an authorized service provider |
| Binding, side loading, or excessive pressure | Kickback, slowing, wheel damage, or sudden vibration | Correct the technique and use a wheel intended for the operation |
Check Wheel and Grinder Compatibility First
Before deciding that the lock nut is defective, check the wheel label and the grinder nameplate. The accessory must be designed for the grinder and the job.
- Wheel diameter: Never install a wheel larger than the grinder and guard are designed to accept.
- Maximum speed: The wheel’s rated maximum RPM must be equal to or greater than the grinder’s no-load speed.
- Arbor or bore: The hole must match the approved flange, pilot, or arbor system without being forced.
- Spindle thread: A hubbed wheel or threaded accessory must have the correct thread size and pitch.
- Wheel type: Use a grinding wheel for grinding and an approved cut-off wheel for cutting.
- Guard type: Use the guard specified for the wheel and operation. Thin cut-off wheels commonly require a cutting guard rather than a standard open grinding guard.
- Flanges and pads: Use the backing flange, locking flange, clamp nut, or backing pad specified for that accessory.
Note: A wheel that physically fits on the spindle is not automatically safe or compatible. Do not substitute homemade bushings, extra washers, thread-locking compound, or unrelated flange parts unless the exact grinder manual specifically requires them.
Products Worth Considering

Structural Components: A Cut off wheel typically comprises an abrasive, a binder, and air holes. The abrasive cuts, the binder shapes and strengthens, and the air holes remove swarf and dissipate heat to prevent damage to the cutting disc from overheating

【Fits All 4-1/2 Inch Angle Grinders】 PRETEC Cut Off Wheel is compatible with all 4-1/2 inch angle grinders with 7/8 inch arbor. The high rotating speed of up to 13,300 RPM, more than common 13,000 RPM, ensure maximum efficiency.

Premium and Value: This 10-pack 4-1/2 x 7/8-inch metal/stainless steel cut-off wheel set is specially formulated for fast cutting in metals and stainless steel
Proper Flange Nut Selection and Orientation
The correct direction of the flange nut depends on the grinder, wheel thickness, wheel shape, and flange design. There is no safe universal instruction based only on whether one side looks flat or recessed.
For example, one official DEWALT grinder manual directs users to place the clamp nut’s raised pilot toward wheels thicker than 1/8 inch and away from wheels that are 1/8 inch or thinner. An official Makita grinder manual for a different assembly directs users to install its lock nut with the protrusion facing the depressed-center wheel.
These are examples, not universal instructions. Check the diagram for your exact model before installing the wheel.
Proper Mounting Techniques for Grinding and Cutting Discs
- Disconnect the power. Unplug a corded grinder or remove the battery. Wait until the spindle is completely still.
- Read the accessory chart. Confirm that the wheel, guard, backing flange, and lock nut are approved for the grinder and operation.
- Inspect the wheel. Do not use a wheel with cracks, chips, warping, water damage, severe wear, a damaged label area, or an enlarged arbor hole. Perform a ring test only when it is appropriate for that wheel type and size.
- Inspect the hardware. Check the spindle threads, spindle flats, backing flange, pilot, lock nut, and any manufacturer-specified ring or spacer. Replace damaged parts with the correct approved replacements.
- Clean the contact surfaces. Use a clean, dry cloth or nylon brush. The wheel, flange, and nut contact surfaces must be flat and free of grit, metal chips, grease, burrs, and other foreign material.
- Seat the backing flange. Make sure its keys, recess, or flats fully engage the spindle as shown in the manual.
- Center the wheel. Place the wheel squarely against the backing flange and center it on the correct pilot or shoulder. Do not force the arbor hole onto the spindle.
- Install the lock nut in the specified direction. Confirm the orientation from the exact grinder manual rather than relying on a general thick-wheel or thin-wheel rule.
- Tighten it with the specified method. Engage the spindle lock only while the tool is off and stationary. Use the supplied wrench, hex wrench, quick-clamping system, or other method stated in the manual. Make it secure without using pliers, a hammer, a cheater bar, or excessive force.
- Install and position the guard. Place the closed portion between your body and the wheel so fragments are directed away from you.
- Secure the workpiece. Clamp it to a stable surface instead of holding it against your body.
- Perform the no-load test. Clear bystanders, hold the grinder with both hands, stand outside the wheel’s plane, and run it without contacting the work for the period specified in the manual. Some manufacturer manuals specify one minute. Stop immediately if you notice wobble, unusual vibration, noise, or movement.
Pro Tip: Photograph the correct flange and wheel arrangement shown in your manual and keep the image on your phone. It is safer than trying to remember which side of a model-specific nut faced the wheel.
Tools You Need for Securely Installing Grinder Discs
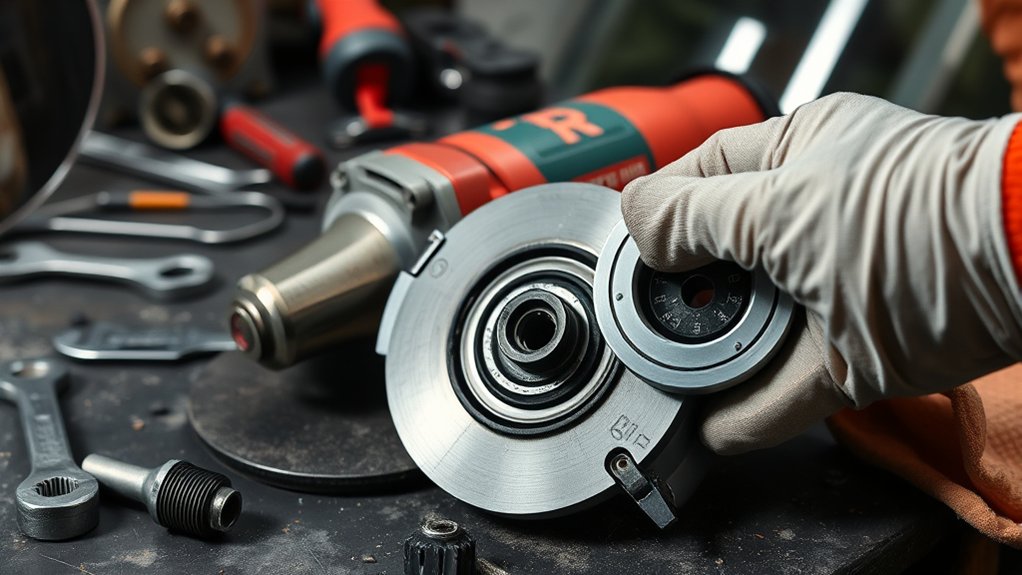
You do not need many tools, but every tool and mounting part must be correct for the grinder.
Products Worth Considering
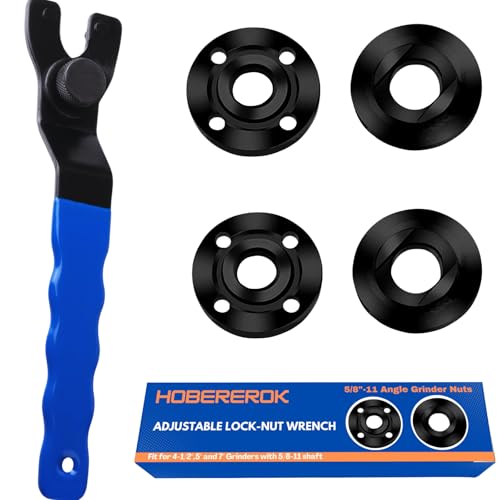
[ Universal Adjustable Angle Grinder Wrench & Nut Kit] Solve the problem of lost or missing wrenches. This versatile set includes 1 adjustable wrench that fits major brands like DeWalt, Milwaukee, and Makita, plus 4 replacement grinder flange nuts (2 inner, 2 outer). Perfect for DIY, workshops, and professional grinder parts replacement.

[7PCS 5/8"-11 Angle Grinder Nut Wrench Replacement Kit] 1 piece angle grinder wrench and 6 angle grinder nuts (3 inner flange nuts, 3 outer flange nuts) for lock nut removal, wheel/disc replacement.Compatible with most arbor grinders and lock nuts, Perfect for home DIY, workshop projects, and professional grinder parts replacement

Replacement Part Numbers #: 224399-1, 193465-4, 224568-4 Parts. 2 adjustable locking nut wrenches , 3 sets of inner and outer corner grinding nuts. Compatible with most grinding machines and locking nuts, it is a flexible and portable household essential tool
Essential Installation Tools
- The exact owner’s manual: Use the model number from the grinder’s nameplate to find the official manual.
- The supplied wrench: Depending on the model, this may be a pin wrench, lock-nut wrench, hex wrench, or built-in quick-clamping handle.
- A clean dry cloth or nylon brush: Use it to remove debris without damaging the threads or flange surfaces.
- Good lighting: Small cracks, flattened threads, and flange damage can be difficult to see.
- The correct wheel and guard: Confirm the accessory is approved for both the grinder and the task.
- Approved replacement hardware: Replace damaged flanges, nuts, rings, or spacers with the correct manufacturer-specified parts.
Avoid pliers, pipe wrenches, hammers, impact tools, and improvised leverage. They can damage the nut, spindle lock, wheel, or flange and make later removal more difficult.
When a Different Flange or Nut Is Required
Grinding wheels, cut-off wheels, sanding pads, diamond cup wheels, wire brushes, and hubbed wheels do not always share the same hardware. Some threaded accessories mount directly to the spindle. Others require a backing flange and lock nut. Thin cut-off wheels may require a matching flange pair and a different guard.
Do not assume that flipping the same nut makes every accessory compatible. Follow the grinder’s accessory chart and the wheel manufacturer’s instructions.
How to Stay Safe When Using Angle Grinders
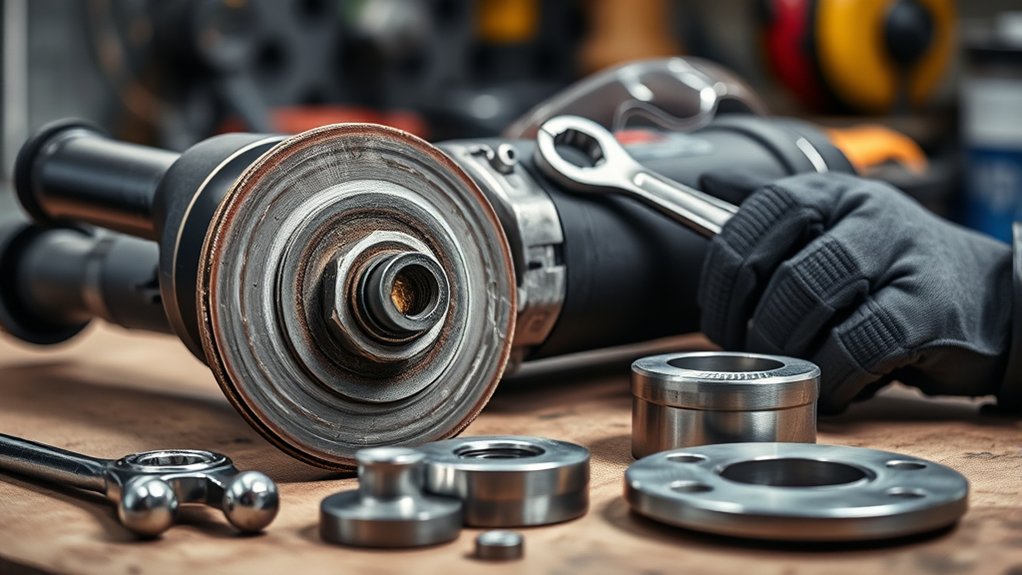
Correct mounting is only one part of grinder safety. The guard, side handle, workpiece support, operator position, wheel speed, and personal protective equipment all matter. OSHA’s portable and hand-held power-tool guidance emphasizes proper accessories, guards, wheel inspection, power disconnection, and manufacturer instructions.
Essential Personal Protective Equipment
- Safety glasses with side protection or safety goggles: Ordinary prescription or everyday glasses are not impact-rated eye protection.
- Face shield: Add one for grinding and other work with a strong fragment, spark, or debris hazard. A face shield is additional protection, not a replacement for safety glasses or goggles.
- Hearing protection: Choose protection suitable for the grinder, material, work area, and exposure time.
- Snug-fitting work gloves: Use gloves appropriate for sharp metal and hot debris, with no loose cuffs that could catch.
- Natural-fiber or flame-resistant work clothing: Avoid loose clothing, jewelry, hanging cords, and exposed synthetic fabric in the spark path.
- Sturdy footwear: Protect your feet from dropped material, sharp scrap, and hot particles.
- Respiratory protection: Use dust collection, ventilation, and a properly selected respirator when the material and exposure require them. A generic disposable “dust mask” is not suitable for every metal, coating, masonry, or silica hazard.
For concrete and other silica-containing materials, use appropriate dust controls and consult official NIOSH guidance on controlling dust during concrete grinding.
Proper Tool Handling Techniques
- Keep the manufacturer-supplied guard installed and positioned between your body and the wheel.
- Install and use the side handle unless the manual specifically allows another configuration.
- Hold the grinder with both hands and maintain stable footing.
- Clamp or otherwise secure the workpiece to a stable support.
- Keep yourself and bystanders outside the wheel’s plane during start-up.
- Let the wheel reach operating speed before touching the work.
- Use light, controlled pressure. Do not force or stall the wheel.
- Never use the side of a thin cut-off wheel for surface grinding.
- Do not twist, bend, or jam a cut-off wheel in the cut.
- Direct sparks away from people, cords, hoses, vehicles, glass, combustible materials, and flammable or combustible dust.
- Lift the grinder away from the work before switching it off.
- Wait until the accessory stops completely before setting the grinder down.
Warning: Never press the spindle-lock button while the wheel or spindle is moving. Doing so can damage the lock mechanism or grinder and may cause a sudden loss of control.
Maintenance Tips to Stop Discs Loosening
Inspect the mounting system whenever you change a wheel and whenever the grinder has been dropped, jammed, overloaded, or exposed to unusual vibration. Do not wait for the wheel to become visibly loose.
- Keep the spindle, flanges, lock nut, guard, and air vents clean.
- Store wheels flat or as directed by their manufacturer in a dry area where they cannot be crushed or struck.
- Replace a flange or nut that is bent, burred, cracked, stripped, distorted, or no longer seats correctly.
- Do not file, grind, or recut spindle threads as a home repair.
- Check any rubber ring, O-ring, spacer, or retaining component shown in the parts diagram.
- Stop using a grinder that develops new vibration, unusual bearing noise, heat, or visible spindle runout.
- Use only replacement parts approved for the grinder model.
If the grinder requires internal repair, use an authorized service provider or a qualified power-tool technician. A direct official manual, such as the DEWALT DCG410 instruction manual, can show the correct wheel, flange, guard, spindle-lock, and inspection procedure for that specific model.
Common Mistakes That Make Grinder Discs Loosen
- Guessing which way the nut faces: A familiar-looking flange can work differently on another grinder.
- Using a thin wheel with the wrong hardware: The nut may bottom against the spindle or pilot before it clamps the wheel.
- Leaving debris between the wheel and flange: Even a small chip can hold the wheel crooked.
- Using an accessory with the wrong arbor: Extra clearance can prevent proper centering.
- Mixing flange parts from different grinders: Similar diameter does not mean identical pilot height, thread, or clamping geometry.
- Tightening with pliers or excessive leverage: This can damage the nut, flange, spindle lock, or wheel.
- Running without the correct guard: The guard helps direct fragments away if the wheel fails.
- Side-loading a cutting wheel: Thin cut-off wheels are not designed for grinding pressure on their faces.
- Continuing after unusual vibration: Vibration is a reason to stop and inspect, not merely to tighten the nut again.
- Holding the work by hand: Movement or binding can cause kickback and wheel damage.
A disc can loosen on more than one grinder brand, but the cause and correct mounting method remain model-specific. Better habits help prevent mistakes, but damaged hardware or internal runout requires repair rather than a change in technique.
Troubleshooting Angle Grinder Disc Loosening Issues
Use this sequence instead of changing several parts at once:
- Disconnect the power and wait for a complete stop.
- Verify the wheel’s type, diameter, arbor, and RPM rating.
- Verify the guard, backing flange, and lock nut are approved for the wheel.
- Inspect the wheel and discard it if damaged or questionable.
- Remove debris and inspect all mounting surfaces.
- Check that the backing flange fully seats on the spindle flats or keys.
- Check the lock-nut orientation against the exact manual.
- Inspect spindle threads and all model-specific rings, spacers, or retainers.
- Remount and tighten using only the specified wrench and method.
- Install and position the correct guard.
- Conduct the specified no-load test while standing outside the wheel’s plane.
- If the wheel loosens, wobbles, or vibrates again, stop and have the grinder serviced.
How to Separate a Wheel Problem From a Grinder Problem
First inspect and, when appropriate, replace the wheel with a new compatible wheel from a reliable source. If one wheel wobbles but another known-good wheel runs smoothly with the same correct hardware, the first wheel was likely damaged, distorted, or poorly seated.
If more than one compatible wheel wobbles after correct mounting, inspect the backing flange and lock nut. If the problem remains with known-good hardware, the spindle or bearings may have excessive runout. Do not operate the grinder until it has been professionally checked.
Why the Disc May Loosen When the Grinder Stops
Some grinder assemblies include a rubber ring, O-ring, spacer, or backing-flange feature that helps maintain the correct fit. A manufacturer may warn that a missing or damaged part can allow an accessory to loosen during coast-down. This is not a universal feature, so check the parts diagram for your exact model.
Do not assume that rapid stopping, an electronic brake, or motor vibration is automatically the cause. Verify every part of the mounting system first.
When to Seek Professional Help for Grinder Problems
Stop troubleshooting and arrange qualified service when:
- The disc loosens again after it has been installed exactly as the manual directs.
- The spindle threads are stripped, flattened, cracked, or visibly bent.
- The spindle lock slips, will not engage, or was pressed while the grinder was moving.
- The grinder has noticeable runout with more than one compatible wheel.
- You hear bearing noise or feel vibration from the tool with a known-good wheel.
- The backing flange will not seat fully on the spindle.
- The guard, flange, or lock nut is damaged and the correct replacement cannot be confirmed.
- The tool was dropped hard, involved in a serious kickback, or used after a wheel failure.
- You are unsure whether the wheel and mounting system are compatible.
Do not continue using the grinder while waiting for parts or service. Label it or store it separately so someone else does not operate it by mistake.
Frequently Asked Questions
What Are the Two Common Faults That Occur With Grinding Wheels?
There is no universal official list limited to two faults. Serious common conditions include cracks or chips and a wheel that is out of balance, warped, damaged, or incorrectly seated. Glazing, loading, severe wear, and an enlarged arbor hole can also make a wheel unsuitable. Inspect the complete wheel rather than checking only two conditions.
How Do You Tighten a Disc on an Angle Grinder?
Unplug the tool or remove its battery, seat the correct backing flange and wheel, orient the lock nut as shown in the model’s manual, and engage the stationary spindle lock. Tighten the nut with the supplied wrench or approved clamping method. Do not use pliers, impact tools, hammers, or excessive leverage.
How Can You Tell if an Angle Grinder Disc Is Bad?
Do not use a disc with cracks, chips, warping, severe wear, water damage, a damaged arbor hole, or an unreadable speed rating. Replace it if it was dropped or if it produces unusual wobble or vibration after correct mounting. Do not use an abrasive wheel when its condition is uncertain.
How Do You Secure an Angle Grinder Disc?
Use a compatible wheel, the specified guard, clean and undamaged mounting surfaces, the correct backing flange, and the correct lock nut. Center the wheel on the flange pilot, tighten it according to the manual, and perform the required no-load test before contacting the workpiece.
Which Way Should the Flange Nut Face?
The correct direction depends on the grinder, nut design, wheel shape, and wheel thickness. Some nuts place a raised pilot toward a thick wheel and away from a thin wheel, but other assemblies use different instructions. Follow the diagram for your exact grinder instead of a universal flat-side or recessed-side rule.
Why Does My Grinder Disc Loosen When the Tool Stops?
Possible causes include incorrect flange assembly, incompatible hardware, incomplete seating, worn parts, or a missing model-specific ring or spacer. Some manufacturers warn that a damaged rubber ring can allow loosening during coast-down on certain models. Stop using the tool and inspect the exact assembly shown in its manual.
Should You Keep Tightening a Disc That Comes Loose?
No. Repeatedly adding torque can hide a compatibility, seating, thread, flange, wheel, or internal runout problem. Disconnect the grinder, inspect the complete mounting system, and replace damaged parts. If the disc loosens after correct installation, take the grinder out of service.
Sources
- OSHA 1910.243 — Guarding of Portable Powered Tools — portable grinder guards, wheel inspection, speed, mounting surfaces, and flanges
- OSHA — Safe Use of Portable and Hand-Held Power Tools — accessory selection, power disconnection, guards, mounting, and start-up safety
- OSHA — Personal Protective Equipment — eye, face, and other PPE selection
- NIOSH — Controlling Hazardous Dust When Grinding Concrete — dust-control methods for concrete grinding
- DEWALT DCG410 Instruction Manual — model-specific flange mounting, spindle lock, guard, and no-load testing example
- Makita GA7011C Instruction Manual — model-specific wheel, lock-nut, shaft-lock, guard, and operating instructions
Summary
Keeping an angle grinder disc secure requires more than turning the flange nut harder. The wheel, guard, arbor, spindle, backing flange, lock nut, speed rating, and mounting direction must all match the grinder and the job.
Disconnect the power before making any adjustment, follow the exact manufacturer diagram, inspect every contact surface, and test the grinder safely at no-load. If the disc still loosens or the tool continues to wobble, stop using it and have the grinder professionally inspected. A recurring loose wheel is a defect to correct, not a condition to work around.