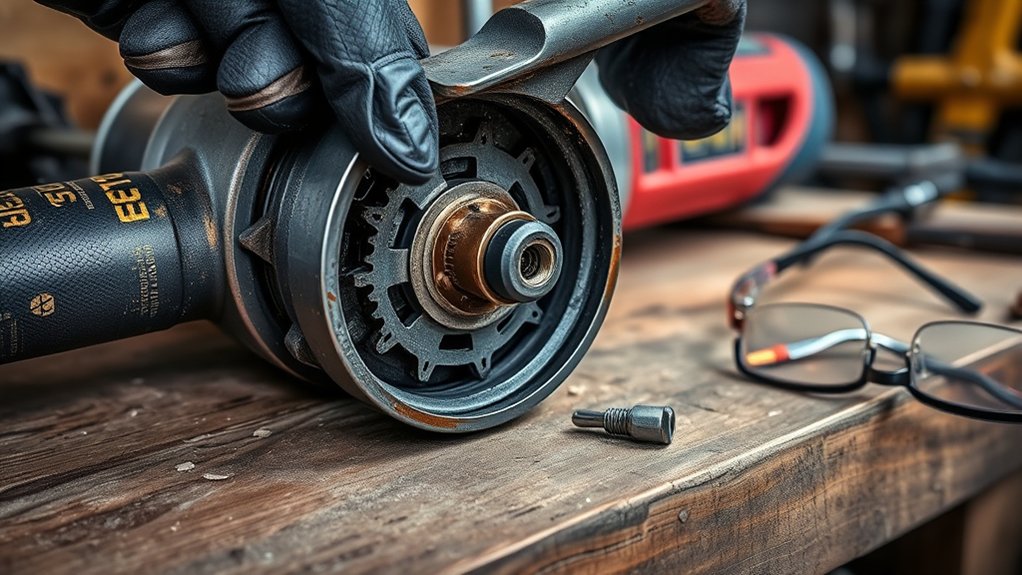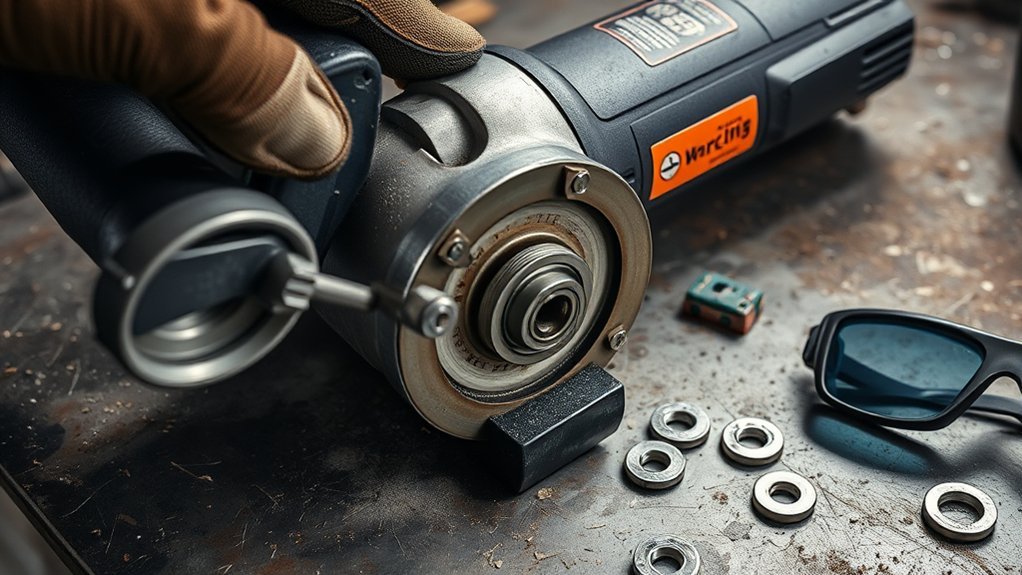
A grinding, scraping, rattling, or growling noise from an angle grinder is a warning to stop before the next cut. The cause may be a damaged or incorrectly mounted wheel, a loose guard or flange, debris in the air vents, or wear inside the spindle, bearings, gears, or motor. Diagnose the noise with the power disconnected first, and do not keep testing a tool that vibrates severely, smells hot, smokes, or shows electrical damage.
Quick Answer
An angle grinder that makes a grinding or growling noise may have a damaged or incorrectly mounted wheel, loose mounting hardware, debris in the vents, or worn bearings or gears. Disconnect power, inspect the accessory and flanges, clean the vents safely, and stop if vibration, smoke, heat, or noise remains.
Key Takeaways
- Unplug a corded grinder or remove the battery before inspecting, cleaning, or adjusting it.
- Replace a cracked, chipped, expired, warped, or questionable wheel; do not attempt to straighten or rebalance it.
- Confirm that the accessory type, diameter, thickness, arbor or thread, flange, guard, and speed rating match the grinder.
- Noise with the accessory removed points more strongly toward the spindle, bearings, gears, fan, or motor.
- Use impact-rated eye protection, a face shield, hearing protection, and task-appropriate dust protection during a powered test.
- Stop immediately for smoke, a burning smell, electrical arcing, severe vibration, a damaged cord or battery, or noise that remains after external checks.
At a Glance
| Time Required | About 10–20 minutes for external inspection and cleaning |
| Difficulty | Beginner for wheel, guard, flange, cord, and vent checks; professional service for most internal faults |
| Tools Needed | Grinder manual, supplied wheel wrench, clean brush, flashlight, exterior vacuum or clean low-pressure air, and required PPE |
| Cost | Often no cost for inspection and cleaning; replacement accessories, parts, and professional service vary |
What’s in This Article
Why Is My Angle Grinder Making Noise?
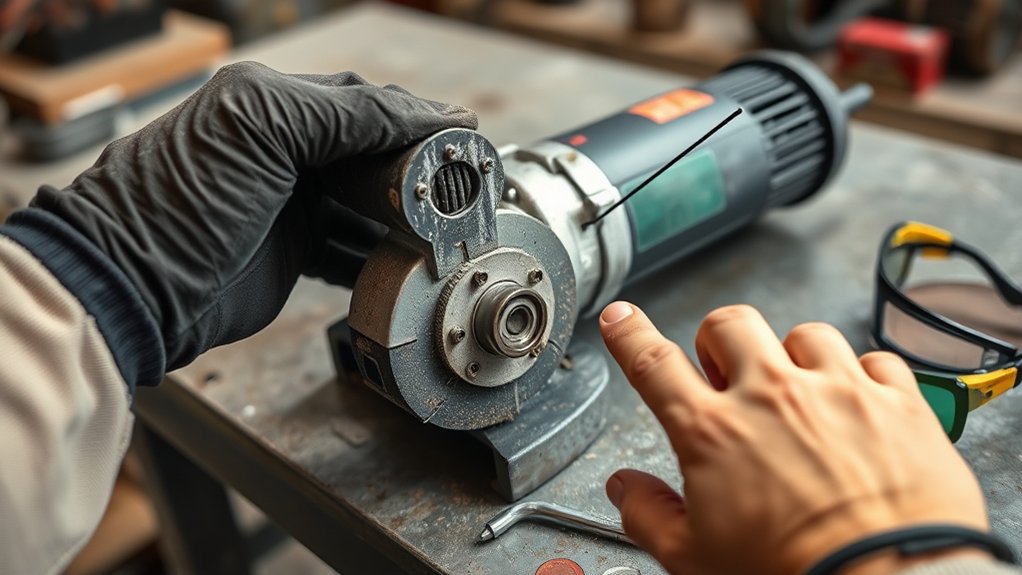
An angle grinder makes unusual noise when an accessory is rubbing, a rotating part no longer moves smoothly, or the motor is working under abnormal strain. The safest first step is to stop the tool, disconnect it from power, and determine when the sound occurs.
A noise that begins immediately after a wheel change often points to incorrect mounting, the wrong flange orientation, an incompatible arbor, or contact between the accessory and guard. A rough growl that remains after the accessory has been removed can point toward spindle bearings, gears, the cooling fan, or the motor.
Dust and metal grit can also collect near the motor vents. Current power-tool instructions warn that the motor fan can pull powdered metal into the housing, where excessive buildup may create an electrical hazard. Regular exterior cleaning helps maintain airflow, but cleaning alone will not repair a worn bearing or damaged gear.
A noisy grinder is not a diagnosis. Treat it as a stop-work signal until the wheel, mounting hardware, guard, spindle, and tool body have been checked.
Identifying Issues With Your Grinder
Listen for the type of sound, but do not place your face near the grinder or use a metal probe as a listening tool. The sound pattern can narrow the inspection area, although it cannot confirm an internal diagnosis by itself.
| Noise or Symptom | Likely Inspection Area | Safe Next Step |
|---|---|---|
| Scrape or tick once per revolution | Wheel, flange, guard, spindle shoulder, or trapped debris | Disconnect power, remove the accessory, and inspect for contact marks or incorrect seating. |
| Rattle that changes when the tool is moved | Loose guard, side handle, fastener, flange, or damaged internal part | Tighten only user-adjustable parts listed in the manual. Seek service if the rattle is internal. |
| Growl or rumble during hand rotation | Spindle bearing, gearbox, bent spindle, or internal contamination | Do not run the grinder. Arrange qualified inspection. |
| Strong vibration at no load | Damaged wheel, incorrect arbor fit, wrong flange, bent spindle, or bearing wear | Stop immediately. Replace or correctly remount the accessory; service the tool if vibration remains. |
| Squeal or harsh sound only under load | Excess pressure, incorrect or worn accessory, pinching workpiece, weak motor, gears, or bearings | Stop forcing the tool. Verify the accessory and secure the workpiece before another test. |
| Electrical buzzing, heavy arcing, smoke, or burning odor | Switch, brushes on a brushed model, armature, wiring, battery, or motor | Disconnect power and use qualified service. Do not perform another powered test. |
Before using the tool again, also check for these warning signs:
- A disc that wobbles, sits crooked, or does not rest correctly against the backing flange.
- A cracked, chipped, deeply worn, warped, contaminated, or expired wheel.
- A wheel whose diameter, thickness, speed rating, arbor, or thread does not match the grinder.
- A loose, damaged, incorrect, or poorly positioned guard.
- A loose side handle, retaining flange, spindle nut, or accessible housing screw.
- A damaged cord, plug, switch, battery pack, battery terminal, or housing.
- A rough spot or scraping sound while the disconnected spindle is turned by hand.
- A case that becomes hot unusually fast or a sudden drop in power.
Warning: Do not attempt to straighten, dress, glue, repair, or rebalance a suspect angle-grinder wheel. Replace it with an undamaged accessory approved for the grinder and application.
Safety Checks Before Inspecting Your Grinder
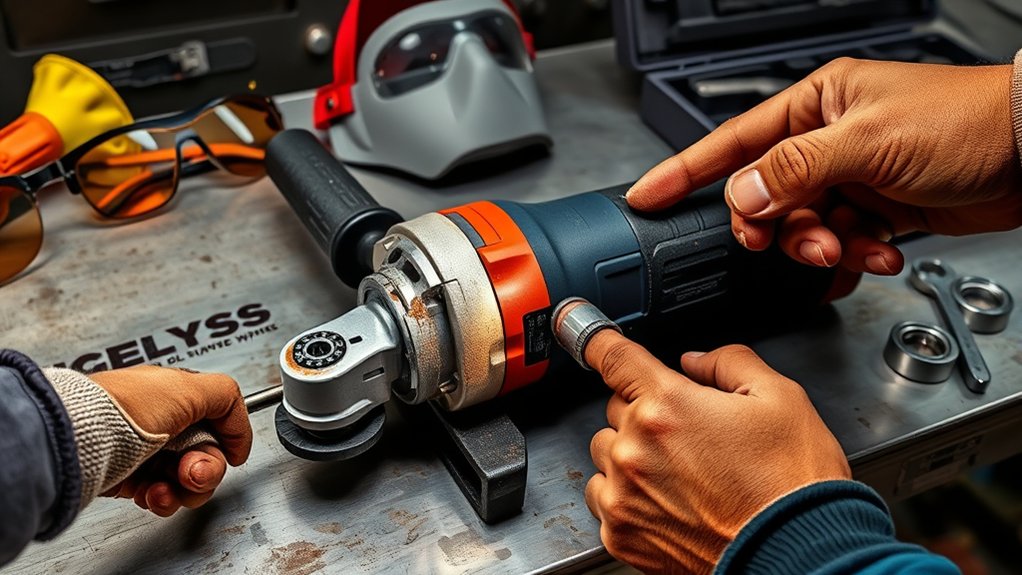
Unplug a corded angle grinder or remove the battery pack from a cordless model before touching the wheel, flange, spindle, guard, vents, or housing. Confirm that the switch is in the off position. Wait until every moving part has stopped.
OSHA guidance for portable power tools calls for power disconnection before servicing, cleaning, or changing accessories. It also requires inspection of damaged tools and use of manufacturer-approved accessories.
Complete these checks before troubleshooting:
- Move the grinder away from flammable liquids, gas cylinders, sawdust, paper, rags, fuel, and other materials that sparks could ignite.
- Remove loose jewelry and secure long hair and loose clothing.
- Inspect the cord, plug, battery, housing, switch, guard, side handle, and spindle area.
- Use the supplied or manufacturer-approved wheel wrench rather than improvised tools.
- Read the model manual for its guard, flange, spindle-lock, accessory, and repair instructions.
- Secure the workpiece before any final powered test.
For a powered test, wear impact-rated safety glasses or goggles with side protection and a face shield over them. Add hearing protection. Use respiratory protection selected for the dust from the material being ground, especially for masonry, coatings, rust, or painted surfaces. Wear suitable work clothing and task-appropriate gloves without placing gloved hands near the moving accessory.
Warning: Never test a grinder with a cracked or questionable wheel, missing or incorrect guard, damaged flange, loose side handle, exposed wiring, damaged battery, or defective switch.
Step-by-Step Troubleshooting for Grinding Noises
Work through the checks in order. Start with the accessory and external hardware because they are easier to inspect and commonly cause noise after a wheel change. Stop before opening the housing unless the manufacturer provides a specific owner-service procedure and you are qualified to follow it.
Products Worth Considering

Included: (1) DeWalt N441218 Angle Grinder Guard Replacement for Angle Grinder DCG414B

Genuine, OEM DeWalt Replacement Part

Common Grinding Noise Causes
Common causes include a damaged wheel, incorrect accessory fit, reversed or mismatched flanges, guard contact, a loose side handle, debris near the spindle, clogged vents, a dragging spindle lock, worn bearings, damaged gears, or an electrical problem.
The accessory’s rated speed must be at least equal to the maximum speed marked on the grinder. Its outside diameter and thickness must also remain within the tool’s capacity. Threaded accessories must match the spindle thread, while unthreaded accessories must fit the locating diameter of the correct flange.
Use the guard intended for the accessory and operation. Cutting wheels often require a different, more enclosed guard than surface-grinding wheels. The exact combination varies by grinder, so consult the manual rather than assuming that any guard fitting the gear case is acceptable. OSHA’s portable-tool guarding standard requires the guard to remain properly aligned and cover the spindle end, nut, and flange projections.
Inspection and Diagnosis Steps
- Disconnect all power. Unplug the cord or remove the battery. Put the switch in the off position and allow the wheel to stop completely.
- Inspect the tool externally. Look for a cracked housing, damaged cord or plug, damaged battery, missing screws, burn marks, a loose guard, or a loose side handle. Stop if you find electrical or structural damage.
- Inspect the wheel or accessory. Check for cracks, chips, warping, missing sections, glazing, contamination, uneven wear, impact damage, and an expiration marking if one is provided. Replace the accessory whenever its condition is doubtful.
- Verify compatibility. Confirm the wheel type, diameter, thickness, maximum RPM, arbor hole or thread, flange set, and guard against the grinder manual and accessory label.
- Remove and inspect the mounting hardware. Check the spindle shoulder, backing flange, locking flange or nut, and accessory surfaces for burrs, debris, distortion, cracks, or incorrect orientation. Use only the approved flange arrangement.
- Turn the spindle by hand. With the accessory removed and power disconnected, rotate the spindle slowly. It should turn consistently without scraping, binding, a rough spot, or excessive side movement. Do not press the spindle-lock button while the spindle is moving.
- Check guard clearance. Reinstall the correct guard and approved accessory. Turn the wheel gently by hand to confirm that it does not touch the guard, housing, or another component.
- Clean the exterior vents safely. Brush or vacuum loose material from the exterior without inserting tools into the housing. If the manual permits compressed air, use clean, dry, low-pressure air with eye protection and controlled debris.
- Perform a protected no-load test. Install the guard and side handle. Move everyone out of the plane of the rotating accessory. Hold the tool with both hands in a protected area and run it at maximum no-load speed for one minute after installing or reinstalling the wheel. Stop immediately for wobble, scraping, smoke, heat, or abnormal noise.
- Test only under light load. If the one-minute no-load test is smooth, secure the workpiece and make a brief, light test using the correct working angle. Do not force the wheel. Stop if the noise appears under load.
Note: A ring test is not suitable for every angle-grinder wheel. OSHA notes that it is ineffective for wheels 4 inches or smaller and some shapes, while abrasive manufacturers primarily apply it to suitable vitrified wheels. Follow the wheel maker’s inspection instructions for thin resin-bonded grinding and cut-off discs.
Effective Noise Reduction Techniques
The correct way to reduce abnormal grinder noise is to remove its mechanical cause. Do not try to hide the sound with extra pressure, improvised spacers, a different retaining nut, lubricant through the vents, or continued use.
| Step | Correct Action | Expected Result |
|---|---|---|
| Inspect the wheel | Replace it if cracked, chipped, warped, expired, contaminated, or questionable. | Removes a common source of wobble, scraping, and wheel-breakage risk. |
| Check mounting | Use the correct backing flange, locking flange, arbor fit, thread, and orientation. | Helps the accessory run true without excessive vibration. |
| Check components | Secure the guard and handle; arrange service for bearing, gear, spindle, switch, or motor damage. | Corrects rattles and rough internal movement. |
| Clean the grinder | Remove dust from exterior vents using the method approved in the manual. | Restores airflow and reduces heat and electrical contamination risk. |
| Match speed and size | Use an accessory rated at or above the grinder’s maximum speed and within its size capacity. | Reduces overspeed and guarding hazards. |
| Use PPE | Wear primary eye protection, a face shield, hearing protection, and suitable respiratory protection. | Protects against fragments, sparks, noise, and dust during testing and use. |
Pro Tip: If the noise began immediately after an accessory change, compare every installed part with the manual’s accessory diagram. A reversed backing flange or incorrect locking flange can look secure while preventing the wheel from seating correctly.
How to Repair Bearings, Discs, and Other Common Issues
Disc replacement, correct mounting, guard adjustment, side-handle tightening, and exterior cleaning are reasonable owner tasks when performed exactly as the manual directs. Internal bearing, gear, spindle, switch, wiring, armature, fan, and motor repairs require greater care.
Products Worth Considering


[7PCS 5/8"-11 Angle Grinder Nut Wrench Replacement Kit] 1 piece angle grinder wrench and 6 angle grinder nuts (3 inner flange nuts, 3 outer flange nuts) for lock nut removal, wheel/disc replacement.Compatible with most arbor grinders and lock nuts, Perfect for home DIY, workshop projects, and professional grinder parts replacement

[High-Performance Cutting] Designed for cutting metal & stainless steel, these cut off wheels 4 1/2 inch work efficiently with any angle grinder wheel, supporting speeds up to 13,300 RPM.
Replacing a Damaged or Incorrect Disc
- Disconnect the grinder from power and wait for the accessory to stop.
- Remove the wheel with the supplied or approved wrench and spindle-lock procedure.
- Inspect both flanges, the spindle, the guard, and the replacement accessory.
- Confirm the replacement wheel’s type, size, arbor or thread, speed rating, intended operation, and expiration marking if present.
- Install the accessory and flange in the exact orientation shown in the manual.
- Tighten it only as directed; overtightening can damage a wheel or mounting hardware.
- Rotate the wheel by hand to check clearance, then perform the protected one-minute no-load test.
Bearings, Gears, Brushes, and Motor Parts
A worn bearing may create a growl, rumble, rough hand rotation, heat, or spindle play. Damaged gears may produce repeating clicks, coarse grinding, or noise that changes under load. These symptoms overlap, so sound alone does not identify the failed part.
Some brushed grinders have externally accessible brush caps, while brushless and other models do not. Inspect or replace brushes only when the model manual provides an owner procedure. Do not open a battery pack, bypass a switch, disturb insulated wiring, or operate a tool with visible electrical damage.
| Component | Recommended Action | Owner or Technician? |
|---|---|---|
| Grinding disc or accessory | Inspect, verify compatibility, install correctly, or replace. | Owner, following the manual |
| Guard, handle, and approved flange | Tighten, position, or replace with the exact approved component. | Owner if no damage or stripped threads are present |
| Bearings and spindle | Inspect for roughness, play, heat, or damage; replace using model-specific procedures and tools. | Qualified technician in most cases |
| Gearbox and gears | Inspect internally for wear, broken teeth, contamination, and correct lubricant quantity. | Qualified technician |
| Brushes on applicable models | Follow the model manual’s inspection and replacement procedure. | Owner only when expressly user-serviceable |
| Switch, wiring, armature, motor, charger, or battery | Stop use and arrange authorized or qualified service. | Qualified technician |
| Lubrication | Use only the lubricant, amount, and service point identified by the manufacturer. | Technician unless the manual gives an owner procedure |
| Persistent abnormal noise | Remove the tool from service and investigate before further operation. | Qualified assessment when external checks do not solve it |
Note: Never add oil or grease through an air vent, spindle opening, or switch gap. Excess or incompatible lubricant can contaminate electrical parts, attract abrasive dust, or damage seals and plastics.
Essential Preventative Maintenance Tips
Preventive care helps you find damaged accessories, loose guards, blocked vents, and worn external parts before they create severe vibration or wheel failure. The maintenance schedule should follow the grinder’s manual and the conditions in which it is used.
Regular Inspection Schedule
Before each use, inspect the wheel, guard, flange, side handle, spindle area, switch, cord or battery, and housing. Confirm that the accessory remains approved for the grinder and material.
After each dusty job, clean the exterior vents and wipe the housing. Record unusual noise, vibration, heat, power loss, wheel changes, and service work in a simple maintenance log. A change in sound over time can help a technician reproduce an intermittent fault.
- Before every use: Wheel condition, accessory compatibility, guard, handle, flange, cord or battery, and switch.
- After dusty work: Exterior vents, housing, guard, and spindle area.
- After a drop or impact: Tool housing, guard, spindle, flange, and accessory; replace the accessory if its condition is uncertain.
- When noise or vibration changes: Remove the tool from service and repeat the full inspection.
- At the interval in the manual: Manufacturer-specified brush, gearbox, bearing, and electrical service.
Proper Abrasive Wheel and Disc Storage
Abrasive wheels are not ordinary steel blades. Store them in a dry, protected location where they will not be dropped, bent, frozen, overheated, exposed to high humidity, or subjected to rapid temperature changes. Keep labels and expiration markings readable.
Norton’s abrasive-wheel handling guidance recommends careful inspection and storage appropriate to the wheel type. Keep flat wheels fully supported in their original packaging when possible, and store cup wheels or special shapes as directed by their manufacturer.
| Storage Tip | Purpose |
|---|---|
| Use a dry, protected storage area | Reduces moisture, humidity, freezing, and thermal-shock exposure. |
| Keep flat wheels flat and fully supported | Helps prevent bending, edge damage, and uneven loads. |
| Do not place heavy items on wheels | Prevents hidden cracking and distortion. |
| Retain original packaging and labels | Protects the wheel and preserves type, RPM, size, and expiration information. |
| Inspect before mounting | Identifies impact damage, cracks, chips, contamination, or an expired accessory. |
| Organize by type and size | Reduces the chance of installing the wrong wheel or guard combination. |
Cooling System Maintenance
Clear airflow helps control motor and electronic heat. Inspect the air vents often and remove exterior dust before it becomes packed into the openings.
Use a clean brush or exterior vacuum first. When the tool manufacturer calls for compressed-air cleaning, use clean, dry air and wear eye protection. In a workplace, OSHA limits compressed air used for cleaning to less than 30 psi and requires effective chip guarding and PPE.
Do not direct debris toward another person, blow dust from clothing or skin, insert the nozzle deeply into the tool, use liquid cleaners inside the housing, or immerse any part of the grinder.
Stop using the grinder if the case becomes hot unusually fast, airflow seems weak, the motor loses power, or you notice a burning smell. Those signs may indicate more than a blocked vent.
When to Get Professional Help
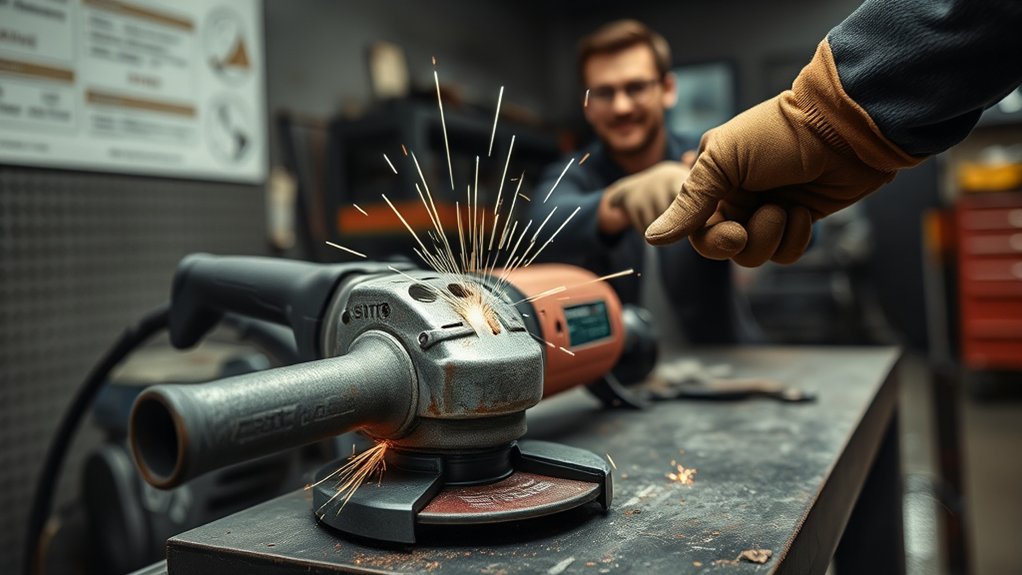
Cleaning, tightening approved external parts, and replacing a compatible wheel can solve minor problems. Persistent noise, rough spindle movement, gear damage, electrical faults, or structural damage call for qualified service.
| Issue | Action |
|---|---|
| Grinding or growling noise persists with a known-good accessory | Seek professional assessment of the spindle, bearings, gears, fan, and motor. |
| Spindle feels rough, binds, or has visible side movement | Do not run the tool; arrange bearing and spindle inspection. |
| Smoke, burning odor, heavy arcing, or damaged insulation | Disconnect power and consult a qualified or authorized service center. |
| Sudden decline in performance or repeated shutdown | Stop forcing the tool and have the motor, electronics, battery, and gearbox checked. |
| Cracked gear case, bent spindle, stripped guard mount, or broken spindle lock | Remove the grinder from service until repaired or replaced. |
| Noise continues after wheel, flange, guard, and vent checks | Do not continue trial-and-error testing; get a qualified diagnosis. |
Current manufacturer instructions state that repairs affecting product safety and reliability should be completed by a qualified repair person using identical replacement parts. Continuing to force a noisy grinder can turn a repairable bearing or gear problem into greater tool damage or loss of control.
Warning: Do not open, probe, charge, or reuse a swollen, cracked, overheated, leaking, or otherwise damaged lithium-ion battery pack. Isolate it from combustible materials and follow the battery manufacturer’s service and disposal instructions.
Staying Safe After Fixing Your Grinder
After cleaning, adjustment, accessory replacement, or repair, inspect the entire tool again. Confirm that the guard, approved flanges, side handle, accessory, cord or battery, switch, and housing are secure and undamaged.
Turn the accessory by hand with the power disconnected. Check for contact with the guard and confirm that the spindle lock has released. Remove all wrenches and adjustment tools.
Move to a controlled area free of flammable materials. Secure the guard and side handle, wear the required PPE, and keep yourself and bystanders out of the rotating accessory’s plane. Run the grinder at maximum no-load speed for one minute after installing a new or reinstalled accessory.
Test the grinder in a controlled area before returning to work. Smooth no-load operation does not override a damaged wheel, loose guard, or other visible defect.
Stop the test for scraping, ticking, wobble, severe vibration, smoke, burning odor, abnormal arcing, rapid heat, or a wheel that does not run true. If the no-load test is smooth, secure the workpiece and make a brief light-load test without forcing the grinder.
Frequently Asked Questions
Why is my grinder making noise?
An angle grinder may make abnormal noise because of a damaged or incorrectly mounted wheel, wrong flange or guard, loose hardware, vent contamination, worn bearings, damaged gears, a fan problem, or an electrical fault. Disconnect power and begin with the accessory and external mounting parts.
What are signs my grinder needs repair?
Repair is needed when noise remains after accessory and external checks, the spindle feels rough or loose, the grinder vibrates severely, power drops, the case heats rapidly, or you notice smoke, burning odor, heavy arcing, a damaged switch, or a cracked housing.
How can I tell if an angle grinder disc is bad?
Replace a disc that has cracks, chips, warping, missing sections, deep uneven wear, contamination, impact damage, an expired marking, or a damaged hub. Also replace it if it wobbles after correct mounting or if its speed, size, arbor, thread, or intended use does not match the grinder.
What are two common faults that occur with grinding wheels?
For portable angle-grinder safety, two important fault groups are physical wheel damage and improper fit or mounting. In abrasive-process terminology, loading and glazing are also common performance faults. A wheel with any safety-related damage, wobble, incorrect fit, or questionable condition must be replaced rather than repaired.
Can dust make an angle grinder noisy?
Yes. Dust and metal grit can restrict airflow, contact the fan, contaminate moving parts, or create electrical hazards inside the housing. Clean the exterior vents using the method approved in the tool manual. Persistent noise after cleaning may indicate internal wear that needs service.
Why does my angle grinder grind or growl with the wheel removed?
Noise or roughness with the accessory removed points more strongly toward the spindle bearings, gears, fan, motor, or internal contamination. Do not energize the grinder without an accessory unless the model manual permits that test. Rough hand rotation is enough reason to arrange qualified service.
Should I lubricate a noisy angle grinder?
Do not add oil or grease unless the exact model manual identifies a user-serviceable lubrication point, lubricant type, and quantity. Adding lubricant through vents or spindle openings can contaminate electrical parts, damage materials, and collect abrasive dust. Gearbox lubrication is usually a service procedure.
Conclusion
A grinding noise from an angle grinder usually means the wheel, mounting hardware, guard, spindle, vents, or an internal part needs attention before work continues. Start with the safest external checks: disconnect power, inspect the accessory, verify its compatibility, examine the flanges and guard, rotate the spindle by hand, and clean the vents correctly.
Replace any questionable wheel and perform a guarded one-minute no-load test only when the tool passes its disconnected inspection. If roughness, heat, smoke, severe vibration, electrical damage, or abnormal noise remains, remove the grinder from service and have it inspected by a qualified technician.
Sources
- OSHA: Safe Use of Portable and Hand-Held Power Tools — power disconnection, wheel inspection, guards, accessory replacement, testing, and PPE.
- OSHA 29 CFR 1910.243: Guarding of Portable Powered Tools — abrasive-wheel guard coverage and alignment.
- OSHA 29 CFR 1910.242: Hand and Portable Powered Tools — compressed-air cleaning pressure, chip guarding, and PPE requirements.
- DEWALT DCG407/DCG408 Instruction Manual — accessory compatibility, guard and flange selection, one-minute no-load testing, wheel storage, cleaning, and qualified repair.
- Norton Abrasives: Proper Handling and Storage of Grinding Wheels — inspection, ring-test applicability, handling, protected testing, and storage.