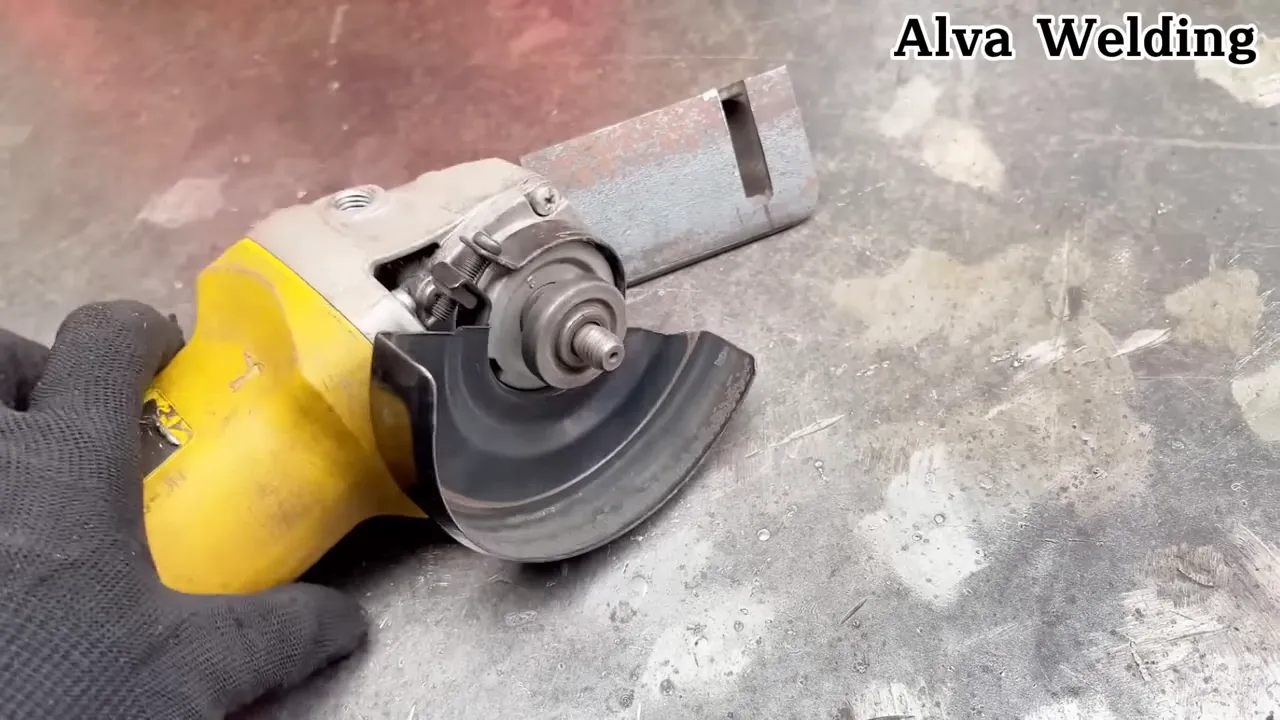
If you use an angle grinder for cutting metal sheet metal, plate, or pipe, these five jigs will change the way you work. They make cuts safer, more accurate, and much faster. Below I break down each jig, how to build it, how I use it, and the unexpected small tricks that make them reliable in the shop or at home. These are practical, weld-friendly hacks that any DIYer or fabricator will appreciate.
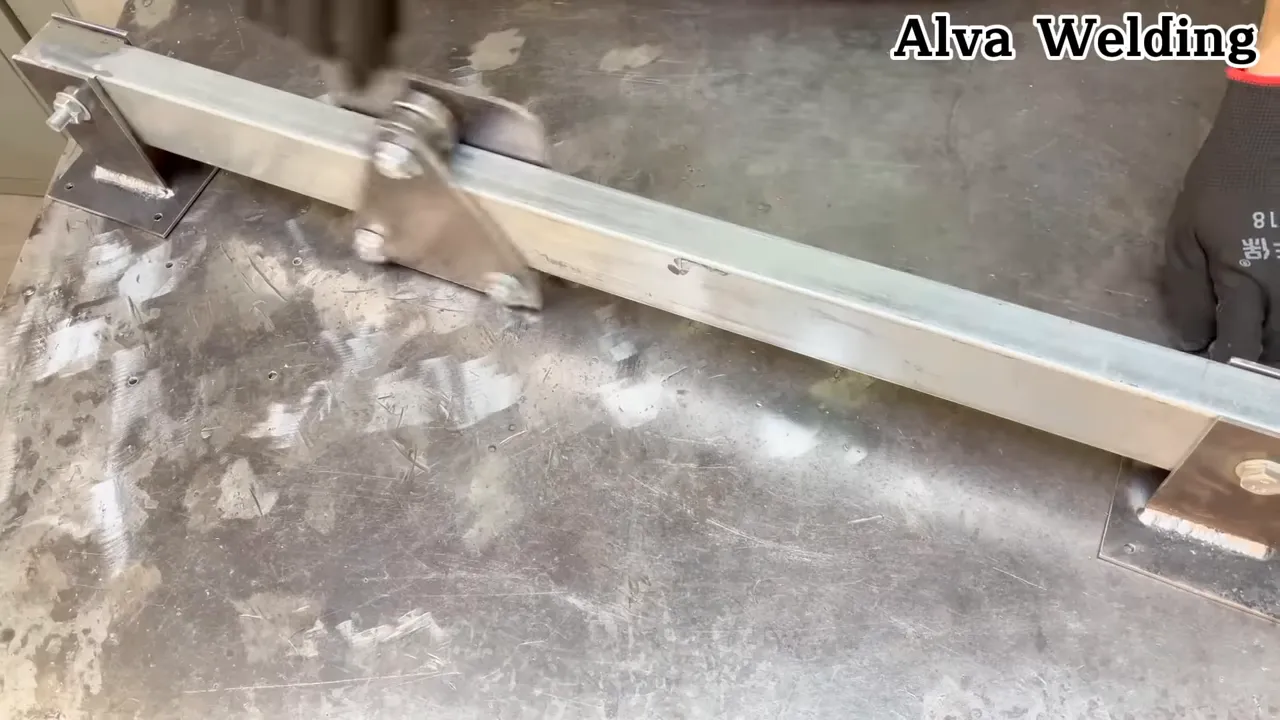
🔧 1. Simple Straight-Edge Guide Jig
This is the most basic jig but easily the most useful. Clamp a rigid flat bar or angle iron next to the cut line so the grinder rides along it. It keeps the wheel square to the cut and prevents wandering on long straight cuts.
Materials
- Flat bar or angle iron about 1/4 inch thick
- Two quick clamps
- Marker and scribe
How I use it
- Mark your cut line clearly, then position the guide so the grinder guard/housing runs along it.
- Keep light, even pressure and let the wheel do the work.
- For long cuts, stop occasionally to check alignment and clear swarf; let the area cool.
Why it helps
- Improves straightness drastically compared to freehand cutting.
- Helps prevent wandering and binding; reduces accidental gouging of thin material.
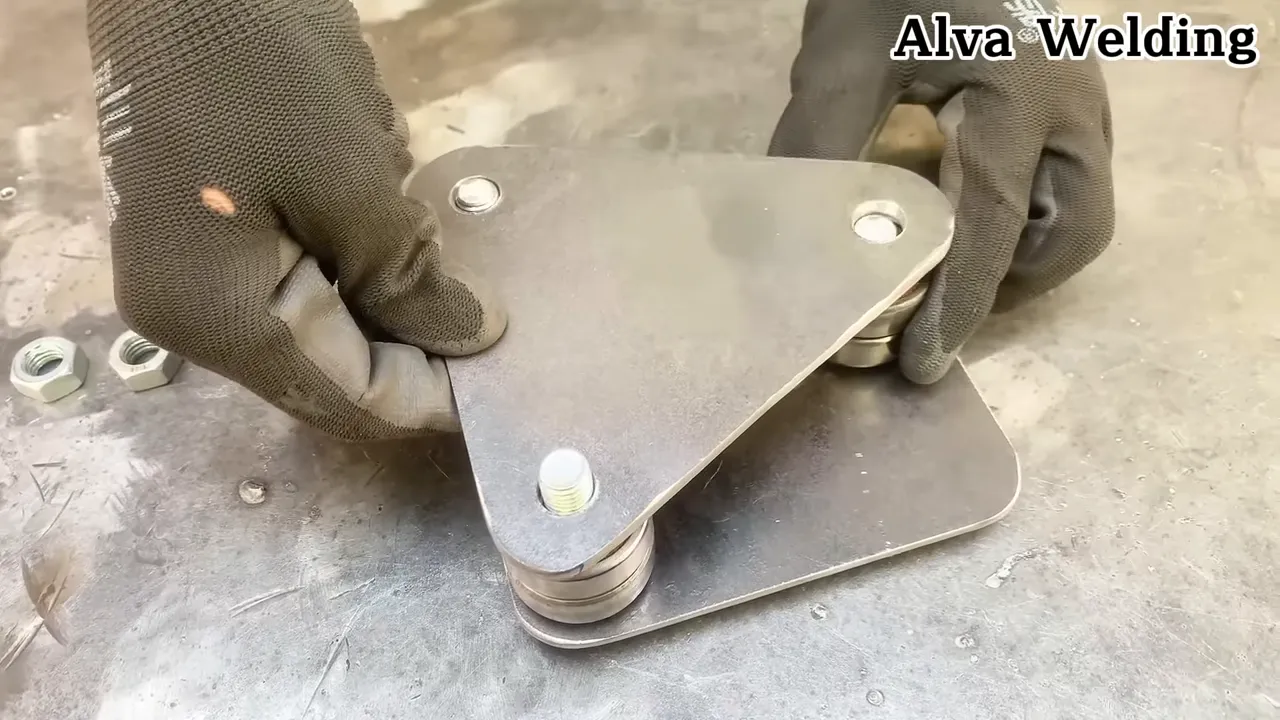
🪚 2. Adjustable Angle Stop for Repeatable Miters
When I needed the same miter over and over, this adjustable stop became essential. It clamps to a workbench or an angle base and gives you a consistent reference so every cut is consistent.
Materials
- Small hinge or pivot bolt
- Scale or protractor plate
- Clamp or bolt to secure the stop
Tips for setup
- Lock the stop at the desired angle using a locking bolt.
- Test on scrap first to dial in the exact angle and clearance for the grinder guard.
When to use it
- Cutting trim, frames, or tube miters where accuracy matters.
- Any job with multiple identical pieces to speed up production.
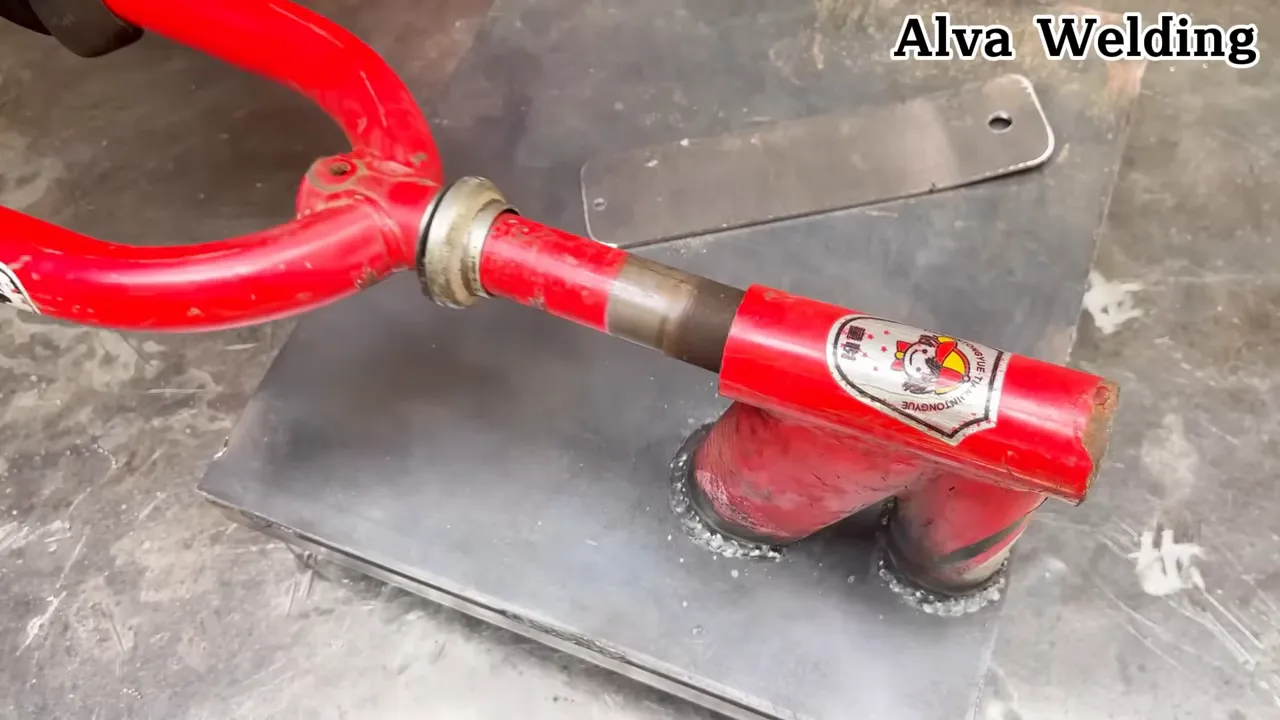
🔩 3. Pipe/Tube Cutting Saddle Jig
Cutting round stock freehand is tricky. I built a simple saddle jig that cradles pipe and keeps it from rolling while allowing the grinder to track correctly over the cut.
How to make it
- Use two strips of metal welded or bolted to a base forming a V-block cradle (two angle irons at ~90°).
- Add removable stops or pins for different diameters.
Usage tips
- Secure the jig to the bench to avoid movement from grinding vibration.
- Rotate the pipe through the jig if you need a full circumferential cut or use a cutoff wheel and finish in stages.
🧰 4. Cut-Off Wheel Depth Limiter Jig
Over-cutting or nicking an underlying surface is a common problem. A depth limiter keeps the wheel from going too deep and protects jigs, fixtures, and the workbench.
Build notes
- Use a manufacturer-approved depth guide or a clamp-on shoe that attaches to the guard without drilling.
- Adjust the guide position so the wheel only exposes the necessary cutting width.
Why use one
- Prevents accidental damage when cutting flush or near welded joints.
- Improves safety by reducing the chance of binding and grabbing.
⚙️ 5. Quick-Change Flange & Wheel Holder Table
Swapping wheels mid-project is slow if you do it on the bench each time. I made a small table that holds spare wheels, guards, and a spare flange so I can swap and resume work quickly without misplacing parts.
What I keep on mine
- Spare cutoff and grinding wheels
- Extra guards, flanges, and a small wrench
- Safety gear: gloves, goggles, and ear protection
Workflow improvement
- Less downtime, fewer mistakes when changing accessories, and better organization in the shop.
✅ Final tips for safer, faster, and more accurate cuts
These jigs are all about control. A little setup time saves a lot of rework and frustration. Here are the practical rules I follow every time:
- Always wear eye and ear protection, snug, cut-resistant gloves, and a proper respirator when cutting metal.
- Pick the right wheel for the job and inspect it for cracks or damage before mounting.
- Clamp your work and your jig securely. Vibration is the enemy of accuracy.
- Test setups on scrap before committing to the actual piece.
- Keep the grinder guard properly positioned; jigs should complement, not replace, basic safety devices.
🔍 Frequently Asked Questions
What materials work best for making simple angle grinder jigs?
Use mild steel flat bar or angle iron for rigidity. Thicker material resists flex and vibration. For parts that clamp to a bench, add a sacrificial plate to protect the surface from sparks.
Can these jigs be used with any angle grinder size?
Yes, the principles apply to most sizes. Make sure the jig clears the grinder guard and that the wheel diameter is compatible with the jig geometry.
Are there safety concerns when adding custom jigs to an angle grinder?
Yes. Never modify the grinder itself in a way that interferes with guards or safety switches. Secure jigs independently and test them on scrap. Keep bystanders clear of sparks and debris.
How do I maintain accuracy when using jigs repeatedly?
Check and tighten all fasteners before each session. Use reference marks and verify setup dimensions on scrap. Simple calibration steps after a few cuts will keep repeatability tight.
🧾 Quick recap
These five jigs—from a straight-edge guide to a quick-change wheel holder—are small investments in time and material that pay off every time you cut. They make angle grinder work safer, more accurate, and much faster. Build one at a time, test it on scrap, and integrate the ones that stick into your regular workflow.


