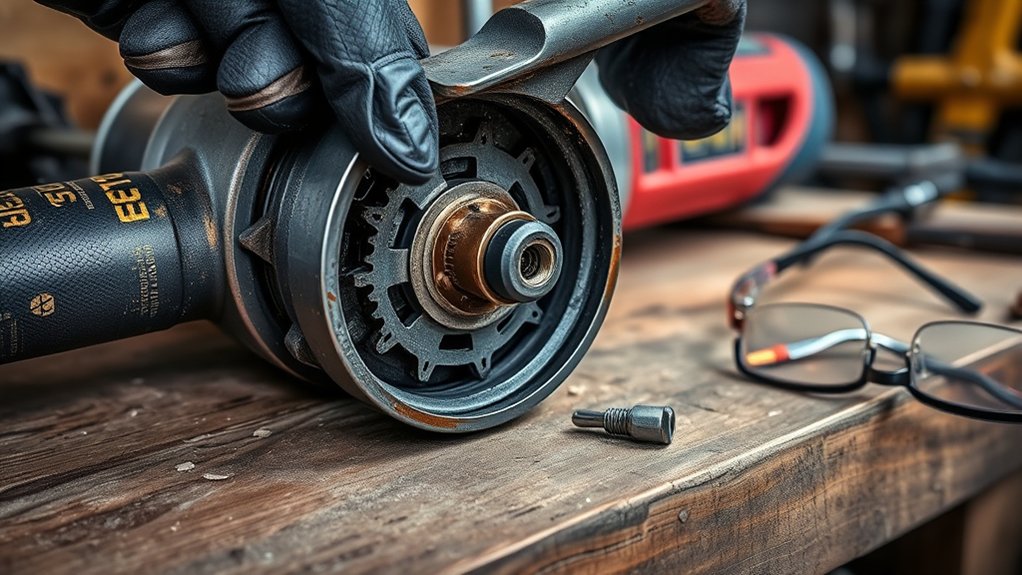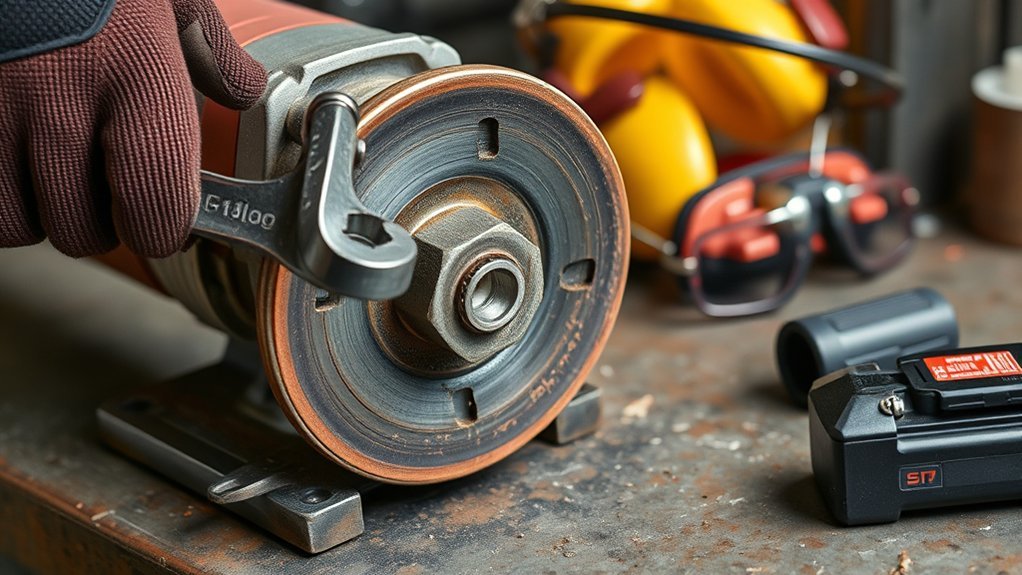
A stuck angle grinder nut can stop a job quickly, but forcing it with the wrong tool can damage the nut, spindle lock, gearbox, or abrasive wheel. The safest method is to disconnect the grinder, identify its mounting system, engage the spindle lock correctly, and use only the wrench or release mechanism specified for that model.
Quick Answer
Disconnect the cord or remove the battery, wait for the wheel to stop, identify the mounting system, and use the grinder’s supplied lock-nut wrench while the spindle lock is fully engaged. Most conventional nuts loosen counterclockwise, but confirm the manual. If firm hand pressure cannot release it, stop and use authorized service.
Key Takeaways
- Unplug a corded grinder or remove the battery before touching the wheel, nut, flange, or spindle.
- Identify whether the grinder uses a conventional nut, threaded accessory, tool-free nut, or proprietary quick-change system.
- Use the supplied pin spanner or manufacturer-specified wrench with smooth hand pressure.
- Do not use an impact wrench, hammer, pry bar, vise, locking pliers, heat, or an improvised handle extension.
- Keep mounting surfaces clean and dry, and stop if the wheel, nut, spindle, or spindle lock appears damaged.
At a Glance
| Time Required | About 10–30 minutes for inspection and normal removal; longer if professional service is required |
| Difficulty | Easy to moderate when the correct wrench and mounting instructions are available |
| Tools Needed | Owner’s manual, supplied pin spanner or specified wrench, soft brush, safety glasses, and replacement mounting parts if damaged |
| Cost | Usually $0 with the supplied wrench; replacement parts or professional service add cost |
Before You Begin
Find the grinder’s model number and check its owner’s manual before applying force. Angle grinders do not all hold accessories the same way, and the correct removal method depends on the mounting system.
| Mounting System | How to Recognize It | Normal Removal Method |
|---|---|---|
| Conventional lock nut | A round nut with two or more pin-spanner holes holds the wheel against a backing flange. | Engage the stationary spindle lock and turn the nut with the supplied pin spanner. Common right-hand-thread models loosen counterclockwise, as shown in the Makita grinder instructions. |
| Threaded or hubbed accessory | The wheel, brush, or diamond cup threads directly onto the spindle and may have wrench flats on its metal hub. | Hold the stationary spindle lock and turn the hub at the manufacturer-provided wrenching surface. Bosch’s GWS-5SG instructions specify counterclockwise removal for its compatible threaded cup wheels. |
| Tool-free lock nut | The nut has a folding lever, grip ring, or other hand-operated release feature. | Follow the exact release sequence in the grinder manual. Do not substitute pliers if the mechanism will not release normally. |
| Proprietary quick-change mount | The wheel snaps into a shaped mount instead of being held by a normal flange nut. | Use the built-in release lever. For example, Bosch X-LOCK grinders do not use a spanner wrench or conventional flange nut. |
For a conventional lock nut, gather these items:
- The grinder’s supplied pin spanner or lock-nut wrench
- A correctly sized replacement spanner if the original is missing or bent
- The owner’s manual or official model-specific instructions
- A soft nylon brush or vacuum for loose dust
- Safety glasses and work gloves for handling sharp wheel edges
- A replacement nut, backing flange, or wheel if inspection finds damage
Warning: Never work on a plugged-in grinder or a cordless grinder with its battery installed. Do not strike the wheel or nut, clamp the grinder or wheel in a vise, apply heat, or use an impact wrench, pry bar, locking pliers, breaker bar, or pipe extension.
How to Remove a Stuck Angle Grinder Nut
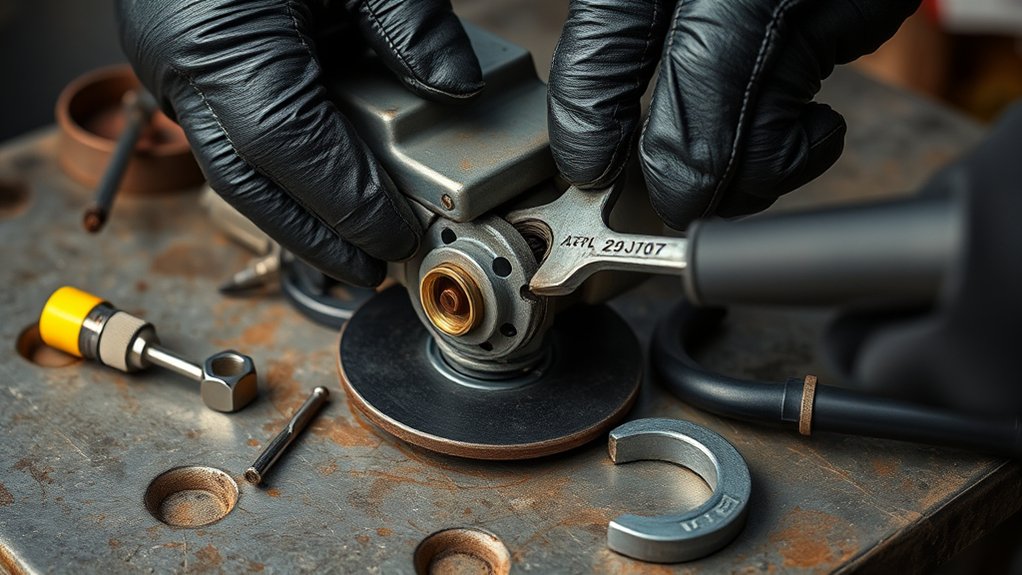
Use the following sequence for a conventional backing-flange and lock-nut assembly. For a hubbed, tool-free, or proprietary system, follow the model-specific instructions described above.
- Disconnect all power. Unplug a corded grinder or remove the battery pack. OSHA advises disconnecting power tools before servicing, cleaning, or changing accessories in its hand-held power-tool guidance.
- Wait for a complete stop. Do not touch the wheel or press the spindle lock until every moving part has stopped.
- Inspect before applying force. Look for a cracked, chipped, bent, or badly worn wheel; a distorted nut; damaged pin holes; visible spindle damage; or a loose guard. Do not grip or load a damaged abrasive wheel. Move directly to professional service.
- Confirm the mounting type and direction. Conventional right-hand-thread nuts commonly loosen counterclockwise when viewed from the wheel side, but verify the exact manual before turning.
- Seat the spindle lock fully. Turn the wheel or spindle slowly by hand while pressing the lock until the mechanism drops into its locked position. Never press the lock while the grinder is operating. DeWalt warns in its grinder instructions that engaging the lock while the tool is running can damage the tool and allow the accessory to spin off.
- Fit the correct wrench completely. Place both pins of the supplied spanner fully into the nut holes. Keep the wrench square to the nut so the pins do not slip or bend.
- Apply smooth hand pressure. Hold the spindle lock and pull the wrench in the verified loosening direction. Use firm, controlled pressure without jerking, bouncing, or extending the wrench handle.
- Stop if the nut does not move. Brush or vacuum loose dust from the exposed area and try once more with the correctly seated wrench. If the wrench bends, the pin holes deform, the spindle lock slips, or the nut still does not release, stop and arrange manufacturer-authorized service.
Note: Counterclockwise removal applies to many conventional right-hand-thread grinders, but it is not a universal rule for every accessory or proprietary mounting system. Do not guess when the manual shows a different release method.
Products Worth Considering

[7PCS 5/8"-11 Angle Grinder Nut Wrench Replacement Kit] 1 piece angle grinder wrench and 6 angle grinder nuts (3 inner flange nuts, 3 outer flange nuts) for lock nut removal, wheel/disc replacement.Compatible with most arbor grinders and lock nuts, Perfect for home DIY, workshop projects, and professional grinder parts replacement

Adjustable Lock-nut Grinder Wrench

Material: Chisel Tool Steel
Why Angle Grinder Nuts Become Stuck
A lock nut may become difficult to remove for one or more of these reasons:
- Overtightening: The nut was installed with excessive force instead of being tightened as directed by the manufacturer.
- Foreign material: Grinding dust, grit, corrosion, or wheel debris sits between the nut, wheel, flange, or spindle threads.
- Incorrect flange position: Some lock nuts have different faces for thin cutting wheels and thicker grinding wheels. Incorrect orientation can prevent proper seating.
- Wrong mounting parts: An incompatible nut, backing flange, spacer, bushing, or adapter may bind or clamp unevenly.
- Damaged threads: Cross-threading, burrs, impact damage, or a bent spindle can make the nut seize.
- Wheel damage or collapse: A thin wheel that has cracked, deformed, or worn unevenly can trap the lock nut against the backing flange.
- Damaged spindle lock: A rounded or broken locking mechanism may fail before enough normal hand torque reaches the nut.
A grinder lock nut should hold the wheel securely without being tightened so hard that it distorts the flange or becomes impossible to remove with the supplied wrench.
Best Tools for Removing a Stuck Angle Grinder Nut
The safest tool is the one specified for the grinder and accessory. More leverage is not automatically better.
| Tool or Option | Proper Use | Important Limit |
|---|---|---|
| Supplied pin spanner | First choice for a conventional two-hole or multi-hole lock nut | Both pins must seat fully; replace a bent or worn wrench |
| Correct replacement spanner | Useful when the original wrench is missing or damaged | Match the pin spacing, pin diameter, nut, and grinder model |
| Specified open-end wrench | For a hubbed accessory that has manufacturer-provided wrench flats | Do not grip the abrasive body or diamond segments |
| Soft brush or vacuum | Removes loose dust before another normal wrench attempt | Do not force debris deeper into bearings, vents, or threads |
| Authorized repair service | For seized parts, damaged threads, a cracked wheel, or a failing spindle lock | The grinder should remain out of service until inspected |
Pro Tip: Store the correct pin spanner with the grinder rather than in a general wrench drawer. A properly fitting wrench is less likely to slip, round the nut holes, or tempt you to use an improvised removal method.
Products Worth Considering
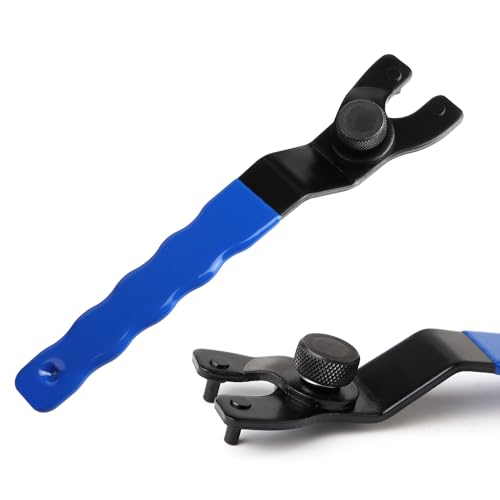
Material: Chisel Tool Steel

Package Includes: 2 x Wrench

Material: Chisel Tool Steel
Methods to Avoid
The following methods may appear in informal videos or forum discussions, but they should not be treated as routine grinder maintenance:
- Impact wrench: Impact torque can damage the spindle lock, nut, spindle, or gearbox.
- Breaker bar or pipe extension: Extra leverage can exceed the strength of the lock mechanism and bend the wrench pins.
- Hammer and punch: Blows can distort the nut, damage the wheel, or send fragments outward.
- Pry bar through cup-wheel openings: The openings may not be designed as wrenching points, and side force can damage the cup or spindle.
- Vise or locking pliers: Clamping can crack, crush, or deform an abrasive accessory and damage the grinder housing.
- Open flame or uncontrolled heat: Heat can harm wheel bonds, seals, grease, plastic parts, electronics, and battery components.
- Penetrating oil or anti-seize as a universal fix: These materials can contaminate mounting faces and change thread friction. Use them only when the exact manufacturer instructions expressly permit them.
- Cutting the nut or wheel off: This can damage the guard, flange, spindle, and gearbox and should be left to a qualified repair technician.
Stay Safe While You Work
Angle grinders use high-speed accessories, and a damaged wheel or mounting assembly can fail after reassembly. Treat the removal process as tool maintenance rather than a contest of force.
- Use eye protection: Wear safety glasses while handling damaged metal parts or brittle wheel edges. Use the additional face, hearing, respiratory, and clothing protection required for the material when the grinder returns to service.
- Keep the guard installed: Use the correct guard for the wheel type and position it between the operator and the wheel. OSHA’s portable-grinder requirements address guard coverage, wheel inspection, and clean mounting surfaces.
- Keep the workspace stable: Set the disconnected grinder on a dry, well-lit bench where it cannot roll or fall. Keep hands away from pinch points between the wrench, guard, and wheel.
- Do not trust a damaged wheel: Replace any wheel that is cracked, chipped, warped, contaminated, or questionable. Do not reuse a wheel merely because the nut was eventually removed.
- Stop when parts deform: A bending wrench, rounded nut holes, slipping spindle lock, or visible spindle movement is a reason to stop—not a reason to apply more force.
After the Nut Comes Off
Do not immediately install another wheel. Inspect and clean the mounting assembly first.
- Remove loose debris: Brush or vacuum dust from the spindle, lock nut, backing flange, guard, and nearby surfaces.
- Check the spindle threads: Look for flattening, cross-threading, burrs, cracks, or wobble. A damaged spindle requires professional repair.
- Inspect the lock nut: Replace it if the pin holes are enlarged, the threads feel rough, the face is warped, or the nut no longer sits flat.
- Inspect the backing flange: Its contact face should be clean, flat, correctly oriented, and free of burrs. OSHA requires wheel and flange contact surfaces to remain free of foreign matter.
- Check the spindle lock: It should engage positively without slipping or requiring excessive pressure.
- Verify the replacement wheel: Confirm its size, arbor, wheel type, maximum speed rating, and guard compatibility with the grinder.
Norton’s grinding-wheel mounting guidance recommends cleaning the arbor and flanges, checking flange condition, and avoiding excessive tightening.
How to Reinstall the Wheel Safely
- Use only compatible parts. Install the backing flange, wheel, lock nut, spacers, and guard specified for the grinder and wheel type.
- Keep all mounting faces clean and dry. Do not place oil, grease, anti-seize, tape, or makeshift washers between the wheel and flanges.
- Start all threads by hand. The nut or hub should turn smoothly without binding. Stop immediately if it begins cross-threading.
- Orient the lock nut correctly. Some nuts have a raised side for thicker grinding wheels and a flatter side for thin cutting wheels. Follow the manual’s illustration.
- Tighten only as directed. Use the supplied wrench and spindle lock. Do not use an impact wrench or added handle extension.
- Recheck the guard and handle. Confirm that the correct guard is secure and the auxiliary handle is installed where required.
- Perform a controlled test run. Move bystanders away, hold the grinder with both hands, keep your body out of the wheel’s plane, and run it at no load in a protected position. Stop immediately if you notice vibration, wobble, rubbing, or unusual noise.
How to Prevent the Nut From Sticking Again
- Clean the spindle, flange, and lock-nut faces before every wheel change.
- Use the correct backing flange and nut for the wheel type.
- Check whether the lock nut has different mounting faces and orient it as the manual directs.
- Thread the nut or hub on by hand before using a wrench.
- Tighten only enough to secure the wheel according to the grinder manufacturer’s instructions.
- Do not use an impact wrench, cheater bar, or hammer during installation.
- Replace worn nuts, bent spanners, damaged flanges, and rough-threaded accessories.
- Keep the correct wrench with the grinder so it is available for every wheel change.
- Do not apply lubricant or anti-seize unless the exact manual expressly requires it.
- Inspect the wheel, guard, and mounting system after any bind, kickback, fall, or unusual vibration.
When to Call a Repair Professional
Stop using the grinder and contact the manufacturer or an authorized repair center when:
- The correct wrench and normal hand pressure do not release the nut.
- The spindle lock slips, will not engage, or makes grinding or clicking noises.
- The lock-nut holes are rounded, torn, or badly distorted.
- The wheel is cracked, collapsed, bent, or trapped against the flange.
- The spindle appears bent, wobbles, or has damaged threads.
- The backing flange is warped, cracked, or seized to the spindle.
- A tool-free nut or quick-change release lever will not operate normally.
- The grinder was previously struck, clamped, overheated, or subjected to impact-wrench torque.
Do not operate the grinder again until the mounting assembly turns true, the spindle lock works correctly, the guard is secure, and all damaged parts have been replaced.
Sources
- OSHA: Safe Use of Portable and Hand-Held Power Tools — power isolation, guarding, accessory changes, and grinder safety
- OSHA Standard 1910.243: Guarding of Portable Powered Tools — grinder guards, wheel inspection, spindle fit, and clean contact surfaces
- Makita 9564CV and 9565CV Instruction Manual — conventional lock-nut installation, removal direction, and wheel handling
- DeWalt DCG407 and DCG408 Instruction Manual — correct spindle-lock operation and warnings against engaging it while running
- Bosch GWS-5SG Instructions — threaded and arbor-mounted diamond cup wheel removal
- Norton Abrasives: Proper Mounting of a Grinding Wheel — clean flanges, correct mounting parts, inspection, and overtightening prevention