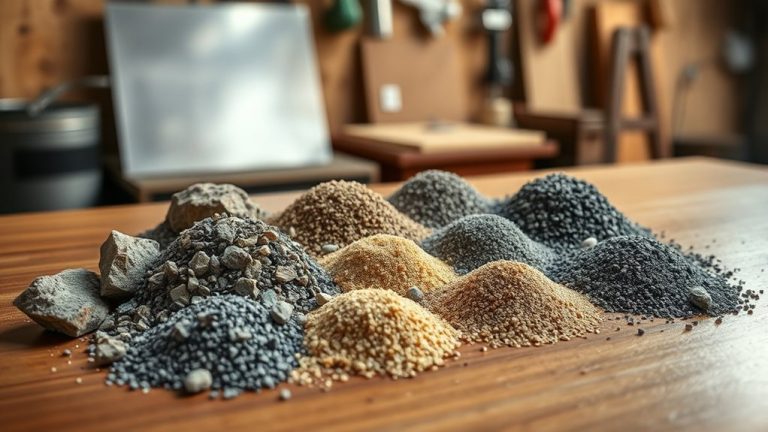
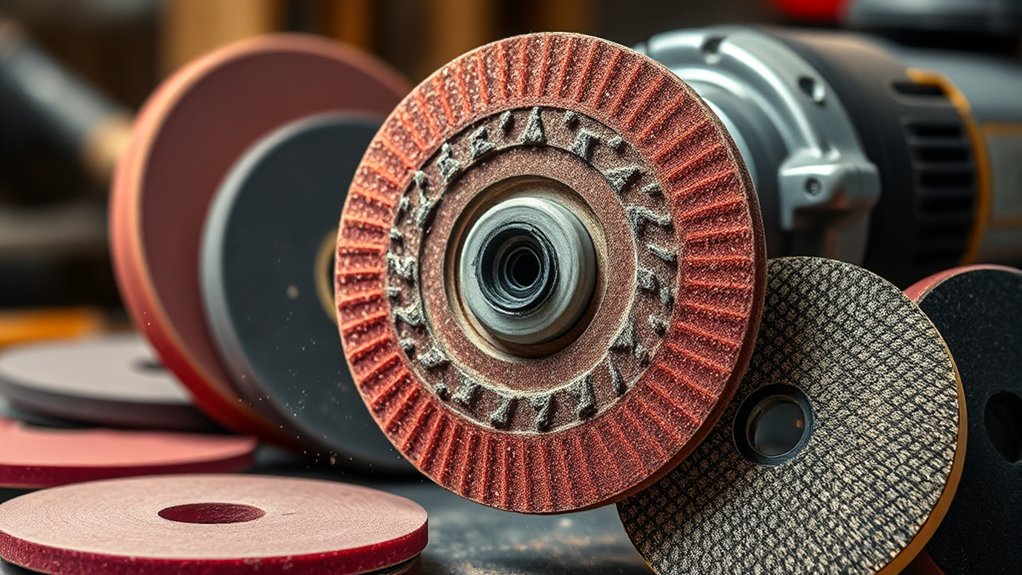
Angle grinder sanding discs make fast work of material removal and surface prep. For most jobs, you’ll pick between resin fiber, flap, or quick change discs based on what you’re sanding and how much material you need to remove. Choosing the right backing pads matters too, hook and loop for quick swaps, or PSA when you want a firm, consistent stick. Then match the grit size to the finish you’re after, coarse for heavy removal and fine for smoother prep and polishing. When the disc, pad, and grit line up, sanding is quicker, cleaner, and easier to control.
Quick Answer
- Resin fiber discs are a solid pick for aggressive sanding and general grinding.
- Flap discs are great for blending and a more even finish, especially on metal.
- Quick change discs make it easy to work in tight spots and swap discs fast.
- Hook and loop pads are best when you change grits often, while PSA pads are best when you want a strong, steady bond on flat areas.
- Use 24–60 for heavy removal, 80–120 for general prep, and 150–220 (or 240–400+) for fine finishing and polishing work.
Types of Angle Grinder Sanding Discs and Their Applications
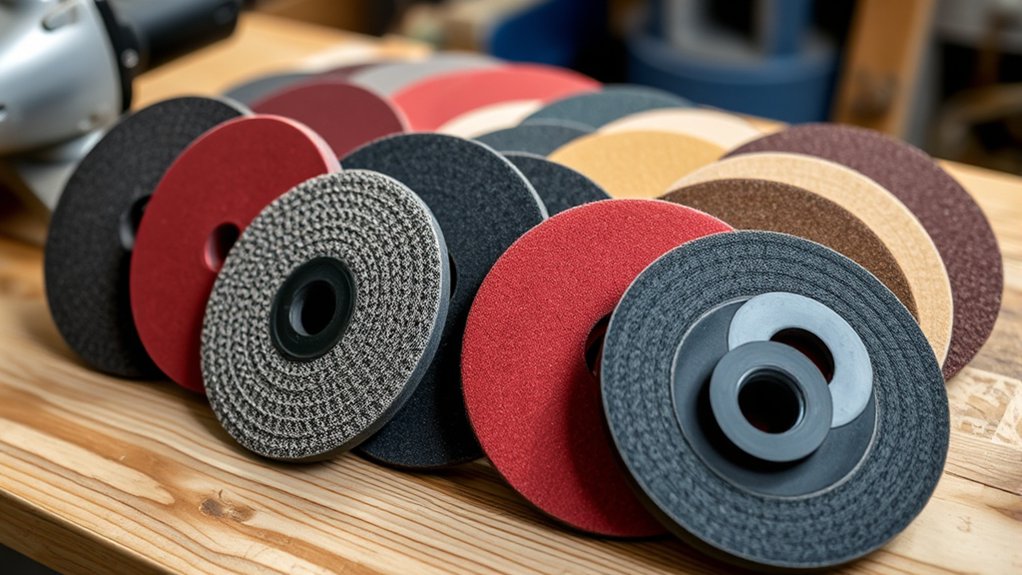
Picking the right angle grinder sanding disc comes down to the job you’re doing and the finish you need. Resin fiber discs are a go-to for general grinding and heavy sanding. Flap discs are popular on metal because they cut and blend at the same time, which helps you keep a more consistent finish. If you need quick swaps or you’re working in tighter areas, quick change discs are made for fast changes and are often used for smaller, more controlled work when paired with the correct holder. Your grit size matters just as much: coarse grit (24-60) works best for heavy stock removal, while finer grits (150-220) are better for surface prep and finishing. Backing material matters too, paper and cloth offer different durability, with cloth often preferred for more aggressive work and film backing known for strong tear resistance. Match the disc type, grit, and backing to the task, and you’ll get faster cutting and a better surface with less rework.
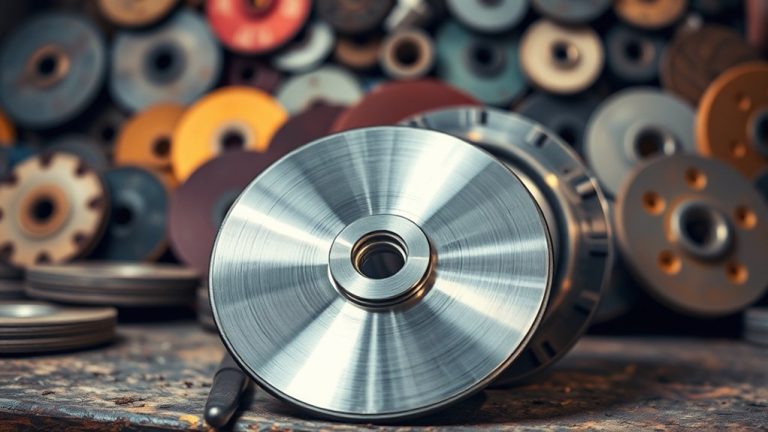
Choosing Between Hook and Loop and PSA Backing Pads
When you’re choosing between Hook and Loop and PSA backing pads, think about how often you’ll change discs and how secure the attachment needs to be. Hook and loop pads shine when you want fast swaps. PSA pads are made for a strong, steady bond, but once you peel a disc off, it’s usually not going back on. Both styles are common in real-world sanding systems, including 3M Hookit and Stikit attachment options.
Hook and Loop Benefits
Hook and loop systems are popular because they’re practical and easy to work with. They use a Velcro-like surface so sanding discs attach and come off quickly, which keeps you moving when you’re stepping through different grits. Because the pad is reusable, hook and loop setups can be more cost-effective on projects where you change discs often. They also work across a wide range of surfaces, including wood, metal, and plastics. Many hook and loop discs are available with dust-extraction hole patterns, and when your pad and disc patterns match, it can help reduce loading and keep performance steady. Hook and loop backing pads are also compatible with multiple tools, which makes them a flexible choice for many shops.
PSA Backing Pad Advantages
PSA (Pressure Sensitive Adhesive) backing pads are a strong option when you need a secure attachment and a steady feel during sanding. PSA discs are often used on flatter surfaces, where that consistent contact helps you get a smoother result for more detailed sanding work. They can also be a cost-friendly choice in environments where you run the same grit for longer stretches and don’t need frequent changes. The tradeoff is that PSA is generally a single-use attachment style, so it’s less reusable than hook and loop.
| Feature | PSA Backing Pads |
|---|---|
| Attachment Strength | Strong bond |
| Finish Quality | Smooth finish |
| Reusability | Single-use |
Application Suitability Comparison
Your backing pad choice affects both speed and finish quality. Hook and Loop pads are the better fit when you need versatility and fast disc changes, especially if you’re moving through several grits. Their reusability also helps with cost over time on ongoing projects. PSA discs stick on with adhesive, so they tend to feel very steady and consistent, which is helpful on flat surfaces where you’re chasing a smooth finish. The downside is that PSA is typically single-use, so it’s less flexible once you remove the disc. In practice, choose Hook and Loop for frequent grit changes and flexibility, and choose PSA when you want a firm, reliable attachment and consistent finishing on flat areas.
Selecting the Right Grit Size for Your Project
Selecting the right grit size for your angle grinder sanding disc is key to getting the result you want. The grit you choose controls how fast the disc cuts and how smooth the surface looks afterward.
Here’s a quick reference table for grit sizes:
| Grit Size Range | Purpose | Ideal Use |
|---|---|---|
| 24–60 | Coarse grit sizes | Heavy stock removal, rust removal |
| 80–120 | Medium grit sizes | General surface preparation |
| 150–220 | Fine grit sizes | Final paint preparation, light sanding |
| 240–400+ | Specialty applications | Polished finishes, delicate work |
Coarse grits are made for aggressive work, while fine grits help you leave a smoother surface for finishing. Match the grit to the outcome you need, and you’ll spend less time fixing scratch marks later.
Techniques for Achieving Optimal Finishing Results With Sanding Discs
To get clean finishing results with sanding discs, start by matching the grit size to the stage of your project. Make sure your sanding disc is compatible with the tool and backing pad, since fit and hole patterns affect control and dust handling. While sanding, use consistent, moderate pressure so the disc cuts evenly without overheating the surface.
Selecting Appropriate Grit Size
Grit size choice is one of the biggest drivers of finish quality. For heavy stock removal, such as rust or paint stripping, start with coarse grit sizes (24-60). Medium grits (80-120) are a good next step for general surface prep and smoothing. For final paint prep and cleaner finishing, fine grit sizes (150-220) help you leave a smoother surface. For specialty work and final finishing, ultra-fine grits (240-400+) are useful on delicate materials or when you want a more polished look. Keep in mind that starting too coarse can leave deeper scratches, which may require extra sanding before you’re ready to finish.
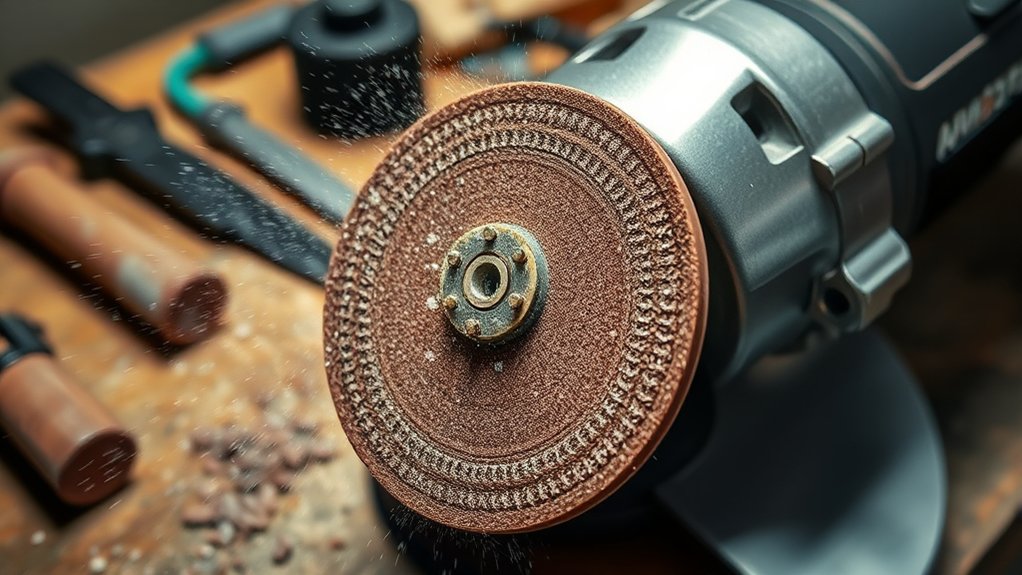
Disc and Tool Compatibility
For best results and safer operation, your sanding discs and angle grinder backing pads need to match. Different disc types, such as Pressure Sensitive Adhesive (PSA) and Hook and Loop, require the correct backing pad for a secure hold. A poor match can reduce control and can create safety risks. If your discs include a hole pattern, line it up with the backing pad so you get better dust handling and reduce heat buildup that can hurt surface conditioning results. With flap discs, the right shape and backing material, such as aluminum or fiber, can also help you get better grinding efficiency. Check backing pads for wear and replace them when they stop holding discs securely.
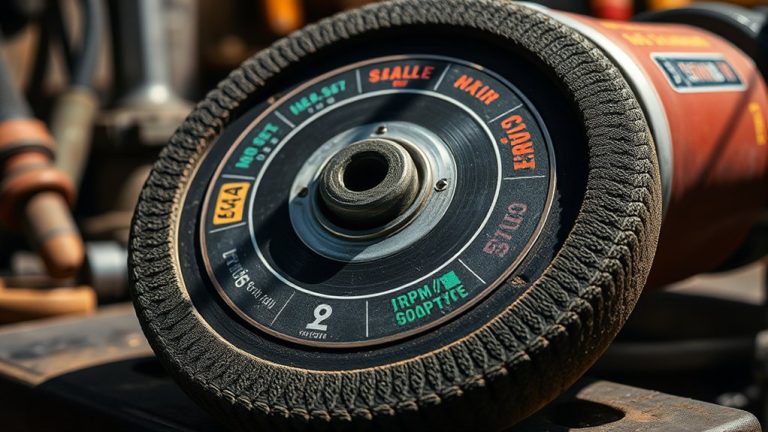
Checking Disc Size and Speed Ratings
Before you start sanding, do a quick setup check. Angle grinders and discs come in different sizes and speed ratings, and the match matters for both performance and safety. As a simple rule, the disc should fit the grinder and guard correctly, and the disc’s maximum rated speed should meet or exceed the grinder’s speed.
- Confirm the disc diameter matches the grinder and guard size.
- Make sure the arbor/thread matches your backing pad or disc mount.
- Check that the disc’s RPM rating is higher than the grinder’s rated RPM.
Techniques for Even Pressure
Getting a smooth finish depends a lot on keeping even pressure across the workpiece. These habits help:
- Use Both Hands: Use both hands to control the angle grinder. This helps you keep a steady angle and prevents gouging.
- Employ a Backing Pad: Use a compatible backing pad so the disc stays supported and aligned, which improves sanding control and finish quality.
- Maintain a Consistent Pattern: Move in a consistent pattern, such as circular or straight passes, to reduce uneven wear and keep the surface uniform.
Also, match the grinder’s speed to the disc and grit, and lift off occasionally to let the disc cool. That helps prevent overheating while still keeping material removal efficient.
Assessing Material Compatibility for Sanding Discs
Choosing a disc that matches your material keeps sanding efficient and helps you avoid surface damage. Start with the abrasive types; for example, aluminum oxide is commonly used on wood and ferrous metals, while silicon carbide is often used on glass and many non-ferrous materials. Your surface condition matters too. Rough, rusty, or painted surfaces typically call for coarser grits, while smoother surfaces usually finish better with finer grits.
Also confirm backing pad compatibility with your angle grinder so the disc stays secure and runs true. Finally, think about your intended application. Specialized discs, such as flap discs or surface conditioning pads, can be a better fit for blending, light cleanup, or more detailed work on specific materials. Taking a minute to match disc type, abrasive, and grit to the job makes the whole process smoother.
Safety Tips for Using Sanding Discs Effectively
Safety comes first with sanding discs, because a grinder can throw debris, spark, and kick back fast. Use these basics every time, and review OSHA angle grinder safety talk guidance if you want a solid checklist.
Prioritize safety while using sanding discs to prevent accidents and ensure an effective sanding experience.
- Wear Personal Protective Equipment (PPE): Wear safety goggles, gloves, and a respirator as needed to protect against dust and flying debris.
- Check Compatibility: Make sure the sanding disc is secured to a compatible backing pad so it stays attached and tracks properly.
- Maintain Consistent Pressure: Let the sanding disc do the work. Too much force can overheat the surface and shorten disc life.
Inspect discs often for wear or damage and replace them as necessary. Keep good ventilation in your workspace, and use dust extraction when you can to reduce airborne particles. These habits help you work more confidently and keep results consistent.
Common Mistakes to Avoid When Using Sanding Discs
Even with good safety habits, a few common mistakes can hurt both your finish and your efficiency. One big one is using closed coat sanding discs on soft materials, which can lead to clogging and loading. In those cases, open coat discs often perform better.
Another common issue is pushing too hard. Excessive pressure builds heat and can burn the workpiece, so steady, controlled pressure is important for good results. If you’re getting gouges or deep scratches, switching to the best grit for the stage of the job helps you clean things up and move toward a smoother finish.
Finally, if your discs wear out unusually fast, it can be a sign the abrasive grain isn’t a good match for the material. Check disc condition often and replace worn discs to keep sanding safe and consistent.
| Common Mistakes | Consequences | Solutions |
|---|---|---|
| Using closed coat on soft materials | Clogging/loading | Use open coat discs |
| Applying excessive pressure | Burning workpiece | Control pressure |
| Sticking with coarse grit | Uneven finishes/gouging | Switch to finer grit |
| Wrong abrasive selection | Short lifespan | Choose right sanding disc |
| Ignoring wear on discs | Accidents | Regularly inspect and replace |
Best Practices for Maintaining Your Sanding Discs
To keep sanding discs working well, regular inspection and basic maintenance make a big difference. These habits help you maintain sanding discs and avoid wasted time:
- Regular Inspection: Check discs often for wear, cracks, or damage. Replace them when they’re worn so performance stays consistent and safer.
- Clean Discs: After use, remove debris and buildup. This helps prevent clogging, which can reduce cut rate and shorten disc life.
- Proper Storage: Store discs in a cool, dry place away from direct sunlight. This helps protect backing and adhesive materials from breaking down.
Use the appropriate grit size for the task so you don’t wear discs out unnecessarily. Coarser grits are for heavier removal, while finer grits are better for finishing. Avoid excessive pressure, since overheating can damage the work surface and wear discs out faster.
Frequently Asked Questions
Which Is Finer, 60 Grit or 120 Grit?
120 grit is finer than 60 grit. In simple terms, 60 grit removes material faster and leaves deeper scratches, while 120 grit smooths the surface more. For good sanding technique, step your grit choice to the task, and always keep grinder safety and disc compatibility in mind.
How to Use Backing Pad on Grinder?
To use a backing pad on your grinder, make sure it matches the grinder’s size and thread type. Install it securely, then attach the correct disc type for that pad. Check the pad for wear over time, and replace it if it no longer holds discs firmly or runs smoothly.
What Do the Grits on Sandpaper Mean?
Grit numbers describe how coarse or fine an abrasive is. Lower numbers are coarser and remove more material, while higher numbers are finer and help smooth and refine the surface. Understanding grit progression helps you choose discs that match the job, improve finish quality, and avoid unnecessary wear or loading.
What Is a 120 Grit Flap Disc Used For?
A 120 grit flap disc is commonly used for surface preparation and smoothing, especially when you want a cleaner finish than a coarse grit leaves. It works well for light blending, smoothing edges, and general finishing on materials like metal. Use light, steady pressure for best control.
Conclusion
Mastering angle grinder sanding discs can make your projects faster and your finishes cleaner. When you understand disc types, backing pads, grit choices, and basic technique, you avoid the common mistakes that cause gouges, burns, and extra rework. As you get more comfortable, you may even find yourself enjoying woodworking or metalworking more than you expected. Stay safe, choose the right setup, and let the tool do the work.