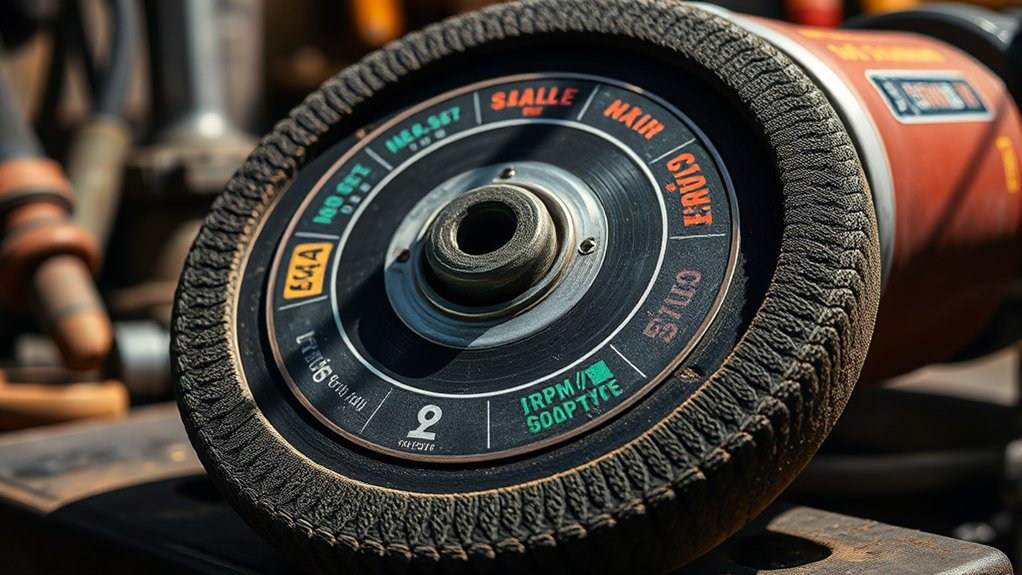
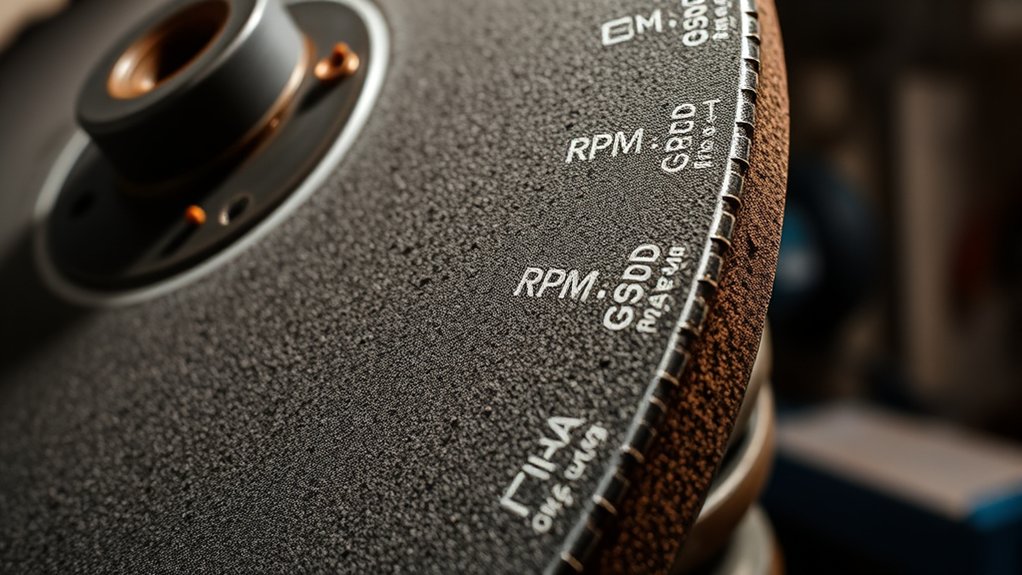
Angle grinder wheel markings tell you whether a wheel is the correct size, speed, shape, and material for a job. Read the complete label before mounting the wheel. A disc that fits the spindle can still be unsafe if its diameter, maximum RPM, guard requirement, or approved application does not match the grinder.
Quick Answer
Read an angle grinder wheel label in this order: approved application, diameter and thickness, arbor size, maximum RPM, workpiece material, wheel type, and condition or date markings. The wheel’s speed rating must equal or exceed the grinder’s maximum speed, and the wheel must fit within the tool and guard capacity.
Key Takeaways
- Never use a wheel rated below the grinder’s maximum no-load speed.
- Match the wheel’s diameter, thickness, and arbor or bore to the grinder and its guard.
- A type number identifies wheel shape; it does not by itself approve every grinding or cutting operation.
- Use only a wheel clearly labeled for the workpiece material and intended task.
- Reject wheels with cracks, chips, water damage, missing labels, uncertain date status, or drop damage.
At a Glance
| Time Required | About 1–2 minutes before mounting |
| Difficulty | Easy, but safety-critical |
| Tools Needed | Wheel label, grinder data plate, and the tool and wheel instructions |
| Cost | $0 |
What Angle Grinder Wheel Markings Tell You
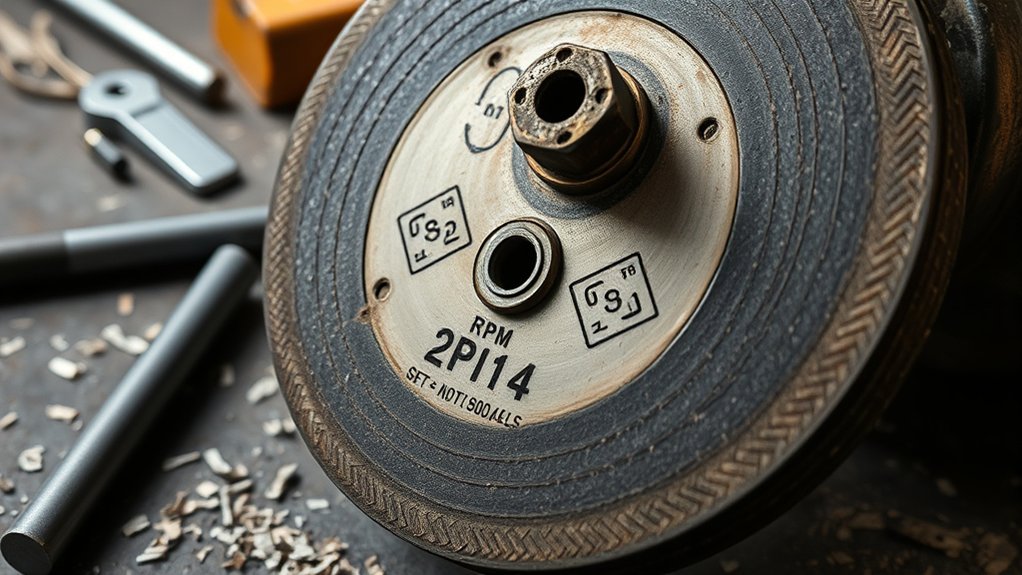
An angle grinder wheel may display several numbers, letters, words, and safety symbols. The exact layout differs between manufacturers, but the label normally gives you enough information to confirm whether the accessory is suitable for your tool and task.
| Marking | What It Means | What to Verify |
| Application | Cutting, grinding, blending, sanding, or another approved use | The label specifically permits your planned operation |
| Dimensions | Outside diameter × thickness × arbor or bore | All dimensions fit the tool, flanges, and guard |
| Maximum speed | Maximum RPM and sometimes m/s or SFPM | Wheel RPM is equal to or higher than grinder speed |
| Wheel type | The wheel’s physical shape | Shape, guard, flange, and application are compatible |
| Material | Steel, stainless, aluminum, stone, masonry, concrete, or another material | The workpiece appears on the label or product instructions |
| Abrasive code | Grain, grit, grade, structure, and bond information | The code matches the manufacturer’s specification |
| Safety symbols | Required PPE, prohibited operations, and instructions | You understand and can follow every symbol |
| Date or trace code | Expiration, best-use, manufacturing, or batch information | Follow the exact wording used by the manufacturer |
A wheel is not safe merely because its center hole fits the grinder. Its application, dimensions, speed, guard, and material rating must also match.
How to Read an Angle Grinder Wheel Label
Use the following order each time you examine a new wheel:
- Identify the approved operation. Look for words or symbols showing whether the wheel is made for cutting, grinding, blending, or another task.
- Check the outside diameter. Never install a wheel larger than the grinder or guard is designed to accept.
- Check thickness and arbor size. The wheel must fit the correct flanges without forcing, drilling, filing, or modifying the bore.
- Compare maximum RPM. The wheel rating must be equal to or higher than the grinder’s maximum no-load speed.
- Confirm the workpiece material. Use only a product labeled for the metal, masonry, stone, tile, or other material you will work on.
- Read the wheel type and abrasive specification. These markings help identify shape, grit, grain, grade, and bond.
- Review every safety symbol and date marking. Follow the manufacturer’s PPE, storage, orientation, and use restrictions.
- Inspect the physical wheel. Reject it if the label is unreadable or the wheel is cracked, chipped, wet, warped, contaminated, or damaged from a drop.
Warning: Disconnect the plug or remove the battery before touching the wheel, guard, flanges, or spindle. Never rely on the switch alone while mounting an accessory.
Maximum RPM and Wheel Size
The speed marking is one of the most important numbers on an abrasive wheel. Under OSHA’s portable-tool requirements, the grinder spindle speed must not exceed the maximum operating speed marked on the wheel.
Find the grinder’s maximum or no-load speed on its data plate or in its manual. If the grinder is rated at 11,000 RPM, the wheel must be rated for at least 11,000 RPM. A 13,300-RPM wheel can be used only when its other dimensions and application also match. A 10,000-RPM wheel must not be used.
A variable-speed control does not make an otherwise incompatible wheel safe. The wheel must still be approved for the grinder’s maximum possible speed unless the tool and accessory manufacturer expressly provide another selection method.
RPM Versus Peripheral Speed
Some labels show both RPM and peripheral speed, such as meters per second or surface feet per minute. RPM tells you how many turns the wheel makes each minute. Peripheral speed tells you how fast the wheel’s outside edge travels.
Wheel diameter affects peripheral speed. Two wheels turning at the same RPM do not have the same edge speed when their diameters differ. For this reason, never compare RPM alone while ignoring diameter.
Note: Do not install a partly worn wheel from a larger grinder on a smaller grinder. The smaller tool may rotate much faster than the wheel was designed to withstand.
Diameter, Thickness, and Arbor
Wheel dimensions are commonly shown as outside diameter × thickness × bore or arbor size. For example, a label might show 4-1/2 × .045 × 7/8 inches. This identifies a 4-1/2-inch wheel that is .045 inch thick with a 7/8-inch mounting hole.
The dimensions must match the tool’s capacity, flanges, and guard. Bosch’s angle-grinder safety guidance warns against forcing the wrong wheel onto a grinder, modifying a mounting hole, or using an accessory whose diameter or thickness exceeds the tool’s rating.
Common Wheel Types and Shapes
The type number identifies a wheel’s shape. It is an important selection clue, but the product label must still approve the actual operation.
| Type | Shape | Common Use | Main Caution |
| Type 27 | Depressed center | Grinding, stock removal, or combination work when expressly labeled | Do not assume every Type 27 wheel is approved for both cutting and grinding |
| Type 41 or Type 1 | Flat cutting wheel | Straight peripheral cutting | Never side-grind, twist, or bend it in the cut |
| Type 42 | Depressed-center cutting wheel | Cutting where extra hub clearance is useful | Its depressed shape does not automatically permit side grinding |
| Type 29 | Angled or conical flap disc | Blending, beveling, and contour work | Use at the working angle and pressure specified by the manufacturer |
Type 1 and Type 41 are often used for the same flat cut-off-wheel shape under different standards or manufacturer conventions. The same overlap can occur with Type 27 and Type 42 terminology for depressed-center products. Read the product description instead of relying on the number alone. Norton’s wheel-labeling guide provides current examples of these shape classifications.
Warning: A thin cutting wheel is designed mainly for pressure on its outer edge. Side pressure can crack the wheel or damage its reinforcement. Use the correct cutting guard and keep the wheel aligned with the cut.
Products Worth Considering

【Fits All 4-1/2 Inch Angle Grinders】 PRETEC Cut Off Wheel is compatible with all 4-1/2 inch angle grinders with 7/8 inch arbor. The high rotating speed of up to 13,300 RPM, more than common 13,000 RPM, ensure maximum efficiency.

Structural Components: A Cut off wheel typically comprises an abrasive, a binder, and air holes. The abrasive cuts, the binder shapes and strengthens, and the air holes remove swarf and dissipate heat to prevent damage to the cutting disc from overheating

Understanding Abrasive Specification Codes
A bonded abrasive wheel may include a specification similar to A 24 R BF. This compact code can identify the abrasive grain, grit size, grade, and bond. Manufacturers may add proprietary letters or use a different order, so confirm the final interpretation in the product documentation.
| Example Marking | Typical Meaning |
| A | Aluminum-oxide abrasive grain |
| 24 | Coarse grit size |
| R | Wheel grade or bond-holding strength within that manufacturer’s system |
| BF | Common notation for a resin-bonded, reinforced wheel |
Norton’s grinding-wheel specification guide explains that grain and bond codes are based partly on convention and can differ between manufacturers. Do not assume two wheels with similar-looking codes have identical performance.
Grit Size
Grit size describes the approximate size of the abrasive particles:
- Lower numbers: Larger, coarser particles that remove material quickly and leave deeper scratches.
- Middle ranges: A balance of stock removal and surface quality.
- Higher numbers: Smaller, finer particles that remove less material and leave a smoother finish.
As a broad grinding-wheel reference, coarse grits may fall near 12–24, medium grits near 30–70, and fine grits near 80–220 and above. The useful range for an angle grinder depends on the accessory. A bonded grinding wheel, flap disc, fiber disc, nonwoven wheel, and polishing product may use different practical ranges.
Pro Tip: Photograph the label before mounting a new wheel. If the printed face becomes worn or hidden by the flange, you will still have its size, speed, material, and part-number information.
Wheel Grade and Hardness
Wheel grade describes how strongly the bond holds the abrasive grains. It does not describe the hardness of each abrasive particle.
Letters generally progress from softer grades toward harder grades, but the exact boundaries and performance vary by manufacturer. A softer grade releases worn grains more readily, while a harder grade holds them longer. Wheel grade must be selected for the material, contact area, tool power, and operation—not by assuming that a harder wheel is always better.
Structure and Bond
Some specifications include a structure number that describes how closely the grains are packed. A more open structure provides extra space for chips, while a denser structure places the grains closer together.
Common bond letters include:
- B: Resin or resinoid bond
- V: Vitrified bond
- R: Rubber bond
Portable angle-grinder cutting and grinding wheels are commonly resin bonded and may include fiberglass reinforcement. Never substitute a wheel merely because its bond letter appears familiar.
Abrasive Grain and Material Compatibility
The abrasive grain affects cutting speed, durability, heat, and material compatibility. However, grain type alone does not prove that a wheel is safe for a material. Use the wheel’s complete application label.
| Abrasive Grain | Common Applications | Selection Note |
| Aluminum oxide | General carbon-steel cutting and grinding | Check whether the product is also approved for stainless or other alloys |
| Zirconia alumina | Heavy stock removal on steel and some stainless applications | Often designed for demanding work and higher grinding pressure |
| Ceramic alumina | Hard-to-grind steels, stainless steel, and alloys | Use only within the product’s stated tool and material range |
| Silicon carbide | Some masonry, stone, cast iron, and nonferrous applications | Do not treat the grain code as blanket approval for every soft metal |
| Diamond | Concrete, masonry, stone, tile, and other labeled materials | Use on metal only when the wheel is expressly designed and labeled for metal |
Steel, Stainless, and Aluminum Labels
A wheel labeled for ordinary steel is not automatically ideal for stainless steel. For stainless work, look for a stainless or INOX application marking and follow the manufacturer’s contamination guidance.
Aluminum and other soft nonferrous metals can load or clog an unsuitable abrasive. Use a wheel specifically labeled for aluminum or the exact nonferrous material. Do not rely only on the presence of silicon carbide or another grain code.
Safety Symbols and Other Label Markings
Wheel labels often use pictograms because they can communicate restrictions quickly across languages. The symbols vary, but commonly address:
- Read the instructions before use
- Wear safety glasses or goggles
- Wear hearing protection
- Wear appropriate gloves
- Use respiratory protection where required
- Do not use a damaged wheel
- Do not use the wheel for side grinding
- Do not use with a handheld grinder
- Use only with a backing pad or guard
A directional arrow may appear on diamond wheels or other directional accessories. Mount these products so the arrow agrees with the grinder’s rotation direction.
You may also see a recognized standard, conformity mark, manufacturer name, part number, production batch, or traceability code. These markings help identify the product, but they do not override the tool manual or wheel instructions.
Date Codes, Storage, and Wheel Condition
Do not assume every date printed on a wheel means the same thing. Depending on the product and manufacturer, the marking may be:
- An expiration or use-by date
- A best-if-used-by date
- A manufacturing date
- A batch or traceability code
Bosch instructs users not to operate an expired bonded wheel. Norton’s current North American labeling policy uses a “best if used by” date on affected products and explains that the date may be engraved on the bushing or elsewhere on the wheel. Read the exact wording and consult the manufacturer when its meaning is unclear.
Store wheels in a clean, dry location away from moisture, extreme heat, freezing conditions, chemicals, and physical impact. Keep them supported as recommended by the manufacturer so they cannot warp, fall, or become crushed by heavier tools.
Warning: Never use a wheel with an unreadable speed rating or uncertain identity. If you cannot confirm its size, maximum speed, material, and approved application, discard it.
60-Second Pre-Mount Safety Checklist
- Unplug the grinder or remove its battery.
- Confirm that the switch is in the off position.
- Verify the wheel is approved for the planned cutting, grinding, or finishing task.
- Match diameter, thickness, arbor, and mounting system to the tool.
- Confirm the wheel’s maximum RPM is equal to or higher than the grinder’s maximum speed.
- Verify the wheel is labeled for the workpiece material.
- Check date, batch, or best-use markings according to the manufacturer.
- Inspect both faces, the edge, center hole, and reinforcement for damage.
- Fit the correct grinding or cutting guard and position it between you and the wheel.
- Check that the flanges are clean, undamaged, correctly oriented, and approved for the wheel.
- Tighten with the supplied method without excessive force.
- Follow the tool and wheel manufacturer’s test-run procedure before contacting the workpiece.
Choosing a Wheel for Common Angle Grinder Jobs
| Job | Typical Wheel Choice | Label Checks |
| Cut carbon steel | Type 41/1 or Type 42 cut-off wheel | Steel approval, cutting-only symbol, size, RPM, and cutting guard |
| Remove a weld | Type 27 grinding wheel or suitable flap disc | Grinding approval, material, grit, size, RPM, and working angle |
| Blend or smooth steel | Medium or fine flap disc | Backing type, grit, material, RPM, and required guard |
| Work on stainless steel | Wheel expressly marked for stainless or INOX | Stainless approval, application, size, RPM, and contamination restrictions |
| Grind aluminum | Dedicated non-loading aluminum wheel or disc | Explicit aluminum approval and manufacturer instructions |
| Cut concrete or masonry | Labeled masonry bonded wheel or compatible diamond wheel | Material, wet/dry restriction, rotation arrow, size, RPM, guard, and dust controls |
For more detail on the structural differences between grinding and cutting products, see Weiler Abrasives’ cutting-wheel guide.
Products Worth Considering

Premium and Value: This 10-pack 4-1/2 x 7/8-inch metal/stainless steel cut-off wheel set is specially formulated for fast cutting in metals and stainless steel

[Diamond Technology] 1 equals 100, EZARC diamond 4 1/2 cut off wheel delivers 5,000+ more cuts for metal with much lower cost per cut compared to bonded cut-off wheels

[High-Performance Cutting] Designed for cutting metal & stainless steel, these cut off wheels 4 1/2 inch work efficiently with any angle grinder wheel, supporting speeds up to 13,300 RPM.
Common Wheel-Marking Mistakes
- Checking only the arbor: A wheel can fit the spindle but have the wrong speed, diameter, or application.
- Treating color as a universal code: Wheel colors and label designs vary between manufacturers.
- Assuming a Type 27 wheel can always side-grind: Some depressed-center products are cutting-only or have limited combination approval.
- Ignoring the guard requirement: Cutting and grinding operations may require different guard designs.
- Using a larger wheel after it wears down: Its original construction may not be rated for the smaller grinder’s higher speed.
- Reading grit but not material: The correct grit does not make a wheel compatible with aluminum, stainless, concrete, or another material.
- Using an old wheel because it looks unused: Storage, moisture, impact, and manufacturer date limits still matter.
- Keeping an unidentified wheel: Missing or illegible safety markings are enough reason to reject it.
Frequently Asked Questions
How can I tell what grit a grinding wheel is?
Look for a number in the abrasive specification or product description. Lower numbers indicate larger, coarser abrasive particles, while higher numbers indicate smaller, finer particles. Confirm the code with the manufacturer because label formats vary.
Which grinding-wheel grit is coarser, 46 or 60?
A 46-grit abrasive is coarser than a 60-grit abrasive. It normally removes material faster and leaves deeper scratches. A 60-grit product generally produces a somewhat smoother finish, although wheel construction also affects performance.
How do I read a grinding-wheel specification?
Identify the manufacturer’s specification format, then read the abrasive grain, grit size, wheel grade, structure if shown, and bond code. Also check the separate markings for application, dimensions, maximum RPM, material, wheel type, date status, and safety restrictions.
How do I choose the correct grinding-wheel RPM?
Find the grinder’s maximum no-load speed on its data plate or in its manual. Choose a wheel with a maximum RPM equal to or higher than that speed. The wheel’s diameter, thickness, arbor, material, and application must also match the grinder.
What does A 24 R BF mean on a grinding wheel?
In a common marking system, A indicates aluminum oxide, 24 is a coarse grit, R is the wheel grade, and BF commonly identifies a reinforced resin bond. Codes are not completely standardized, so verify the meaning in that manufacturer’s literature.
Does every angle grinder wheel have an expiration date?
No universal date format applies to every abrasive product. A wheel may show an expiration date, best-use date, manufacturing date, or batch code. Follow the exact wording and instructions provided by the wheel manufacturer.
Can I use a cutting wheel for side grinding?
No, unless the wheel is specifically designed and labeled as a combination product that permits that operation. Standard thin cutting wheels are not designed for side pressure and can crack or break when twisted or used for grinding.
Conclusion
Angle grinder wheel markings are a complete safety and compatibility system, not a collection of optional specifications. Before mounting a wheel, confirm its approved operation, diameter, thickness, arbor, maximum RPM, material rating, wheel type, date status, and physical condition.
When a marking is unclear, stop and check the wheel manufacturer’s instructions. Never guess about an unidentified disc, modify a mounting hole, exceed the marked speed, or side-load a cutting wheel. Taking one minute to read the full label can prevent poor results, tool damage, and a serious wheel failure.
Sources
- OSHA 29 CFR 1910.243 — Guarding of Portable Powered Tools — abrasive-wheel inspection, spindle speed, mounting, and guarding requirements
- Bosch Professional — Proper Use of Angle Grinders — wheel speed, dimensions, inspection, guards, mounting, and date guidance
- Norton Abrasives — Grinding Wheel Basics — abrasive grain, grit, grade, structure, and bond codes
- Norton Abrasives — Grinding and Abrasive Wheel Labeling — wheel types and manufacturer date-labeling practices
- Weiler Abrasives — Guide to Cutting Wheels — cutting-wheel shapes, materials, and side-loading limitations