
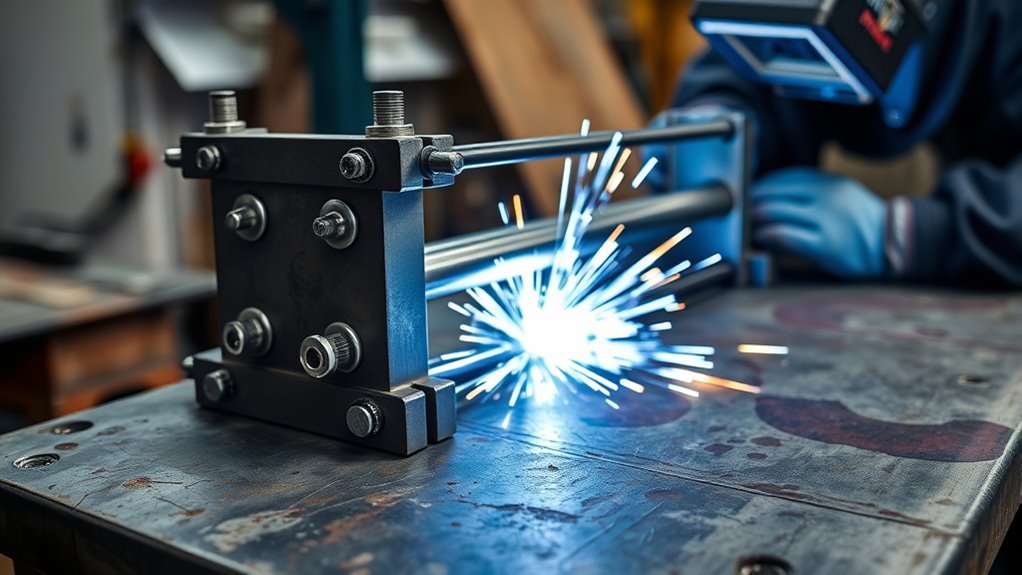
A welding jig is a holding and positioning tool that keeps parts in the right place while you tack and weld. It helps you control alignment, repeat the same setup, reduce measuring time, and limit movement caused by heat and clamping pressure. The best jig is not just a clamp. It uses stops, locators, and firm support so your parts stay where the drawing, template, or mockup says they should be.
Quick Answer
A welding jig is a custom or adjustable workholding tool that locks parts into a repeatable position before and during welding. It improves fit-up, reduces shifting, speeds setup, and helps control distortion when it is designed with solid stops, enough clamp force, safe torch access, and room for heat movement.
Key Takeaways
- A welding jig holds parts in a fixed, repeatable position so you can tack and weld with less measuring and rework.
- Stops, locators, clamps, and a rigid base are what make a jig accurate.
- A jig can reduce distortion, but it cannot cancel poor fit-up, excessive heat, or the wrong weld sequence.
- Good jig design leaves room for torch access, cleanup, grounding, and safe removal of the finished part.
What Is a Welding Jig
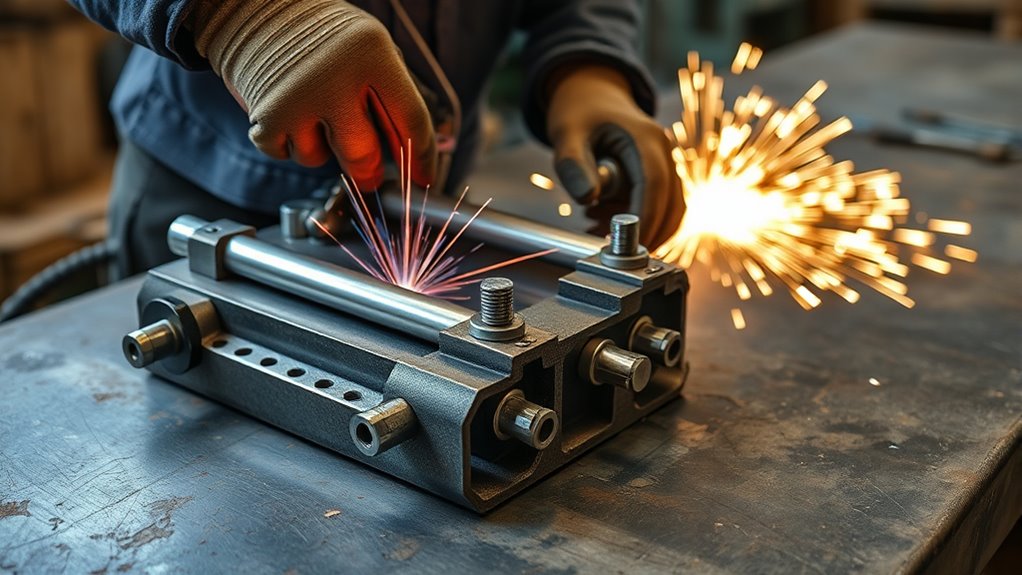
A welding jig is a custom, modular, or adjustable tool that holds metal parts in the correct position while you weld. It can be as simple as a flat plate with angle stops or as complex as a production fixture with toggle clamps, pins, pneumatic clamps, and multiple stations.
The goal is simple: your parts should go into the same position every time. That helps you make square frames, matching brackets, repeatable tabs, and cleaner assemblies without constantly rechecking every angle by hand.
A good jig supports accuracy and precision by giving the workpiece a known reference point. Instead of letting heat, hand pressure, or loose clamps control the assembly, you use the jig to control the fit-up.
Note: In many shops, the words “welding jig” and “welding fixture” are used almost interchangeably. The important question is not the name. It is whether the tool locates the parts, holds them securely, leaves safe weld access, and produces the same result more than once.
Common Parts of a Welding Jig
Most welding jigs use a few simple parts working together. You do not need every part for every job, but each one helps solve a specific fit-up problem.
| Jig Part | What It Does |
|---|---|
| Base plate or welding table | Provides a flat, rigid foundation for the setup. |
| Stops and fences | Set the edge, angle, or end position of each part. |
| Locating pins or tabs | Register holes, slots, or repeatable reference points. |
| Clamps | Hold the parts down or against the stops during tacking and welding. |
| Spacers or shims | Control gaps, offsets, and clearance. |
| Access cutouts | Let you reach the weld joint without hitting the jig with the torch. |
Manufacturing research on fixtures supports the same basic idea: stable workholding improves positioning accuracy, reduces vibration or movement, and helps produce consistent outcomes when parts are processed repeatedly. Recent fixture-design research also highlights stability, alignment, and repeatability as central reasons for using fixtures.
How Welding Jigs Keep Parts Aligned
When you clamp parts into a welding jig, the jig gives each piece a fixed reference. Stops set the edges. Pins locate holes or slots. Clamps press the workpiece against those references so it cannot drift before the tack welds hold it.
This fixed setup gives you joint stability, especially when heat and welding force try to move the workpiece. A well-made jig can help you hold the tolerance your project requires, but it cannot guarantee one universal tolerance for every material, weld size, and shop setup.
- You lock components in place before tacking.
- You keep edges, holes, and angles referenced to the same points.
- You reduce hand strain because the jig does the holding.
- You make repeated parts with less layout time.
- You lower the chance of pulling a joint out of square during welding.
This setup lets you focus on the weld path instead of fighting loose parts. You still need to check the first piece, confirm your tack sequence, and inspect the final assembly, but the jig gives you a much stronger starting point.
Why Welding Jigs Improve Accuracy
You get better accuracy when a welding jig holds each part in a stable, repeatable position. The jig reduces the small shifts that happen when you hold parts by hand, rely on loose magnets, or tack parts without a firm reference.
Stable Part Positioning
Stable part positioning starts with a rigid base and clear reference points. If the base flexes or the stops move, the jig will repeat the error every time. Use thick enough material for the load, place clamps close enough to the joint to control lift, and support long parts so they do not sag.
- Use clean, flat contact points.
- Deburr parts before they touch the stops.
- Clamp against a stop, not just downward.
- Keep weld spatter off pins and reference edges.
- Check the first finished part before running a batch.
Consistent Weld Alignment
A jig improves alignment because it repeats the same setup from part to part. That removes much of the guesswork. You can build one bracket, frame, tab, or small assembly, then reload the next set of parts against the same stops.
This is where a jig saves the most time. You set it carefully once, then use it to guide repeated work. The result is less measuring, fewer layout marks, and less rework when you need matching parts.
Pro Tip: Tack the part while it is fully seated in the jig, then check the first piece after it cools. If it pulls out of square, adjust your tack order, clamp placement, or weld sequence before making more parts.
Welding Jigs vs Fixtures
You use a welding jig or fixture to locate, support, and hold parts during welding. The difference is not always strict in everyday shop language. Many welders call a one-off holding tool a jig, while manufacturers may call the same type of part-holding system a fixture.
Purpose and Function
A welding jig usually helps you place parts in a repeatable position. A welding fixture usually emphasizes holding and supporting an assembly during production. In practice, both tools can use the same basic parts: stops, pins, clamps, support blocks, and a rigid base.
- Use a simple jig for one-off brackets, tabs, small frames, and repeat hobby projects.
- Use a modular fixture table when you need flexible setups for many shapes.
- Use a custom production fixture when you make the same part many times.
- Use pneumatic or robotic fixtures when the part volume and process justify the cost.
Key Structural Differences
Welding jigs and fixtures are built to survive heat, spatter, clamp pressure, and repeated loading. Compared with a light assembly fixture, a welding jig usually needs more heat resistance, better clamp access, and more clearance around the joint.
| Feature | Welding Jig / Fixture Consideration |
|---|---|
| Heat | Needs enough mass and clearance to handle heat without blocking the weld. |
| Clamping | Must hold parts firmly without crushing thin material or hiding the joint. |
| Access | Must leave room for the torch, helmet view, filler rod, and cleanup tools. |
| Repeatability | Should reload parts in the same location without fresh measuring every time. |
Best Use Cases
Use welding jigs when the job demands repeatable fit-up, square corners, matching parts, or faster production. They are especially helpful for small brackets, tube frames, tabs, gates, carts, chassis parts, furniture frames, and batch fabrication.
- Choose jigs for steel, stainless steel, aluminum, and other weldable materials when the setup repeats.
- Use modular welding jigs for varied parts and small-shop flexibility.
- Use custom fixed jigs when one part must be repeated many times.
- Use loose clamps and layout lines for one-time jobs where a jig would take longer than the weld.
- Match the jig to the joint, material thickness, weld process, and production volume.
Types of Welding Jigs
Different jobs need different jig designs. A small tab jig does not need the same structure as a chassis fixture or production fixture.
- Angle jigs: Hold parts at 45 degrees, 90 degrees, or another fixed angle.
- Flat plate jigs: Use stops, holes, and clamps on a flat base plate.
- Tube and frame jigs: Support round, square, or rectangular tubing so the frame stays square.
- Tab and bracket jigs: Place small parts at the same offset or angle each time.
- Modular fixture-table setups: Use holes, clamps, stops, and blocks that can be rearranged.
- Production fixtures: Built for repeated parts, often with quick clamps or pneumatic actuation.
- Robotic welding fixtures: Hold parts for automated welding and must allow torch access, repeatable loading, and safe part removal.
Products Worth Considering

DESIGNED FOR 5/8" FIXTURE HOLES: Compatible with 5/8-inch (16mm) fixture holes found on most welding tables, providing fast, secure, and reliable clamping for welding and fabrication setups

12-Piece Welding Table Fixture Pin Set: This set includes 12 fixture pins (5/8" x 1" x 2") for welding tables with 5/8" (16mm) Holes. Easy to use, these pins ensure secure positioning for precise welds, improving efficiency across various welding tasks.
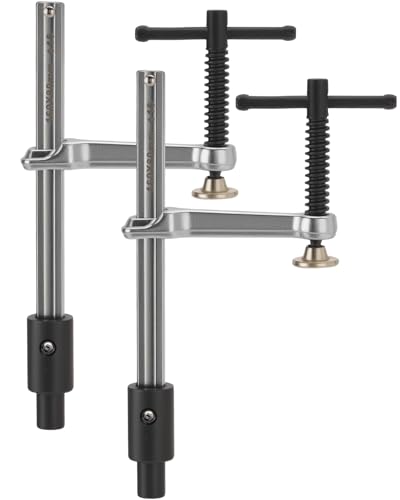
Dual-Pack Power & Efficiency: Double your workspace stability with this essential set of 2 welding table clamps. Specifically designed for standard 5/8-inch (16mm) holes, these welding clamps provide synchronized pressure to keep your frames and metal plates perfectly squared during intense heat.
How to Choose the Right Welding Jig
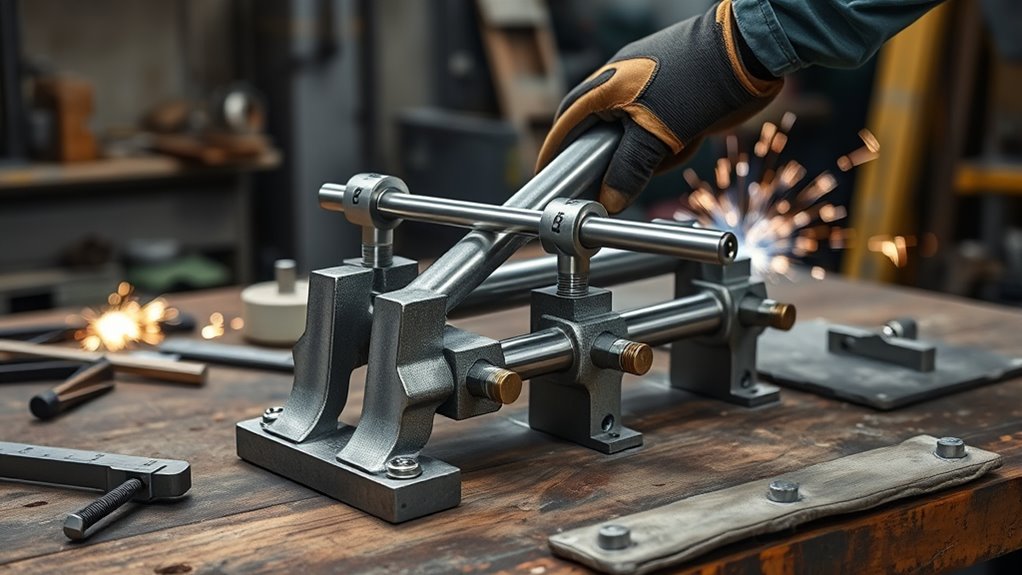
Choose the right welding jig by matching the jig to the part, the weld process, and the number of pieces you need to make. A quick one-off repair may only need clamps and a square. A repeat bracket job may need a dedicated jig with stops and quick-release clamps.
| Criterion | What to Verify |
|---|---|
| Strength | The base, stops, and clamps resist force without bending. |
| Fit | The jig holds the part within the tolerance your project requires. |
| Weld access | The torch can reach the joint without hitting clamps or stops. |
| Heat control | The jig leaves room for tacking, cooling, and weld sequence control. |
| Ergonomics | You can load, clamp, weld, and remove the part without awkward strain. |
| Repeatability | The next part seats the same way without fresh layout work. |
Also check compatibility with your welding process. MIG, TIG, stick, flux-core, and resistance welding can all need different torch clearance, grounding, spatter protection, and clamp placement.
Products Worth Considering

Hands-Free Wire Joining: Holds two electrical wires in place, allowing you to focus on applying solder or making welds without needing a second person to hold the leads
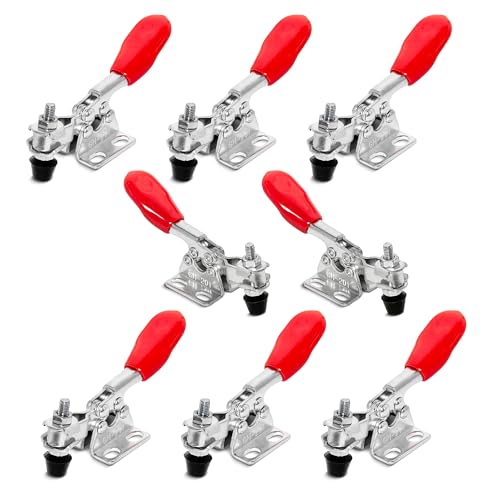
INCLUDES: (8) Horizontal quick release toggle clamp (201)

High Quality Materials: The main body of the cast iron welders angle clamp is made of high-quality cast iron and steel materials, with high tensile strength and more durable characteristics. The surface of the welding table clamp is sprayed with plastic to prevent rust and corrosion.
How to Use a Welding Jig Safely
A jig works best when you treat it as a controlled setup, not just a place to clamp metal. Follow a repeatable process so the jig improves the weld instead of hiding a fit-up problem.
- Confirm the drawing or reference part. Know the final size, angle, gap, and orientation before you set the jig.
- Clean and deburr the parts. Rust, mill scale, burrs, and spatter can keep the part from seating against the stops.
- Set the stops and locators. Use a square, tape, caliper, template, or known-good part to confirm the setup.
- Clamp without forcing the part out of shape. Use enough pressure to hold the part, but avoid crushing thin material.
- Check torch access. Make sure clamps, fingers, and stops do not block the weld path.
- Tack in a balanced sequence. Tack opposite sides or corners where possible so the part does not pull in one direction.
- Recheck the first part. Let it cool, remove it from the jig, and verify the size before making more.
- Clean the jig before reloading. Remove spatter and debris from reference surfaces.
Warning: Welding is hot work. Keep combustibles away, protect anything that cannot be moved, keep suitable fire-extinguishing equipment ready, and use a fire watch when the surrounding area creates a fire risk. OSHA’s welding, cutting, and brazing standard includes fire-prevention, PPE, and ventilation requirements.
Safety Checks Before Welding in a Jig
A jig improves control, but it does not remove welding hazards. Before you weld, check the work area, your PPE, and the part setup.
- Wear proper PPE. OSHA requires helmets or hand shields for arc welding and proper eye protection for helpers. Use gloves, flame-resistant clothing, and eye/face protection suited to the process.
- Control fumes. Welding fumes can contain metals, including manganese. NIOSH notes that confined space welding can increase exposure, so use ventilation, local exhaust, or respiratory protection when needed.
- Protect against fire. Move combustibles away from the work area or shield them from sparks and slag.
- Ground the work properly. Make sure the work lead connection is clean and secure.
- Mark hot metal. Parts can stay hot after they leave the jig. Warn others and let parts cool safely.
- Do not weld on unknown containers. Never weld tanks, drums, or closed sections unless they have been cleaned, vented, and prepared by someone qualified to do that work.
For broader safety guidance, review the NIOSH welding-fume guidance and the HSE welding health and safety resources.
How Welding Jigs Speed Up Fabrication
By stabilizing workpieces and holding each part in a known position, a welding jig cuts setup time and keeps fabrication moving. You are not measuring the same bracket or frame from scratch every time. You load the parts, seat them against the stops, clamp, tack, and repeat.
Jigs are most valuable when you make repeated parts. The more pieces you build, the more time the jig can save. They also reduce rework because they make it easier to spot a bad fit before you weld the part fully.
A welding jig saves time only when it holds the part accurately, loads quickly, and lets you weld without fighting the setup.
- Hold parts securely before tacking.
- Reduce repeated layout time.
- Support multiple components in one setup.
- Improve batch consistency.
- Reduce scrap caused by poor fit-up.
How to Reduce Distortion When Using a Welding Jig
A jig helps control distortion, but heat still moves metal. If you clamp a part tightly and pour too much heat into one area, the part can still pull, twist, or spring when you release it.
- Tack before full welding. Use enough tacks to lock the shape before laying a full bead.
- Balance the weld sequence. Move around the part instead of welding one side completely first.
- Leave room for shrinkage. Do not design the jig so tightly that the part cannot be removed after cooling.
- Avoid over-clamping thin metal. Too much clamp pressure can bend panels, tabs, or small brackets.
- Let the first piece cool before judging the jig. A hot part can measure differently from a cooled part.
- Use consistent fit-up. Uneven gaps make weld shrinkage less predictable.
If you are using flux-core or MIG on dirty material, review the basics of proper metal preparation. Clean fit-up is one of the easiest ways to make a jig work better.
Common Welding Jig Mistakes
Most jig problems come from small setup errors that repeat across every part. Fix the jig early before it turns one bad setup into a batch of bad parts.
| Mistake | Fix |
|---|---|
| Using loose magnets as the only reference | Use solid stops or clamps when the angle must repeat. |
| Blocking the weld path with clamps | Move clamps away from the bead or add access cutouts. |
| Ignoring weld shrinkage | Test the first part, then adjust the stops or sequence. |
| Letting spatter build up on reference surfaces | Clean stops, pins, and tables between parts. |
| Making the part hard to remove | Add clearance, release points, or removable stops. |
Maintenance and Inspection
A welding jig is only accurate if it stays clean and square. Heat, spatter, drops, and clamp wear can change the setup over time.
- Remove spatter from stops, pins, and table holes.
- Check clamps for worn pads, loose handles, or bent arms.
- Confirm square and flatness after heavy use.
- Label stops and spacers so the setup can be rebuilt correctly.
- Store the jig where it will not be bent or buried under heavy parts.
- Inspect the first part of each batch before continuing.
Note: If a jig suddenly stops producing square parts, do not assume your welding changed first. Check for spatter on the stops, a bent clamp, a warped base, or a part that is not seating fully.
Frequently Asked Questions
What is a welding jig used for?
A welding jig is used to hold parts in the correct position while you tack and weld. It helps keep angles, gaps, holes, and edges aligned so repeated parts come out more consistent.
Is a welding jig the same as a welding fixture?
In many welding shops, the terms overlap. A jig usually refers to a tool that helps place parts in a repeatable position, while a fixture often refers to a more formal workholding setup. Both can use stops, pins, clamps, and a rigid base.
Can a welding jig prevent all distortion?
No. A jig can reduce movement and help control distortion, but weld shrinkage still happens. Use a balanced tack pattern, manage heat input, check the first finished part, and adjust the setup if the part pulls out of shape.
What material is best for a welding jig?
Steel is common because it is strong, affordable, and heat tolerant for many shop jigs. Aluminum can work for light-duty positioning, but it is softer and less heat resistant. Choose material based on the weld process, part weight, clamp force, and heat exposure.
What are the benefits of using a jig?
You gain better alignment, faster setup, less hand strain, and more repeatable welds. A jig holds parts steady, reduces rework, and helps you make matching parts without measuring every piece from scratch.
What does God say about welding?
The Bible does not give welding instructions, but it does honor skilled work, diligence, honesty, and serving others well. For actual welding decisions, follow safe work practices, proper training, and the standards that apply to your shop or jobsite.
Conclusion
A welding jig helps you hold parts in the right position, keep them aligned, and repeat the same setup accurately. It can reduce setup time, limit errors, improve fabrication speed, and make batch work more consistent. Choose the right jig for the joint, material, weld process, and production volume. Then use it with proper clamping, safe torch access, clean fit-up, and a smart tack sequence. With a solid jig, you can weld faster, cleaner, and with far more control.
Sources
- OSHA 29 CFR 1910.252, General Requirements for Welding, Cutting, and Brazing — backs fire prevention, PPE, hot-work, and ventilation guidance.
- CDC/NIOSH Welding Fumes and Manganese — backs welding-fume and manganese exposure guidance.
- HSE Welding Health and Safety — backs welding risk-control context.
- Design and Implementation of Fixtures for Milling, Shaping and Drilling Operations — backs fixture stability, alignment, and repeatability concepts.
- Optimized Synthesis of Snapping Fixtures — backs fixture workholding and part-constraining concepts.




