
Sparks coming from the workpiece are normal when an angle grinder cuts or grinds metal. Sparks flashing inside the motor housing are different. On a brushed grinder, a faint and even flicker may be normal, but growing, uneven, or continuous arcing can signal worn brushes, poor brush contact, overload, commutator damage, or an internal motor fault.
Quick Answer
An angle grinder may spark inside its motor because its carbon brushes are worn, stuck, incorrectly fitted, or making poor contact with the commutator. Stop using the tool if sparking increases, circles the commutator, or appears with smoke, heat, odor, power loss, or breaker trips. Check the model manual before opening it.
Key Takeaways
- Confirm that the grinder has a brushed motor before looking for carbon brushes.
- A faint, even flicker can occur in a brushed motor; a shower of sparks or continuous arcing is not normal.
- Disconnect the plug or battery before cleaning, inspection, or brush replacement.
- Replace brushes as a pair with the exact type specified for the grinder model.
- Do not sand, scrape, or resurface the commutator unless the model’s service instructions specifically authorize the procedure.
- Use qualified service for burned windings, deep commutator damage, repeated brush failure, smoke, or persistent arcing.
At a Glance
| Time Required | About 15–30 minutes for external inspection and model-approved brush replacement |
| Difficulty | Beginner for external checks; intermediate only when the manual provides owner-accessible brush caps |
| Tools Needed | Model manual, flashlight, suitable screwdriver, soft brush or vacuum, eye protection, and genuine replacement brushes if required |
| Cost | Varies by model; compare the price of genuine brushes or professional motor service with the grinder’s replacement value |
What’s in This Article
- Why Is Your Angle Grinder Sparking? Common Causes and Solutions
- Normal Brush Sparking vs. Dangerous Arcing
- Signs Your Brushes Need Replacement
- What Causes Sparking in Your Grinder?
- How to Inspect and Maintain Your Angle Grinder
- How to Clean the Commutator Safely
- When to Replace the Armature
- Safety Tips for Using Your Angle Grinder
- Troubleshooting Other Common Angle Grinder Problems
- Best Practices for Preventing Future Sparking
- Sources
- Frequently Asked Questions
- Conclusion
Why Is Your Angle Grinder Sparking? Common Causes and Solutions
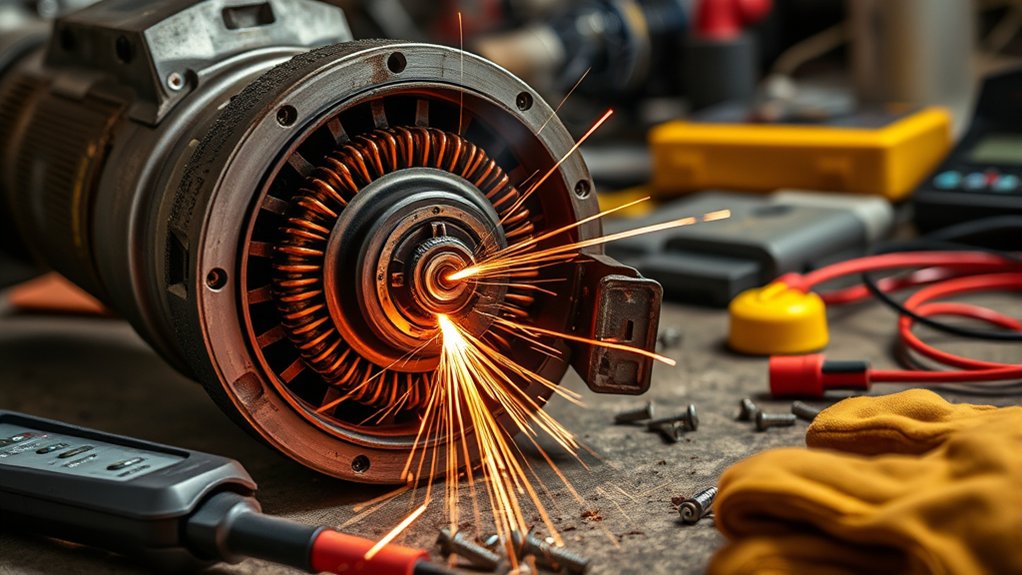
First, identify where the sparks come from. A stream of sparks leaving the disc where it touches metal is part of the grinding process. Sparks flashing through the rear ventilation slots or around the brush caps come from the motor and require a different inspection.
Next, check whether the grinder has a brushed or brushless motor. A brushed motor uses carbon brushes and a commutator. A brushless motor has neither. Look at the model label, product description, parts diagram, or instruction manual. Do not open a brushless grinder to search for carbon brushes.
On a brushed grinder, the most common serviceable cause is a worn or sticking brush. The brush must slide freely in its holder while its spring maintains steady pressure against the commutator. A brush that is short, chipped, overheated, incorrectly shaped, or jammed by carbon dust can lose contact and create arcing.
Other causes include a rough or contaminated commutator, weak brush springs, incorrect replacement brushes, an overloaded motor, blocked cooling vents, bearing wear, armature runout, damaged field windings, or a shorted armature coil. These faults can produce similar symptoms, so spark color alone should not be used as the diagnosis.
Warning: Unplug a corded grinder or remove its battery before opening brush caps, removing accessories, cleaning vents, or inspecting any component. OSHA also advises disconnecting power grinders before servicing or cleaning them. See the OSHA portable power-tool safety guide.
Products Worth Considering

Material is Carbon and Metal, size is 13x9x6mm/0.51"x0.35"x0.23“

Premium Graphite & Copper Build – Crafted from high-quality graphite and copper, these carbon brushes deliver excellent conductivity, stable performance, and extended durability—ensuring your power tools and motors run at their best.

【Carbon Brush Replacement】:part number : N257540
Normal Brush Sparking vs. Dangerous Arcing
A brushed universal motor may show a faint, even flicker where each brush meets the commutator. The pattern should remain small and reasonably uniform while the grinder runs smoothly. It should not suddenly grow brighter, spread around the commutator, or appear with other signs of distress.
The safest diagnosis comes from the spark pattern and the grinder’s behavior—not from spark color alone.
| Observation | What It May Mean | Response |
|---|---|---|
| Small, even flicker at both brushes | Normal commutation may be visible on some brushed motors | Monitor for changes in sound, heat, smell, speed, or spark intensity |
| One side sparks much more than the other | Sticking brush, weak spring, uneven wear, or commutator defect | Stop, disconnect power, and inspect only as allowed by the manual |
| Sparks form a moving ring or shower around the commutator | Severe contact problem, overload, damaged commutator, or winding fault | Stop immediately and arrange qualified service |
| Sparks with smoke, burning odor, rapid heating, or breaker trips | Possible insulation, wiring, armature, or field-coil failure | Remove the tool from service; do not test it again |
| Sparking increases only when the disc is forced | Motor overload, unsuitable accessory, bearing drag, or voltage drop | Stop forcing the tool and inspect the accessory, vents, power supply, and motor |
Signs Your Brushes Need Replacement
Carbon brushes become shorter as the grinder runs. Many have a wear line, insulated tip, automatic shutoff feature, or minimum length specified in the manual. Replace them when they reach the manufacturer’s limit rather than waiting for the spring, lead, or holder to contact the commutator.
Check the brushes when a brushed grinder loses power, starts intermittently, runs unevenly, produces more motor arcing than before, or stops even though the power source works. These symptoms do not prove the brushes are the only problem, but they make the brush system a sensible first check.
Products Worth Considering

[Compatibility]: Compatible With WS125, Black & Decker G720.

【10-PACK VALUE BUNDLE】 – Stop buying one by one! Get 10 heavy-duty brushes in one pack. Save your money and always have a spare ready in your toolbox.

Suitable For DeW--LT DWE43116 4-1/2" (115mm) / 6" (150mm) Angle Grinder.
Common Brush Wear Indicators
- Short length: The carbon block has reached its wear mark or the limit in the model manual.
- Uneven face: One side is sharply angled, chipped, pitted, or worn much faster than the matching brush.
- Heat damage: The brush, spring, lead, cap, or holder is discolored or burned.
- Restricted movement: The brush does not slide freely in its holder when removed.
- Weak pressure: A damaged spring or loose cap does not hold the brush firmly against the commutator.
- Repeated failure: A replacement set wears quickly or immediately begins arcing heavily.
Many manufacturers instruct owners to replace both brushes at the same time and use only identical, model-correct parts. The Makita 9015A angle-grinder manual, for example, gives both instructions for its owner-accessible brush system. Always follow the manual for your exact grinder.
Excessive Sparking Observations
Do not rely on a single spark color. Match the sparking with the grinder’s sound, speed, heat, odor, and load response.
| Symptom | Possible Cause | Action |
|---|---|---|
| Heavy sparking at one brush | Sticking brush, weak spring, bad seating, or local commutator damage | Disconnect power and inspect the accessible brush system |
| Heavy sparking at both brushes | Overload, wrong brushes, low supply voltage, commutator wear, or motor fault | Stop use and check the model, load, accessory, vents, and brushes |
| Loose brush cap | Unstable brush pressure or incorrect assembly | Reinstall only to the manual’s instructions; replace a damaged cap |
| New brushes spark heavily | Wrong part, sticking holder, damaged commutator, or deeper motor fault | Stop the test and verify the exact replacement part |
| Burning odor or smoke | Overheated insulation, wiring, armature, field coil, or brush holder | Do not run the grinder again; use qualified service |
Visual Damage Assessment
Remove only the parts the owner manual identifies as user-accessible. Examine both brushes side by side. A large difference in length or shape can indicate sticking, uneven spring force, holder damage, or an uneven commutator.
Use a flashlight to view the accessible commutator surface. A smooth, even contact track is less concerning than deep grooves, raised or loose bars, cracked insulation, heavy pitting, melted material, or isolated black burn marks. Do not push a pointed tool through a vent or scrape between bars.
Pro Tip: Photograph each brush before removal and compare the new part with the old one. Match the model number, brush shape, lead position, terminal, spring arrangement, and manufacturer part number—not just the brush’s outside dimensions.
What Causes Sparking in Your Grinder?
Brush arcing happens when electrical contact between the carbon brush and rotating commutator becomes unstable. The contact can be interrupted by wear, dirt, vibration, heat, mechanical runout, overload, or an electrical defect.
| Cause | How It Creates Sparking | Typical Next Step |
|---|---|---|
| Worn carbon brushes | Short brushes may lose stable spring pressure and contact | Replace both with exact model-approved brushes |
| Sticking brush or weak spring | The brush bounces or fails to follow the commutator surface | Clean the accessible holder and replace damaged parts |
| Wrong replacement brush | Incorrect material, shape, lead, or spring pressure changes commutation | Verify the manufacturer part number |
| Dirty or damaged commutator | Contamination, grooves, high bars, or runout interrupt contact | Use dry cleaning only; obtain service for physical damage |
| Blocked ventilation or overload | Excess current and heat accelerate brush and insulation damage | Clear vents, reduce pressure, and use the correct accessory |
| Undersized extension cord or poor supply | Voltage drop can reduce speed and increase motor strain under load | Use the cord gauge and length specified in the manual |
| Bearing, armature, or winding fault | Mechanical instability or faulty current paths cause severe arcing | Qualified motor diagnosis or tool replacement |
How to Inspect and Maintain Your Angle Grinder
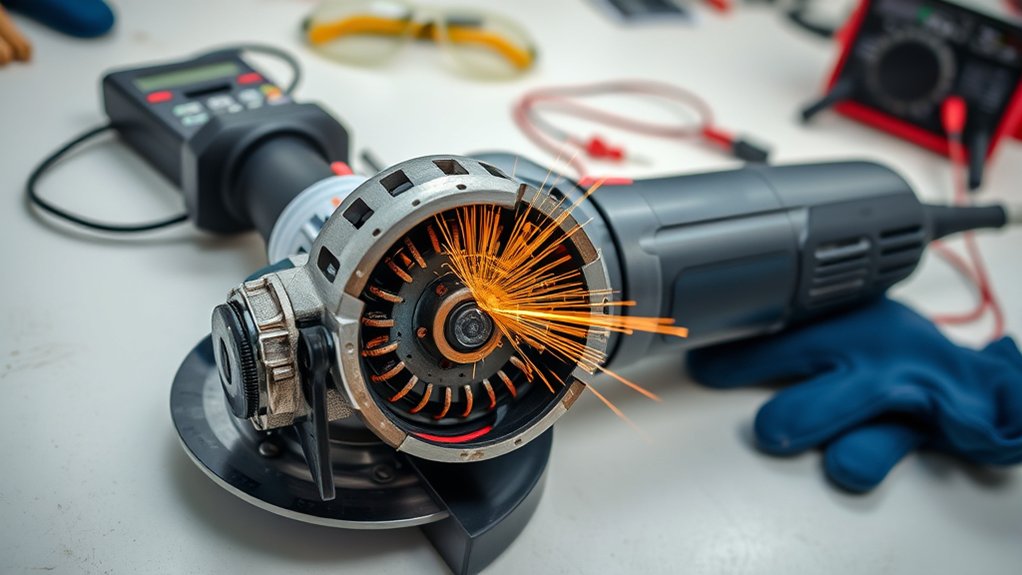
Begin with checks that do not require opening the motor. A damaged disc, dragging spindle, blocked vent, loose connection, or unsuitable power supply can overload the motor and increase brush arcing.
Regular Inspection Checklist
- Disconnect all power. Unplug the cord or remove the battery. For a cordless model, keep the battery away from the work area.
- Record the model and serial information. Find the manual and parts diagram for the exact model and type number.
- Confirm the motor type. Do not perform a carbon-brush procedure on a brushless grinder.
- Inspect the outside. Check the cord, plug, battery terminals, switch, housing, side handle, guard, flanges, spindle, and ventilation openings.
- Remove the accessory. Check for cracks, warping, contamination, incorrect mounting, or a speed rating below the grinder’s no-load speed.
- Turn the spindle by hand. With power disconnected and the accessory removed, feel for roughness, binding, scraping, or excessive play.
- Check owner-accessible brushes. Open brush caps only when the model manual provides that procedure.
- Compare both brushes. Look for wear marks, chips, burning, restricted movement, damaged leads, or weak springs.
- Clean accessible dust. Use a soft brush or controlled vacuum. Do not insert metal tools through ventilation slots.
- Reassemble completely. Install both caps, covers, guard, handle, flanges, and the correct accessory before applying power.
Warning: Stop the inspection if you find melted insulation, exposed conductors, a cracked housing, loose commutator bars, severe pitting, a burned winding, or a strong electrical odor. Do not reconnect power for another test.
Cleaning Procedures Explained
Keep ventilation openings clear so cooling air can pass through the motor. The Bosch GWS8-45 manual advises disconnecting the power supply before cleaning, wearing safety goggles when using compressed dry air, and avoiding pointed objects in ventilation openings.
A vacuum with a suitable fine-dust filter is often easier to control than compressed air. When dry air is permitted, use low, controlled pressure in a well-ventilated area and keep the dust stream away from your face, other people, ignition sources, and electrical equipment.
Do not soak brush holders or the commutator with household cleaner, brake cleaner, penetrating oil, or lubricant. Solvents can damage plastic, insulation, adhesives, and brush materials. Oil on the commutator can also worsen arcing.
Pro Tip: Replace carbon brushes in pairs. Installing one new brush beside one heavily worn brush can leave unequal spring pressure and contact conditions.
After Replacing the Brushes
Confirm that each brush moves freely, its lead is routed correctly, and each cap is seated without cross-threading. Reinstall every cover before connecting power.
Place the grinder in a clear, nonflammable area with the guard and side handle fitted. Hold it firmly, stand out of the accessory’s plane, and run it briefly without load. A slight initial change in brush sound or spark pattern may occur while model-correct brushes settle, but heavy arcing, smoke, rough running, or rapid heating means you should switch off immediately.
How to Clean the Commutator Safely
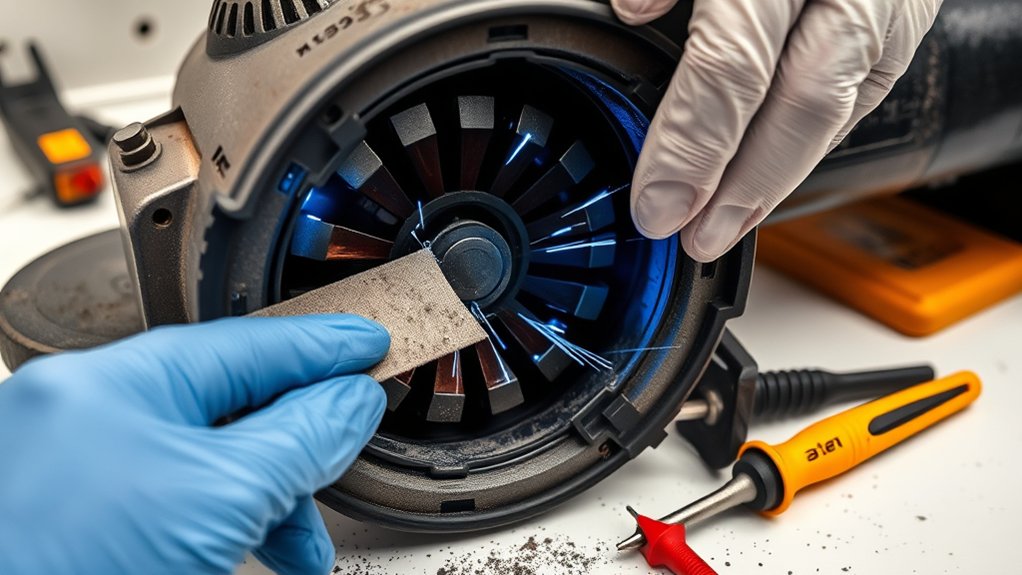
A commutator should have a smooth, even running surface. A uniform darker contact film is not automatically damage. Deep grooves, isolated burned sections, raised bars, looseness, pitting, or obvious runout require more than routine cleaning.
- Disconnect the plug or battery and verify that the switch is off.
- Read the maintenance section of the exact model manual.
- Remove only owner-accessible brush caps and brushes.
- Use a flashlight to inspect the visible contact surface.
- Remove loose carbon dust with a dry soft brush or controlled vacuum.
- Wipe only accessible surfaces with a clean, dry, lint-free cloth when the manual permits it.
- Keep liquids, oil, abrasive residue, metal picks, and conductive debris away from the commutator.
- Reinstall the correct brush pair and every cover before testing.
Note: Do not treat a fixed sandpaper grit as a universal commutator-cleaning method. Motor designs and service procedures differ. Abrasive dressing or resurfacing should be performed only when the grinder’s service documentation specifies the method and the person doing it has the required training.
Industrial commutator guidance also distinguishes simple dry cleaning from resurfacing work that requires trained and experienced personnel. See the ABB/Baldor-Reliance motor maintenance manual for an example of why commutator procedures must match the motor design rather than a generic internet recipe.
When to Replace the Armature
An armature may need replacement when the commutator has loose or raised bars, deep scoring, severe pitting, repeated isolated burn marks, or runout that causes the brushes to bounce. Other warning signs include persistent arcing after the correct brush pair is installed, a burning varnish odor, rapid overheating, low power, rough operation, or brushes that fail again soon after replacement.
A basic multimeter can sometimes find a fully open circuit or an obvious short to the shaft, but it cannot reliably prove that an armature is healthy. Resistance between adjacent commutator bars is often too low for an ordinary meter to distinguish shorted turns. A proper diagnosis may require a growler, insulation-resistance testing, controlled bar-to-bar comparison, and mechanical runout measurement.
Field coils, internal wiring, suppression components, bearings, and the armature can produce overlapping symptoms. Have the grinder tested by a qualified repair technician when the simple model-approved brush procedure does not solve the problem.
Compare the repair quote with the tool’s age, replacement cost, warranty, availability of genuine parts, and condition of the switch, bearings, cord, gearbox, and housing. Rebuilding a professional grinder can make sense; extensive motor work on a heavily worn low-cost grinder may not.
Safety Tips for Using Your Angle Grinder
Angle grinders can expose the operator to wheel fragments, hot sparks, sharp debris, dust, noise, vibration, kickback, and electrical hazards. Follow the grinder manual and the accessory manufacturer’s instructions for every setup.
- Wear suitable PPE: Use safety glasses with side protection and add a face shield for flying debris. Wear hearing protection, suitable close-fitting gloves, sturdy footwear, and clothing without loose parts.
- Control dust: Use suitable extraction and respiratory protection when the material or coating can create harmful dust. Do not grind an unknown coating until you know what it contains.
- Keep the guard installed: Position it between your body and the wheel. OSHA’s portable abrasive-wheel requirements address guards and their position on right-angle grinders.
- Use the correct accessory: Match its type, diameter, arbor, flange system, intended application, and maximum speed to the grinder.
- Inspect before use: Do not use a cracked, dropped, warped, wet, contaminated, or incorrectly mounted abrasive wheel.
- Remove flammables: Direct grinding sparks away from fuel, solvents, combustible dust, gas cylinders, vehicles, glass, and other people.
- Use both hands: Install the side handle and maintain a balanced stance.
- Do not force the disc: Excess pressure can overload the motor, increase heat, and damage the accessory.
- Wait for a complete stop: Do not set the grinder down while the accessory is moving.
- Remove defective tools from service: Do not continue testing a grinder that smokes, trips protection, overheats rapidly, or arcs heavily.
Troubleshooting Other Common Angle Grinder Problems
Sparking may appear with another fault that helps narrow the cause. Disconnect power before each inspection.
| Additional Symptom | Checks to Make |
|---|---|
| Grinder will not start | Check the outlet, battery charge, switch lockout, cord, plug, brush wear feature, and manual troubleshooting section. |
| Starts and stops | Inspect accessible brushes for sticking or wear; check the cord and switch through qualified service if symptoms continue. |
| Runs slowly | Remove excess load, verify the accessory, check spindle drag, clear vents, and use a correctly sized extension cord. |
| Rattles, growls, or whines | Check the accessory and flanges first. Persistent noise may indicate bearing, fan, gear, spindle, or armature damage. |
| Gets hot quickly | Check blocked vents, overload, bearing drag, an unsuitable accessory, supply voltage, and internal motor damage. |
| Smokes or smells burned | Disconnect power immediately. Do not restart the grinder; arrange professional inspection. |
Best Practices for Preventing Future Sparking
- Follow the model manual: Use its brush limits, inspection interval, part numbers, accessory limits, and service instructions.
- Use genuine or explicitly approved brushes: Brush material and spring pressure matter as much as physical size.
- Replace brushes as a pair: This helps maintain balanced contact.
- Keep vents open: Do not cover the intake with your hand or allow metal dust to pack into the housing.
- Use the right extension cord: Follow the manual’s conductor-size table for the tool’s amperage and cord length.
- Avoid prolonged overload: Let the accessory cut at its intended rate instead of forcing it.
- Use the correct disc and guard: An unsuitable or dragging accessory increases motor load.
- Store the grinder dry: Protect the motor from moisture, conductive dust, solvents, and corrosive contamination.
- Watch for changes: New sounds, odor, vibration, heat, speed loss, and increased arcing are early warnings.
- Stop before damage spreads: A small brush problem can become an expensive commutator or armature failure if the grinder keeps running.
Note: The inspection schedule is model- and usage-dependent. A grinder used daily in conductive metal dust needs attention more often than a tool used occasionally in a clean shop.
Sources
- OSHA — Safe Use of Portable and Hand-Held Power Tools — disconnection, eye protection, guarding, and manufacturer-approved accessories
- OSHA 29 CFR 1910.243 — Guarding of Portable Powered Tools — abrasive-wheel guard and speed requirements
- Makita 9015A Angle Grinder Instruction Manual — paired, identical carbon-brush replacement and authorized service
- Bosch GWS8-45 Operating and Safety Instructions — carbon-brush inspection, genuine parts, cleaning, and qualified service
- ABB/Baldor-Reliance MN605 Motor Maintenance and Troubleshooting — general causes of brush sparking and commutator-service boundaries
Frequently Asked Questions
Why Is My Angle Grinder Sparking Inside the Motor?
A brushed grinder may spark because its carbon brushes are worn, stuck, incorrectly fitted, or making poor contact with the commutator. Overload, blocked ventilation, bearing wear, commutator damage, or an armature or field-coil fault can also cause excessive arcing.
How Do You Stop Motor Brushes From Sparking?
Disconnect power, verify the exact model, and inspect the owner-accessible brushes. Replace worn or damaged brushes as a pair with the specified parts, clean loose dust from the holders, and make sure the brushes move freely. Persistent or severe arcing requires professional motor diagnosis.
What Causes Sparking at the Motor Brushes?
Common causes include worn brushes, weak springs, sticking brush holders, incorrect replacement brushes, contamination, an uneven commutator, overload, voltage drop, vibration, bearing problems, and damaged armature or field windings.
How Do You Control Grinding Sparks?
Use the correct disc and guard, hold the grinder with both hands, and aim the workpiece sparks away from your body, other people, glass, vehicles, cylinders, combustible dust, fuel, and solvents. Wear eye and face protection and never remove the guard for extra reach.
Can You Use an Angle Grinder If It Sparks?
A faint and even brush flicker may be visible on some brushed grinders. Do not continue using the tool when sparking becomes heavier, uneven, or continuous, or when it appears with smoke, odor, power loss, breaker trips, rough running, or rapid heat buildup.
Do Brushless Angle Grinders Have Carbon Brushes?
No. A brushless grinder does not use carbon brushes or a commutator. If a brushless model produces sparks inside its housing, stop using it and follow the manufacturer’s service process rather than attempting a carbon-brush repair.
Safety Disclaimer: This article provides general information and does not replace the instruction or service manual for your exact grinder. Disconnect all power before inspection. Do not perform internal electrical repairs unless you have the required training, test equipment, and manufacturer-approved procedure. Remove the grinder from service if you find smoke, melted parts, exposed wiring, severe arcing, or burned windings.
Conclusion
Angle grinder sparking inside the motor often begins with a worn, sticking, or incorrectly fitted carbon brush, but it can also come from overload, poor cooling, commutator damage, bearing wear, or an internal electrical fault. Confirm that the grinder is a brushed model, disconnect its power, and begin with the external and model-approved checks.
Replace accessible brushes only with the exact specified pair, keep the holders and vents clean, and stop if arcing remains heavy or appears with smoke, odor, heat, power loss, or rough running. A careful early inspection can save the commutator and armature, while continued use can turn a small maintenance problem into an unsafe motor failure.