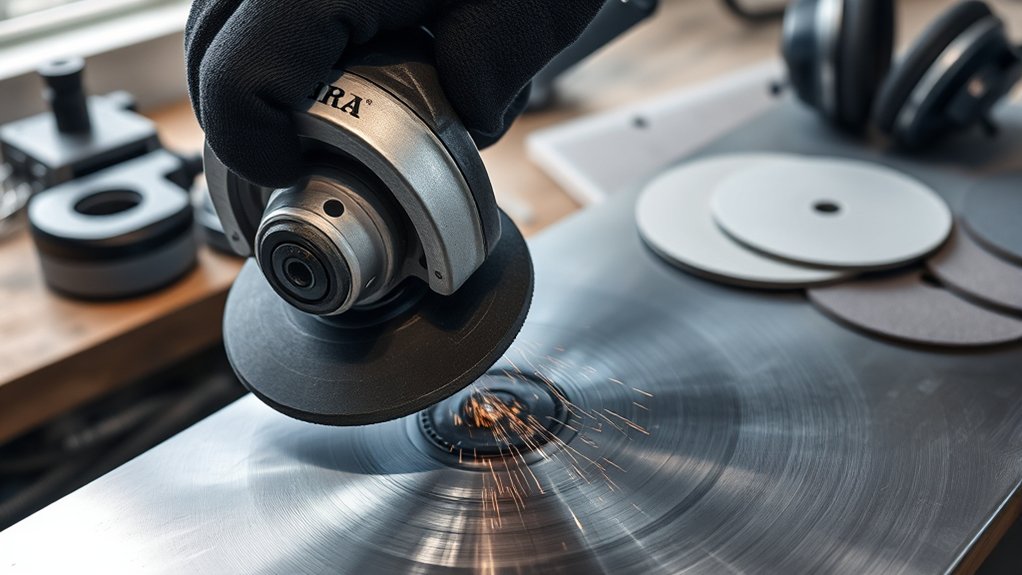
Why Is My Angle Grinder Leaving Swirl Marks?
What’s in This Article
- Understanding Swirl Marks: What Causes Them?
- Common Mistakes That Cause Swirl Marks
- Proper Techniques to Avoid Swirl Marks
- Essential Tools to Prevent Swirl Marks
- Importance of Dust Extraction in Sanding
- The Right Grit Progression for Smooth Surfaces
- Troubleshooting Swirl Marks: Quick Fixes
- Safety Checks Before Using Your Angle Grinder
- Final Sanding Techniques for a Flawless Finish
- Frequently Asked Questions
Swirl marks can ruin a surface that looked almost finished. Your angle grinder may leave them when you press too hard, use the wrong abrasive, skip grit levels, or let dust stay on the workpiece. This guide shows you how to find the cause, fix the marks, and prevent them on your next pass.
Quick Answer
Your angle grinder leaves swirl marks when the abrasive digs unevenly into the surface. Common causes include too much pressure, worn discs, skipped grit steps, fast movements, and dust trapped under the abrasive. Use light pressure, clean between grits, and finish with controlled sanding to restore a smoother surface.
Key Takeaways
- Use light, even pressure and let the grinder’s weight guide the cut.
- Move through grit levels in order instead of jumping from coarse to fine.
- Replace worn, chipped, or clogged abrasives before they mark the surface.
- Clean dust and debris between grit changes to prevent new scratches.
- Inspect the grinder, disc, guard, and personal protective equipment before each use.
Understanding Swirl Marks: What Causes Them?
Swirl marks are curved scratches or dull patterns left on the surface after grinding, sanding, or buffing. They often show up when the abrasive cuts deeper in some spots than others.
Excessive pressure creates friction and heat. That heat can soften coatings, smear material, or make the abrasive bite too hard into the workpiece.
Low-quality or worn sandpaper can also leave marks because the grit may cut unevenly. Skipping grits makes the problem worse, since finer abrasives may not remove the deeper scratches left by coarse ones.
Fast grinder movements can stretch small marks into longer spiral patterns. Dirt and debris can also scratch the surface as the tool moves across it.
Common Mistakes That Cause Swirl Marks
Most swirl marks come from a few simple mistakes. Speed, abrasive choice, pressure, and surface cleanliness all affect your final finish.
When you know which mistake caused the marks, you can fix the surface with less extra sanding. You can also avoid removing more material than needed.
Incorrect Angle Grinder Speed
Running an angle grinder at the wrong speed can create surface defects, including visible swirl marks. A speed that is too high can cause heat, excess friction, and uneven contact.
A speed that is too low can make the abrasive drag or chatter. Match the grinder’s revolutions per minute (RPM) and disc type to the material you are working on.
Use the manufacturer’s recommended settings for the grinder and abrasive. Keep your movement steady so the disc overlaps the surface in a controlled way.
Improper Abrasive Selection
Your abrasive choice matters as much as your grinder speed. The wrong disc or sandpaper can cut too aggressively and leave deep scratches.
Move through grit sizes in order. Skipping too far ahead can leave scratches that the finer grit cannot remove.
Check abrasives before you start. Replace any disc or sheet that looks chipped, loaded with dust, uneven, or worn out.
For metal surfaces, choose an abrasive that suits the material. Aluminum oxide often works well for many ferrous metals, while other metals may need a different abrasive type.
Inconsistent Pressure Application
Uneven pressure can make the grinder cut deeper in one area and lighter in another. This creates a patchy surface with clear swirl patterns.
Do not force the grinder down. Let the tool’s weight do most of the work, then guide it with a firm and steady grip.
Avoid lifting the grinder while the disc is still spinning on the surface. That motion can leave a crescent-shaped mark near the end of your pass.
Proper Techniques to Avoid Swirl Marks
You can prevent most swirl marks with the right technique. Start with clean material, a suitable abrasive, and a controlled movement pattern.
Keep each pass smooth and steady. Do not rush the surface just because the tool removes material quickly.
Products Worth Considering

【Premium Material】PRETEC flap sanding discs are crafted from high-density premium zirconia abrasive, ensuring strength, durability, and extended disc life. They are designed to withstand high temperatures and pressure for optimal performance.

HIGH-DENSITY JUMBO DESIGN: Type 29 flap discs with a high-density jumbo layout support surface blending, beveling, grinding, deburring, and edge chamfering. Curved profile aids finishing, stock removal, and rust cleanup for pros and DIY enthusiasts.

HIGH-DENSITY JUMBO DESIGN: Type 29 flap discs with a high-density jumbo layout support surface blending, beveling, grinding, deburring, and edge chamfering. Curved profile aids finishing, stock removal, and rust cleanup for pros and DIY enthusiasts.
Sandpaper Quality Matters
High-quality sandpaper helps you avoid swirl marks because it cuts more evenly. Low-quality options may have rough spots, weak backing, or uneven grit.
Inspect the abrasive before each pass. Remove any sheet or disc that has chips, tears, clogged dust, or loose grit.
Clean the workpiece with a vacuum, tack cloth, or clean cloth between grit steps. Loose particles can scratch the surface and make new marks.
Consistent Pressure Techniques
Apply light, even pressure while you use the grinder. Keep your wrist steady and guide the tool without forcing it into the surface.
Use slow, controlled movement. A steady pace helps the abrasive cut evenly and reduces the risk of long swirl patterns.
Clean the surface when you change grits. This simple step keeps old particles from scratching the next finish layer.
| Technique | Description | Benefits |
|---|---|---|
| Consistent Pressure | Let the tool’s weight guide you | Reduces swirl marks |
| Steady Hand | Avoid jerky movements | Keeps surface contact even |
| Controlled Speed | Move slowly and smoothly | Protects surface quality |
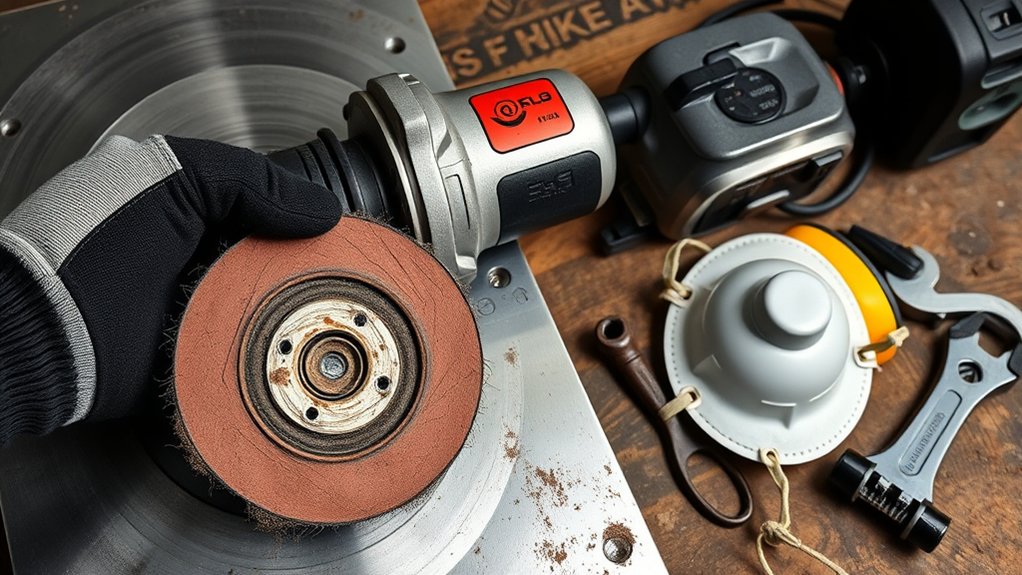
Essential Tools to Prevent Swirl Marks
The right tools help you prevent swirl marks before they start. Use abrasives that match your material, finish goal, and grinder speed rating.
- Quality sandpaper or discs: Choose grits that match each stage of the job.
- Dust extraction: Use a vacuum or dust collection system when your setup allows it.
- Clean cloths: Wipe the surface between grit changes.
- Fresh abrasives: Replace worn or clogged discs before they damage the finish.
- Personal protective equipment (PPE): Wear eye, hand, hearing, and dust protection as needed.
Inspect the grinding wheel or sanding disc often. A damaged abrasive can cut unevenly, throw debris, or create a poor finish.
Products Worth Considering

STRONGEST FIBER BACKING THAN OTHER PRODUCTS:4 1/2 grinding wheels made for TOP-LEVEL Hard zirconia.Good material for griding wheel. This Flap Disc is constructed of industrial grade high density premium zirconia material, increased durability than standard flap discs, built for a more robust and economical grinding wheel

【Professional Grinder Flap Disc】Flap discs 4 1/2 for Angle Grinder with 40/60/80/100/120 Grit T29, 40 packs in total. Includes 20pcs for 40 grit, 10pcs for 60 grit, 5pcs for 80 grit, and 5pcs for 120 grit. A perfect flap disc for cutting various metals and meets all your needs.

VALUE PACK: Pack of 20, 40 60 80 120 grit Assorted kit, 5 flap discs of each grit, 4-1/2 Inch Diameter, 7/8 Inch Arbor, Flat wheel bevel Type 27, 13300RPM maximum speed
Importance of Dust Extraction in Sanding
A clean work area improves your finish and protects your health. Dust on the surface can act like loose grit and scratch the workpiece.
Dust extraction also helps your abrasive last longer. When sandpaper clogs with dust, it cuts poorly and can leave uneven marks.
Connect a vacuum or dust collection canister when your tool supports it. Clean or replace sandpaper when dust builds up on the abrasive face.
Warning: Grinding and sanding dust can irritate your lungs, so use proper dust control and wear suitable respiratory protection.
The Right Grit Progression for Smooth Surfaces
Good grit progression removes old scratches without adding new ones. Start with a coarse enough grit to remove major defects, then move to finer grits in order.
A common sequence is 80 or 100 grit for heavier marks, then 120 or 150 grit for smoothing. Finish with 180 or 220 grit when you need a cleaner surface before coating or final polishing.
Do not jump too far between grits. Each new grit should remove the scratch pattern from the grit before it.
Clean the surface between grit changes. Dust from a coarse grit can create scratches during the next finer pass.
Troubleshooting Swirl Marks: Quick Fixes
If swirl marks already show, stop and check the cause before you keep grinding. More pressure can make the damage worse.
- Clean the surface: Remove loose dust, grit, and debris with a vacuum or clean cloth.
- Inspect the abrasive: Replace any worn, chipped, clogged, or uneven disc.
- Step back one grit: Use the previous grit level to remove deeper marks, then move forward again.
- Use light pressure: Guide the grinder without pushing hard into the workpiece.
- Finish by hand if needed: Hand sanding can help remove small swirl marks near the final stage.
If the surface has deep marks, you may need to restart with a coarser grit. Work slowly so you remove the marks without creating new ones.
Safety Checks Before Using Your Angle Grinder
Before you use your angle grinder, complete a safety check. This protects you and helps the grinder work as intended.
- Inspect the grinder: Look for visible damage on the housing, switch, handle, and power cord.
- Check the disc: Make sure the disc fits the grinder and has no cracks, chips, or damage.
- Confirm the guard position: Keep the guard installed and adjusted to block sparks and debris.
- Wear PPE: Use safety glasses or a face shield, gloves, hearing protection, and a dust mask or respirator when needed.
- Clear the work area: Remove clutter, loose cords, and flammable items before you start.
Never use a damaged grinder or abrasive. Stop the job and replace unsafe parts before you continue.
Final Sanding Techniques for a Flawless Finish
Final sanding helps remove small swirl marks that the grinder leaves behind. Start with the right grit for the marks you can still see.
Use slow, straight, and controlled sanding motions. Apply even pressure so you do not create new low spots or scratch patterns.
Clean the surface between grit changes. Then inspect the work under good light before you apply paint, stain, polish, or another finish.
Pro tip: Change your viewing angle under bright light to spot swirl marks before you apply the final finish.
Frequently Asked Questions
How Do I Get Rid of Swirl Marks?
Clean the surface first, then sand back through the correct grit level. Use light pressure, fresh abrasives, and steady movement until the scratch pattern looks even.
How to Buff Without Leaving Swirl Marks?
Use a clean pad, light pressure, and a steady speed. Keep the surface clean, and do not let a dirty or dry pad drag across the finish.
What Causes Swirl Marks From Sanding?
Swirl marks from sanding often come from excess pressure, skipped grits, dirty surfaces, or worn sandpaper. A clean surface and proper grit order help prevent them.
What Causes Swirl Marks When Buffing?
Buffing swirl marks often come from worn pads, too much pressure, fast movement, or dust on the surface. Clean the pad often and use slow, controlled passes.
Can an Angle Grinder Polish a Surface Without Swirl Marks?
An angle grinder can help with polishing when you use the right attachment and speed. For delicate finishes, a dedicated polisher or careful hand finishing may give you better control.
Safety Disclaimer: This article is for general information only. Angle grinders can cause serious injury if used incorrectly, so read your tool manual and follow all safety instructions before you work.
Conclusion
A smooth finish starts with control, not force. Use the right abrasive, follow a proper grit sequence, and keep the surface clean between each step.
Check your grinder and disc before every job, then work with light pressure and steady movement. If swirl marks appear, stop, clean the surface, and correct the grit step before you continue.
With the right habits, you can reduce swirl marks and get cleaner results from your angle grinder.


