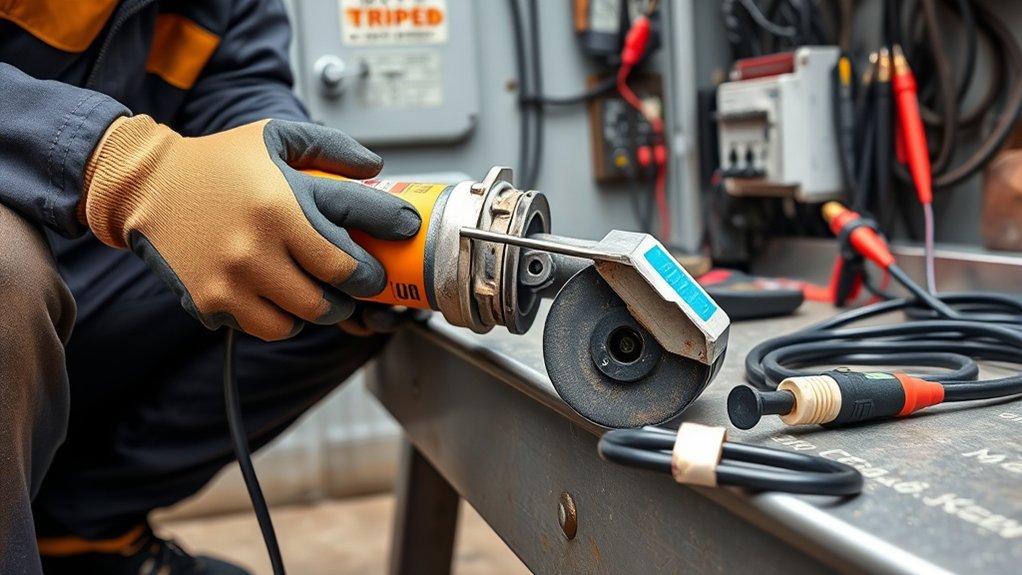
An angle grinder that trips a breaker may be overloading the circuit, binding at the wheel, or developing an electrical fault. Start with checks that do not expose live parts: disconnect power, inspect the cord and wheel, identify which protective device tripped, and compare the grinder’s nameplate rating with the circuit and extension cord.
Do not treat a trip as a nuisance. A standard breaker, GFCI, AFCI, or dual-function breaker can open for different reasons, and repeated resetting can turn a manageable defect into a shock, fire, or tool-damage hazard.
Quick Answer
An angle grinder usually trips a breaker because the circuit is overloaded, the wheel or motor is drawing excessive current, or the tool has a wiring, ground-fault, or arc-fault problem. Unplug it, inspect the cord and wheel, remove other circuit loads, and stop if the trip repeats or any heat, smoke, shock, or burning odor appears.
Key Takeaways
- Identify whether a standard breaker, GFCI, AFCI, or dual-function device tripped before you diagnose the cause.
- Inspect the cord, plug, wheel, guard, vents, and switch before any live test.
- Use the grinder’s nameplate and manual—not a blanket 15-amp or 20-amp rule—to judge circuit and extension-cord suitability.
- Never upsize a breaker, defeat a GFCI or AFCI, remove a grounding pin, or keep resetting a device that trips again.
- Leave internal wiring, insulation, motor, capacitor, and electronic-control testing to a qualified repair technician.
At a Glance
| Time Required | 10–20 minutes for external checks; professional diagnosis may take longer |
| Difficulty | Beginner for visual and circuit-load checks; advanced electrical testing is technician-only |
| Tools Needed | Flashlight, grinder manual, clean brush or vacuum, and a suitable known-working circuit for a limited test |
| Cost | Usually $0 for basic checks; replacement cords, switches, motor parts, or electrical repairs vary by model and location |
What’s in This Article
- Diagnosing Breaker Trips in Your Angle Grinder
- Identify What Tripped
- Common Causes of Angle Grinder Breaker Trips
- Diagnose the Cause by Trip Timing
- Understanding Circuit Overloads and Their Impact
- How to Inspect Your Grinder for Faults
- Identifying Short Circuits and Ground Faults
- Step-by-Step Troubleshooting for Your Angle Grinder
- When a Dedicated Circuit Helps
- When to Call in the Pros
- Maintenance Tips to Prevent Breaker Trips
- Testing and Replacing Capacitors or Electronic Parts
- Frequently Asked Questions
- Conclusion
- Sources
Diagnosing Breaker Trips in Your Angle Grinder
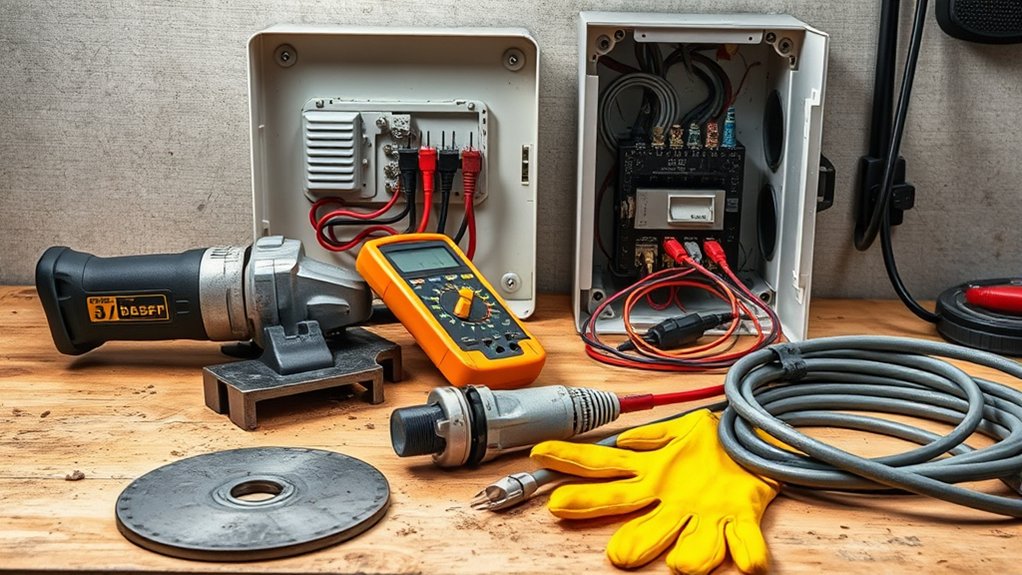
Start with the parts you can check while the grinder is unplugged. Inspect the power cord and plug for cuts, crushed areas, melted insulation, bent or missing prongs, loose blades, and burn marks. OSHA requires damaged cord-and-plug equipment to be removed from service until it has been repaired and tested, which is a sound safety rule for any workshop. See OSHA 1910.334.
Next, identify the device that opened. A standard branch-circuit breaker mainly responds to overcurrent. A GFCI responds to current leaking from its intended path. An AFCI responds to dangerous arcing patterns. A dual-function device can respond to both ground faults and arc faults. The trip type changes what you should check next.
Only test the grinder on another suitable circuit after the external inspection finds no damage. Use the grinder’s normal plug, keep the guard and side handle installed, and follow the manufacturer’s manual. Do not test a suspect grinder through an adapter, power strip, damaged extension cord, or ungrounded connection.
Warning: Unplug the grinder or remove its battery before inspecting the wheel, guard, cord, switch, brush caps, vents, or casing. Do not open the housing or touch internal wiring unless you are qualified to service electrical tools.
Identify What Tripped
Do not assume every loss of power is the same kind of trip. Check the panel, receptacle, and any in-line protective device:
- Standard breaker: A trip can indicate an overload, a short circuit, or a severe fault that produced high current.
- GFCI receptacle or breaker: A trip points toward leakage to ground, moisture, damaged insulation, or a tool fault. A GFCI is intended to reduce shock risk.
- AFCI breaker: A trip may indicate series or parallel arcing from a damaged cord, loose connection, worn switch, brush arcing, or wiring problem.
- Dual-function breaker: The device may have detected overcurrent, ground fault, or arc fault. Some models provide LEDs or trip codes; follow the breaker manufacturer’s instructions.
Leviton explains that GFCIs protect people from ground-fault shock hazards, while AFCIs target dangerous arc faults. Never bypass either device to keep the grinder running.
Note: A breaker handle may sit between ON and OFF after a trip. Move it fully to OFF before one reset. If it trips again, leave it off and investigate the cause instead of resetting it repeatedly.
Common Causes of Angle Grinder Breaker Trips
Breaker trips usually come from the circuit, the power path, the tool, or the work load.
- Shared-circuit overload: Heaters, vacuums, compressors, chargers, lights, and other tools may already be using much of the circuit’s capacity.
- Motor starting current: Electric motors can draw a brief inrush current at startup. A weak supply, long cord, or heavily loaded circuit can make starting harder.
- Undersized or damaged extension cord: Excessive cord resistance can cause voltage drop, heating, loss of power, and higher motor stress.
- Wheel binding or excessive pressure: A pinched cut-off wheel, wrong accessory, damaged flange, or forced grinding can slow the motor and raise current draw.
- Blocked airflow: Metal or concrete dust can clog vents and increase motor temperature.
- Tool fault: A damaged switch, cord connection, brush holder, armature, field winding, insulation system, or electronic module can cause a trip.
- Moisture or conductive dust: Water, wet concrete, and conductive debris can create leakage paths and shock risk.
Eaton distinguishes an overload from a short circuit: an overload is excessive current in an otherwise normal path, while a short circuit creates a much lower-resistance path and much higher fault current. See Eaton’s circuit-breaker fundamentals.
Diagnose the Cause by Trip Timing
The timing does not prove the cause, but it can narrow the search:
- Trips the instant you press the switch: Suspect a short, ground fault, arc fault, damaged switch, locked mechanism, or unusually high starting current.
- Trips after a few seconds with no work contact: Suspect an internal motor fault, damaged cord, poor connection, severe voltage drop, or blocked mechanical parts.
- Trips only when the wheel touches the work: Check for too much pressure, a pinched cut, the wrong wheel, a damaged wheel, poor technique, or inadequate supply voltage.
- Trips after several minutes: Look for a shared-circuit overload, clogged vents, an undersized extension cord, overheating connections, or a motor that is drawing excessive current as it warms.
- Trips only a GFCI: Treat it as possible leakage or moisture. Do not move to a non-GFCI outlet just to avoid the trip.
- Trips only an AFCI: Inspect the cord, plug, switch, brushes, receptacle fit, and circuit wiring for arcing causes; a qualified electrician may need to evaluate the branch circuit.
A trip that follows the grinder to more than one suitable circuit points more strongly toward the tool; a trip that remains with one circuit points more strongly toward the outlet, wiring, breaker, or other connected loads.
Understanding Circuit Overloads and Their Impact
Check the grinder’s nameplate for volts and amps, then identify other loads on the same branch circuit. On a nominal 120-volt system, a 15-amp breaker corresponds to 1,800 volt-amperes and a 20-amp breaker to 2,400 volt-amperes by simple multiplication. Those numbers are not a promise that every motor tool will start or run correctly at that limit. Breaker trip curves, motor inrush, voltage drop, connection condition, and other loads all matter.
Do not use a universal “12 amps on a 15-amp circuit” or “16 amps on a 20-amp circuit” rule to diagnose a portable grinder. Continuous-load rules have a specific electrical-code meaning, while grinding is often intermittent and includes motor starting current. The practical check is whether the tool’s manual, plug, nameplate, cord, receptacle, wiring, and protective device are suitable as a complete system.
Common Overload Symptoms
Watch for dimming or flickering lights, buzzing, warm plugs or receptacles, repeated trips, slow motor acceleration, or a hot extension cord. These signs can indicate excessive load, voltage drop, loose connections, or damaged equipment.
Move other high-draw devices to a different branch circuit before using the grinder again. If an outlet, plug, panel, or breaker feels hot, stop using it and call a qualified electrician. Do not keep operating until insulation discolors or a burning odor develops.
Circuit Capacity Considerations
A larger grinder may benefit from a properly installed dedicated circuit, but a blanket 20-amp recommendation is not correct for every model. Check the manufacturer’s instructions and the tool’s nameplate. The breaker, conductor size, receptacle, plug configuration, and grounding or double-insulation system must remain compatible.
Never replace a 15-amp breaker with a 20-amp breaker simply to stop trips. OSHA states that overcurrent protection must not be modified beyond what the conductors and installation allow. The safe fix is to remove excess load, repair the defect, or have an electrician evaluate the circuit.
Extension Cord Selection
Avoid an extension cord when the grinder’s factory cord can reach safely. When a cord is necessary:
- Use the shortest cord that reaches without tension or creating a trip hazard.
- Use a cord rated for at least the grinder’s nameplate current and the cord length.
- Follow the extension-cord gauge table in the grinder’s own manual; lower AWG numbers indicate heavier conductors.
- Use a grounding-type cord when the tool has a grounding pin. Never remove the pin or use an adapter that interrupts grounding continuity.
- Use a listed outdoor-rated cord for outdoor work, but keep the grinder, plug connections, and work area dry unless the equipment is specifically approved for wet conditions.
- Do not daisy-chain cords or run the grinder through a household power strip.
OSHA requires visual inspection of portable cords and removal of damaged equipment from service. Its construction guidance also warns that damaged extension-cord insulation can expose energized conductors. See OSHA’s portable power-tool electrical guidance.
How to Inspect Your Grinder for Faults
Inspect the grinder in a clean, dry, well-lit area. Disconnect the plug or battery and wait for the wheel to stop completely. Follow the model’s manual before removing the wheel, guard, brush caps, or covers.
Visual Inspection Checklist
- Cord and plug: Look for cuts, crushed areas, exposed conductors, melted insulation, loose blades, missing grounding pins, and discoloration.
- Switch: Check for sticking, looseness, cracks, unusual heat, or a burned smell. Do not spray flammable cleaner into the switch.
- Wheel: Confirm the wheel is undamaged, within its expiration or service limits where applicable, rated above the grinder’s no-load speed, and correct for the operation.
- Guard, flange, and spindle: Check for improper assembly, rubbing, cracks, bent parts, or debris that can bind the wheel.
- Vents: Remove loose dust with a vacuum or a clean brush. Do not force conductive dust deeper into the motor with uncontrolled compressed air.
- Housing and side handle: Check for cracks, missing screws, or impact damage.
Electrical Connection Assessment
Inspect how firmly the plug fits the receptacle. A loose connection can arc and heat. Stop using a receptacle that is cracked, scorched, buzzing, or unable to hold the plug securely.
A basic receptacle tester can identify some wiring errors, but it cannot prove that a circuit is safe under motor load or detect every defect. Only a qualified person should perform electrical testing on circuits or internal tool components. OSHA’s rule states that testing work on electric circuits or equipment is for qualified persons.
Internal Component Examination
Internal checks can involve the switch, cord terminals, brush holders, carbon brushes, armature, field windings, insulation, suppression components, and speed-control electronics. A regular multimeter may find an open conductor or direct short, but it may miss insulation leakage that appears only under voltage or heat.
Do not open the housing merely because the breaker trips. Opening the tool can expose stored energy, compromise insulation or dust seals, void a warranty, and create reassembly errors. A qualified repair technician can compare resistance readings, perform insulation testing, check current draw, and replace parts with the correct manufacturer-approved components.
Identifying Short Circuits and Ground Faults
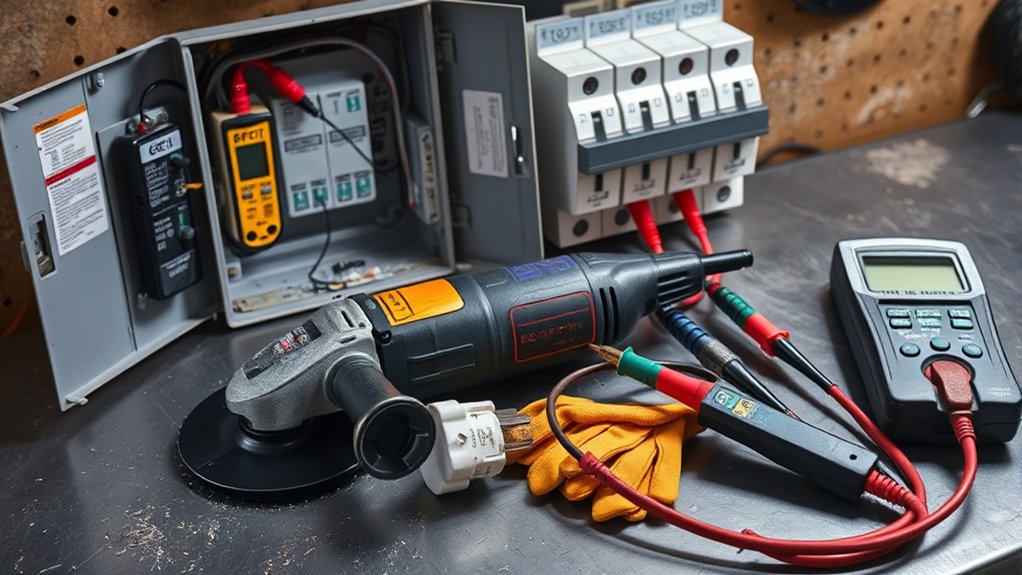
A short circuit sends current through an unintended low-resistance path and commonly produces a rapid overcurrent trip. A ground fault sends current away from its intended path toward ground or a grounded surface. A GFCI is designed to interrupt small current imbalances that a standard overcurrent breaker may not detect quickly enough to protect a person from shock.
Look for burning smells, scorched outlets, melted plugs, visible sparks outside the normal brush area, shocks, tingling, moisture, and sudden shutdowns. Conductive dust and wet concrete increase risk because they can provide a path for leakage current.
If the circuit trips while the grinder is unplugged, the grinder is not causing that particular trip. Leave the circuit off and have an electrician inspect the branch wiring, receptacles, connected equipment, and protective device.
Warning: Stop immediately if you feel a shock or tingling sensation, see smoke, smell burning insulation, find a melted connection, or hear arcing. Disconnect power without touching damaged energized parts and have the tool or circuit professionally inspected.
Step-by-Step Troubleshooting for Your Angle Grinder
Use this order to keep the low-risk checks first:
- Identify the protective device. Determine whether the standard breaker, GFCI, AFCI, dual-function breaker, or an in-line device tripped. Check any manufacturer trip indicator.
- Disconnect the grinder. Unplug it or remove the battery. Inspect the cord, plug, housing, switch, wheel, guard, flange, spindle area, and vents.
- Remove damaged equipment from service. Do not tape over a damaged cord, replace a fuse with a larger one, remove a grounding pin, or bypass a protective device.
- Reduce the circuit load. Turn off or move heaters, vacuums, compressors, chargers, lights, and other high-draw equipment on the same branch circuit.
- Correct the power path. Avoid an extension cord for the test when possible. Otherwise, use one that meets the grinder manual’s gauge, length, grounding, and environment requirements.
- Check for mechanical binding. With power disconnected, inspect the wheel and mounting parts. Replace a damaged or incorrect wheel. Reassemble the grinder exactly as the manual requires.
- Perform one limited test only if no damage is found. Use a suitable known-working circuit, keep the guard and side handle installed, stand clear of the wheel plane, and let the grinder run without contacting the work. Stop at once for abnormal sound, vibration, odor, heat, or sparking.
- Stop if the trip repeats. A repeat trip after these checks requires professional tool or circuit diagnosis. Do not keep moving the grinder to unprotected outlets.
A grinder that trips with no work contact is more likely to have a supply, cord, switch, motor, insulation, or electronic fault. A grinder that trips only while cutting or grinding may be overloaded, binding, using the wrong wheel, or suffering voltage drop. These are clues, not proof.
Pro Tip: Write down exactly when the trip occurs—at switch-on, at full speed, on contact, after several minutes, or only on GFCI/AFCI protection. That pattern gives an electrician or repair technician a much faster starting point.
When a Dedicated Circuit Helps High-Amp Tools
A dedicated circuit removes other branch-circuit loads from the equation and can reduce nuisance trips caused by shared equipment. It is most useful when the grinder’s manual or nameplate demands substantial current, when voltage drop is confirmed, or when several workshop loads otherwise share one branch.
A dedicated circuit is not a repair for a defective grinder. If the tool trips a properly installed circuit that matches its requirements, stop using it. The circuit must be designed by a qualified electrician with the correct conductor size, breaker, receptacle, grounding, and applicable GFCI or AFCI protection.
Do not install a larger breaker on existing wiring without confirming the entire circuit is rated for it. OSHA prohibits repetitive manual reclosing after a protective device operates until the circuit and equipment can be safely energized. See OSHA 1910.334(b).
Products Worth Considering

Single pole, 20 Amp, 120V type QP Circuit Breaker

Single pole, 15 Amp, 120V type QP Circuit Breaker

Protect your system: using as circuit breaker and battery Disconnect, allows to charge or maintain the battery without having to disconnect all the wires; Protect excessive current between battery or electrical from damage
When to Call in the Pros for Your Grinder
Call a qualified electrician when the problem appears tied to the outlet, branch circuit, breaker, GFCI, AFCI, wiring, or panel. Call an authorized tool repair center or qualified power-tool technician when the trip follows the grinder to more than one suitable circuit or when the tool shows internal-fault symptoms.
Stop DIY troubleshooting when you notice:
- Shock, tingling, smoke, flames, or burning insulation
- A melted, scorched, loose, or hot plug or receptacle
- A damaged cord entering the tool housing
- Trips on multiple suitable circuits after external checks
- A GFCI or AFCI trip that follows the grinder
- Heavy sparking, abnormal noise, strong vibration, or a wheel that will not run freely
- A breaker that trips with the grinder unplugged
- A need to open the panel, alter wiring, test energized parts, or use insulation-test equipment
OSHA requires electric power tools to be approved double-insulated types or properly grounded, depending on the design. Never modify the tool’s plug or insulation system. See OSHA 1926.302.
Simple Maintenance Tips to Prevent Breaker Trips
Good maintenance reduces mechanical load, heat, and electrical stress:
- Inspect the cord, plug, switch, guard, side handle, and wheel before each use.
- Keep the grinder dry and store it where the cord will not be crushed or sharply bent.
- Vacuum or brush dust from vents and the head area after dusty work.
- Use the wheel type, diameter, thickness, mounting parts, and speed rating specified by the manufacturer.
- Let the tool reach full speed before contacting the work.
- Use steady pressure and avoid pinching a cut-off wheel or forcing the motor to stall.
- Replace worn brushes only when the manual provides a user-service procedure and matching parts.
- Have damaged cords, switches, insulation, and internal parts repaired before the next use.
Pro Tip: Let the wheel do the cutting or grinding. Forcing the tool slows the motor, increases current draw, raises heat, and makes wheel binding more likely.
Testing and Replacing Capacitors or Electronic Parts
Some angle grinders contain suppression capacitors, soft-start modules, speed-control boards, or other electronics. Many basic grinders do not use a user-serviceable motor-start capacitor. The parts vary by model, so do not diagnose a “bad capacitor” without the correct wiring diagram, service manual, and test procedure.
Capacitors can retain charge after the tool is unplugged. Electronic modules can also fail in ways that a simple capacitance reading will not reveal. Safe diagnosis may require discharge procedures, insulation testing, current measurement, and comparison with manufacturer specifications.
- Do not short capacitor terminals with a screwdriver.
- Do not substitute a part based only on physical size.
- Match capacitance, voltage, temperature, safety class, lead arrangement, and manufacturer part number.
- Do not bypass soft-start, braking, anti-restart, or protective electronics.
Because OSHA limits electrical testing to qualified persons, internal capacitor and electronic testing belongs with a trained repair technician. Replace the complete tool when repair cost, parts availability, insulation damage, or prior overheating makes repair uneconomical or unsafe.
Products Worth Considering
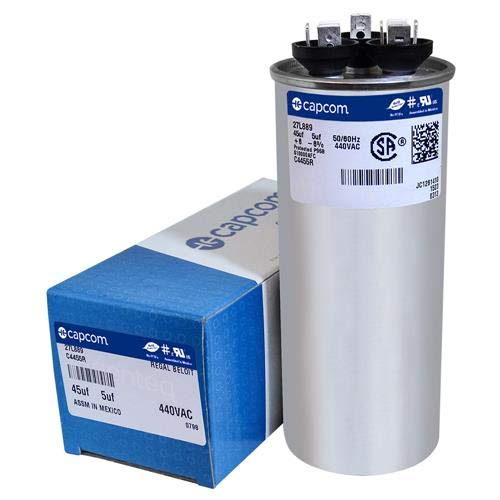
Premium comfort and electrical components


✅Specification:Capacity: 40uF; Rated voltage: AC 250V; Tolerance: +/-5%; Material of Capacitor: Metallized polypropylene film Size: Dia. : 35 mm ( 1.38 inch ), Height : 73 mm (2.87 inch ), wire length: 19 cm Operating temperature range: -40℃ to +85℃/ -40℉ to 185℉;
Frequently Asked Questions
Why does my angle grinder trip the breaker as soon as I start it?
An instant trip can come from a short circuit, ground fault, arc fault, damaged switch, locked mechanism, severe voltage drop, or startup current on an already loaded circuit. Unplug the tool, inspect it, remove other loads, and stop if one safe reset produces another trip.
Why does my angle grinder keep cutting out under load?
The wheel may be binding, the operator may be forcing the cut, the accessory may be wrong, or voltage may be dropping through a long or undersized cord. A worn switch, brushes, motor, or electronic overload system can also cut power. Stop if the tool slows sharply or overheats.
Why does the grinder trip a GFCI but not a standard breaker?
A GFCI detects current leaking from the intended circuit path, often at a level below a standard breaker’s overcurrent threshold. Moisture, damaged insulation, conductive dust, cord damage, or an internal tool fault can cause the trip. Do not bypass the GFCI; have the tool checked.
Can brush sparking trip an AFCI?
Normal brush motors create some internal arcing, but excessive brush wear, a damaged commutator, a failing switch, a loose connection, or a damaged cord can create abnormal arcing. An AFCI trip should be diagnosed rather than avoided. Check the breaker’s trip indication and use qualified service when the cause is not obvious.
Can a bad extension cord make an angle grinder trip a breaker?
Yes. A damaged, excessively long, or undersized cord can create voltage drop and heat, making the motor draw poorly and struggle under load. Use the shortest listed cord that meets the grinder manual’s amp and length table, and remove any warm, cut, crushed, or loose cord from service.
How do you troubleshoot a breaker that keeps tripping?
Disconnect loads, inspect the equipment and cords, identify the type of protective device, and reset it once only after no obvious hazard is found. Add loads back one at a time. If the breaker trips with no load or the wiring shows heat, buzzing, damage, or odor, call an electrician.
What is the most common cause of a tripped breaker?
Overload is common when several loads share a circuit, but the trip pattern matters. An immediate trip, a GFCI trip, or an AFCI trip can point toward a short, leakage, or arcing instead. Do not assume overload until the tool, cord, circuit load, and protective-device type have been checked.
Can I replace a 15-amp breaker with a 20-amp breaker to stop the trips?
No. The breaker must protect the installed conductors and match the circuit design. Upsizing it without verifying the wiring, receptacles, and entire installation can allow dangerous overheating. Have a qualified electrician determine whether a new properly sized circuit is needed.
Safety Disclaimer: This article provides general information, not a substitute for the grinder manufacturer’s instructions or professional electrical and tool-repair advice. Do not work inside an electrical panel, test energized conductors, or service internal tool wiring unless you are qualified and equipped to do so.
Conclusion
A breaker trip is a warning that the circuit, power path, grinder, or work load needs attention. Start by identifying the protective device, disconnecting the grinder, inspecting external parts, reducing other loads, and checking the nameplate and extension cord. One carefully controlled test may help only when no damage is present.
Stop when the trip repeats or when you find heat, smoke, shock, arcing, moisture, damaged insulation, or abnormal operation. A properly sized dedicated circuit can solve a supply problem, but it cannot make a defective grinder safe. Professional diagnosis protects the tool, the wiring, and the person using both.
Sources
- OSHA 1910.334 — Use of Equipment — cord inspection, damaged-equipment removal, breaker resetting, overcurrent protection, and qualified electrical testing.
- OSHA Electrical Incidents: Power Tools — wet-location, damaged-cord, double-insulation, and GFCI safety guidance.
- OSHA 1926.302 — Power-Operated Hand Tools — grounding and approved double-insulated tool requirements.
- Eaton Circuit Breaker Fundamentals — differences among overloads, short circuits, overcurrent, and breaker operation.
- Leviton: AFCI vs. GFCI — the different safety functions of arc-fault and ground-fault protection.
- Leviton: Diagnosing Your Circuit Breaker — examples of breaker trip indicators for overcurrent, ground-fault, and arc-fault events.