If your angle grinder won’t start, check for common electrical issues first. Make sure it’s plugged into a good outlet and inspect the power cord for damage. Look for blown fuses or tripped breakers. Next, assess mechanical components, like the spindle lock and wheel installation. Conduct safety checks, confirming guards are secure. If problems persist, try step-by-step fixes like testing the power switch. For thorough solutions and preventative maintenance tips, keep exploring further.
Common Electrical Issues That Prevent Startup
When your angle grinder won’t start, it’s often due to common electrical issues that you can easily troubleshoot. First, make sure it’s securely plugged into a functioning outlet; a loose connection can stop the power supply. Next, inspect the power cord for any visible damage or fraying, as this can interrupt the electrical flow and keep your tool inoperable.
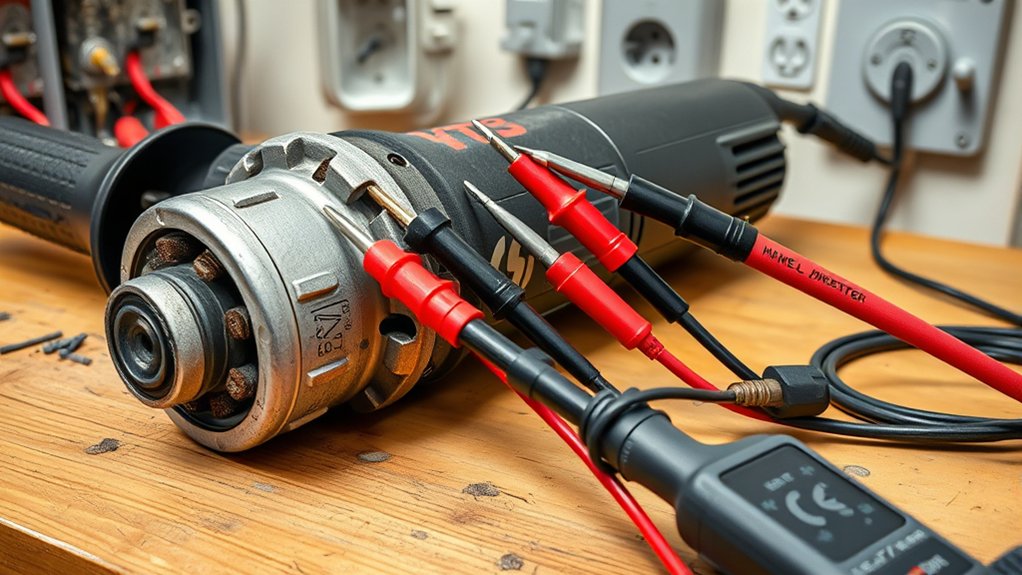
Check for blown fuses or tripped circuit breakers in your electrical system, since these can prevent power from reaching the grinder. Don’t forget to verify that the power switch is functioning correctly. Use a multimeter to test for continuity; a faulty switch may need replacement. If the power light flickers or doesn’t illuminate, it could signal an internal electrical issue that requires professional attention. Addressing these common issues can help you get your angle grinder back to work efficiently.
Mechanical Failures: Diagnosing and Fixing Your Angle Grinder
When your angle grinder isn’t performing as it should, mechanical failures are often the culprit. Start by checking for spindle lock issues, like visible damage or a malfunctioning button. Additionally, verify your wheel is properly installed to prevent rotation problems and maintain efficiency.
Spindle Lock Issues
If you notice your angle grinder isn’t performing as expected, spindle lock issues might be to blame. Start by checking for visible damage or obstructions in the lock mechanism; these can hinder the grinder’s operation. Verify the spindle lock button is functioning correctly, as a faulty button can prevent the blade from securing properly. Regular inspections are key; they help you identify problems early and maintain safety and efficiency. Don’t forget to refer to your user manual for model-specific repair guidelines, since spindle lock issues can vary. If you still face problems after troubleshooting, seeking professional assistance is a wise choice to avoid compromising your grinder’s safety and functionality.
Wheel Installation Problems
Spindle lock issues can lead to wheel installation problems that affect your angle grinder’s performance. First, verify the grinding wheel is securely fastened and aligned with the spindle. Any visible cracks or deformities on the wheel can create unsafe conditions and reduce efficiency, so inspect it carefully. Before powering up the grinder, always test the wheel rotation manually to confirm it turns freely without obstruction. If you notice wobbling, check for proper alignment; misalignment can compromise cutting precision and safety. Regularly maintain and inspect the wheel and its components to prevent installation issues that could impact your grinder’s performance. Taking these steps will help you achieve safe and effective operation, liberating you in your projects.
How to Diagnose Blade and Disk Performance Problems?
Diagnosing blade and disk performance problems starts with a careful inspection of wear patterns. Check for excessive wear, which often indicates improper usage or material inconsistencies. Remember, blades typically last between 100 to 200 hours under ideal conditions. Look for segment cracking; minor cracks may be manageable by reducing rotation speed, but severe cracks mean it’s time for a replacement.
Next, examine for uneven wear and tear, often caused by misalignment. Verify the blade is perpendicular to the work surface for uniform cutting and to prolong its life. Regular inspections will help you spot issues early, allowing for timely replacements and maintaining cutting efficiency. Finally, always use the correct blade type for the material you’re working on to prevent premature wear and guarantee peak disk performance. Keeping these factors in check will enhance your tool’s effectiveness and lifespan.
Critical Safety Checks to Perform Before Troubleshooting
Before you start troubleshooting your angle grinder, make certain to conduct a thorough visual inspection. Check the power source and validate you’re using the right disc for your task. Don’t forget to wear your personal protective equipment to keep yourself safe during the process.
Visual Inspection Checklist
A thorough visual inspection of your angle grinder is essential for guaranteeing safe operation. Before diving into troubleshooting, check these critical areas:
- Power Cord: Look for any fraying or damage that could disrupt functionality.
- Blade Attachment: Inspect the spindle lock and verify there are no obstructions or visible damage.
- Safety Components: Examine the guard and flanges to confirm they’re securely attached, preventing potential hazards.
Don’t forget to verify that you’re using the correct disc size and type for your task. This visual inspection not only enhances safety but also optimizes your grinder’s performance. Taking these steps can save you time and prevent accidents while working.
Power Source Verification
Verifying the power source is essential for guaranteeing your angle grinder operates safely and effectively. Start by checking the power outlet; use a multimeter to confirm voltage if needed. Inspect the extension cord for any visible damage or fraying, as these issues can disrupt power delivery. Make sure your angle grinder is securely plugged in, guaranteeing a solid connection to the power source. Additionally, look for any tripped circuit breakers or blown fuses that may affect your electrical system. Finally, consult the user manual for specific troubleshooting steps related to power source verification for your grinder model. Taking these steps can save you time and guarantee a safer working environment.
Personal Protective Equipment
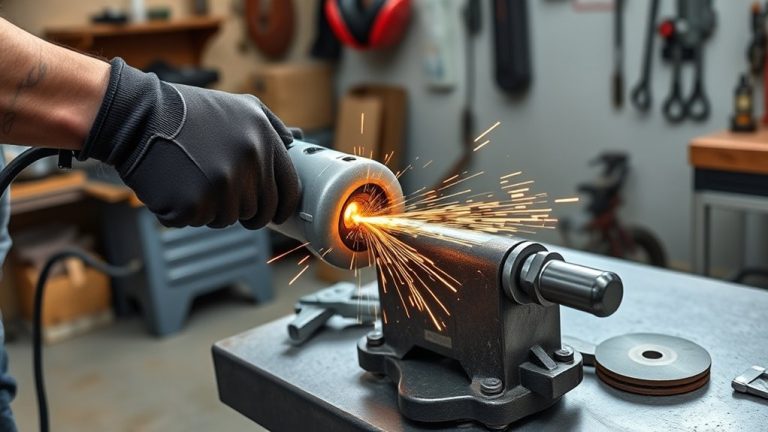
Safety should always be your top priority when troubleshooting an angle grinder. Before diving into repairs, make certain you’re equipped with the right Protective Equipment to keep yourself safe.
- Safety Goggles: Protect your eyes from flying debris and sparks.
- Heavy-Duty Gloves: Shield your hands from sharp edges and electrical shocks.
- Protective Earmuffs: Safeguard your hearing from the loud noise produced during operation.
Additionally, if you’re in a dusty environment, wear a dust mask or respirator. Always check that all your personal protective equipment (PPE) is in good condition and fits properly. Taking these precautions guarantees a safer and more efficient troubleshooting experience. Remember, safety first!
Step-by-Step Fixes for Angle Grinder Issues

When troubleshooting angle grinder issues, following a systematic approach can save you time and frustration. Start by checking the power supply—verify the outlet works and the power cord isn’t damaged or frayed. Next, inspect the grinder’s switch with a multimeter to confirm continuity; if you find no resistance, the switch likely needs replacement.
Look for obstructions or damage in the spindle lock, as these can prevent the grinder from starting. Additionally, make sure the grinding wheel is properly installed and free from cracks; an improperly mounted wheel can stop the motor from engaging. If you suspect overheating, let the grinder cool down and check for dust buildup in the vents, which can hinder airflow. By addressing these common issues, you can get your angle grinder back in action efficiently and safely.
Preventative Maintenance Tips to Avoid Future Problems
To keep your angle grinder running smoothly and extend its lifespan, regular maintenance is essential. Here are some preventative maintenance tips to help you avoid future problems:
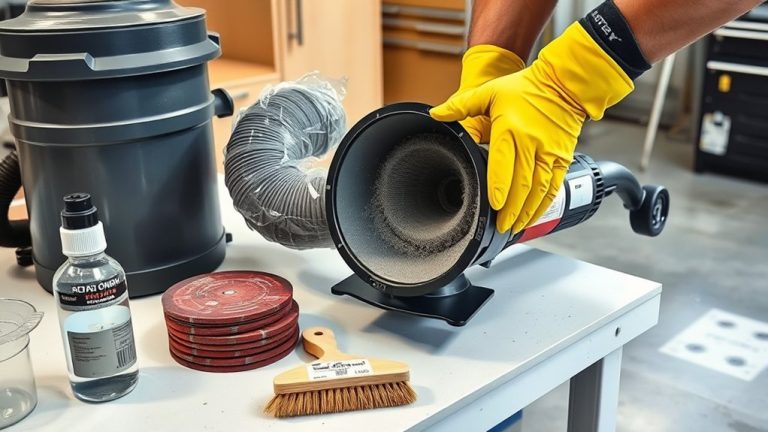
- Inspect and Clean: Regularly check air vents and cooling systems to prevent dust buildup, which can cause overheating and motor failure.
- Proper Blade Storage: Store your blades in a dry, cool environment to maintain their sharpness and prevent rust, which negatively impacts performance.
- Check Power Components: Routinely inspect power cords and switches for visible damage. Ensuring they’re in good condition minimizes electrical malfunctions and keeps your grinder safe.
Remember to replace worn brushes and inspect the commutator regularly. Following the manufacturer’s guidelines for usage limits and cooling intervals will also greatly reduce wear and tear on your tool. Prioritize these tips, and you’ll enjoy a reliable, high-performing angle grinder for years to come.
Frequently Asked Questions
How to Fix Angle Grinder Not Turning On?
Check your power sources first—ensure the outlet works and the grinder’s plugged in. Inspect the cord for damage, test the switch, and consult your manual for specific troubleshooting steps. Don’t skip safety checks!
Why Won’t My Grinder Turn On?
Your grinder won’t turn on likely due to a faulty power source. Check if it’s plugged in correctly, inspect for cord damage, and verify the switch and safety features aren’t preventing operation.
What to Do if the Grinder Is Not Working?
If your grinder isn’t working, think of it like a car that won’t start. First, check the power source. Always prioritize safety precautions. Look for damaged cords, and consult the manual for more help.
What Are Common Grinder Machine Problems?
Common grinder machine problems include motor malfunction, damaged power cords, faulty switches, and worn brushes. Overheating and dust buildup can also hinder performance. Regular maintenance can help prevent these issues and guarantee smooth operation.
Conclusion
In the world of DIY, an angle grinder is your trusty sidekick, but when it won’t start, it can feel like a roadblock. By diagnosing electrical issues, checking for mechanical failures, and performing essential safety checks, you can get back to work in no time. Remember, regular maintenance is the key to keeping your tools in top shape. With a little care, you’ll guarantee your angle grinder runs smoothly for every project ahead!