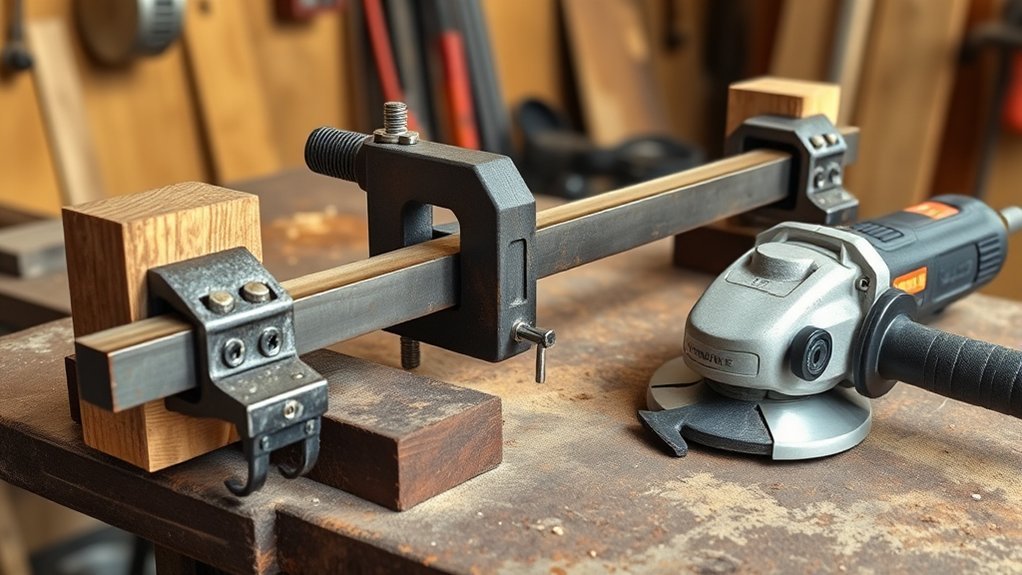
Dust is one of the fastest ways to shorten an angle grinder’s life. Fine grit blocks vents, holds heat around the motor, wears bearings, contaminates switches, and can turn a normal grinding job into a safety problem. The best approach is simple: inspect the grinder before use, control dust at the source, let the tool cool, clean it safely, and replace worn parts before they damage the motor.
Quick Answer
To extend an angle grinder’s life in dusty conditions, keep the vents clear, use the correct guard and dust shroud, avoid overloading the motor, take cooling breaks, inspect discs and brushes, and store the tool dry. When grinding concrete, mortar, stone, or masonry, use OSHA-style dust controls and proper respiratory protection.
Key Takeaways
- Dust kills grinders by blocking airflow, trapping heat, and wearing bearings, switches, brushes, and gears.
- Always inspect the cord, battery, guard, side handle, wheel, flange, and switch before grinding.
- Let the tool do the cutting. Heavy pressure overheats the motor and shortens wheel and bearing life.
- For concrete, mortar, brick, stone, or engineered stone, use a shroud, dust extractor, wet method, or other silica control instead of relying on a basic shop vacuum.
- Clean the grinder safely after use, but do not blow dust around the room, onto your clothes, or toward other people.
At a Glance
| Time Required | 3–5 minutes before each use, 5–10 minutes after dusty work, plus deeper checks weekly or monthly |
| Difficulty | Easy for daily cleaning and inspection; moderate for brush, bearing, or switch diagnosis |
| Tools Needed | Clean rag, soft brush, dust extractor or HEPA vacuum when needed, correct wrench, replacement discs, PPE, and owner’s manual |
| Cost | Low for routine cleaning; higher if you need a dust shroud, extractor, respirator, brushes, bearings, or professional repair |
Know the Dust You Are Working Around
Before you start grinding, think about what the dust is made of. Metal dust, paint residue, rust, concrete dust, mortar dust, stone dust, and engineered-stone dust do not carry the same risks. Fine mineral dust can also enter the grinder vents and settle inside the tool where it raises heat and wears moving parts.
Concrete, brick, mortar, stone, granite, and engineered stone can contain respirable crystalline silica. The National Institute for Occupational Safety and Health explains that cutting, grinding, polishing, and drilling these materials can create particles small enough to reach deep into the lungs. That is why dusty masonry work needs dust control at the source, not just a quick cleanup afterward.
Warning: Do not treat silica-containing dust like ordinary shop dust. Use wet methods, a grinder shroud, a rated dust extractor, ventilation, and respiratory protection when required. A basic household vacuum is not a safe substitute for a proper dust-control setup.
How to Conduct Essential Pre-Use Inspections
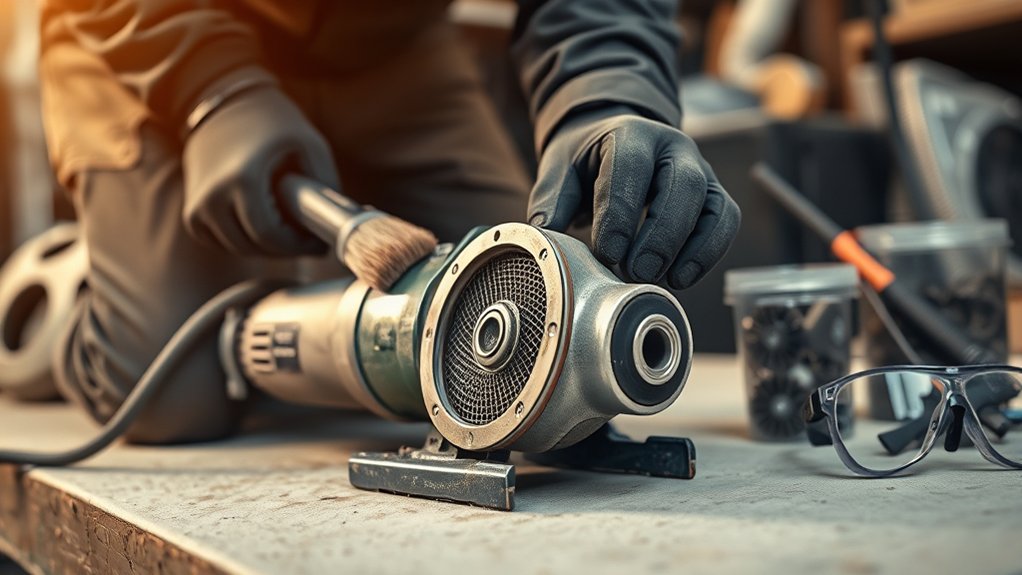
Before you use your angle grinder, inspect it while it is unplugged or with the battery removed. Start with the power cord, plug, or battery pack. Look for cuts, frays, cracked insulation, loose terminals, swelling, overheating marks, or dust packed around the battery contacts. A damaged cord or battery can cause shock, short circuits, or unreliable power delivery.
Check the tool housing for cracks, missing screws, loose covers, or damaged vents. Dust buildup around the vents is a warning sign because the motor depends on airflow to stay cool. Then test the trigger, lock-off, paddle switch, or speed control. The control should move smoothly and shut the grinder off properly. OSHA requires many hand-held grinders with wheels greater than 2 inches to have a constant-pressure switch or control, with limited lock-on designs that can be turned off in one finger motion.
Next, inspect the guard and side handle. The guard should be tight, correctly positioned, and between you and the wheel opening. OSHA’s portable grinder rules state that guards on right-angle or vertical portable grinders must limit wheel exposure and help deflect pieces of a broken wheel away from the operator. Keep the side handle installed unless the tool manual allows a specific exception for a specific operation.
Inspect the Disc, Guard, and RPM Rating
The wheel or disc matters as much as the grinder. Never use a cracked, chipped, wet, oil-soaked, warped, or badly worn wheel. Check that the disc type matches the job, the guard type, and the grinder. A cutting wheel, grinding wheel, flap disc, wire wheel, and diamond cup wheel all have different requirements.
- Match the RPM rating: The wheel’s maximum rated speed must be equal to or higher than the grinder’s no-load speed.
- Check the wheel fit: The wheel should fit the spindle or adapter correctly without forcing it.
- Inspect flanges and nuts: Contact surfaces should be clean, flat, and free of grit.
- Use the right guard: Do not remove the guard to fit an oversized accessory.
- Replace questionable wheels: If you are unsure whether a wheel is safe, do not use it.
OSHA says abrasive wheels should be closely inspected and, where applicable, sounded by the user before mounting, and the grinder speed should be checked so it does not exceed the maximum speed marked on the wheel. That one check protects both you and the grinder from wheel failure.
Pro Tip: Keep a small “clean disc only” box for new wheels and accessories. Dust, moisture, and loose hardware in a toolbox can damage abrasive wheels before they ever touch the grinder.
Daily Cleaning Routines for Angle Grinders
Regular cleaning keeps your angle grinder cooler and helps prevent dust from hardening around the spindle, guard, switch, and vents. Before each use, wipe the outside with a clean, dry rag. Use a soft brush around the guard, spindle area, side handle threads, and battery rails. If you use a damp cloth for stubborn dirt, let the grinder cool first and dry every surface before storage.
After dusty work, remove the wheel when it is safe to do so and clean dust from the guard and spindle area. Do not scrape into seals or force dirt deeper into the grinder. If the manual allows compressed air for vent cleaning, use low pressure, work outside or in a well-ventilated area, wear eye protection and a suitable respirator, and blow away from people. Never use compressed air to clean your clothes, skin, bench, or the room. NIOSH safe work guidance recommends avoiding compressed air during dusty housekeeping procedures because it can send hazardous particles back into the air.
For cordless grinders, also wipe the battery pack and charger contacts with a dry cloth. Let hot batteries cool before charging. Dust packed into a battery slot can cause poor contact, heat, and intermittent shutdowns.
Safe Operating Techniques for Angle Grinders
Good operating technique protects both the tool and the user. Use a firm two-handed grip, keep your body out of the direct line of the wheel, and let the grinder reach full speed before contacting the material. Secure the workpiece so the wheel cannot pinch. Pinching causes kickback, cracked wheels, and heavy motor strain.
Proper Grip Techniques
Hold the main handle with one hand and the side handle with the other. Keep your wrists straight and your stance balanced. Position the guard so sparks and debris are directed away from your face, body, cord, battery, hoses, and flammable materials. If dust, gloves, or sweat make the tool slippery, stop and clean the grip before continuing.
Do not stretch, twist, or grind above shoulder height unless the work is properly supported and you can keep control. Fatigue leads to poor pressure control, and poor pressure control overheats the grinder.
Consistent Pressure Application
Applying steady, moderate pressure is one of the easiest ways to extend grinder life. Too much force slows the wheel, raises motor temperature, shortens brush life on brushed tools, and can glaze or damage the disc. Too little control can make the wheel chatter and wear unevenly.
- Let the wheel work: A grinder should cut or grind at speed. If the RPM drops hard, reduce pressure.
- Listen to the motor: A smooth sound is good. A bogging, pulsing, or grinding sound means the tool is under strain.
- Use cooling breaks: During long dusty jobs, stop every few minutes and let the motor pull in clean air with no load, or shut it off and let it cool.
- Use the right accessory: A dull disc makes you push harder, which wears the grinder faster.
PPE That Protects You and Keeps the Tool Under Control
Personal protective equipment does not replace guard use, dust control, or safe technique, but it is still essential. At minimum, wear safety glasses and a face shield for grinding and cutting. Add hearing protection, work gloves suited to the task, long sleeves or flame-resistant clothing when sparks are heavy, and sturdy footwear.
For dusty concrete, mortar, stone, brick, or engineered-stone work, use a respirator only as part of a complete dust-control plan. NIOSH says employers should provide respiratory protection when dust controls and safe practices cannot limit exposures below exposure limits. Choose respiratory protection based on the material, exposure level, and applicable rules, not guesswork.
Note: Hearing protection matters too. NIOSH recommends reducing worker noise exposure below 85 dBA, and grinders can be loud enough that earplugs or earmuffs are a smart part of routine PPE.
Products Worth Considering

INTERNATIONAL STANDARDS — Meets ANSI Z87.1 (US), CE EN166 (Europe), CSA Z94.3 (Canada), UKCA (United Kindom)

SUPERIOR PROTECTION — Experience all-around face protection thanks to the curved design of this faceshield. The visor of this face guard is ANSI Z87+ certified, and up to 2x thicker for increased durability. Plus, you can comfortably wear your grinding face shield over prescription glasses.

How to Diagnose and Prevent Overheating Issues
Overheating is one of the clearest signs that dust, pressure, or worn parts are shortening your angle grinder’s life. Stop and check the tool if the motor housing becomes unusually hot, the grinder smells burnt, the speed drops under light pressure, or the vents are packed with dust.
Start with airflow. Clear the ventilation slots safely and make sure your hand position is not covering the intake. Next, check the accessory. A dull wheel, clogged flap disc, oversized cup wheel, or incorrect attachment can overload the grinder. Then review your pressure and cut depth. Several lighter passes are usually better for the tool than one forced pass.
If heat returns quickly after cleaning and light use, inspect the carbon brushes if your grinder has a brushed motor. Worn brushes, dirty brush holders, weak springs, or a damaged commutator can cause arcing, heat, and power loss. Brushless grinders do not have carbon brushes, so repeated overheating on those tools points more toward blocked airflow, electronics, bearings, battery issues, or overload.
Why Lubrication Matters for Tool Longevity
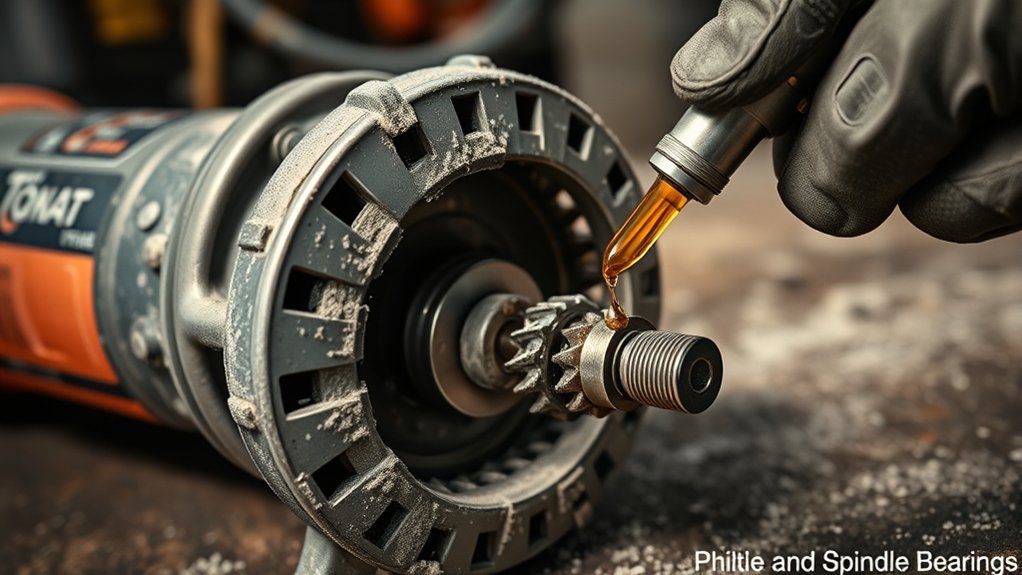
Lubrication reduces friction in the gearcase and helps the grinder run cooler. Dusty conditions make this more important because grit can contaminate grease, seals, and bearing areas. However, not every grinder is serviced the same way. Some models have sealed bearings or gearcases that should not be opened by the user.
Lubrication Frequency Guidelines
Use the owner’s manual as the main rule for lubrication. If the manual gives a service interval, follow it. If the grinder is used daily in dust, inspect it more often for noise, heat, vibration, grease leakage, or rough gear feel. Do not assume a universal “every 100 hours” rule fits every grinder.
- Check the manual first: Use the grease type and service method specified by the manufacturer.
- Watch for symptoms: Heat, gear noise, vibration, and rough spin can point to lubrication or bearing problems.
- Avoid over-lubrication: Too much grease can churn, heat up, leak, or collect abrasive dust.
Choosing Correct Lubricant Type
Use only the lubricant type recommended for your grinder. General-purpose grease may not handle the heat, speed, or gear load inside an angle grinder. The wrong lubricant can separate, harden, leak, or fail to protect the gears.
If the gearcase is sealed, do not pry it open just to add grease. That can damage the seal and let more dust in. If the grinder is expensive or used professionally, schedule service before the tool becomes noisy or hot enough to damage the armature, bearings, or electronics.
Benefits of Proper Lubrication
Proper lubrication helps the grinder run smoother, cooler, and quieter. It also reduces gear wear and lowers the load on the motor. In dusty conditions, good lubrication works best with clean vents, correct pressure, dust extraction, and timely part replacement.
Identifying and Replacing Worn Parts in Angle Grinders
Inspect your angle grinder regularly so worn parts do not damage more expensive parts. Start with the carbon brushes if your model has them. Replace brushes when they reach the wear limit listed in the manual, when the grinder loses power, or when you see heavy sparking through the vents. Always replace brushes as a set if the manual calls for it.
Listen for bearing wear. Grinding, squealing, rumbling, or clicking sounds can mean dust has reached the bearings. Vibration can also point to a damaged wheel, dirty flange, bent spindle, worn bearing, or unbalanced accessory. Stop using the grinder until you find the cause.
Check the guard, flange, lock nut, side handle, switch boot, cord strain relief, and battery latch. Small parts matter in dusty work because loose or damaged parts let debris in, reduce control, or make the grinder unsafe.
Maintenance Schedule for Dusty Grinding
A simple schedule prevents most dust-related grinder problems.
- Before each use: Check the cord or battery, guard, side handle, switch, wheel condition, wheel rating, flange, lock nut, and vents.
- During use: Watch for heat, loss of speed, dust clouds, vibration, unusual noise, or a burning smell.
- After each use: Unplug the grinder or remove the battery, clean the exterior, brush dust from the guard and spindle area, and empty or service the dust extractor as needed.
- Weekly in dusty work: Inspect vents, cord, plug, battery rails, shroud seal, guard adjustment, and accessory storage.
- Monthly or heavy-use interval: Check brush wear if applicable, listen for bearings, inspect the gearcase for leaks, and review the manual’s service requirements.
- Immediately: Stop using the tool if it overheats repeatedly, trips breakers, sparks heavily, smokes, vibrates badly, or runs after the switch is released.
How to Store Your Angle Grinder Right
Proper storage keeps dust and moisture from damaging the grinder between jobs. Unplug the tool or remove the battery before storage. Let the grinder cool, remove heavy dust, and store it in a dry place where it will not be crushed by other tools.
The best storage habit is simple: put the grinder away clean, dry, cool, unplugged, and protected from loose abrasive dust.
- Choose a dry place: Avoid damp floors, open job boxes in the rain, and areas with heavy airborne dust.
- Use a case or bag: A case protects vents, switches, battery rails, and the spindle from grit and impact.
- Protect accessories: Store wheels flat and dry so they are not chipped, bent, or contaminated.
- Keep batteries separate: Store cordless batteries away from metal filings and direct heat.
Do not store the grinder with a wheel installed if the tool will be transported loosely. The wheel can crack or chip in a crowded toolbox, and that damage may not be obvious until the next use.
Utilizing Dust Extraction Systems for Cleaner Operation
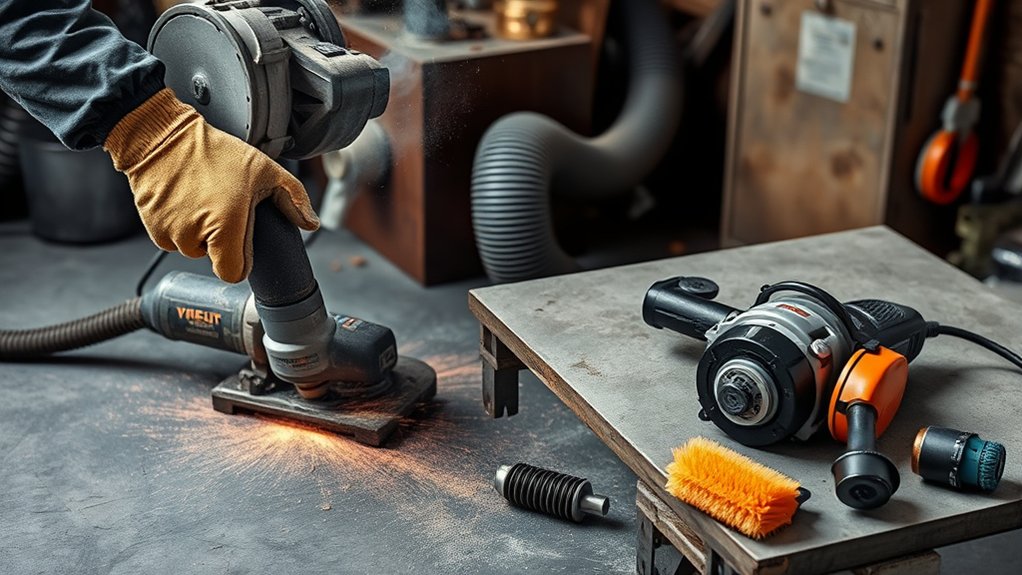
A dust extraction system protects your lungs, keeps the work area cleaner, and helps the grinder breathe cooler air. For general metal grinding, ventilation and cleanup may be enough for small jobs, but concrete, mortar, brick, stone, and engineered stone need stronger controls.
For silica-containing materials, the OSHA respirable crystalline silica standard lists specific controls for handheld grinders. For certain handheld grinder tasks, OSHA Table 1 calls for a commercially available shroud and dust collection system, operation according to the manufacturer’s instructions, 25 cfm or greater of airflow per inch of wheel diameter, a filter with 99% or greater efficiency, and a cyclonic pre-separator or filter-cleaning mechanism.
A good dust setup includes the right shroud, a tight shroud seal, a hose that does not restrict movement, enough airflow, clean filters, and a vacuum or extractor designed for fine dust. If the filter clogs, dust control drops and the grinder may run hotter because abrasive dust stays near the tool.
Pro Tip: Empty the extractor before it is packed full. A half-clogged filter or overfilled dust bin can make a good shroud perform like a bad one.
Products Worth Considering
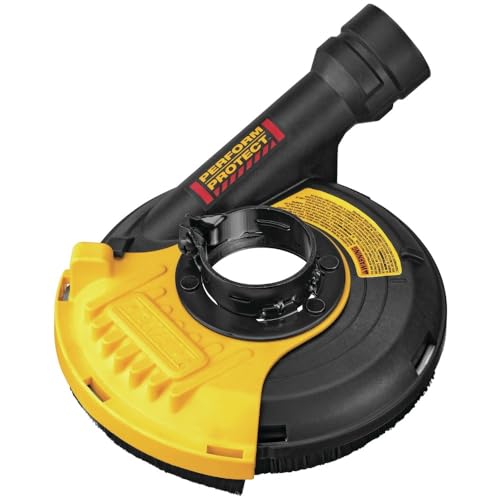
Designed to contain grinding dust

Angle grinder dust extraction suitable for the front cover of most 48-51mm angle grinders. Can be installed on most 5"/4.5" angle grinders.The thickness of Diamond Grinding Disc should not more than 25mm or less than 15mm.

Adjustable shoe provides easy depth-of-cut adjustment
What Not to Do in Dusty Conditions
Some habits shorten grinder life fast. Avoid these mistakes:
- Do not remove the guard to fit a larger disc or reach a tight area.
- Do not dry sweep silica dust or blow dust around the shop with compressed air.
- Do not overload the motor by forcing a dull wheel through hard material.
- Do not cover the vents with your hand, glove, tape, or dust shroud parts.
- Do not use damaged wheels even for “one quick cut.”
- Do not ignore a burning smell because it often means heat, brush trouble, or blocked airflow.
- Do not store wheels loose in a toolbox with heavy tools and metal hardware.
When to Seek Professional Help for Angle Grinder Repairs
You can handle normal cleaning, disc changes, guard checks, and some brush replacements if your manual allows it. Seek professional repair when the symptoms point to internal damage or electrical risk.
- Unusual noises: Grinding, clicking, scraping, or rumbling can mean bearing, spindle, or gear damage.
- Repeated overheating: If the motor housing gets hot quickly after cleaning and light use, internal parts may be failing.
- Burning smell or smoke: Stop immediately and unplug the grinder or remove the battery.
- Visible damage: Cracks in the housing, guard, cord, battery mount, or switch area need repair before use.
- Heavy sparking: Brushed grinders may spark more when brushes are worn, but heavy or uneven sparking needs inspection.
- Switch problems: If the tool starts unpredictably, fails to shut off, or has a sticky trigger, do not use it.
Ignoring these signs can turn a simple repair into a motor, gearcase, or safety failure. If the grinder is low-cost and heavily worn, replacement may be safer and more practical than repair.
Frequently Asked Questions
How do you stop dust from an angle grinder?
Use dust control at the source. For dusty grinding, use the right guard or dust shroud, connect a suitable extractor, keep filters clean, and use wet methods where allowed. For concrete, mortar, brick, stone, or engineered stone, follow OSHA/NIOSH silica guidance and use respiratory protection when controls cannot keep exposure low enough.
What are 10 safety precautions before using a grinding machine?
Unplug the grinder or remove the battery before inspection. Check the cord or battery, switch, guard, side handle, wheel condition, wheel RPM rating, flange, lock nut, workpiece support, dust-control setup, and PPE. Also clear flammables from the spark path and make sure the wheel is correct for the material.
How do you maintain an angle grinder?
Maintain an angle grinder by inspecting it before use, cleaning dust from the exterior and vents after use, replacing damaged wheels, checking carbon brushes if the motor is brushed, following the manual for lubrication, keeping accessories dry, and using dust extraction when the job creates fine dust.
What is the lifespan of an angle grinder?
An angle grinder’s lifespan depends on tool quality, workload, dust exposure, cooling, cleaning, and repair history. A lightly used grinder may last for years, while a grinder used daily in masonry or metal dust can wear out much faster if the vents, bearings, brushes, and gears are neglected.
Can I clean an angle grinder with compressed air?
Only use compressed air if the owner’s manual allows it, and do it carefully. Use low pressure, wear eye and respiratory protection, work away from other people, and avoid blowing dust around the workspace. Do not use compressed air to clean clothes, skin, benches, or silica dust piles.
Why does my angle grinder overheat in dusty work?
Dust can block vents, coat internal parts, clog accessories, and make the motor work harder. Overheating can also come from too much pressure, a dull disc, a wrong accessory, worn brushes, failing bearings, or a clogged dust shroud. Stop, clean the tool safely, reduce pressure, and inspect the accessory before continuing.
Conclusion
Your angle grinder will last longer in dusty conditions when you keep dust out, heat down, and worn parts under control. Inspect it before use, match the wheel to the grinder, keep the guard and side handle in place, control silica and fine dust at the source, clean the tool safely after use, and store it dry. A few minutes of maintenance after each dusty job can prevent overheated motors, rough bearings, switch failure, and unsafe wheel problems.
Sources
- OSHA 29 CFR 1926.1153, Respirable Crystalline Silica: backs silica exposure limits and handheld grinder dust-control requirements.
- OSHA 29 CFR 1910.243, Guarding of Portable Powered Tools: backs portable grinder guard, switch, wheel inspection, and speed-matching guidance.
- OSHA 29 CFR 1910.215, Abrasive Wheel Machinery: backs abrasive wheel guarding and machine safety principles.
- CDC/NIOSH, Silica and Worker Health: backs silica health risks and materials that can generate respirable crystalline silica.
- CDC/NIOSH, Safe Work Practices for Silica: backs layered controls, wet methods, HEPA filtration, ventilation, and avoiding dry sweeping or compressed-air housekeeping.
- CDC/NIOSH, Provide Hearing Protection: backs hearing-protection guidance for noisy work.