What Do You Need for a Plasma Cutter? Power, Air, PPE & Accessories
All you need for a plasma cutter—from power to PPE—could be your key to precision; curious about what else you might be missing?
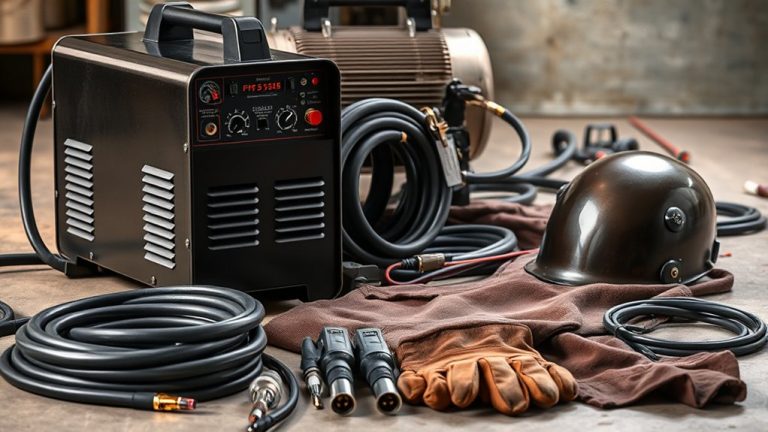
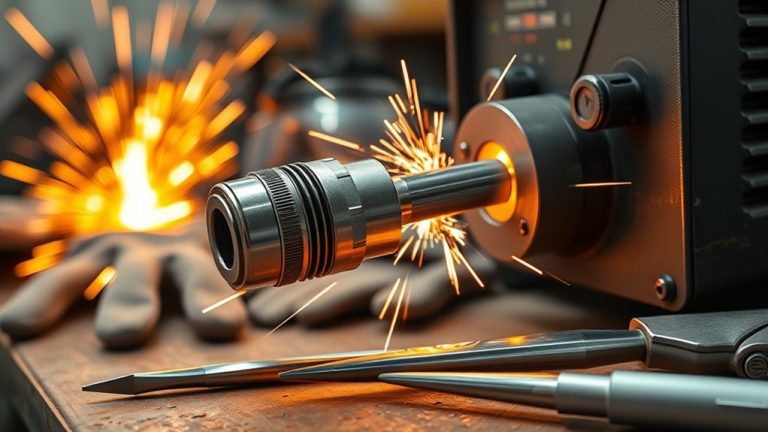
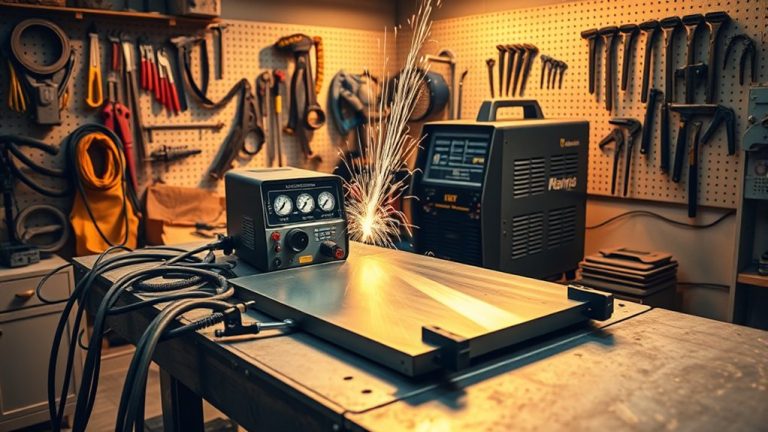
Start with safety. Verify input voltage/phase, breaker size, cord/plug type, and a grounded outlet on a dedicated circuit. Assemble the torch, install fresh consumables, and connect the work lead to clean metal. Plumb the air supply with regulator, moisture/oil filter (and dryer if humid); size the compressor by CFM at pressure and set cutting PSI with airflow ON. Leak-test fittings (soapy water), then purge lines. Power up, confirm post-flow and pilot/contact-start operation, and set amperage for your test thickness. Check torch standoff with a drag shield or gauge, square the torch, and make short test cuts to fine-tune speed and height. For CNC tables, add THC calibration, kerf compensation, and pierce height/delay.
All you need for a plasma cutter—from power to PPE—could be your key to precision; curious about what else you might be missing?
How feasible is a plasma cutter attachment for a TIG welder, and are the risks worth it? Discover potential pitfalls and alternatives.
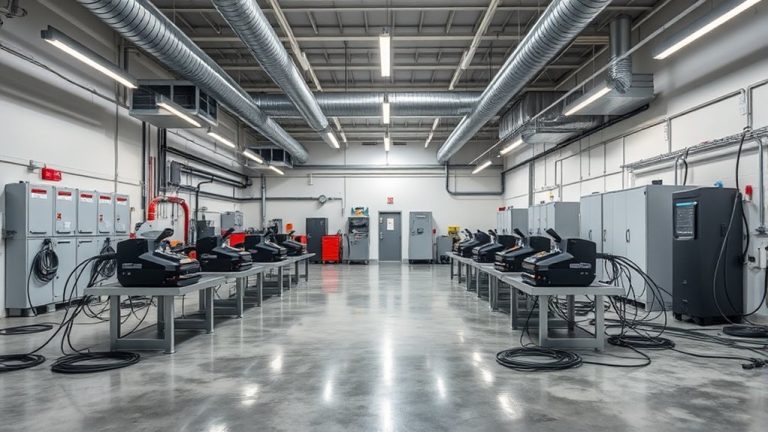
Wondering how to optimize your plasma cutter shop for safety and efficiency? Discover essential layout, ventilation, electrical, and air supply tips.
Discover the secrets to efficiently connecting a plasma cutter by mastering power, ground, air, and torch leads for optimal performance—ready to take your setup to the next level?
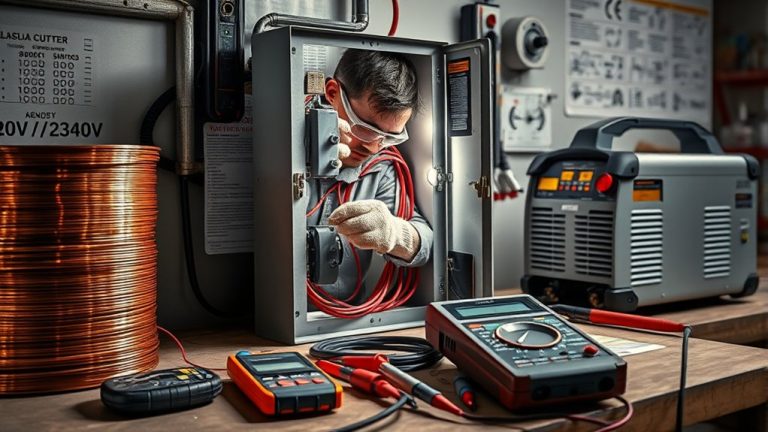
Learn how to wire a plasma cutter for 120V/240V circuits with crucial breaker setups and safety tips. Discover the secrets to flawless connections.
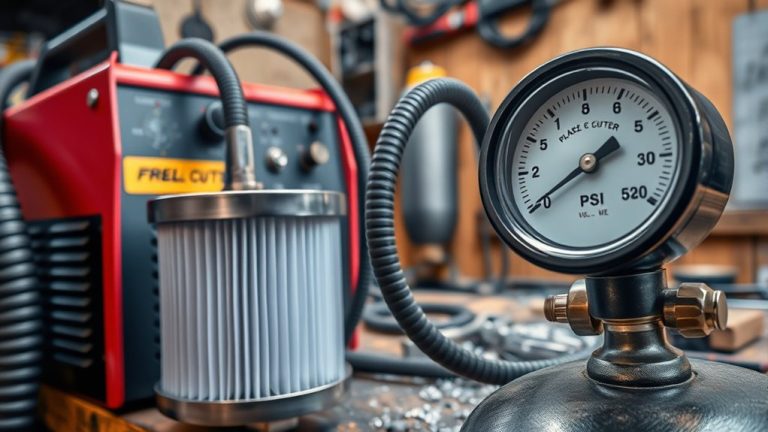
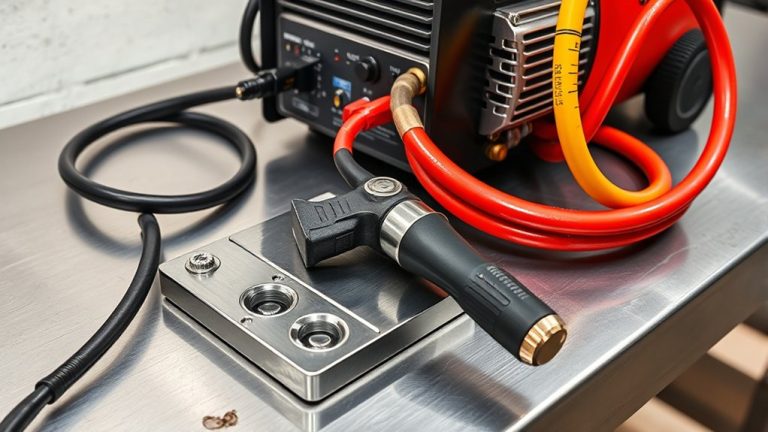
Join us as we explore the essentials of connecting a plasma cutter to an air compressor, ensuring you achieve precise and efficient cuts.
Join us as we delve into the essentials of setting up a plasma cutter for flawless cuts—discover expert tips to get started seamlessly.