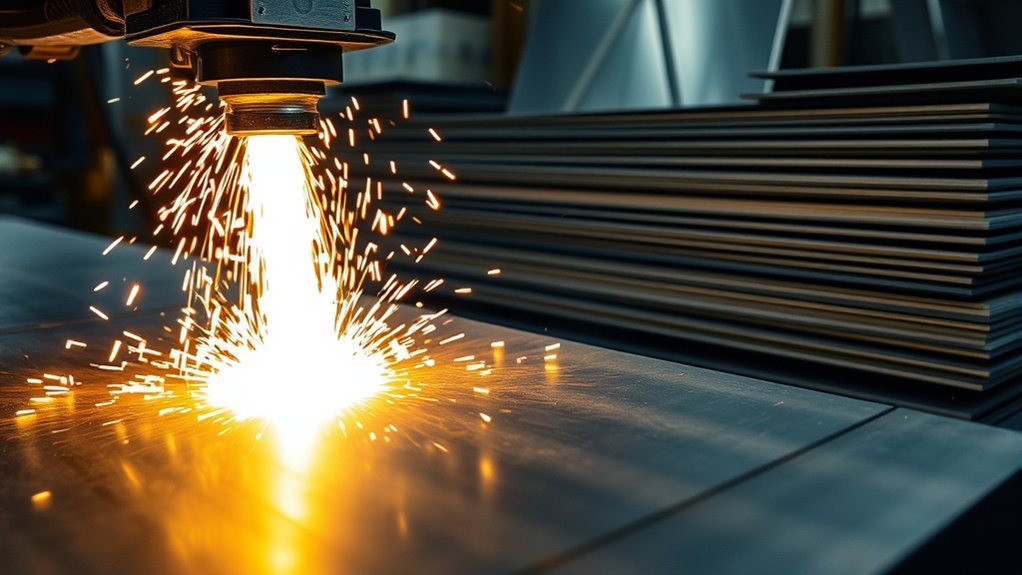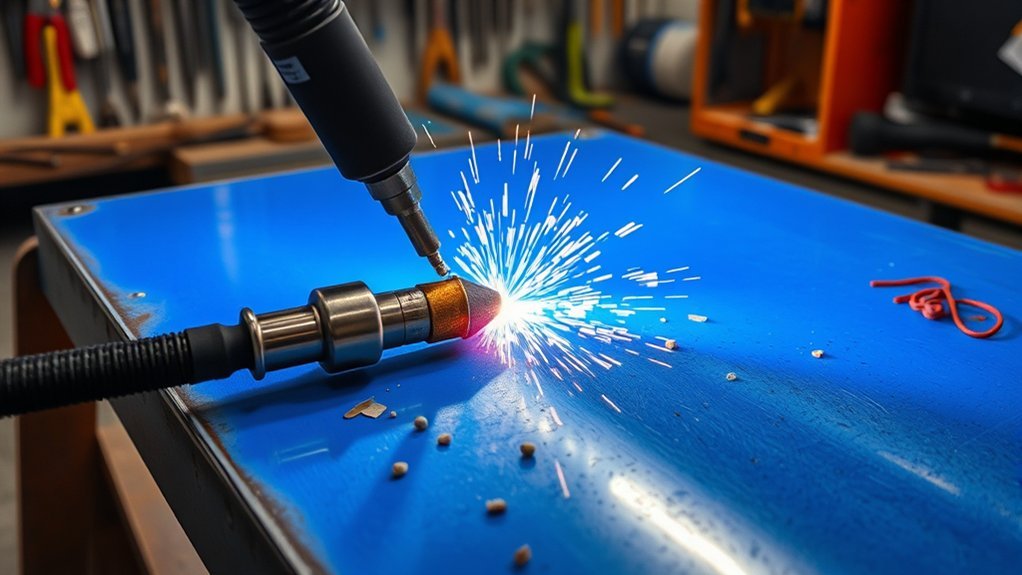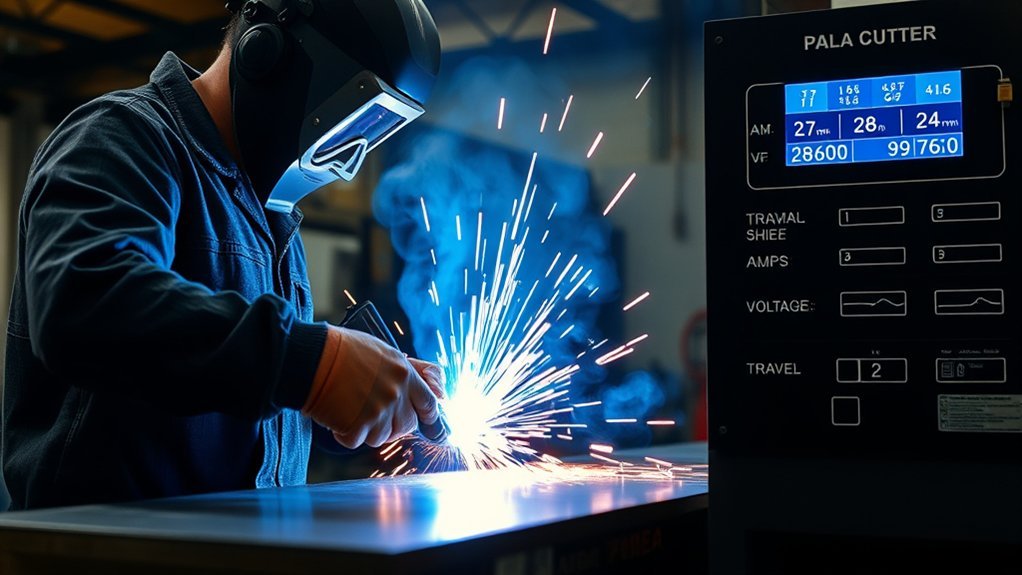
A plasma cutter’s maximum cut thickness is not set by amperage alone. Output current matters, but so do the torch and consumables, travel speed, torch height, air supply, input power, duty cycle, and the metal being cut. The reliable limit is the manufacturer’s cut chart for your exact machine—not a universal amps-per-inch formula.
Quick Answer
Higher output amperage generally lets a plasma cutter cut thicker metal, but there is no universal amp-to-thickness formula. Use the manufacturer’s recommended, pierce, and severance ratings for your exact machine and consumables. Set amperage from the cut chart, then tune travel speed and torch height with a scrap test.
Key Takeaways
- Higher output amperage usually increases cutting capacity, but machines with the same amp rating can have different thickness limits.
- Compare recommended or rated cut capacity—not only the much slower maximum severance number.
- On CNC systems, arc voltage is mainly used to maintain torch height; it is not a general “more voltage equals more cutting power” control.
- Travel speed, torch standoff, clean dry air, correct consumables, and adequate input power can decide whether a cut penetrates cleanly.
- Make a short test cut on matching scrap and change one setting at a time.
At a Glance
| Time Required | About 5–10 minutes to check the chart, set up the machine, and make a test cut |
| Difficulty | Beginner to intermediate; follow the operator manual and cut chart |
| Tools Needed | Plasma cutter, correct consumables, suitable air supply, grounded work clamp, matching scrap metal, measuring tool, and required PPE |
| Cost | Usually no added cost beyond scrap, compressed air, and replacement consumables as needed |
How Plasma Cutter Amperage Affects Cutting Thickness
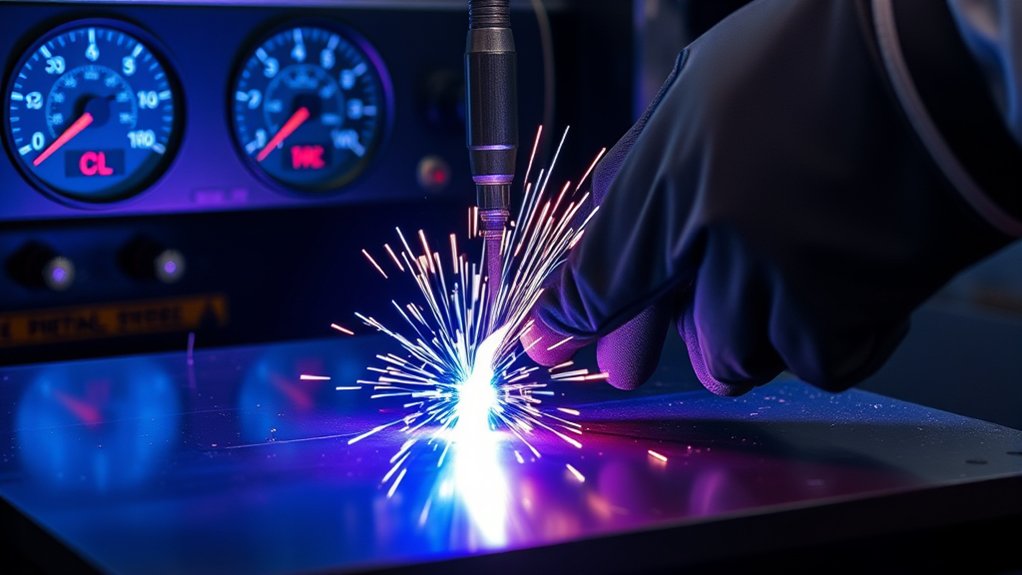
Output amperage controls how much cutting current the power supply can deliver through the correct torch and nozzle. More current generally supports a larger, more energetic plasma jet, so higher-output machines can usually cut thicker metal or cut the same thickness faster.
That does not create a universal conversion such as “one amp cuts a fixed amount of steel.” Torch efficiency, nozzle design, gas flow, input power, duty cycle, material, and the manufacturer’s test standard all change the result. Two 45-amp machines can therefore have different rated capacities.
Use amperage to choose the machine class, but use the exact model’s cut chart to choose the thickness, speed, torch height, and consumables.
The following specifications show why amperage is only a starting point. These are manufacturer examples for mild steel, not a substitute for your machine’s chart.
| Example machine | Maximum output | Recommended or rated mild-steel cut | Pierce capacity | Severance capacity |
|---|---|---|---|---|
| Miller Spectrum 375 X-TREME | 30 A | 3/8 in. at about 15 ipm | Not stated on the product page | Not stated on the product page |
| Hypertherm Powermax45 SYNC | 45 A | 5/8 in. at 20 ipm | 1/2 in. | 1-1/8 in. at 5 ipm |
| Hypertherm Powermax65 SYNC | 65 A | 3/4 in. at 20 ipm; 1 in. at 10 ipm | 5/8 in. | 1-1/4 in. at 5 ipm |
| Hypertherm Powermax105 SYNC | 105 A | 1-1/4 in. at 20 ipm; 1-1/2 in. at 10 ipm | 7/8 in. | 2 in. at 5 ipm |
Note: Capacity labels and test speeds vary by manufacturer. Compare the material, thickness, speed, pierce method, input supply, and duty cycle—not just the largest number on the box.
For thin sheet, do not automatically run the machine at full output. Use the lower-amperage consumable or fine-cut setup listed by the manufacturer. Excessive current for the nozzle and material can widen the kerf, round the top edge, add dross, and shorten consumable life.
Why Voltage Matters for Plasma Cutting Performance
“Voltage” can mean three different things in plasma cutting, and mixing them together leads to bad settings.
- Input voltage: The AC power supplied by the wall outlet, generator, or shop circuit. It must match the machine and provide enough current. An undersized circuit or voltage drop can reduce available output, cause breaker trips, or make the arc unstable.
- Rated output or open-circuit voltage: A power-supply specification used to start and sustain the plasma arc. It is normally managed by the machine rather than adjusted as a routine cutting setting.
- Arc voltage on a CNC table: A measurement that changes with arc length. A torch height control compares measured arc voltage with the cut-chart value and raises or lowers the torch to maintain the intended standoff.
On a CNC system, increasing the arc-voltage setpoint normally makes the controller seek a longer arc and a higher torch position; decreasing it seeks a shorter arc and a lower position. The exact response depends on the control system. Follow the cut chart and controller manual because worn consumables, speed changes, and plate movement can change the measured voltage.
For handheld cutting, the operator usually does not “turn up voltage” to cut faster. You control output amperage, torch standoff or drag technique, torch angle, and travel speed while the power supply regulates the arc.
Warning: Plasma cutters use hazardous electrical energy. Use the input circuit, grounding method, extension-cord size, and generator capacity specified in the operator manual. Disconnect input power before inspecting or changing torch parts.
How to Set Travel Speed for Cleaner Plasma Cuts
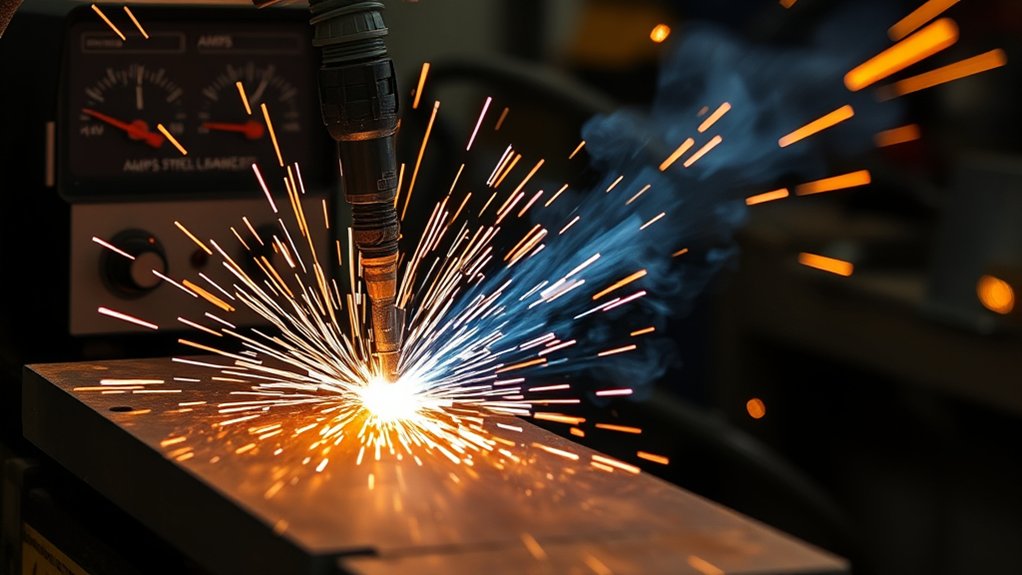
Travel speed controls how long the plasma jet acts on each part of the cut. Start with the speed in the manufacturer’s chart, then watch the spark stream and inspect the cut edge.
- Too fast: The arc lags behind the torch, sparks trail sharply backward or blow upward, the bottom may not separate, and a small hard bead of high-speed dross can cling to the lower edge.
- Too slow: The kerf grows wider, heat input rises, thin metal can distort, and heavy low-speed dross can form. The arc may also wash or gouge the bottom edge.
- Near the correct speed: Sparks pass through the plate, the cut stays continuous, and the edge falls within the machine’s minimum-dross window.
Thicker plate generally needs a slower speed than thin sheet when the same machine and process are used. However, do not slow down indefinitely to force a small machine through oversized plate. Once you reach severance territory, speed and edge quality drop sharply and consumable wear rises.
Pro Tip: Make three short cuts on matching scrap at the chart speed, slightly faster, and slightly slower. Choose the cleanest edge, then record that setting for the same material, thickness, consumables, and air supply.
Keep your hand or machine motion smooth. Pauses, sudden turns, and speed changes add heat and usually leave a larger divot or dross deposit. On corners, reduce speed only as much as the cut chart or CNC process requires.
How to Balance Amperage, Voltage, and Travel Speed by Material
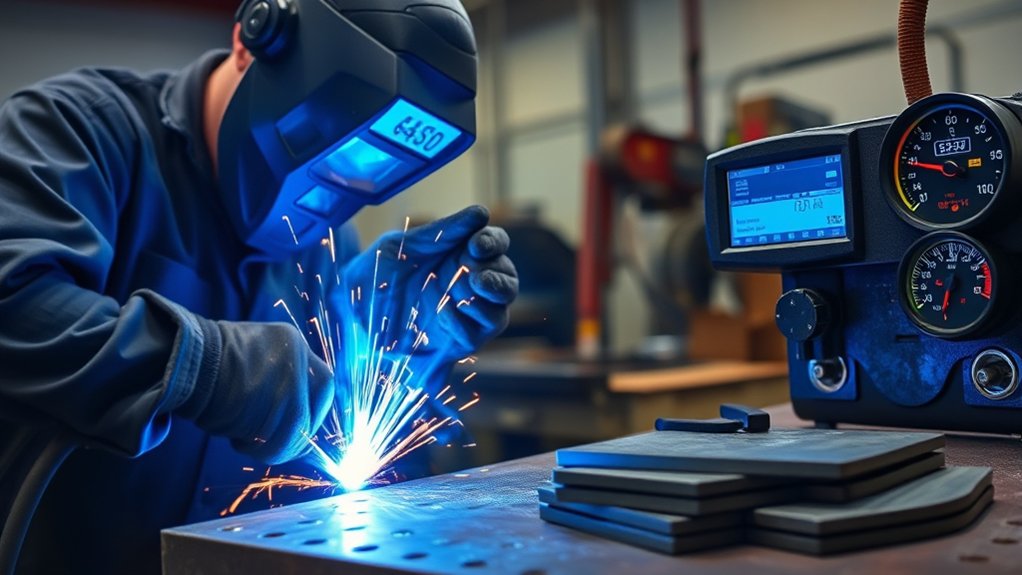
Plasma cutting works on electrically conductive metals, including mild steel, stainless steel, aluminum, copper, and brass. The same thickness does not always use the same speed or produce the same edge because thermal conductivity, alloy, surface condition, gas selection, and torch design differ.
| Material | Best starting point | What to watch |
|---|---|---|
| Mild steel | Use the mild-steel cut chart for the exact thickness and consumable. | Most handheld capacity ratings are stated for mild steel, but rust, mill scale, and plate condition can still affect the cut. |
| Stainless steel | Use stainless-specific chart values and the listed gas or air process. | Expect different edge color and dross behavior than mild steel. Provide effective fume control. |
| Aluminum | Use aluminum-specific settings and keep travel smooth. | High thermal conductivity and a low melting point can make the edge react differently; avoid copying mild-steel speed blindly. |
| Copper and brass | Confirm that the manufacturer provides a suitable process, then test on scrap. | Very high thermal conductivity can reduce practical performance and demand more careful speed control. |
| Painted, plated, or galvanized metal | Identify the coating and follow its safety data before heating or cutting. | Coatings can create hazardous fumes and interfere with the work-clamp connection. Remove only as directed and use proper ventilation and exposure controls. |
Do not assume a machine’s advertised mild-steel capacity applies unchanged to every conductive metal. Use the chart for the actual alloy and gas process. If no chart exists for the material, contact the manufacturer rather than inventing a setting.
Warning: Plasma cutting produces intense light, hot metal, sparks, noise, and metal fumes. Use shaded eye and face protection, flame-resistant clothing, gloves, hearing protection, and effective ventilation. Stainless, galvanized, painted, lead-, cadmium-, or other coated metals can require stricter controls. Never cut a sealed container or one that held a flammable or toxic substance unless it has been properly cleaned, vented, tested, and approved for hot work.
How Thickness Ratings Differ Between Rated, Pierce, and Severance Cuts
Plasma cutter specifications often list several thicknesses. They are not interchangeable.
- Recommended or rated cut capacity: The thickness the manufacturer expects the machine to cut at a stated productive speed with acceptable edge quality. This is the most useful number for regular work.
- Pierce capacity: The maximum thickness the torch can start in the middle of the plate. Piercing throws molten metal back toward the torch, so this rating is often lower than edge-start capacity.
- Maximum or severance capacity: The thickest material the machine can separate under specified conditions. Speed is slow, bevel and dross are greater, and cleanup is usually required.
- Edge-start capacity: A cut begun from the plate edge instead of piercing through the top. An edge start can often handle more thickness than a center pierce, but it still must stay within the manufacturer’s limit.
Choose a machine whose recommended capacity comfortably covers the thickness you cut most often. If your normal work is at the machine’s severance limit, productivity, edge quality, and consumable life will suffer.
What Else Limits Maximum Cut Thickness?
Even when the amperage setting looks correct, the following limits can stop the arc from cutting through cleanly.
Input Power and Circuit Capacity
Confirm the required input voltage, phase, breaker, wiring, extension-cord size, and generator output. Some dual-voltage machines provide less cutting capacity on a lower-current 120-volt circuit even though the front panel can display the same control range.
Duty Cycle
Duty cycle states how long the machine can cut within a 10-minute period at a specified output and ambient temperature. For example, a 60% duty cycle at the stated amperage means six minutes of cutting followed by four minutes of cooling. The rating changes with output and supply conditions, so use the nameplate or manual.
Air Pressure, Flow, and Quality
Pressure alone is not enough. The compressor must deliver the required flow while the torch is cutting, and the air must be clean, dry, and oil-free. Moisture, oil, low flow, or a restricted filter can destabilize the arc, damage components, shorten consumable life, and reduce cut quality. Use the exact inlet pressure and flow in the manual; do not rely on a generic psi setting.
Torch Height, Consumables, and Work Connection
Use the nozzle, electrode, shield, and retaining parts listed for the chosen amperage and process. Keep the torch at the specified cut height or use the approved drag shield. Attach the work clamp to clean bare metal, preferably on the workpiece and reasonably close to the cut. A worn nozzle, wrong tip, high standoff, or poor work connection can make a capable machine behave like an undersized one.
Note: Never exceed the listed amperage for a nozzle or consumable set. Higher current through the wrong orifice can damage parts and worsen cut quality instead of increasing usable thickness.
Tips for Clean Plasma Cuts Across Different Metal Thicknesses
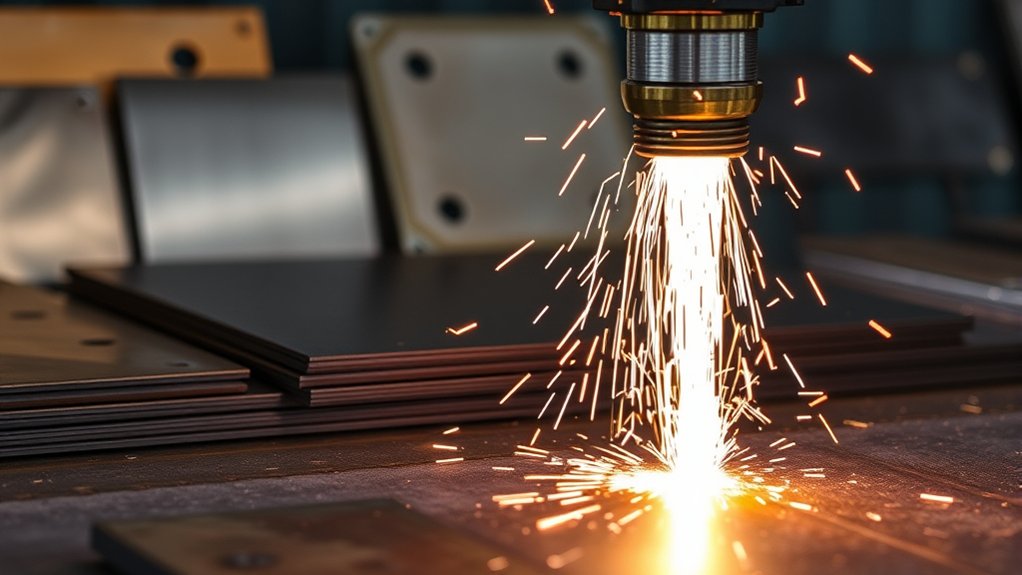
Use this setup sequence whenever you change metal, thickness, consumables, or power source.
- Identify the material and measure its thickness. Do not estimate plate thickness by sight.
- Open the exact cut chart. Select the material, thickness, torch, process, and consumable set.
- Confirm the power and air supply. Check input circuit capacity, compressor flow, pressure, filters, and drainage.
- Install and inspect the correct consumables. Replace a nozzle with an enlarged, nicked, or out-of-round orifice and an electrode that has reached its wear limit.
- Set the chart values. Enter the listed amperage, cut speed, pierce height, pierce delay, cut height, and arc voltage where applicable.
- Connect the work clamp to clean metal. Remove enough rust, paint, or scale to make a reliable electrical connection.
- Make a short test cut on matching scrap. Watch the sparks and inspect penetration, bevel, kerf, lag lines, and dross.
- Adjust one variable at a time. Begin with speed and torch height unless the chart or fault code points to another cause. Record the final settings.
Pro Tip: For a long handheld cut, trace the full path with the trigger released before starting. This confirms that your lead, body position, guide, and reach allow one smooth pass without stopping.
Products Worth Considering

[Achieve Precise Cuts] PT31 Plasma Cutting Consumables – Your Essential Tool for Efficient Cutting! Whether you're working with sheet metal, steel, or any other material, superior cutting performance ensure clean, accurate, and smooth cuts.

⚡【Precision Compatibility】 Exact fit for YESWELDER CUT 55DS Pro & 65DS (2019-2024 models). Replaces OEM# IPT40-55DS/65DS.

Fit for: SG-55 AG-60 plasma cutter torch head.
Troubleshooting Poor Plasma Cuts
| Symptom | Common causes | First checks |
|---|---|---|
| Arc does not cut through | Speed too high, amperage too low, torch too high, inadequate air flow, worn consumables, weak input supply, or material above capacity | Verify the cut chart, slow slightly, check standoff and air under flow, inspect parts, and confirm rated capacity |
| Small hard bead on the bottom | High-speed dross from excessive speed, high standoff, low amperage for the setup, or a worn nozzle | Inspect the nozzle, reduce speed in small steps, and return height and amperage to chart values |
| Heavy, easier-to-remove dross | Low-speed dross from moving too slowly, excessive amperage, or too little standoff | Increase speed slightly and verify the correct consumable and cut height |
| Wide kerf or rounded top edge | Excessive current, high standoff, slow speed, or an eroded nozzle | Use the listed amperage and nozzle, correct height, and replace worn parts |
| Bevel is worse on one side | Torch not square, worn nozzle, wrong cut direction, or inconsistent handheld angle | Square the torch, check the nozzle, follow the recommended cut direction, and steady the torch |
| Arc stops or machine overheats | Duty-cycle limit, low air pressure, blocked filter, input-voltage drop, loose work clamp, or a machine fault | Read the fault display, allow cooling, verify air and power, and inspect the work connection |
If the basic checks do not fix the problem, stop and use the model’s troubleshooting guide. Do not open the power supply unless you are qualified and the manufacturer’s service procedure allows it.
Products Worth Considering

Fit for : AG-60 AG-60P SG-55 WSD-60 Plasma cutter torch head

PACKAGE INCLUDED: 5 Pcs Cup-15 Pcs Electrodes-10 Pcs Ring-30 Pcs Tip(Standard)
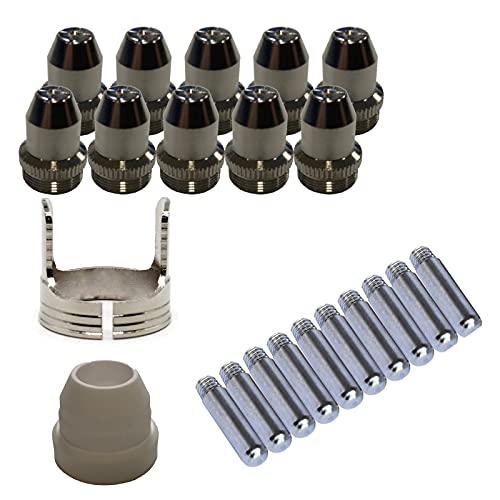
Only Compatible with BROWN Color Lotos LTP5800D , LTP5000D, LTPDC2000D.
Frequently Asked Questions
How do environmental factors affect plasma cutting performance?
Wind can disturb the gas stream and blow sparks unpredictably. Humidity can add water to compressed-air lines, while extreme temperature or altitude may change machine or compressor performance. Keep the cutter within its rated environment, protect the arc from strong wind, and maintain clean, dry air.
What safety precautions are essential when using a plasma cutter?
Read the operator manual, use the required shaded eye and face protection, flame-resistant clothing, gloves, hearing protection, and ventilation. Remove or shield combustibles, keep suitable fire-control equipment ready, protect nearby people from the arc, and never cut an unapproved sealed or previously used container.
How does plasma cutter maintenance affect cutting quality?
Worn electrodes and nozzles change the arc shape and can increase bevel, dross, and kerf width. Drain the compressor, maintain filters, inspect the torch and leads, keep vents clear, and replace consumables at the limits stated in the manual.
Can plasma cutters be used on non-metal materials?
A standard transferred-arc plasma cutter needs an electrically conductive workpiece. It is intended for conductive metals, not wood, plastic, glass, concrete, or similar nonconductive materials.
What are common troubleshooting steps for poor plasma cutting results?
Confirm the correct chart and consumables, check the work clamp, inspect the nozzle and electrode, verify air pressure and flow while cutting, check torch height, and compare travel speed with the chart. Change one variable at a time so you know what fixed the problem.
Why does my plasma cutter leave dross on the bottom edge?
A small hard bead usually points to excessive speed, high standoff, low effective amperage, or a worn nozzle. Heavy dross that removes more easily often points to slow travel, too much current for the setup, or low standoff. Return to the cut chart and adjust in small steps.
How do I know whether my plasma cutter can cut a specific thickness?
Check the recommended or rated cut, pierce, and severance capacities for your exact model, input supply, torch, consumables, and material. Then confirm the cut-chart speed and make a test cut on matching scrap before cutting the final part.
How many amps do I need to cut 1/4-inch steel?
There is no safe universal amp number. Many modern handheld machines can cut 1/4-inch mild steel, but the required output, speed, nozzle, and input circuit vary by model. Use the manufacturer’s 1/4-inch mild-steel cut-chart row rather than a generic formula.
Should I use full amperage on thin sheet metal?
Not unless the cut chart calls for it. Thin sheet often cuts better with a lower-amperage or fine-cut consumable and a faster, steady pass. Full current through an oversized nozzle can create a wider kerf, more heat, and poorer detail.
Can a plasma cutter cut thicker metal from the edge than it can pierce?
Often, yes. Starting from the edge avoids blowing molten metal back toward the torch during a center pierce. Follow the machine’s edge-start or maximum-cut limit, because edge starting does not turn a severance rating into a productive cut rating.
Conclusion
Higher amperage usually increases plasma cutting thickness, but amperage alone does not tell you what a machine can cut cleanly. Compare the recommended, pierce, and severance ratings for the exact model, then use its cut chart for the material, consumables, speed, height, and air requirements.
For the cleanest result, give the machine adequate input power and clean, dry air, connect the work clamp to bare metal, and test on matching scrap. Adjust one variable at a time. If routine work sits near the severance limit, move to a machine with more recommended capacity instead of forcing a slow, rough cut.
Sources
- Hypertherm Powermax45 SYNC, Powermax65 SYNC, and Powermax105 SYNC specifications — manufacturer cut, pierce, severance, speed, air, and duty-cycle data.
- Miller Spectrum 375 X-TREME specifications and ESAB manual plasma cutter buying guide — 30-amp capacity, input power, cut-rating definitions, and duty-cycle guidance.
- Hypertherm: Torch height control for plasma cutting — how CNC systems use arc voltage to maintain standoff.
- Hypertherm: Troubleshooting excessive dross and air filtration guidance — speed, height, amperage, nozzle, and air-quality effects.
- OSHA 29 CFR 1910.252 — fire prevention, eye protection, ventilation, and hazardous-metal requirements for welding and cutting.
- NIOSH Engineering Controls Database: Welding fumes — fume hazards and exposure-control context for stainless and coated metals.