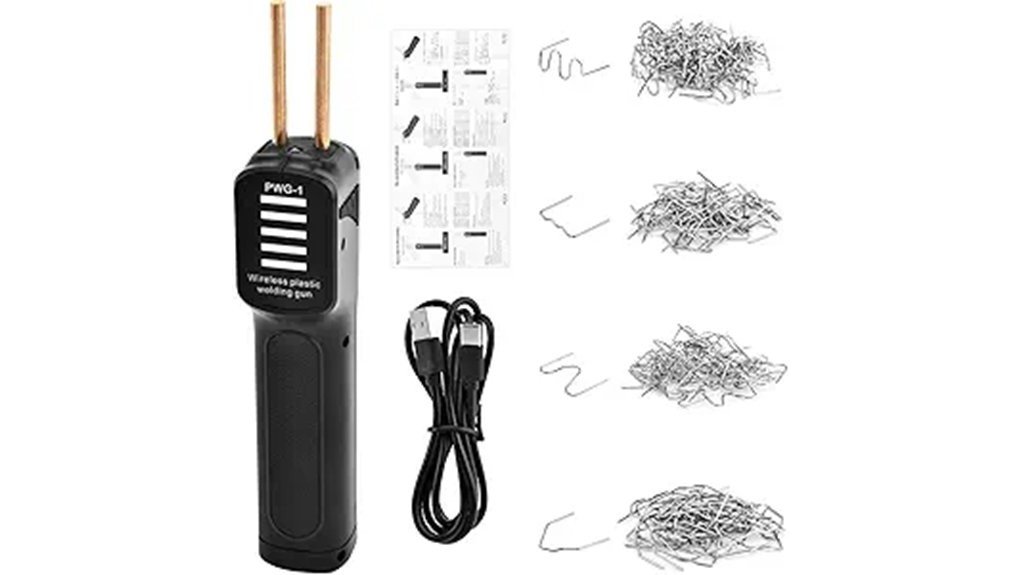
This USB-C cordless plastic welder is a handheld hot-staple repair tool that, per the listing, heats in 3 to 5 seconds, charges over USB-C and comes with 200 pins. It suits small plastic repairs such as cracked trim, bins and toys when you want to recharge from a common cable. It is not a heavy-duty or structural repair tool. Details are per the listing and were not hands-on tested.
USB-C Cordless Plastic Welder at a Glance
| Item | Detail |
|---|---|
| Product type | Cordless hand-held plastic welder (hot-staple style) |
| Heat-up | 3 to 5 seconds (listing claim) |
| Charging | USB-C, 5V (listing says to use a 5V charger only) |
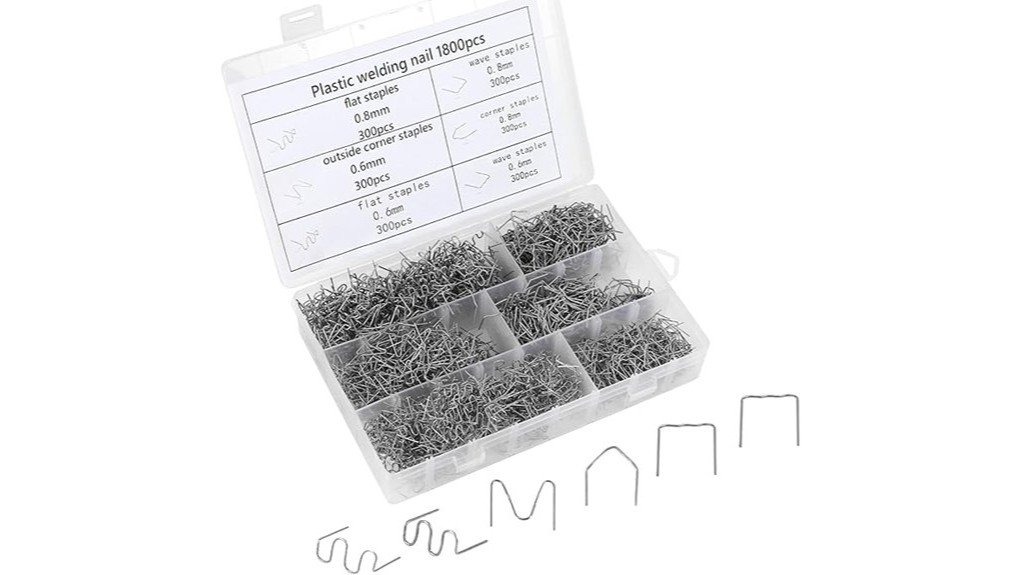
| Included | 200 pins / staples (listing wording: soldering pins) |
| Uses named | Fusion, staple (nail) embedding and hole repair |
| Weight | Described as lightweight; check the listing for the exact weight |
| Battery run time, warranty, maximum temperature | Not confirmed here. Check the listing |
Numbers come from the product listing and were not independently measured.
What Is a USB-C Cordless Plastic Welder?
It is a small heated tool that sets metal pins or staples into cracked plastic so they hold the two sides together. A built-in battery removes the cord, and USB-C charging means you can top it up from a power bank, a laptop port or a phone charger that matches the 5V requirement.
Treat it as a reinforcement tool for light jobs. For long seams or sheet work, a hot-air welder with filler rod is the better method.
Who Should Buy It
A good fit if you
- fix small plastic parts such as trim clips, bins, toys or covers
- want to recharge with a USB-C cable you already own
- like a light tool you can keep in a drawer or car
Skip it if you
- need long run time for several large repairs in one go
- plan to repair fuel tanks, pressurised parts or load-bearing plastic
- want a tool with a documented warranty and battery figures (the listing details are not verified here)
How to Use It
- Charge it with a 5V USB-C source as the listing instructs.
- Clean the crack, drill a small stop hole at each end, and hold the two sides together.
- Heat the tool, set a pin across the crack from the back, and hold only as long as needed to sink it.
- Space pins along the crack, then let the plastic cool before handling.
- Trim, fill and sand the front if you want a cleaner finish.
Safety and Care
- Use only the charger type the listing specifies (5V). A higher voltage can damage the battery.
- Let the tool cool fully before storing it in a cool, dry place away from direct sun.
- Check the copper tube and handle for wear or burn marks, and stop using it if either looks damaged.
- Never point it at people or animals, and keep it away from flammable gases, fuel and solvents.
- Wear eye protection and ventilate, because heated plastic gives off fumes.
Pros and Limitations
Pros
- Cordless and light
- USB-C charging is convenient
- Quick heat-up per the listing
- Comes with pins for the first repairs
Limitations
- Run time, maximum temperature and warranty were not confirmed from the listing
- Pins reinforce a crack but remain visible unless you finish the surface
- Not for structural or safety-critical parts
Related guides: Cordless plastic welder tool kit review | InoKraft cordless plastic welder review | Katerk cordless plastic welder review
Frequently Asked Questions
How long does the battery last?
The listing is the only source, and no reliable figure is confirmed here. Charge fully before a bigger job and expect short sessions from a small battery.
Can I use it on all types of plastic?
No. Results depend on the plastic type, thickness and age. Test a hidden spot first, and avoid brittle, painted or heavily aged parts.
Is there a warranty?
Check the listing and the seller page for the current terms. They are not confirmed here.
How do I maintain the tool?
Let it cool, wipe residue off the tip area, check the copper tube and handle for wear, and store it dry.
What temperature does it reach?
The listing does not give a temperature figure that could be confirmed. The quoted heat-up time is 3 to 5 seconds. Follow the manual and test on scrap.