DIY Steel Bending Tool for Round Stock
What’s in This Article
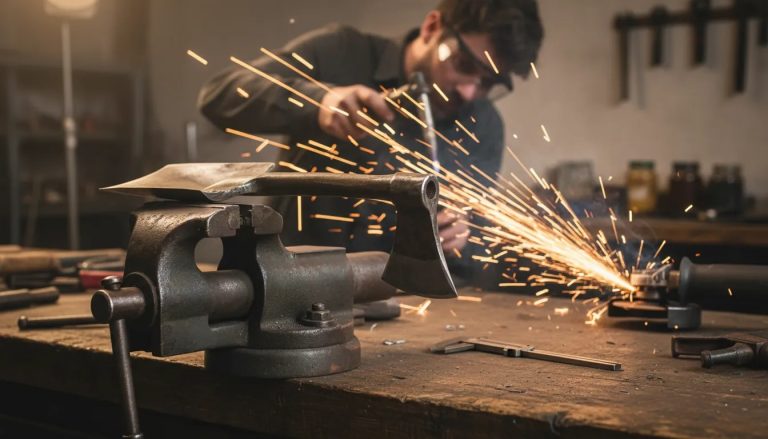
If you work with steel fabrication, you know round stock can kink, twist, or bend unevenly fast. A small alignment error can ruin the radius and waste good steel.
A practical DIY steel bending tool helps you bend round steel accurately and reliably with a controlled setup. This guide shows you what to build, what materials to use, how to align and test the tool, and how to avoid common mistakes.
Quick Answer
A DIY steel bending tool for round stock needs a rigid base, strong supports, a matched die, and controlled force. The main goal is to stop the bar from slipping or twisting while you bend it. Test the fixture with scrap steel first so you can adjust for springback, die position, and bend angle.
Key Takeaways
- Use a rigid base and short load path to reduce flex during bending.
- Match the die shape to the round bar so the steel stays supported.
- Add stops and side guides to keep each bend repeatable.
- Bend in small steps and measure springback after each test bend.
- Inspect the fixture before each session because bending tools can store high force.
🧰 What a DIY Steel Bending Tool Does
A bending tool for round steel combines a few basic functions:
- Support: Holds the bar so it does not slip under force.
- Guidance: Helps keep the bend radius steady and prevents twisting.
- Force transfer: Applies bending load smoothly through a lever, press, or threaded mechanism.
- Repeatability: Lets you repeat bends with the same alignment and spacing.
When you build these elements into one fixture, bending becomes less like guesswork. You can set the bar, apply force, measure the result, and repeat the bend with more control.
👷 Who This Tool Is For
This kind of DIY bending fixture works best for:
- Fabricators bending small to medium diameter round steel
- DIY welders who can build tools from basic steel and hardware
- Projects that need repeatable radii instead of one-off bends
This tool is not ideal for:
- Very large stock diameters or extreme radii that need factory rolling equipment
- Production work that needs computer numerical control (CNC) consistency
- Certified structural work that needs controlled engineering records and tested processes
Warning: Do not use a homemade bending fixture for load-rated or safety-critical parts unless a qualified professional approves the design and process.
🧱 Core Design Choices for Round Steel
Before you build, decide how the tool will guide the round bar and how it will apply force. Most useful designs include the features below.
🔩 Choose the Bending Method
- Press or lever bend: Simple and effective for many DIY builds. Use controlled increments.
- Roll-style bend: Creates smoother curves for some shapes but takes more work to build.
- Die-based bend: Uses a fixed form and a contact surface that helps limit kinking.
📏 Provide Proper Guidance for Round Stock
Round steel needs more guidance than flat stock because the bar can rotate or dig into the die. Common solutions include:
- Matching contact surfaces with a radius that fits the bar
- Side supports that stop the bar from rolling sideways
- Stop blocks that keep the starting position consistent
🧲 Keep Alignment Rigid
Most poor bends happen because something moves while you apply force. Build strength into these areas:
- Thick base plate and solid uprights
- Short, direct load paths with less flex
- Accurate spacing between supports
🛠️ Materials and Hardware Checklist
Your exact dimensions depend on your bar diameter and bend radius. Use this checklist as a practical starting point.
Steel and Structural Parts
- Base plate that is thick and heavy enough to resist bending
- Uprights or side plates that anchor supports and dies
- Support members that cradle the bar
- Bending die blocks that shape the curve
- Stops that create a repeatable start position
Force and Adjustment Components
- Lever or threaded actuator, based on your chosen mechanism
- Hardened pin or shaft for pivots or rotating parts
- Bolts and clamps for adjustable sections
- Washers and shims for fine alignment, if needed
Warning: If you use high leverage or threaded force, overbuild the hardware and mount the tool securely because the fixture can release energy suddenly.
🧪 Build and Assembly Steps
Use this workflow to create a reliable DIY fixture. Adapt each step to your stock size and target radius.
Step 1: Determine Your Bend Requirements
- Measure the round steel diameter.
- Choose the target bend radius or inside bend radius.
- Decide whether you need one bend or repeatable work.
Step 2: Design the Die and Contact Geometry
A die that does not support the bar across the bend zone can cause kinks. Aim for:
- A die contact radius that supports a smooth transition
- A contact area wide enough to reduce local crimping
- Support surfaces that stop the bar from rolling out of position
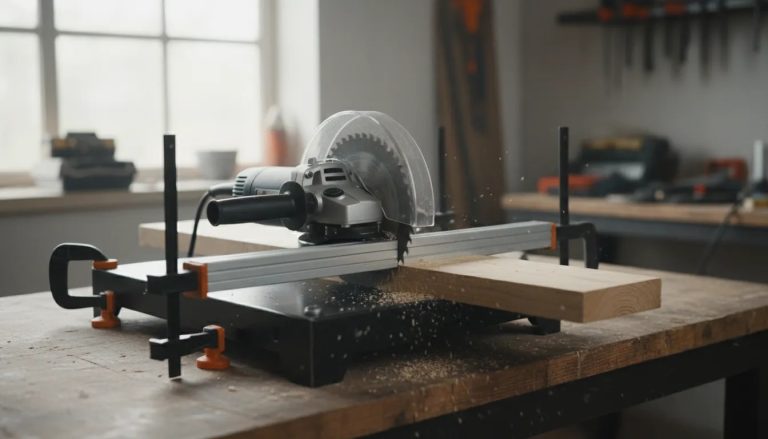
Step 3: Mount a Rigid Base
Fix the base plate so it cannot shift during bending. If the tool sits on a bench, use strong clamps or anchor points before you apply force.
Step 4: Install Supports and Stops
- Set support spacing so the bar sits in the same place each time.
- Install a stop so the bar always starts from the same point.
- Check bar alignment before you tighten the parts fully.
Step 5: Add the Bending Mechanism
Use a lever, press, or threaded actuator that engages the die smoothly. Keep the load centered so the bar does not twist or walk out of the fixture.
Step 6: Align for Straight-to-Bend Continuity
Run alignment checks before bending real steel:
- Mark a centerline on the base and die surfaces.
- Place a straight test rod and check that the supports touch evenly.
- Confirm the bar does not twist as you apply force.
- Add side constraints if the bar rolls during the test.
Step 7: Test With Scrap and Adjust
Bend scrap steel in small increments. Measure the inside radius and bend angle after each test.
- Adjust die position and spacing.
- Move the stop if the bend starts in the wrong place.
- Change leverage or actuator travel for better control.
📐 How to Get Accurate Bends
Accuracy comes from control. Use these practices to reduce variation between bends.
Use Incremental Bending
For many steels, bending in multiple passes can reduce cracking risk and help prevent overbending. Work toward the target angle gradually.
Control Bend Zone Lubrication
Light lubrication can reduce friction and scoring in some setups. Use only products that fit your material, process, and workshop safety rules.
Mark and Measure Consistently
- Mark the starting position against the stop.
- Use the same reference point for each angle measurement.
- Record the die position, stop location, and actuator travel that work.
Account for Springback
Steel often springs back slightly after you unload the tool. If your final angle stays short, bend a little past the target angle, then measure again.
Pro tip: Keep a simple test log with bar size, die radius, bend angle, and springback so you can repeat good results later.
⚠️ Common Mistakes to Avoid
- Insufficient support: Poor support can create kinks and uneven curves.
- Loose alignment: Loose parts can cause twist and inconsistent radii.
- Overloading in one step: Too much force at once can increase cracking risk.
- Wrong die radius: A sharp die can crimp or mark the bar.
- No test bends: Skipping tests removes your chance to correct springback and friction effects.
- Weak base or flexing frame: A moving frame lowers accuracy and repeatability.
🧰 Maintenance and Safety Checks Before Each Session
- Inspect welds and structural members for cracks.
- Check hardware tightness, especially pivot points and actuator connections.
- Inspect die surfaces for wear, scoring, or damage.
- Secure the workpiece before you apply force.
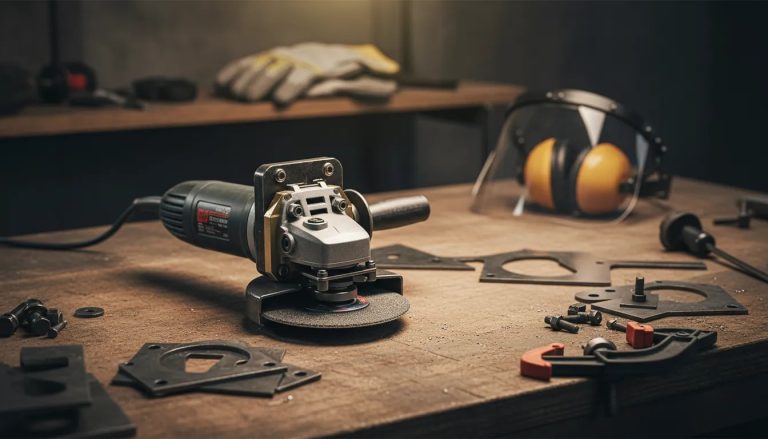
- Use personal protective equipment (PPE), including eye protection and suitable gloves.
- Stand clear of pinch points and keep your body out of the tool’s force path.
✅ Quick Build Quality Checklist
Before you call the tool finished, verify these points:
- The bar cannot slip under load.
- The bar cannot twist during bending.
- The die contact stays consistent along the bend zone.
- The base and frame do not flex too much.
- The stops or markers allow repeatable positioning.
❓ Frequently Asked Questions
What diameter round steel can a DIY bending fixture handle?
How do I prevent kinks when bending round steel?
Do I need hardened die material?
How can I compensate for springback?
Is lubrication necessary for accurate bends?
What safety precautions matter most for steel bending tools?
Safety Disclaimer: This article is for informational purposes only and does not replace professional metalworking, welding, or engineering advice. Always use proper PPE, secure your work, and consult a qualified professional before building tools for high-force or safety-critical work.
Final Thoughts
A reliable DIY steel bending tool depends on rigid alignment, a supported bend zone, and controlled force. Build the base strong, match the die to your round bar, and test with scrap before real work.
Your next step is to sketch your fixture around one bar size and one bend radius first. Once that setup works, you can improve the tool with better stops, stronger dies, and more repeatable adjustments.
Related Welding-Shop Resources
If you’re building shop fixtures and improving your forming accuracy, you’ll likely also want to improve your safety and process setup. For example, review helpful guidance on PPE protection before you run any tool that stores energy under load.
When you work with steel and need consistent jobs, a reliable grounding and workflow setup can help. See this resource on ground clamps for practical considerations.
For cleaner and more repeatable results in metalworking, you may also want to learn about suitable contact tips and maintenance habits that affect performance and reliability.