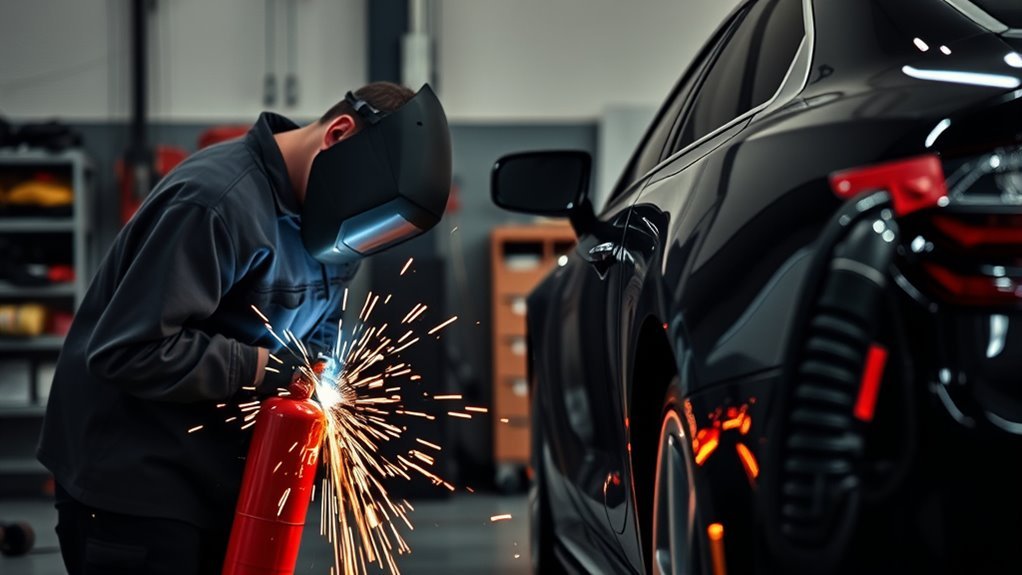
Before you weld in or around a car, remove every combustible part you can reach and shield the parts you cannot remove. That means upholstery, carpet, foam, sound deadener, sealers, adhesives, plastic trim, wiring covers, rubber parts, fuel lines, brake lines, glass, paint, and nearby modules all need attention before you strike an arc. Disconnect power, control fuel and vapor hazards, clamp your ground lead close to the weld on clean metal, keep a charged extinguisher nearby, and use a fire watch after welding because hidden heat can smolder long after the bead is done.
Quick Answer
Remove flammable interior parts, trim, sound deadener, loose debris, fuel-soaked materials, and nearby electronics before welding on a car. Cover paint, glass, wiring, hoses, fuel lines, tires, and fixed panels with fire-resistant blankets or metal shields. Disconnect the battery, check for leaks, ventilate the area, and keep a fire watch after welding.
Key Takeaways
- Remove flammable materials whenever possible. Covering is the backup choice when removal is not practical.
- Disconnect the battery and protect control modules, wiring, sensors, airbag parts, and ADAS components before welding.
- Treat fuel tanks, fuel lines, vapors, oily residue, undercoating, and rubber parts as serious fire hazards.
- Use fire-resistant welding blankets, metal shields, ventilation, PPE, a charged extinguisher, and a trained fire watch.
- Follow OEM repair information for the vehicle, especially on hybrids, EVs, late-model vehicles, and structural repairs.
At a Glance
| Time Required | 15 to 45 minutes for prep on a simple weld, plus at least 30 minutes of fire watch after welding. Use 60 minutes or longer when hidden cavities, interior materials, fuel areas, or shop policy require it. |
| Difficulty | Moderate to high because fire, fumes, fuel vapors, wiring, airbags, and electronics can all be involved. |
| Tools Needed | Fire-resistant welding blankets, metal shields, ABC extinguisher, wire brush or grinder, insulated hand tools, leak-safe inspection light, PPE, and fume extraction or mechanical ventilation. |
| Cost | Varies. Prep may cost little if you already have PPE, blankets, and an extinguisher. Do not skip safety gear to save money. |
Warning: Stop before welding if you smell fuel, see fluid leaks, cannot identify hidden wiring, cannot remove or shield flammables, do not have a charged extinguisher, or are working near a hybrid or EV high-voltage system without the correct OEM procedure and training.
Prep a Car for Welding
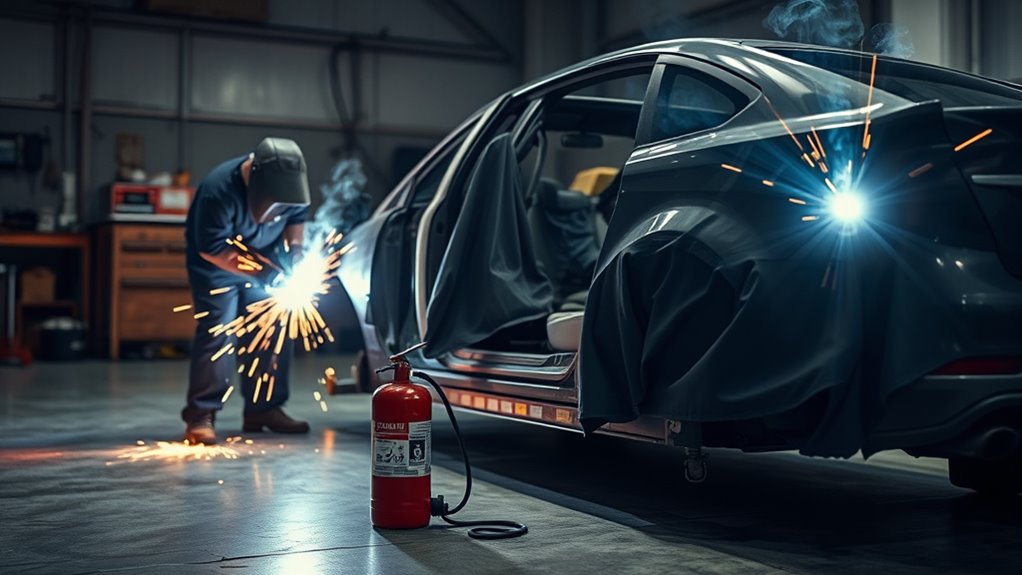
Good welding prep starts with a simple rule: remove first, cover second. If a part can burn, melt, smoke, crack, or carry current, move it away from the weld zone whenever you can. If you cannot remove it safely, shield it with a fire-resistant welding blanket, a metal guard, or another barrier rated for hot work.
Clear the car and the floor around it. Remove paper, rags, solvents, aerosol cans, fuel containers, loose carpet, seat covers, shop towels, and grinding dust. Sparks can bounce, roll, and fall into places you cannot see, so check under the car, inside cavities, behind trim, and on the opposite side of the panel.
For shop work, treat vehicle welding as hot work. The OSHA welding, cutting, and brazing standard says movable fire hazards should be taken to a safe place. If they cannot be moved, guards must be used to confine heat, sparks, and slag.
Before you weld, make a quick written or mental checklist: fuel controlled, battery disconnected, wiring protected, combustibles removed, paint and glass covered, ventilation running, extinguisher ready, and fire watch assigned. If one of those items is missing, fix it before the arc starts.
Products Worth Considering

Extreme Heat Resistance (3000°F+) – Carbon Fiber Welding Blanket Made of high-density carbon felt welding blanket, our fireproof welding blanket certified to ASTM D6413 and UL94-V0, withstands extreme temperatures over 3000°F — Outperforms standard fiberglass welding blankets (1000°F limit)Much more effective at stopping spatter than fiberglass offerings, and doesn't shed glass fibers!

Well-woven Fiberglass Blanket: Constructed from 24.7 oz/yd² fiberglass material, this welding blanket serve as an excellent shield against heat and fire. Tight stitching and exquisite weaving. Our heat resistant mat shield is a nice addition to welding equipment. Standard size : 4x6 ft (122x183cm), thickness: 0.31” (8mm)

Upgraded Reinforced Design – Unlike standard welding blankets with plain grommets, this fiberglass welding blanket comes reinforced metal grommets that resist loosening, making it more durable and stable. Each grommet is fitted with a double-sided thick black plastic washer for added strength, ensuring stronger support, more secure hanging, and flexible installation for maximum durability and safety during welding, cutting, and fire protection
What to Remove and What to Cover Before Welding
You do not need to strip the whole car for every small weld, but you do need to protect every material that heat, sparks, slag, or current can reach. The closer the material is to the weld, the stronger your action should be.
| Part or material | Best action | Main risk |
|---|---|---|
| Seats, carpet, headliner, loose upholstery | Remove when near the weld; cover only if safely outside the heat path | Fast ignition and hidden smoldering |
| Foam, sound deadener, seam sealer, adhesives | Scrape, peel, or cut back to clean metal | Fire, toxic smoke, poor weld quality |
| Plastic trim, moldings, clips, liners | Remove from the work area or shield well | Melting, warping, toxic fumes |
| Paint, glass, weatherstrips, rubber seals | Cover with welding blankets or metal shields | Burn marks, pitting, cracking, smoke |
| Wiring, sensors, modules, airbags | Disconnect, remove, relocate, or shield per OEM procedure | Shorts, module damage, accidental deployment |
| Fuel lines, brake lines, hoses, tanks | Inspect, isolate, move, shield, or stop and use a qualified repair method | Vapor ignition, leaks, pressure, fire |
Pro Tip: Look on the back side of the panel before welding. Many vehicle fires start because the visible side looked clean while the hidden side had foam, seam sealer, wiring, insulation, or undercoating touching the metal.
Disconnect Power and Fuel Hazards
Power and fuel are the two hazards you should control before any other detail. Turn the ignition off, remove the key or disable keyless start, and disconnect the battery using the vehicle maker’s procedure. On most vehicles, remove the negative cable first. If you need to disconnect both cables, keep them isolated so they cannot spring back against the terminals or body.
Do not use the vehicle lift, exhaust, suspension, or a distant bracket as your only current path. Put the work clamp on clean, bare metal close to the weld. A short return path helps reduce stray current through hinges, bearings, wiring, control modules, or fuel-related parts.
Fuel hazards need careful judgment. For welding near fuel lines, filler necks, tanks, or evaporative-emission parts, inspect for wet spots, fuel odor, cracked hoses, loose clamps, and damaged seals. Relieve fuel pressure only by the OEM method. Move or shield fuel lines when possible, and do not let sparks or radiant heat reach the tank, filler hose, or vapor lines.
Never weld on a fuel tank, used fuel container, or sealed vessel in a home garage. Hot work on used tanks or containers requires professional cleaning, isolation, venting, purging, and gas-free verification. OSHA states that used tanks, drums, and similar containers must be cleaned so thoroughly that no flammable material or heat-reactive residue remains before hot work is performed.
Products Worth Considering

High Current Battery Switch: With a rated current of 200 Amp Continuous, and 1000A Intermittent, Spurtar battery disconnect switch safely isolate and secures 12-48V DC electrical system connections

Heavy Duty: ABS plastic housing, durable made for safety use, rear cover insulates terminals against any short of circuits, equipped with 4 sets of bolts.

On/Off Switch: This Battery Disconnect Switch 12V features On/Off 2 Position; Rating: 200A; Crack Current: 1000A Intermittent; Stud Size: 2 x 3/8" (M10)
Battery Disconnection
Disconnecting the battery lowers the chance of shorts, sparks, and module damage, but it is not a magic shield. Late-model vehicles may have stored energy, capacitors, security systems, memory settings, airbag circuits, and control modules that need special handling. Read the service information before welding near electronics.
After disconnecting power, secure the cables away from the posts and body. Inspect nearby wiring for cracked insulation, heat damage, fuel contamination, or previous repair work. If a harness runs near the weld area, move it away from the panel or protect it with a heat-resistant shield.
Fuel Tank Safety
Treat the fuel system as live until you prove it is safe. A low or “empty” tank can still contain vapors, and those vapors can be more dangerous than liquid fuel. If the weld is anywhere near the tank, filler neck, vent line, or fuel hose, stop and plan the job before you clean metal or strike an arc.
Shield fuel parts with fire-resistant material only when the heat path is controlled and the part is not leaking. If you see a leak, smell fuel, or cannot clearly see the fuel path, do not weld. Repair the leak, ventilate the area, and verify the hazard is gone first.
Ground Clamp Placement
Clamp the welder’s work lead close to the weld on clean, bare metal. Grind a small clean spot if needed, then clamp firmly. A loose, rusty, painted, or distant clamp can arc, heat unexpected parts, or send current through places you did not intend.
Keep the clamp away from fuel lines, brake lines, bearings, hinges, modules, airbag parts, and wiring harnesses. After the clamp is attached, tug it lightly and confirm it cannot slip while you weld.
Use PPE and Ventilation
Wear welding PPE before you start prep, not just when the arc is on. Use a welding helmet with the right shade, safety glasses under the helmet, welding gloves, flame-resistant clothing, closed leather footwear, and hearing protection when grinding or welding in tight spaces. Avoid synthetic clothing because hot spatter can melt it into the skin.
Ventilation matters because welding can create fumes, gases, smoke from coatings, and vapor hazards from nearby materials. The CCOHS welding ventilation guidance explains that ventilation helps remove contaminants from the breathing zone, prevent flammable vapor buildup, and prevent oxygen-rich or oxygen-deficient atmospheres.
Open doors may help in a wide, open shop, but natural airflow is the least controlled option. Use local exhaust, a fume extractor, or mechanical ventilation when fumes can collect. Never weld inside a closed vehicle cabin, trunk, tank, or other confined space without the correct confined-space controls, testing, ventilation, and rescue plan.
Note: Ventilation does not replace a respirator when the coating, metal, or filler creates hazardous fumes that ventilation cannot control. Use the right respiratory protection for the material and follow the safety data sheets for coatings, primers, sealers, and welding consumables.
Protect Paint, Glass, and Trim
Paint, glass, trim, and moldings can be damaged even when they do not catch fire. Sparks can pit glass, burn paint, melt rubber seals, and warp plastic trim in seconds. Remove trim pieces in the weld zone when you can. When you cannot remove them, cover them with a welding blanket or a metal shield.
Glass needs extra care. A welding blanket can stop spatter from hitting the surface, but it will not fix heat stress if the weld is too close. Remove nearby glass when the repair location makes shielding unreliable. At minimum, cover glass fully and check that no gaps let sparks through.
Protect the back side of painted panels too. Heat travels through metal, so a clean outer surface does not mean the inner side is safe. Check behind quarter panels, rocker panels, wheel wells, door skins, and trunk floors before welding.
Remove Interior Fire Hazards
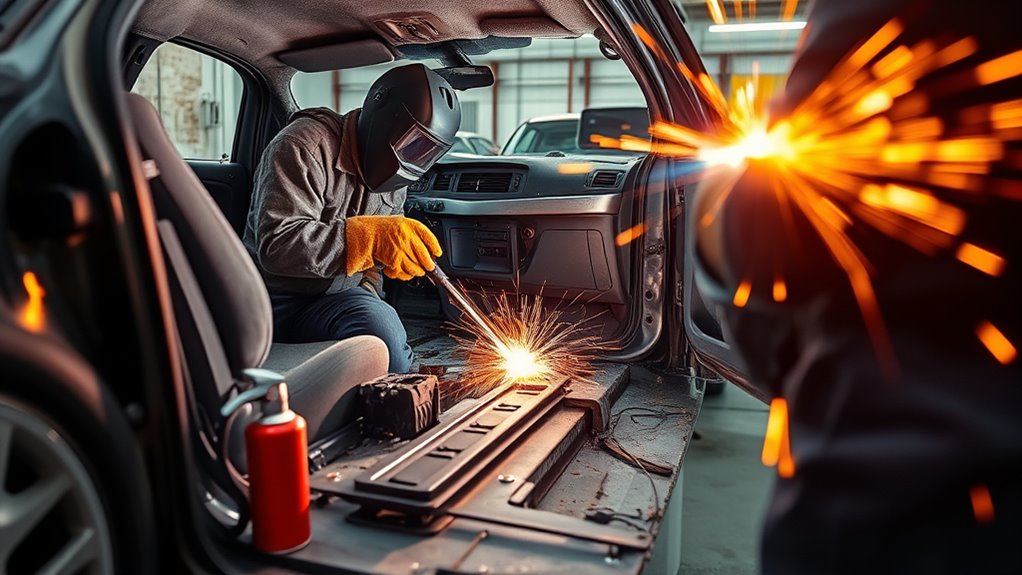
Interior materials are some of the easiest things to overlook. Seats, carpet, padding, insulation, headliners, plastic panels, and foam inserts can ignite or smolder from small sparks. Remove anything close to the weld area, then cover what remains with fire-resistant protection.
Do not trust a quick glance through the door opening. Pull back carpet, inspect under seats, look behind trim, and check the opposite side of the panel. Sparks can enter holes, drain paths, seams, and rocker cavities.
Remove Flammable Upholstery
Remove seats, loose upholstery, carpet sections, trunk liners, and cloth trim when welding near the cabin or cargo area. If you only cover them, make sure they are far enough away from radiant heat and fully protected from falling sparks.
Pay close attention to older interiors. Dry foam, old jute padding, dust, and adhesive residue can catch faster than newer material. Vacuum loose debris before welding, then check again after grinding.
Shield Sound Deadening
Sound deadening, NVH foam, seam sealer, and hidden inserts can burn, melt, or give off harsh smoke. Strip them back from the weld area until you reach clean metal. If a foam insert is trapped inside a cavity, open enough access to remove it or choose a safer repair method.
Do not weld through seam sealer, adhesive, undercoating, or heavy paint. Besides fire risk, those materials contaminate the weld and make it harder to see the puddle.
Cover Exposed Trim
After removing the trim you can reach, cover the remaining exposed areas. Use spark-resistant blankets for nearby upholstery, metal shields for hard barriers, and foil-backed or rated heat barriers only when they are suitable for welding temperatures.
| Area | Action |
|---|---|
| Trim pieces | Remove from the weld zone when possible |
| Upholstery | Remove or fully cover with welding blankets |
| Insulation | Pull back, remove, or shield from both sides |
| Hidden inserts | Inspect cavities and remove combustible material |
Clear Out Sealers, Foams, and Adhesives
Clear all sealers, foams, adhesives, undercoating, and heavy coatings from the weld area before you start. These materials can ignite, smoke, contaminate the weld, and hide cracks or thin metal.
Strip the metal wider than the bead itself. Heat spreads beyond the arc, and sparks can land outside the exact weld line. Check seams, pinch welds, rocker cavities, floor pans, wheel tubs, trunk corners, and quarter panels for trapped material.
Use the vehicle maker’s repair procedure when removing structural adhesives, corrosion protection, or seam sealers. Some repairs require specific replacement materials after welding, and skipping them can cause water leaks, corrosion, noise, or failed crash performance.
If you cannot see the back side of the metal, assume there may be something flammable behind it until you inspect, remove, or shield it.
Protect Wiring and Sensors
Vehicle wiring is not just a bundle of copper. It may connect airbags, seat-belt pretensioners, sensors, cameras, radar units, battery management systems, fuel pumps, control modules, and ADAS features. Heat, sparks, and stray current can damage these systems even when the weld itself looks fine.
Disconnect the battery first, then identify the wiring and modules near the repair area. Move harnesses away from the panel if possible. If you cannot move them, shield them from heat and spatter. Do not weld near airbag components, orange high-voltage cables, pyrotechnic devices, or unknown modules until you have the correct OEM service information.
Disconnect Battery First
Turn off the ignition and disconnect the battery before welding. On many vehicles, the negative cable comes off first. Secure the cable so it cannot touch the terminal or body while you work. If the vehicle has more than one battery, a hybrid system, or a high-voltage pack, stop and follow the exact OEM disable procedure.
| Step | Action | Why it matters |
|---|---|---|
| 1 | Disconnect power | Reduces shorts and accidental current paths |
| 2 | Inspect wiring | Finds damaged insulation and hidden harnesses |
| 3 | Move or shield modules | Protects electronics from heat and spatter |
| 4 | Clamp near the weld | Limits stray welding current |
| 5 | Scan after welding | Catches warning lights or stored faults early |
Remove Nearby Modules
If a control module, sensor, camera, radar unit, or wiring connector sits near the weld, remove or relocate it when the service procedure allows. Heat can travel through brackets and sheet metal, so distance alone is not always enough.
On vehicles with airbags, ADAS, hybrid systems, or EV high-voltage systems, do not guess. Use OEM repair information. If you cannot confirm the safe procedure, send the job to a qualified collision or electrical repair professional.
Weld Safely Near Fuel Systems
Welding near fuel systems is one of the highest-risk jobs on a car. Fuel leaks, fuel vapors, filler hoses, tank vents, vapor lines, and old residue can all ignite. Do not rely on “the tank is almost empty” as a safety plan.
Before welding near fuel parts, inspect the entire area with a safe light. Look and smell for leaks. Check flexible hoses, clamps, tank seams, filler necks, vapor lines, and fuel-stained undercoating. If anything smells like fuel, stop and fix that first.
If the fuel system is close to the weld, move or remove nearby lines only by the proper service method. If a line cannot be moved, use a metal shield or fire-resistant barrier between the line and the heat source. Keep the shield from touching the weld area in a way that transfers heat directly into the fuel part.
Do not weld a fuel tank, patch a tank with an arc, or weld a used fuel container unless it has been professionally cleaned, isolated, vented, purged, and tested gas-free. A container that looks empty can still have an explosive vapor mixture inside.
Warning: Gasoline vapors, solvent vapors, combustible dust, and sealed cavities can ignite violently. If you cannot eliminate the vapor hazard and verify the area is safe, do not weld.
Check for Hidden Heat Risks
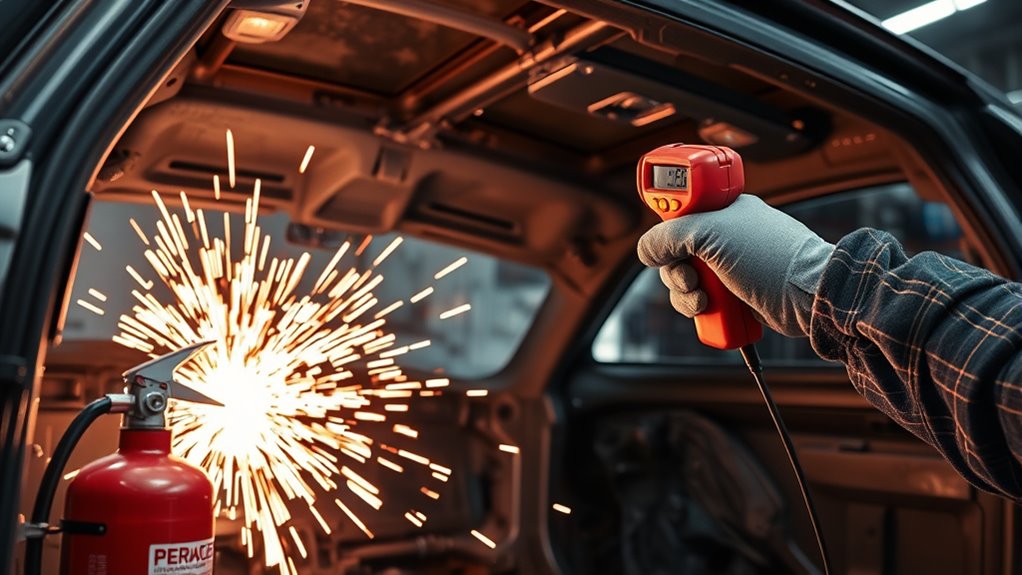
Hidden heat risks are what turn a small weld into a vehicle fire. Sparks can pass through holes, seams, drain openings, and gaps. Heat can travel through sheet metal and ignite material on the other side. A fire can also start slowly inside a rocker panel, pillar, door, quarter panel, or trunk corner.
Before welding, inspect the back side of the metal. Use a mirror, borescope, trim removal tool, or access opening if needed. Look for foam, seam sealer, dry leaves, shop dust, plastic clips, wiring, insulation, undercoating, and old repair materials.
After welding, inspect those same hidden spaces again. Touch nearby metal carefully with a gloved hand or use a non-contact thermometer when needed. Watch for smoke, odor, discoloration, crackling sounds, or heat that keeps building after the weld stops.
Protect Tires, Rubber, and Fluids
Tires, rubber parts, brake hoses, fuel hoses, coolant hoses, bushings, boots, and seals can burn, melt, or release harsh smoke. If you are welding near a wheel well, frame rail, rocker, or suspension point, remove the wheel and tire when it gives you safer access. Cover nearby rubber parts with a welding blanket or metal shield.
Fluids need a practical approach. You do not need to drain every fluid in the car for every weld. You do need to clean leaks, remove oily residue, and drain or isolate a system if heat can reach the fluid, container, hose, or fitting. That includes fuel, brake fluid, power steering fluid, oil, coolant, washer fluid, and solvent residue.
Rubberized undercoating deserves special care. It can burn quickly, smoke heavily, and hide corrosion. Scrape it away from both sides of the weld area and keep a fire watch on nearby undercoated panels after welding.
| Item | Action | Risk |
|---|---|---|
| Tires | Remove or cover when near the weld | Ignition and heat damage |
| Rubber hoses | Move, shield, or replace if heat damaged | Melting, cracking, leaks |
| Fluid leaks | Clean before welding | Fire and smoke |
| Undercoating | Scrape back to clean metal | Rapid burn and toxic fumes |
| Brake and fuel lines | Inspect, isolate, and shield | Leaks, pressure, ignition |
Set Up a Fire Watch
A fire watch is not optional when sparks, slag, hot metal, or heat can reach combustible materials. Assign someone who understands the job, can see the work area, has a charged extinguisher nearby, and knows how to alert you or call for help.
The fire watcher should check the weld area, the back side of the panel, the floor, the interior, nearby cavities, and any lower level where sparks could fall. If smoke, odor, or glowing material appears, stop welding and handle it immediately.
Keep the fire watch in place for at least 30 minutes after welding. Use 60 minutes or longer when welding near interiors, foam, undercoating, fuel areas, hidden cavities, or when shop policy, insurer requirements, local code, or the authority having jurisdiction requires more time. The CCOHS hot work guidance recommends a trained fire watcher during the work, during breaks, and for at least 60 minutes after hot work stops, with longer monitoring when hazards remain.
Inspect After Welding and Before Reassembly
Do not start putting the car back together as soon as the bead cools. First, inspect for heat damage, smoke, leaks, and electrical problems. Look at both sides of the weld, nearby seams, trim cavities, undercoating, wiring, hoses, brake lines, fuel lines, and painted surfaces.
Check the ground clamp area and any shielded parts. Make sure the blanket did not trap heat against plastic or rubber. If you removed seam sealer, corrosion protection, foam, or trim, replace only what the OEM repair procedure allows and keep replacement materials away from hot metal until the area is fully cool.
Reconnect the battery only after the area is safe and dry. Watch for warning lights, abnormal smells, smoke, or electrical faults. If a warning light appears after welding, scan the vehicle and diagnose it before returning it to service.
Frequently Asked Questions
What should you remove before welding on a car?
Remove seats, carpet, loose upholstery, trim, plastic panels, foam, sound deadener, seam sealer, adhesives, undercoating, wiring clips, and nearby modules when they are close to the weld area. Also remove shop rags, solvents, paper, dust, and debris around the car.
Do you have to disconnect the battery before welding on a car?
Yes. Turn the ignition off and disconnect the battery using the vehicle maker’s procedure. On many vehicles, the negative cable comes off first. Late-model cars, hybrids, EVs, airbag systems, and vehicles with multiple batteries may require extra OEM steps.
Is it safe to weld near a fuel tank?
Only if fuel, vapor, heat, and spark hazards are fully controlled. Inspect for leaks, fuel odor, damaged lines, and vapor paths. Move or shield fuel parts when possible. Do not weld on a tank or used fuel container unless it has been professionally cleaned, isolated, vented, purged, and verified gas-free.
How do you prevent fires when welding on a vehicle?
Remove flammables, cover fixed parts with fire-resistant blankets or metal shields, disconnect power, control fuel and fluid hazards, clean the metal, ventilate the area, keep an ABC extinguisher ready, and maintain a fire watch after welding.
How long should a fire watch last after welding?
Use at least 30 minutes as a minimum. Use 60 minutes or longer when welding near interiors, fuel areas, undercoating, foam, hidden cavities, or any area that can keep heat trapped. Follow local code, shop policy, insurer rules, and the authority having jurisdiction.
Should you drain all fluids before welding on a car?
No, not for every weld. Clean leaks and spills every time. Drain, isolate, or move a fluid system only when heat, sparks, or spatter can reach the line, hose, tank, reservoir, or fitting. Fuel and brake systems need extra caution.
Conclusion
When you weld on a car, fire prevention comes down to control. Remove what can burn, cover what cannot be removed, disconnect power, protect wiring and electronics, control fuel and fluid hazards, ventilate the space, and keep a fire watch after the weld is done. Never assume the hidden side of a panel is safe. Check it, shield it, and inspect it again before you walk away.
Sources
- OSHA 1910.252, Welding, Cutting, and Brazing: General Requirements — supports combustible removal, guards, extinguishers, fire watch, container cleaning, PPE, and ventilation requirements.
- CCOHS: Welding – Hot Work — supports hot-work planning, fire-resistant blankets, cleaning grease/oil, fire watch timing, and combustible vapor controls.
- CCOHS: Welding – Ventilation — supports ventilation guidance for fumes, combustible vapors, and oxygen-rich or oxygen-deficient atmospheres.