How to Use Body Hammers and Dollies After Welding
What’s in This Article
- Before You Begin
- Why Body Hammers and Dollies Matter in Metalworking
- Types of Hammers Used in Metalworking
- Choosing the Right Dolly for Your Body Hammer Project
- How to Hammer a Weld Seam
- Mastering Metal Shaping and Smoothing Techniques With Dollies
- Tips for Effective Metal Shrinking After Welding
- How to Control Distortion When Welding
- Avoid These Common Mistakes With Hammers and Dollies
- Resources for Further Learning in Metalworking Techniques
- Frequently Asked Questions
Body hammers and dollies help you fix small metal shape problems after welding. Heat can pull, shrink, or warp sheet metal, so you need controlled pressure to bring the panel back into shape. With the right hammer, the right dolly, and light taps, you can smooth weld seams and improve the final repair.
Quick Answer
Use a body hammer on the front of the metal and a dolly behind it for support. Work in short sections, use light taps, and check the panel often. This method helps smooth weld seams, reduce distortion, and restore the panel shape without stretching the metal too much.
Key Takeaways
- Use light taps instead of hard blows to control the metal.
- Match the dolly shape to the panel curve for cleaner results.
- Work in small sections so heat and pressure stay under control.
- Keep the metal clean before welding, hammering, or shrinking.
- Practice on scrap metal before you work on a finished panel.
Before You Begin
Plan about 30 to 90 minutes for basic hammer and dolly work after welding. Large panels, deep dents, or heavy distortion can take longer.
Gather a body hammer, a matching dolly, safety glasses, gloves, hearing protection, and clean scrap metal for practice. You may also need a torch, a wet rag, and a marker if you plan to shrink stretched metal.
Warning: Wear eye, hand, and hearing protection because metal chips, sharp edges, and hammer noise can injure you.
Why Body Hammers and Dollies Matter in Metalworking
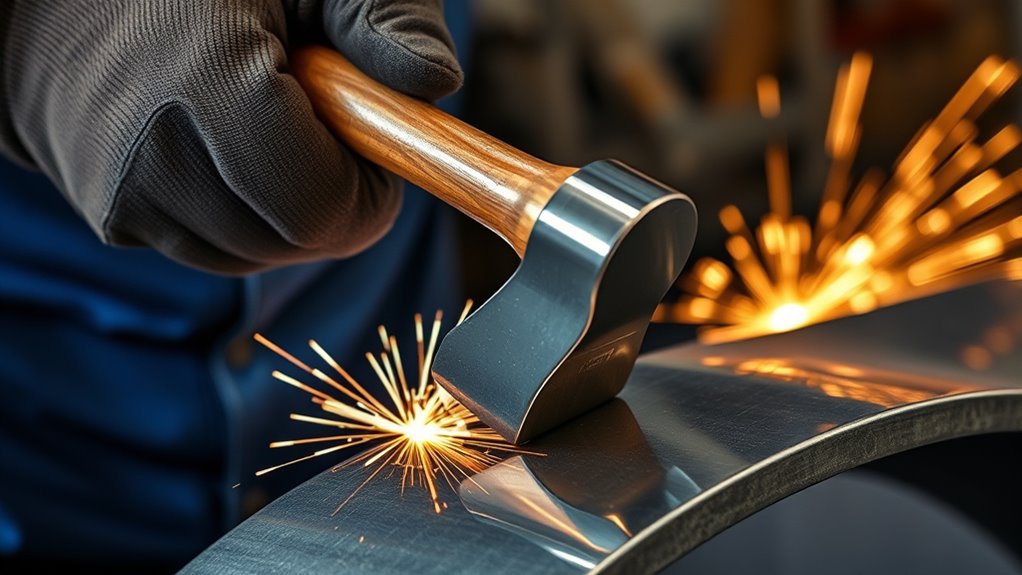
Body hammers and dollies help you shape metal after welding. Weld heat can distort metal, so these tools help you smooth seams and restore the panel shape.
With basic hammer welding techniques, you place a dolly behind the metal and tap the front with a hammer. The dolly supports the panel while the hammer moves high spots and smooths uneven areas.
Hammer and dolly work supports the panel, smooths weld seams, and helps restore the original shape.
Dollies come in several shapes, including egg dollies and heel dollies. Each shape fits a different panel curve, so the right match gives you better control during metal shaping and repair. Understanding heat absorption issues also helps you manage distortion during metalworking projects.
Good technique improves repair quality and lowers the risk of hammer marks. It also helps you finish the panel with less grinding and filler.
Types of Hammers Used in Metalworking
Metalworking hammers come in different shapes, weights, and face styles. Each design helps you handle a different shaping, smoothing, or shrinking task.
Small changes in hammer design, face curve, and weight distribution can affect the final result. Proper fillet weld sizing also helps protect strength during metalworking projects.
Products Worth Considering

This Body Hammer Set uses high quality fiberglass shaft, covering all body repair and panel beating requirements. High quality fiberglass shaft panel percussion hammer. Long lasting quality.

Hickory handles are flame treated for reliable strength

AUTO-BODY REPAIR TOOLS: These comprehensive hammer and dolly repair tools help you fix physical damage on automobile fender and bumper parts and help you repair large or small car-body dings and dents.
Types of Hammer Shapes
You need to understand common hammer shapes before you choose a tool. Each shape gives you a different level of control.
Use these common body hammer types:
- Pick Hammer: Uses a flat round head and pointed side for tight dent work.
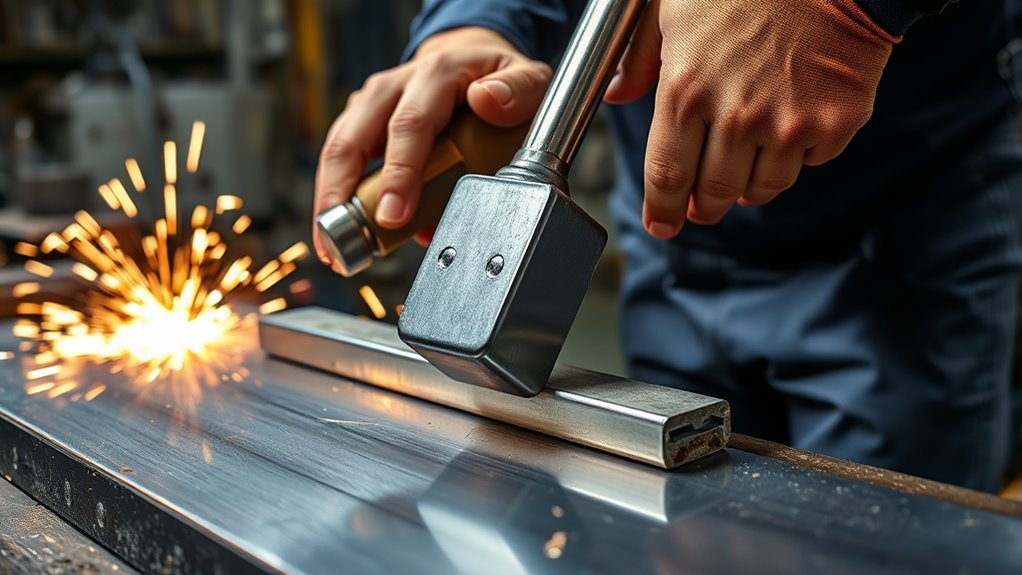
- Bumping Hammer: Uses one round head and one square head for varied dent sizes.
- Shrinking Hammer: Uses raised points to gather stretched metal and reduce small bulges.
- Slap Hammer: Smooths rough surfaces and helps finish weld areas.
- Chisel Hammer: Uses a round head and wide chisel point for edges and tight lines.
Pair these hammers with the right dolly to improve control. The right match helps you shape metal with less force.
Hammer Materials Selection
The right hammer material affects control, surface finish, and comfort. Choose a hammer that fits your panel thickness and repair task.
Many hammers for body panel work use a curved face. This shape spreads force across the panel and helps reduce sharp marks.
Aluminum-headed hammers feel lighter than many steel hammers, so they can help with careful heat-shrinking work. A large round-faced hammer and matching dolly can also help you smooth welded joints with less distortion.
Select your hammer based on the work surface, not just tool size. A lighter hammer often gives you better control on thin sheet metal.
Specialty Hammers Overview
Specialty hammers help you handle focused metalworking tasks. Each one solves a different shaping problem on body panels.
Use this guide when choosing specialty body hammers:
- Pick Hammers: Help you work small dents and tight areas.
- Chisel Hammers: Help you shape edges, seams, and defined lines.
- Bumping Hammers: Help you raise low spots and shape broader dents.
- Shrinking Hammers: Help reduce small stretched areas when used with care.
- Slap Hammers: Help smooth rough surfaces after weld or dent work.
The right hammer improves your metal work outcomes. It also helps you avoid extra surface damage.
Choosing the Right Dolly for Your Body Hammer Project
Choose a dolly that matches the panel shape. The dolly’s curvature should support the metal without creating a new dent.
Low-crown and medium-crown dollies work well on many body panels. An egg-shaped dolly also fits many general shaping tasks because it offers several working curves.
Choose a dolly with enough weight to absorb hammer force. A heavier dolly gives steady backing support and better impact control.
For flanges and straight edges, use large, flat-faced dollies. They give you a stable surface when you straighten or form edges. Keep your workspace clear of flammable materials before you grind, weld, heat, or hammer metal.
Products Worth Considering

COMPREHENSIVE KIT - Includes bumping, pick, and reverse curve hammers plus four specialized dollies, providing professional-grade tools for both major collision repair and precision dent removal on vehicles

7 Piece Auto Repair Kit: Each pack comes with a standard bumping hammer, pick & finish hammer, reverse curve hammer, curved dolly, utility dolly, double end hand dolly, and shrink dolly to provide the perfect fit both large and small body car dent repairs.

FEATURES: This comprehensive hammer and dolly repair set features all the tools necessary for automobile fender, bumper, and large or small body car dent repairs
How to Hammer a Weld Seam
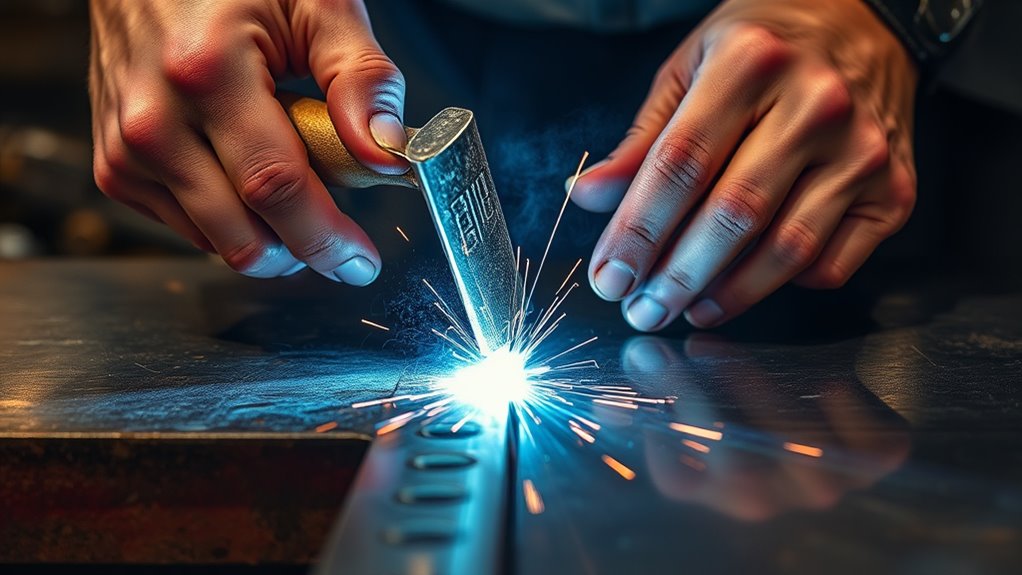
Hammer a weld seam with patience and control. Hard strikes can stretch the panel and make distortion worse.
Follow these steps for better results:
- Clean the metal first. Remove dirt, coating, and loose material before you start.
- Work in short sections. Focus on 1 to 3 inches at a time.
- Place the dolly behind the seam. Match the dolly shape to the panel curve.
- Tap the front lightly. Use a large round-faced hammer when the surface allows it.
- Check both sides often. Keep the weld and panel surface smooth to protect your tools.
- Plan your access. Make sure your cuts and panel position allow good dolly contact.
For aluminum work, clean the surface carefully before welding. Thorough cleaning of aluminum surfaces helps reduce weld problems such as contamination and porosity.
Pro tip: Stop every few taps and feel the panel with your gloved hand to check the shape.
Mastering Metal Shaping and Smoothing Techniques With Dollies
To improve metal shaping and smoothing, learn how each dolly supports a different panel shape. Egg dollies, heel dollies, and flat dollies all serve different repair needs.
Use precise hammering techniques with the correct dolly to raise low spots and smooth uneven areas. Understanding welding parameters also helps you manage heat and distortion during metalworking projects.
Types of Dollies Explained
Dollies support the metal during hammering. The right shape helps you move the metal without adding new marks.
Common dolly types include:
- Low-Crown Dollies: Support flatter body panels and broad smooth areas.
- Medium-Crown Dollies: Support panels with moderate curves.
- Egg Dollies: Fit many panel shapes and general repair tasks.
- Heel Dollies: Help straighten flanges and reach tight spaces.
- Flat-Faced Dollies: Support straight edges, seams, and flange work.
Match the dolly to the panel’s contour before you start tapping. This habit helps you get a smoother finish with less force.
Hammering Techniques Overview
Good hammering technique matters most when you work with sheet metal. Thin panels can stretch quickly if you hit too hard.
Use body hammers with a large round face when you need broad, gentle contact. Work in small sections of 1 to 3 inches and use light taps to control the shape.
Place the dolly behind the metal and hammer from the front. Check the panel often, then adjust your angle and pressure as the dent gets smaller.
Tips for Effective Metal Shrinking After Welding
Metal shrinking needs control because heat and force can change the panel fast. Mark the stretched area before you heat or strike it.
Use these steps with care:
- Mark the high or stretched area. This keeps your heat focused.
- Heat only the target spot. Use controlled heat and avoid spreading heat across the full panel.
- Tap the heated area lightly. A wooden hammer can help reduce sharp marks.
- Cool the spot with care. A damp rag can help contract the metal after heating.
- Inspect the panel. Repeat only when the panel still needs more correction.
Metal can become weaker if you overheat or overwork it. Properly removing zinc coating also helps you reduce contamination and improve weld quality.
Monitor your work closely so you don’t harm metal integrity. When in doubt, stop and practice the same method on scrap metal first.
How to Control Distortion When Welding
Controlling distortion helps protect the finish and strength of your work. Metal can shrink as it cools, so you need to manage heat, weld size, and panel support.
Start with tack welding to hold alignment and spread heat more evenly. Work in short weld sections instead of one long bead across the panel.
After you weld, use a toe dolly or matching dolly while the area still has workable heat. This support can help you manage shrinkage near the weld.
Watch the full panel during the repair. Fix small distortion early before it spreads across a larger area.
Avoid These Common Mistakes With Hammers and Dollies
Small mistakes with hammers and dollies can leave marks, stretch metal, or make distortion worse. Good technique starts with tool choice and steady control.
Light, controlled hammer and dolly work gives you a smoother finish and fewer repair problems.
Avoid these common mistakes:
- Using a dolly that does not match the panel contour.
- Hitting too hard instead of using light, controlled taps.
- Holding the dolly loosely behind the panel.
- Using sharp-edged or damaged hammers on visible surfaces.
- Skipping practice on scrap metal before you work on the main panel.
- Hammering dirty metal instead of cleaning it first.
Clean metal before you start to prevent poor weld quality and weak adhesion. These flux core welding tips for beginners can help you prepare cleaner weld areas.
Resources for Further Learning in Metalworking Techniques
You can improve your metalworking techniques through video lessons, books, forums, and hands-on practice. Choose resources that show clear tool use and safe work habits.
Video tutorials can help you see hammer and dolly angles, pressure, and panel movement. Books by metalworking experts, including Jefferson Bryant, can also help you understand hammer welding and panel shaping principles.
Forums and community groups often share real repair examples and tool advice. Suppliers such as NAPA Online and similar stores also list tools used for hammer and dolly work.
Workshops and hands-on training sessions can improve your control faster than reading alone. Learning hose protection techniques can also support a safer, more organized metalworking area.
Frequently Asked Questions
What Is the Hammer Used in Welding?
A body hammer helps you shape metal after welding. You use it to smooth seams, correct small distortions, and restore panel shape with support from a dolly.
What Is the Hammer Dolly Method of Repairing Vehicle Body?
The hammer and dolly method uses a hammer on one side of the panel and a dolly on the other. This support lets you raise low spots, smooth high spots, and reshape the metal with controlled taps.
How to Shrink Metal With Hammer and Dolly?
Mark the stretched area, apply controlled heat, and use light taps to gather the metal. Cool the area with care, then inspect the panel before you repeat the process.
What Is a Heel Dolly Used For?
A heel dolly helps you shape metal in tight spaces and near flanges. Its shape gives you support where a wider dolly may not fit.
Can You Use a Regular Hammer Instead of a Body Hammer?
A regular hammer can mark, stretch, or damage thin sheet metal. Use a body hammer because its face shape and balance give you better control.
Safety Disclaimer: This article is for informational purposes only and does not replace professional welding, metalworking, or safety training. Always follow your tool manuals, wear proper protective gear, and ask a qualified professional when a repair affects vehicle structure or personal safety.
Conclusion
Body hammers and dollies help you control metal shape after welding when you use them with patience. Choose a hammer and dolly that match the panel, then work in small sections with light taps. Practice each method on scrap metal before you repair a visible panel. With steady technique, you can create cleaner weld repairs and a smoother finished surface.


