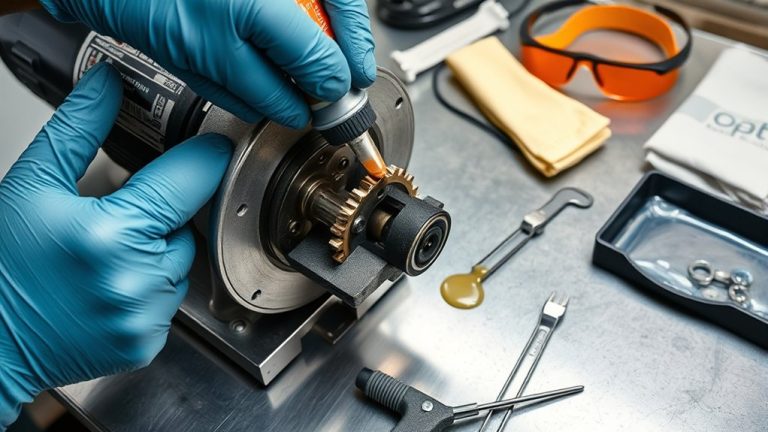
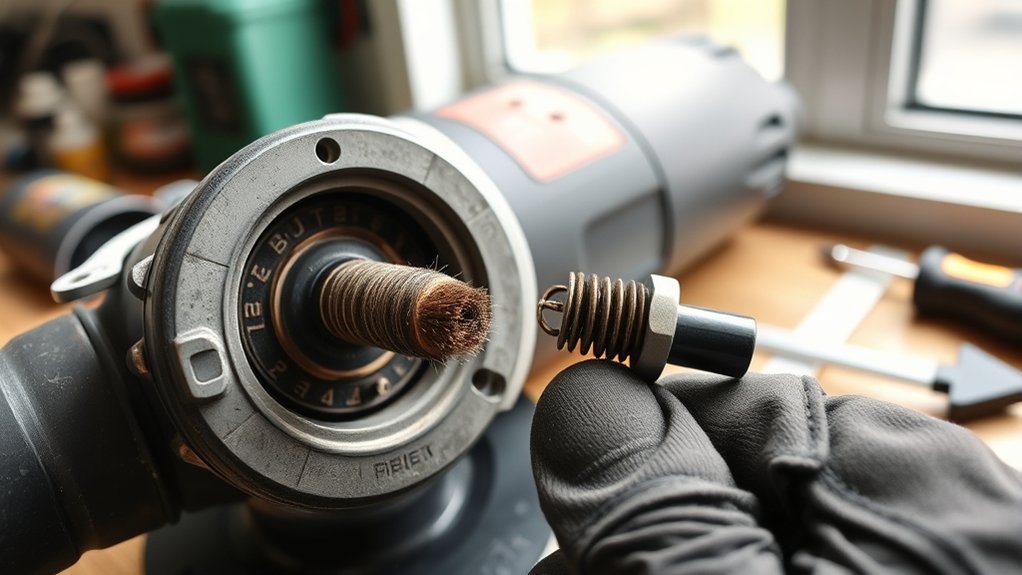
To check your angle grinder brushes for wear, first unplug the tool and let it cool. Then, use a screwdriver to remove the brush access covers. Gently take out the brushes, noting their orientation. Measure their length; replace them if they’re less than 1/4 of the original size. Examine for cracks or excessive wear. Confirm a snug fit before securing everything back. For tips on maintaining your grinder’s longevity, keep going for more insights.
Why Regular Angle Grinder Brush Inspection Is Critical

Regularly inspecting your angle grinder brushes is crucial because worn brushes can greatly impact tool performance. Brush wear affects power delivery, leading to inconsistent operation and increased sparking. This isn’t just a nuisance; it’s a critical maintenance issue. Brushes should be replaced once they wear down to a quarter of their original length, typically after 100-200 hours of use. Ignoring this can result in overheating, damaging the motor and potentially leading to costly repairs or even total tool replacement. Furthermore, failing to conduct systematic inspections increases the risk of accidents, as worn brushes can create electrical shorts, posing a safety hazard. By monitoring brush wear, you not only enhance the longevity and efficiency of your grinder but also guarantee a safer working environment. Prioritize this task to keep your tools performing at their best and to liberate yourself from future headaches and expenses.
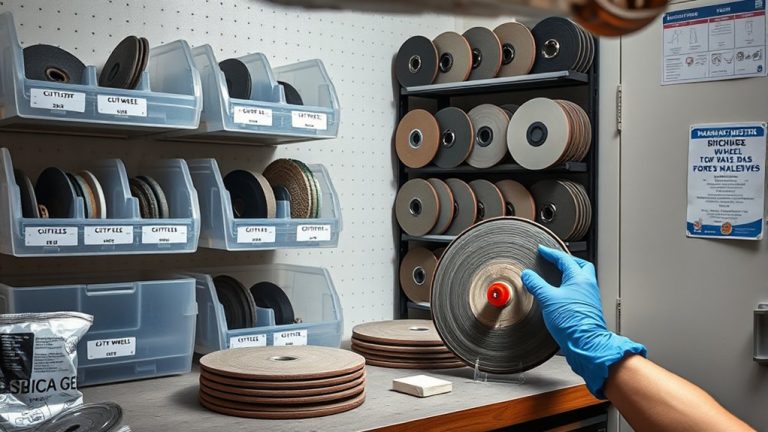
What Tools Do You Need for Brush Inspection?
To effectively inspect angle grinder brushes for wear, you’ll need five essential tools. First, grab a screwdriver to access the brush housing and remove any protective covers. This step is important for a thorough inspection. Next, a flashlight will illuminate the internal components, allowing you to clearly see the brushes and assess their condition.
You’ll also need a ruler or caliper to measure the length of the brushes, ensuring they haven’t worn down to less than 1/4 of their original length. Safety gloves are essential; they protect your hands from sharp edges or debris while handling the grinder. Finally, a soft brush or cloth is key for cleaning dust and debris from the brush area, ensuring you can inspect without causing damage. With these tools in hand, you’re well-equipped for a detailed and safe inspection.
Step-by-Step Process to Remove and Inspect Brushes
Begin by verifying the angle grinder is unplugged and cooled down to prevent electric shock or burns. Next, locate the brush access covers on the motor housing. Use the appropriate tool to unscrew these covers carefully. Once removed, gently take out the carbon brushes, noting their orientation for reassembly. Inspect the brushes for wear; if they’re worn down to 1/4 of their original length, replace them immediately.
After removing the brushes, check the brush holders for any signs of damage or excessive wear, as compromised holders can impact brush functionality. It’s essential to confirm all components are in good condition for peak performance. Finally, reassemble the grinder by securely replacing the brush covers, making sure everything is tight and properly aligned. Only then should you reconnect the power, ensuring your grinder is safe and ready for use.
Identifying Signs of Wear and Damage in Brushes
To identify wear and damage in your angle grinder brushes, start with a thorough visual inspection. Look for signs like cracks or breaks in the brush casing, which can compromise performance. Additionally, monitor for excessive sparking or inconsistent power delivery, as these symptoms indicate potential brush failure.
Visual Inspection Techniques
While inspecting angle grinder brushes, it’s essential to identify any signs of wear and damage that could compromise performance. Follow these visual inspection techniques:
- Check Length: Confirm the brushes are at least a quarter of their original length; shorter brushes typically need replacement.
- Inspect Brush Surface: Look for visible signs of damage, such as cracks or chips, which can negatively affect functionality.
- Fit Test: Verify that the brushes fit snugly in their holders; loose brushes may lead to uneven wear.
- Clean Regularly: Keep brushes and their housing clean to prevent dust buildup, which contributes to premature wear.
Performance Symptoms to Monitor
After conducting a thorough visual inspection of your angle grinder brushes, it’s important to monitor specific performance symptoms that indicate wear and damage. Increased sparking from the motor housing often signals worn carbon brushes needing replacement. You should also notice any inconsistent power delivery or difficulty starting the grinder, as these symptoms frequently point to brush wear. A drop in performance or unusual noises during operation can further suggest that the brushes are nearing the end of their life. Regularly inspect the brushes; replace them when they’ve worn down to about 1/4 of their original length, typically after 100-200 hours of use. Finally, be alert for overheating or a burning smell, as these require immediate attention.
How to Easily Replace Worn Brushes
Inspecting and replacing worn brushes in your angle grinder is a straightforward process that can greatly enhance its performance. Follow these steps to guarantee efficient replacement:
Inspecting and replacing worn brushes in your angle grinder is simple and essential for optimal performance.
- Remove the brush access cover to expose the carbon brushes.
- Inspect the brushes; they should be at least 1/4 inch long. If they’re shorter, it’s time to replace them.
- Note the orientation of the existing brushes before removing them. Use the same type for compatibility.
- Install new brushes and run the grinder for 5-10 minutes under light use to properly seat them.
Regularly check your brushes every 100-200 hours of use to avoid performance issues. By replacing worn brushes promptly, you can maintain peak power delivery and prevent sparking, guaranteeing your angle grinder operates at its best.
Tips for Maintaining Your Angle Grinder for Longevity
To guarantee your angle grinder lasts, establish a regular cleaning routine to remove dust and debris after each use. Inspect wear indicators frequently, as they provide essential insights into the tool’s condition. By maintaining these practices, you’ll enhance performance and extend the tool’s life.
Regular Cleaning Routine
Maintaining your angle grinder starts with a consistent cleaning routine that enhances its performance and longevity. A well-maintained grinder operates more efficiently and safely. Here’s how to establish your regular cleaning routine:
- Wipe Down: Use a dry rag to remove dust and debris from the exterior after each use.
- Blow Out: Use compressed air to clear dust and metal particles from air vents, preventing overheating.
- Inspect Cords: Always inspect the power cord for cuts or frays before every use; replace damaged cords immediately.
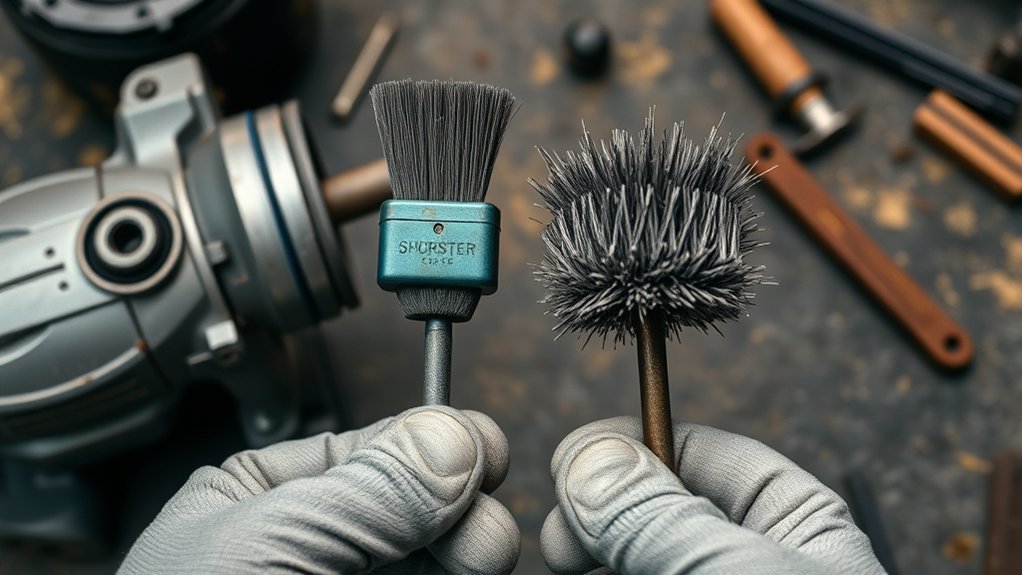
- Clean Spindle: Use a wire brush to clean the spindle area and disc mounting, eliminating any metal buildup.
Inspecting Wear Indicators
After establishing a regular cleaning routine, attention turns to the condition of carbon brushes in your angle grinder. Regularly inspect the brushes for wear; replace them when they’re worn down to a quarter of their original length. This guarantees peak performance and prevents potential motor damage. Look for signs of sparking or inconsistent power delivery—these indicate that the brushes might need replacing. Also, monitor for increased motor noise or overheating, as these can signal poor contact or excessive wear. After replacing the brushes, verify they’re properly seated and allow for 5-10 minutes of light use to settle. Always consult the manufacturer’s guidelines for specific maintenance intervals tailored to your angle grinder model.
Frequently Asked Questions
How to Inspect an Angle Grinder?
To inspect your angle grinder, unplug it first. Check carbon brushes for wear, ensuring they’re not shorter than 1/4 of their original length. Apply brush replacement techniques and troubleshoot common issues like burning or sparking.
What Are the Safety Precautions for Wire Brushes?
When using wire brushes, prioritize safety by selecting the right type for your application, maintaining them properly, and wearing appropriate PPE. Always check for wear, match RPM ratings, and apply correct pressure during use.
What Are the Safety Precautions When Using an Angle Grinder?
When using an angle grinder, guarantee proper maintenance, check for brush replacement, and wear PPE. Maintain a firm grip, inspect the tool before use, and keep air vents clean for safe operation.
What Are the OSHA Requirements for Angle Grinder Guards?
OSHA requires adjustable guards for angle grinders, covering at least half the wheel. Regular maintenance checks guarantee compliance with safety standards, preventing cracks or damage. Adhere to guard types to maintain ideal protection during operation.
Conclusion
By regularly checking your angle grinder brushes, you not only enhance performance but also extend the tool’s lifespan. It’s a simple task that pays off—just like the unexpected synergy between routine maintenance and productivity. When you catch wear early, you avoid costly repairs and downtime. Embrace this small but vital step; it’s a reminder that diligence in the details leads to greater efficiency, reflecting a deeper commitment to quality in your work and tools.