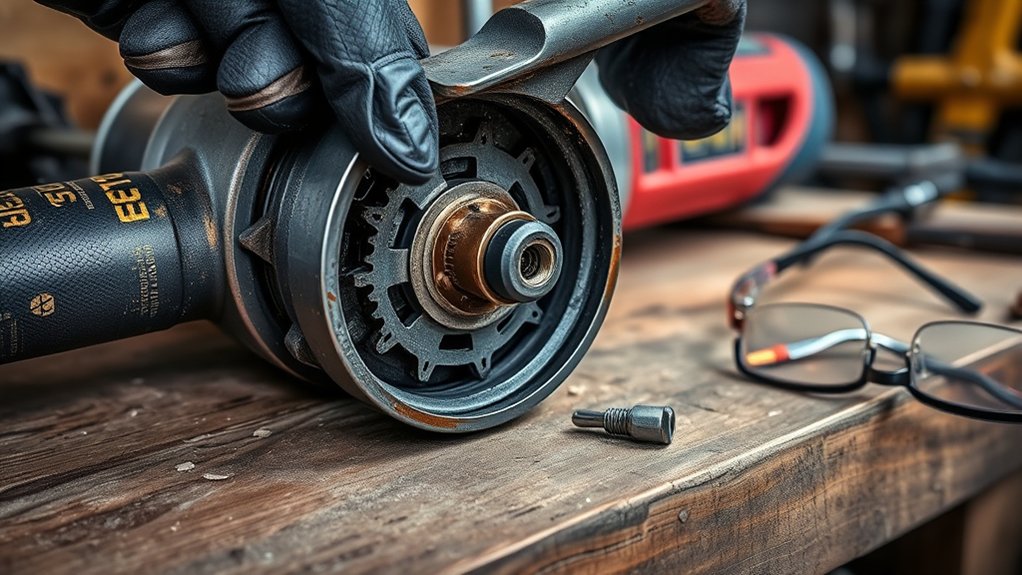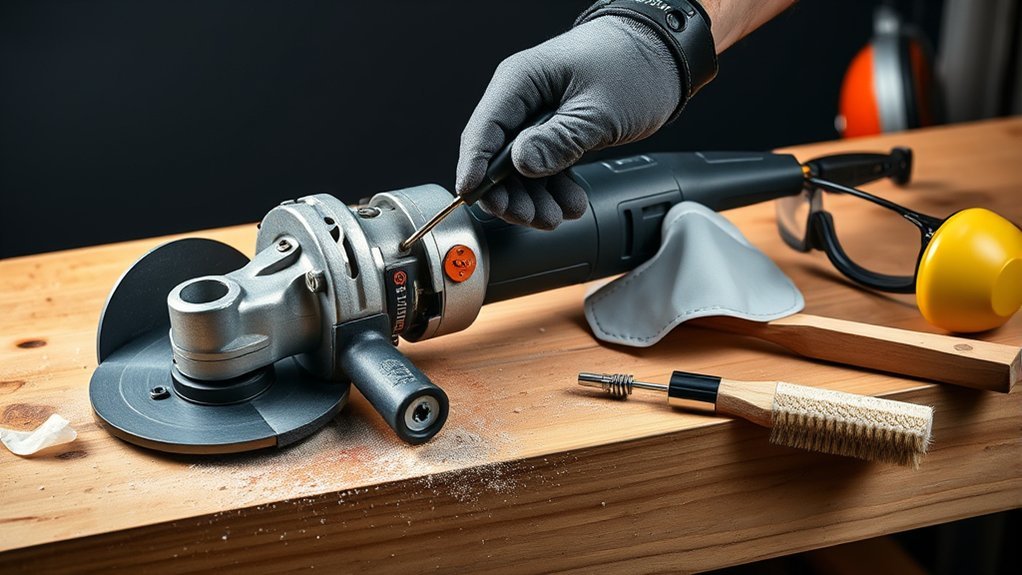
Your angle grinder may lose power, run unevenly, or spark more than usual when its carbon brushes wear or stick. Carbon-brush service is simple on some grinders and a technician-only job on others. The safest approach is to identify the exact model, follow its manual, and replace brushes only at the manufacturer’s wear limit.
Quick Answer
Inspect angle grinder carbon brushes when the tool loses power, runs erratically, develops unusual arcing, or reaches the manual’s service interval. Replace both brushes with identical model-specific parts when they reach the marked wear limit or show damage. Unplug the cord or remove the battery before opening any brush cover.
Key Takeaways
- First confirm that the grinder has a brushed motor; brushless grinders do not use replaceable carbon brushes.
- Use the wear limit, service mark, and instructions in the exact model’s manual instead of a universal percentage rule.
- Replace brushes as a matched pair when the manufacturer calls for it, and use the specified part number or approved equivalent.
- A brush must slide freely in its holder and sit in the correct direction with the spring and lead positioned properly.
- Stop testing if heavy arcing, smoke, a burning odor, unstable speed, or electrical tripping continues after replacement.
At a Glance
| Time Required | About 20–30 minutes for a model with owner-accessible brush caps |
| Difficulty | Easy to moderate; enclosed or service-only designs require a qualified repair center |
| Tools Needed | Correct screwdriver, safety glasses, clean dry cloth or soft brush, and the model-specific manual |
| Cost | Low for a model-specific brush pair; professional labor and motor repairs cost more |
What Are Carbon Brushes and Why Are They Essential for Angle Grinders?
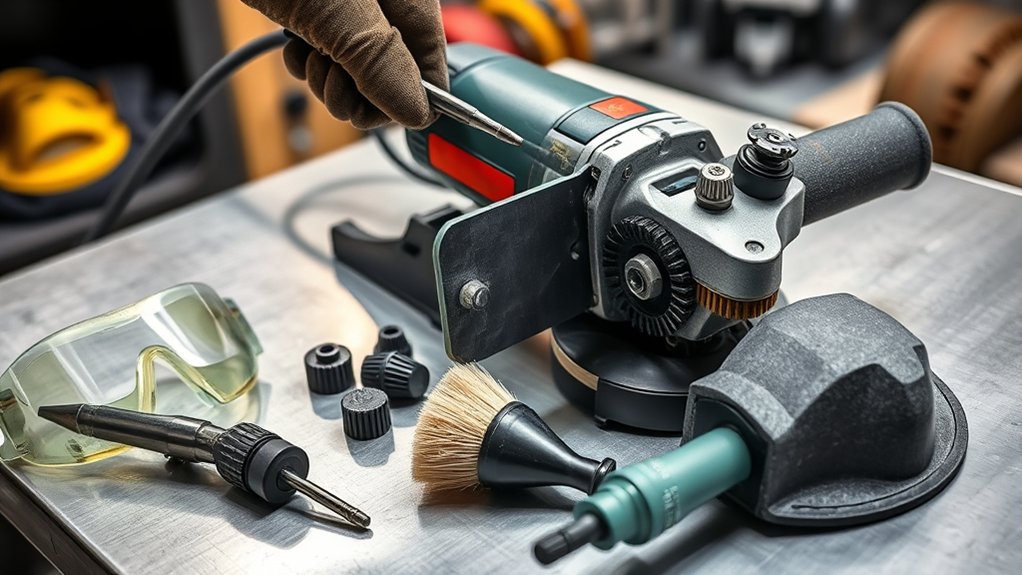
In a brushed motor, spring-loaded carbon blocks press against the rotating commutator. That sliding contact carries electrical current into the armature so the motor can turn the grinding wheel. The brushes slowly wear because they remain in contact with the spinning commutator.
Not every angle grinder has this part. Modern brushless models use electronic commutation and have no traditional carbon brushes to inspect or replace. Bosch, for example, describes its brushless GWS 30-230 PB as operating without a commutator or carbon brushes. Check the product label and manual before buying parts.
On a brushed grinder, poor contact can cause reduced power, unstable speed, harder starting, excess heat, or increased arcing. Those symptoms can also come from a damaged cord, switch, armature, bearing, or power source, so brushes should be inspected rather than assumed to be the only cause.
There is no dependable universal “replace at 50%” rule. Use the limit mark, minimum length, auto-stop feature, or service instruction specified for the exact grinder model.
Before You Begin: Safety and Tools
Start by finding the full model and type number on the grinder’s nameplate. Similar-looking grinders can use different brush sizes, terminals, springs, or holder designs. Use the manual, manufacturer parts diagram, or authorized parts catalog to confirm the exact replacement pair.
You may need:
- A matching pair of manufacturer-specified carbon brushes
- A screwdriver that fully fits the brush-cap or housing screws
- A clean, dry cloth or soft nonmetallic brush
- The angle grinder manual and model or type number
- Safety glasses for loose dust and debris
- A small tray for caps and screws
Warning: Switch the grinder off, unplug it or remove the battery, and wait for the wheel to stop before service. OSHA advises disconnecting power tools before servicing, and Bosch gives the same instruction for grinder adjustments and maintenance. Do not rely on the trigger switch alone.
Confirm the Grinder Is Owner-Serviceable
Proceed only if the manual shows an owner-accessible brush procedure or the tool has external brush caps or a brush window. Some models are designed for quick brush replacement, while other manufacturers direct brush or internal motor work to trained service personnel. Do not split the main housing, disturb insulated wiring, or bypass a warranty seal unless the manual clearly authorizes that work.
How to Identify Worn Carbon Brushes in Your Angle Grinder
Inspect both brushes and compare them side by side. The most reliable replacement point is the limit mark or minimum length stated in the manual. Makita angle-grinder instructions, for example, say to replace brushes at the limit mark, keep them free to slide in their holders, and replace both at the same time with identical parts.
Replace or professionally inspect the brushes when you find:
- A brush at or past its marked wear limit
- Cracks, chips, crumbling edges, or a broken lead
- Heavy burning, glazing, or an unusually rough contact face
- A brush that sticks instead of sliding freely in the holder
- Strongly uneven wear between the two brushes
- A weak or damaged spring, overheated terminal, or distorted holder
Products Worth Considering

[Compatibility]: Compatible With WS125, Black & Decker G720.

Premium Graphite & Copper Build – Crafted from high-quality graphite and copper, these carbon brushes deliver excellent conductivity, stable performance, and extended durability—ensuring your power tools and motors run at their best.

Material is Carbon and Metal, size is 13x9x6mm/0.51"x0.35"x0.23“
Normal Sparking Versus Problem Arcing
A brushed motor may show small, even sparks through its vents. Stop using the grinder when sparking suddenly increases, forms bright flashes around the commutator, appears with unstable speed, or comes with smoke, a hot electrical odor, or unusual noise. Heavy arcing can damage the commutator and may signal an armature or holder fault rather than ordinary brush wear.
Replacing Carbon Brushes: A Step-by-Step Guide
Use this procedure only when it matches the instructions for your exact grinder. A model with external caps may be straightforward; a sealed or internally wired design should go to an authorized service center.
- Disconnect all power. Unplug a corded grinder or remove the battery from a cordless model. Place the switch in the off position.
- Remove the wheel if the manual requires it. Set the grinder on a stable, clean bench where it cannot roll.
- Verify the replacement part. Match the model, type number, brush part number, dimensions, lead, terminal, and spring arrangement.
- Open the brush access points. Remove only the caps, rear cover, or brush window identified in the manual. Use a screwdriver that fits so the plastic cap is not damaged.
- Document the original layout. Note the brush direction, curved face, lead routing, spring position, and terminal connection before removal.
- Remove both old brushes. Pull them straight out without twisting the lead or bending the holder. Keep the two old brushes separate so you can compare wear.
- Inspect the holders and visible commutator. Look for melted plastic, loose terminals, broken springs, deep grooves, lifted copper bars, or severe blackening. Stop and seek service if you find any of these conditions.
- Clean the accessible area dry. Remove loose dust with a dry cloth or soft brush. Do not add oil or grease, spray solvent into the motor, or scrape the holder with metal tools.
- Install the new matched pair. Fit each brush in the same direction as the original. Confirm that it slides freely and that the lead and spring are not pinched.
- Reinstall the caps or cover. Start threaded caps by hand and tighten them evenly without forcing or cross-threading them.
- Reassemble the grinder. Replace every cover, fastener, guard, and handle removed for access before reconnecting power.
- Perform a controlled no-load check. In a clear area, hold the grinder securely and run it briefly without contacting a workpiece. Follow any model-specific bedding or test procedure in the manual.
Warning: Stop the test immediately if the grinder fails to start normally, surges, produces heavy arcing, smokes, smells electrically hot, trips a breaker, or makes a new grinding or knocking sound.
Products Worth Considering

Compatibility -- Fits all 4-1/2" angle grinders and grinders with 5/8"-11 threaded arbors. Easy to mount wire wheel for angle grinder for both professionals and DIY users. Do wear protective gear before operation for safe rust removal and cleaning!!!

Suitable For DeW--LT DWE43116 4-1/2" (115mm) / 6" (150mm) Angle Grinder.

UPGRADED THICKER COPPER WIRE: Engineered with thicker copper for higher conductivity and more stable current flow, delivering improved contact, greater durability, and extended service life.
Do New Carbon Brushes Need to Bed In?
The answer is model-specific. New brushes must develop proper contact with the commutator, but the manufacturer may call for only a brief no-load check or may provide a specific run-in step. Do not sand, file, or reshape a power-tool brush unless the manual expressly requires it; an incorrect contact face can increase arcing and damage the commutator.
How to Make Your Carbon Brushes Last Longer
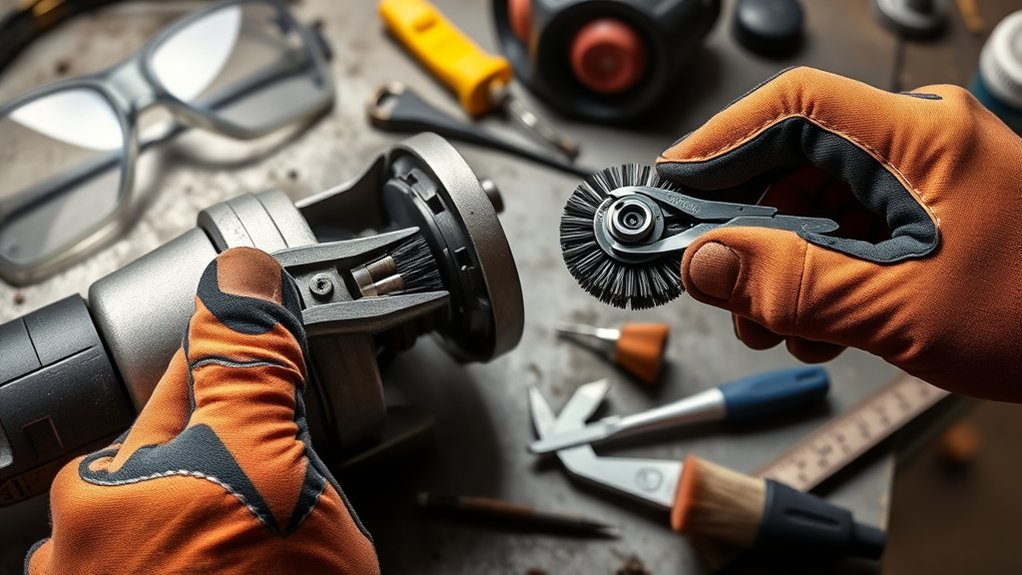
Keep the grinder’s intake and exhaust vents open so the motor can cool. Dust packed around a holder can restrict brush movement, while overheated or overloaded operation can speed wear and damage other motor parts.
Use the correct wheel for the material, keep the guard installed, and let the abrasive do the work. Excessive pressure can overload the motor and raise heat. Store the grinder in a clean, dry place, protect the cord and battery contacts, and remove the tool from service if a cord, switch, guard, or housing is damaged.
Use replacement brushes that match the exact model and are supplied or approved for that tool. Brush grade, size, lead, and spring arrangement affect contact and commutator wear; a brush that merely fits the opening is not necessarily correct.
Pro Tip: Save the old matched pair until the repair passes its no-load check. A large difference in their lengths or contact faces can help a technician identify a sticking holder, weak spring, or commutator problem.
Common Mistakes That Shorten Carbon Brush Life
Avoid these common errors:
- Using a generic brush because its outside dimensions look close
- Replacing only one brush when the manual specifies a matched pair
- Installing a brush backward or pinching its lead under the cover
- Forcing a brush that does not slide freely in the holder
- Lubricating the brush, holder, or commutator
- Cleaning the motor with liquid solvent or a metal pick
- Running the grinder with blocked cooling vents
- Forcing the wheel through material and repeatedly overloading the motor
- Ignoring heavy arcing, heat, smoke, electrical tripping, or a burning odor
- Testing the grinder before every cover, fastener, handle, and guard is restored
Good brush maintenance protects the commutator, armature, holders, and wiring as well as the brushes themselves.
Troubleshooting After Carbon Brush Replacement
The Grinder Will Not Start
Disconnect power again. Confirm that the battery is charged or the outlet works, the switch is off before reconnection, both brushes are seated, both springs apply pressure, the leads are connected, and the caps are fully installed. If the tool uses auto-stop brushes, verify that the exact replacement design was used.
Heavy Sparking Continues
Stop the grinder. The brushes may be wrong, reversed, stuck, poorly seated, or held by a weak spring. Continued arcing can also point to a rough or damaged commutator, a shorted armature, loose wiring, or contamination that requires professional diagnosis.
One Brush Wears Faster Than the Other
Uneven wear is not solved by repeatedly replacing the shorter brush. Inspect for a binding holder, damaged spring, misaligned brush, rough commutator surface, or electrical fault. Replace the pair only after the underlying cause is corrected.
The Grinder Runs Hot or Trips Power
Remove it from service. Blocked vents, overloaded operation, bearing drag, damaged windings, a failing cord or switch, or an armature fault may be involved. Do not continue testing a tool that trips a breaker or protective device.
When to Stop Using the Grinder and Get Help
Use an authorized or qualified repair service when the manual does not provide a brush-replacement procedure, the main housing must be opened, insulated wires or terminals are damaged, the holder is melted, or the visible commutator has deep grooves, raised bars, severe burning, or looseness.
Professional diagnosis is also the safer choice when new brushes do not restore steady operation, the grinder has heavy arcing or a burning odor, the wheel speed surges, the tool trips power, or a bearing makes noise. Continuing to run a faulty motor can turn a small brush problem into armature, commutator, or housing damage.
Carbon Brush Care and Safety Tips
Use this maintenance checklist:
- Record the grinder’s full model and type number before ordering parts.
- Inspect brushes at the interval in the manual and whenever performance changes.
- Keep the holders, vents, switch area, cord, and battery contacts clean and dry.
- Replace both brushes with identical parts when the manufacturer specifies a pair.
- Check that each brush moves freely before closing the cover.
- Restore all guards and covers before reconnecting power.
- Test briefly at no load and stop at the first sign of abnormal operation.
Note: Some brushed grinders use auto-stop carbon brushes that shut the motor down at the wear limit. Other grinders use ordinary service-limit marks, and brushless grinders have no carbon brushes at all. The model manual controls.
Frequently Asked Questions
How Do You Know When Carbon Brushes Are Worn?
Use the limit mark or minimum length in the grinder’s manual. Cracks, chips, broken leads, sticking, severe burning, unequal wear, weak power, unstable speed, and a sudden increase in arcing are also warning signs. Do not rely on a universal percentage of the original brush length.
How Often Should You Check Angle Grinder Carbon Brushes?
Follow the service interval in the exact model’s manual. Inspect sooner when the grinder is used heavily, works in abrasive dust, loses power, becomes difficult to start, runs unevenly, or sparks more than usual.
Can You Replace Carbon Brushes Yourself?
Yes, when the manual provides an owner procedure and the grinder has accessible brush caps, a rear cover, or a brush window. Use exact parts and disconnect power first. Use a qualified service center when the main housing must be opened or the manual reserves the work for trained personnel.
What Is the Function of a Carbon Brush in a Grinder?
In a brushed motor, the spring-loaded carbon brush carries current between the stationary electrical circuit and the rotating commutator and armature. This sliding contact lets the motor turn while the brush wears gradually.
Do Carbon Brushes Need to Bed In?
They need correct contact with the commutator, but the run-in procedure varies by model. Follow the manual and perform only the specified no-load check. Do not sand or reshape a replacement brush unless the manufacturer expressly instructs you to do so.
Should Angle Grinder Brushes Be Replaced in Pairs?
Usually yes when the manufacturer specifies a matched pair. Installing two identical new brushes helps keep spring pressure and contact more consistent. Follow the exact model manual rather than mixing a new brush with a partly worn one.
Do Brushless Angle Grinders Have Carbon Brushes?
No. A brushless grinder uses electronic commutation instead of a commutator and replaceable carbon brushes. Confirm the motor type before opening the tool or ordering brush parts.
Why Does the Grinder Still Spark After New Brushes?
A small amount of even sparking can occur in a brushed motor, but heavy or increasing arcing may mean the brush is wrong, reversed, stuck, poorly seated, or held by a weak spring. A damaged commutator, armature, terminal, or wire may also be responsible. Stop and seek service if arcing is heavy or comes with heat, odor, smoke, or unstable speed.
Conclusion
Carbon brush maintenance can restore steady performance and help protect a brushed angle grinder’s motor, but the repair must follow the exact model’s design. Identify whether the grinder is brushed, use its service limit instead of a blanket percentage, replace the specified pair, keep the holders clean and dry, and stop testing if abnormal arcing, heat, odor, smoke, or electrical tripping continues.
Sources
- OSHA: Electrical Incidents—Power Tools — disconnecting power tools before servicing and general electrical-tool precautions
- Makita GA5010/GA6010 Angle Grinder Instruction Manual — limit-mark replacement, free brush movement, identical paired brushes, and model-specific service steps
- Bosch Professional: Proper Use of Angle Grinders — disconnecting the plug or battery before adjustments and grinder inspection
- Bosch Professional Spare Parts Service — model-matched spare parts and specialist fitting guidance
- DEWALT DWE4517 Angle Grinder — example of a grinder designed with a brush window for quick replacement
- Metabo WEP 15-125 Quick Angle Grinder — example of model-specific auto-stop carbon brushes