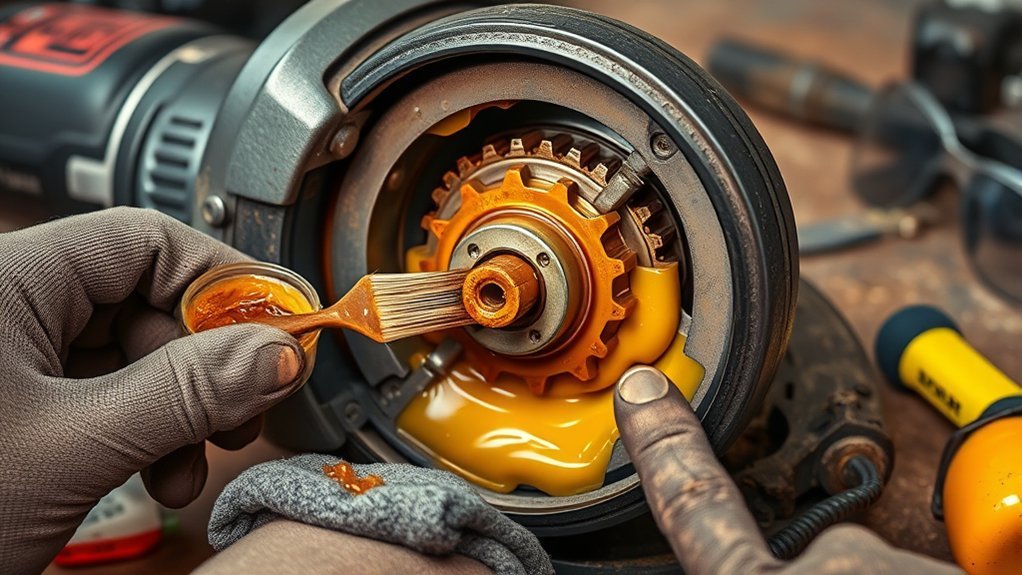
Angle grinder gearbox grease protects the bevel gears and nearby bearings from wear, heat, and corrosion. The difficult part is not simply adding grease—it is matching the lubricant and quantity to the exact grinder model. A grease that works in one gearbox may be too stiff, chemically incompatible, or excessive in another.
Quick Answer
Use the grease type and quantity specified for your exact angle grinder model. Disconnect power, open the gear housing only if the manufacturer permits user service, remove incompatible old grease, inspect the gears and seals, apply the measured amount, reassemble correctly, and stop if the tool remains noisy, hot, or rough.
Key Takeaways
- There is no universal “best” grease or fill percentage for every angle grinder.
- Match the lubricant, consistency, additives, and quantity to the model manual, parts information, or manufacturer service guidance.
- Do not mix greases unless compatibility is confirmed; incompatible products can soften, harden, or separate.
- Never use a heat gun, flame, or spark-producing tool near solvent or grease residue.
- Grinding noise, metal flakes, shaft play, damaged seals, or persistent heat usually require repair—not another scoop of grease.
At a Glance
| Time Required | About 30–60 minutes for an accessible, serviceable gearcase; longer if parts or seals need replacement |
| Difficulty | Moderate; unsuitable for sealed, under-warranty, or unfamiliar models |
| Tools Needed | Model-correct bits or drivers, small plastic scraper, soft brush, lint-free cloths, parts tray, gloves, eye protection, and a torque tool if the manual gives screw torque |
| Cost | Varies by model; allow for the specified grease, approved cleaner, and any required gasket or O-ring |
Warning: Unplug a corded grinder or remove the battery from a cordless grinder before touching the spindle or opening the housing. Let the tool cool, remove the wheel, and confirm that the switch cannot start the motor. Opening the gearcase may affect warranty coverage, and many manufacturers direct internal repairs to qualified service personnel.
Step-by-Step Guide: How to Lubricate an Angle Grinder Gearbox
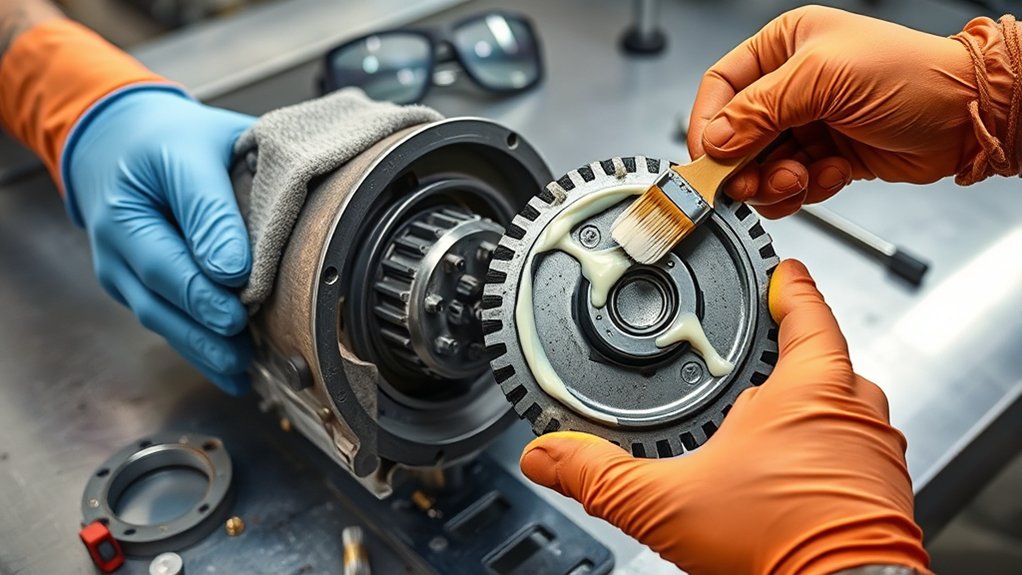
Good lubrication can extend gear life, but only when the gearbox is serviceable and the correct lubricant is used. A current Makita angle grinder manual, for example, tells users to disconnect power before maintenance and directs repairs and other internal maintenance to authorized or factory service centers. Check your own model’s instructions before proceeding.
Products Worth Considering

✅High-temperature lubrication: Enjoy smooth efficient operatiion while maximizing equipment lifespan with our angle grinder grease. Engineered with a special high-temperature formula, this grease provides unparalleled resistance to extreme heat and maintains excellent performance in any environment.
▸Outstanding Heat Protection: Ensure your equipment's longevity in the most extreme heat environments with our angle grinder grease's unique high-temperature formula that provides remarkable lubrication, maintaining optimal performance at all times.

For High Speed, High Temp Angle Heads(Green) Grease #67, Size - 4OZ
1. Check the Model and Service Guidance
Record the full model and type number from the nameplate. Find the manufacturer’s manual, parts diagram, service bulletin, or approved lubricant listing. Confirm all of the following before opening the tool:
- The gear housing is intended to be opened for service.
- The exact grease product or specification is known.
- The required quantity is known, or the manufacturer provides a clear application method.
- A replacement gasket, O-ring, sealant, or single-use fastener is not required.
If those details are unavailable, use an authorized service center rather than guessing.
2. Isolate Power and Prepare the Tool
Unplug the tool or remove its battery. Remove the grinding wheel and any accessory that could cut you while the tool is handled. Clean dust from the outside of the gear housing so debris cannot fall inside. Work on a stable bench with good lighting and a tray for screws.
3. Open the Gear Housing Carefully
Photograph the housing before disassembly. Mark screw locations if lengths differ, then loosen them evenly with the correct driver. Separate the housing without prying against machined sealing surfaces, wiring, or bearings. Do not pull the armature or spindle assembly unless the service procedure requires it.
4. Inspect Before Cleaning
Look for chipped or pitted gear teeth, blue heat marks, metallic flakes, rough bearings, excess shaft play, cracked housings, damaged seals, or grease that has leaked into the motor area. A gritty texture, burnt odor, heavy separation, water contamination, or hardened deposits can indicate lubricant failure. Dark color alone is not proof of failure because some fresh greases contain dark solid additives.
Note: If you find metal particles, broken teeth, bearing play, or a damaged seal, stop. Fresh grease cannot repair worn components, and running the grinder may spread damage through the gearbox.
5. Remove the Old Grease
Lift out the bulk of the old grease with a plastic scraper, wooden stick, or lint-free cloth. Use a soft brush for gear teeth and corners. If a cleaner is needed, use only a product approved for the housing materials, seals, and lubricant involved. Apply it sparingly to the cloth or brush rather than flooding the gearbox.
6. Dry and Check the Parts
Let all cleaned parts dry fully before adding grease. Do not use a heat gun, torch, open flame, or spark-producing tool. Do not blow solvent or contaminated grease through the tool with compressed air. Recheck the gear mesh, bearings, sealing surfaces, and vents after cleaning.
7. Apply the Correct Grease
Measure the amount specified by the manufacturer. Spread it across the working faces of the bevel gear teeth and any other points named in the service instructions. Keep grease away from the motor, brushes, electronic controls, air passages, threaded fastener holes, and sealing surfaces unless the procedure says otherwise.
Do not rely on a universal one-third, two-thirds, or “one teaspoon” rule. Gearcase volume, grease consistency, operating speed, gear geometry, and the manufacturer’s application method differ by model. Too little grease can leave the mesh dry; too much can cause churning, drag, leakage, and higher temperature.
Pro Tip: Before removing the original grease, photograph its location and note the measured amount when practical. That record can help confirm the service information, but it should not replace the manufacturer’s specification.
8. Reassemble the Gearbox
Replace any damaged gasket or O-ring. Align the gear housing without forcing it, then tighten the screws evenly in stages. Use the stated torque when the manufacturer provides one. Confirm that the spindle turns as expected and that no wire, seal, or part is pinched.
9. Perform a Controlled Test
Reinstall the guard and required exterior parts. Keep hands clear of the spindle, stand out of its plane, and run the grinder without applying a grinding load. Listen for scraping, clicking, knocking, or a new whine. Stop immediately if the housing heats rapidly, grease leaks, the spindle binds, or vibration increases. A short controlled test is a check—not proof that damaged gears or bearings are safe.
What Is Angle Grinder Gearbox Grease and Why Does It Matter?
Angle grinder gearbox grease is a semi-solid lubricant designed to stay near the meshing gears while releasing base oil into the contact zone. It reduces friction, limits wear, carries heat away from the tooth contact, and helps protect metal surfaces from corrosion.
Angle grinders operate at high spindle speeds. A FUCHS/Nye power-tool case study describes specific small and large angle grinders operating at 6,500–8,500 rpm and using purpose-selected, lithium-soap-thickened EP greases. That case study supports the need for an application-specific lubricant; it does not make every lithium, EP, or molybdenum grease interchangeable.
The safest grease amount is the manufacturer’s measured amount—not a universal percentage of the housing.
Key Indicators for Changing Angle Grinder Grease
There is no reliable six-month replacement interval that fits every angle grinder. Some models are treated as factory-lubricated assemblies, while others have model-specific service procedures. Base the decision on the manual, duty cycle, contamination, leakage, and symptoms.
| Indicator | What It May Mean | Action |
|---|---|---|
| Grit, metal sparkle, or chips | Gear or bearing wear | Stop using the tool and inspect or obtain professional service |
| Hard, waxy, dry, or heavily separated grease | Aged, overheated, or incompatible lubricant | Clean and replace with the specified product after checking for damage |
| Water, rust, or milky contamination | Moisture entry or seal failure | Correct the leak, inspect bearings and gears, and replace contaminated grease |
| Grease leaking from the housing | Overfill, wrong consistency, loose housing, or failed seal | Stop, identify the cause, and repair before further use |
| Rapid heat, drag, or sluggish coast-down | Overfill, stiff grease, blocked vents, overload, bearing trouble, or gear damage | Stop and diagnose; do not assume the cure is more grease |
| Dark grease with no grit, odor, or separation | May be normal pigment or a solid additive | Compare with fresh grease and the service specification before replacing it |
Choosing the Right Grease Type
The correct choice is the manufacturer-specified product or a documented equivalent. “High-speed,” “lithium,” “EP,” “moly,” and “CV joint” describe only parts of a formulation. They do not confirm the base-oil viscosity, thickener compatibility, additive chemistry, elastomer compatibility, low-temperature behavior, or required consistency.
Products Worth Considering
High-temperature lubrication : Enjoy smooth and efficient operationn while maximizing equipment lifespan with our angle grinder grease. Engineered with a special high-temperature formula, this grease provides unparalleled resistance to extreme heat and maintains excellent performance in any environment

This is an O.E.M. authorized part

Spring-loaded collar for extra-sturdy connection
Lithium and Lithium-Complex Grease
Lithium-soap greases are used in some power-tool gear trains, including the specific FUCHS/Nye angle grinder application cited above. That makes them a possible design choice, not an automatic substitute for the original lubricant. Lithium-complex grease may have different temperature and mechanical properties from a simple lithium grease.
Molybdenum Disulfide Grease
Molybdenum disulfide, or MoS2, is a solid lubricant added to some greases for loaded sliding contacts. Use it only when the manufacturer specifies or approves it. Its presence does not tell you whether the rest of the formulation suits a high-speed grinder gearbox.
CV Joint and Automotive Grease
CV joint, wheel-bearing, chassis, and general-purpose greases are not safe universal defaults. An automotive grease may be too stiff, contain an unsuitable additive package, or be incompatible with the original grease and seals. Use one only when a manufacturer or qualified service source documents it for the exact grinder.
NLGI Consistency
NLGI grades describe grease consistency, not complete performance. The FUCHS explanation of NLGI grades shows that lower grades are softer and higher grades are firmer. A statement such as “use NLGI 00 to 2” is therefore too broad unless the model specification narrows the choice.
Grease Compatibility
Do not top up an unknown grease with a different product. ExxonMobil’s technical guide to grease consistency and compatibility explains that incompatible formulations can harden, soften, or separate. When changing products, remove the old grease as completely as the service procedure permits and confirm compatibility with the lubricant supplier or tool manufacturer.
Best Ways to Remove Old Grease
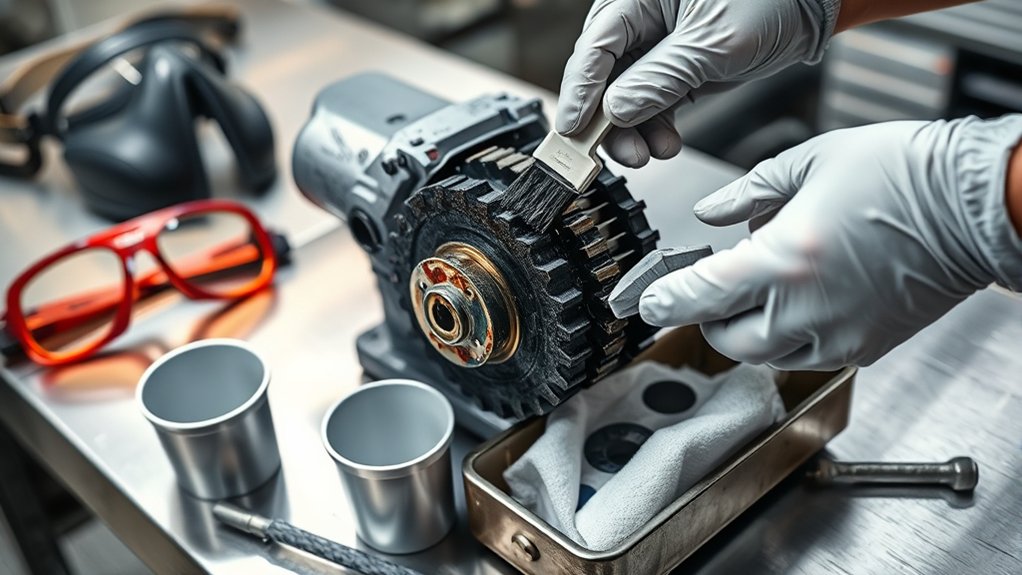
Start with mechanical removal. A plastic scraper, wooden stick, soft-bristle brush, and lint-free cloth usually remove most of the grease without flooding the assembly. Keep debris away from open bearings, motor windings, switches, and electronic controls.
If residue remains, use the cleaner named by the manufacturer or a cleaner confirmed safe for the metals, plastics, coatings, adhesives, and seals in the tool. Mineral spirits may dissolve some petroleum greases, but they are not automatically suitable for every housing or seal. Read the product safety data sheet, provide ventilation, eliminate ignition sources, and wear chemical-resistant gloves and splash protection as directed.
Never heat solvent-wet parts with a heat gun. Many cleaning solvents produce flammable vapor, and added heat can damage seals, plastic parts, insulation, or grease-retaining features. Allow parts to dry naturally in a safe, ventilated area before reassembly.
What Mistakes Should You Avoid When Greasing Your Angle Grinder?
The most damaging mistakes are guessing the lubricant, guessing the amount, mixing incompatible greases, contaminating the gearbox, and treating mechanical damage as a lubrication problem.
Overpacking Grease
Overpacking creates churning resistance as the gears force their way through excess lubricant. That can increase drag, heat, leakage, and power consumption. It may also push grease toward the motor or past seals. Use the specified mass, volume, or application pattern rather than filling a fraction of the housing by sight.
Underfilling or Placing Grease Only on the Walls
Too little grease, or grease left only on housing walls, may fail to replenish the gear mesh. Apply the specified amount where the service instructions show it, then rotate the spindle by hand only when the tool is fully disconnected and the procedure permits it.
Ignoring Regular Maintenance
Ignoring leakage, new noise, roughness, vibration, or rapid heat can turn a small seal or bearing problem into gear damage. Regular maintenance does not necessarily mean opening the gearbox every six months. It means inspecting the tool before use, keeping vents clear, following the model’s service schedule, and acting when symptoms appear.
Using the Wrong Cleaner or Mixing Greases
Strong solvents can attack plastics, paint, adhesives, insulation, and elastomer seals. Mixed greases can change consistency or shed oil. Use the approved cleaner, remove the old grease when changing formulations, and keep lint, abrasive dust, and metal debris out of the housing.
Essential Safety Tips for Handling Angle Grinder Grease
Internal grinder work combines electrical, mechanical, chemical, and warranty risks. Use the manual as the controlling document and stop when the repair exceeds your experience or tools.
Personal Protective Equipment
Wear nitrile or other chemical-resistant gloves suited to the grease and cleaner, plus safety glasses. Use splash goggles when liquid cleaner could splash. A disposable dust mask does not protect against solvent vapor. If a safety data sheet requires respiratory protection, use the specified, properly fitted respirator—or avoid the exposure and have the work performed by a qualified service center. Closed-toe footwear is sensible when a heavy tool or gearbox part could fall, but a stable bench and secure parts handling are the primary controls.
Fire and Ventilation Safety
Work in a ventilated area away from flames, heaters, cigarettes, switches that may spark, and hot surfaces. Keep cleaners in their labeled containers. Do not use gasoline, and do not energize the grinder until solvent has fully evaporated and the housing is correctly closed.
Safe Disposal Practices
Collect removed grease, solvent residue, and contaminated wipes in compatible, closed, labeled containers. Do not pour them into a sink, storm drain, onto soil, or into the trash unless your local waste authority specifically permits that disposal method. The U.S. Environmental Protection Agency’s used-oil guidance recommends checking with local maintenance facilities, waste collectors, and government waste officials for collection options. Local rules determine how household grease and solvent waste must be handled.
Troubleshooting Common Greasing Issues
Use symptoms as clues, not as proof. Heat, noise, drag, and leakage can come from lubricant selection, assembly errors, blocked cooling, damaged gears, failing bearings, overload, or electrical problems.
The Grinder Runs Hot or Feels Sluggish After Greasing
Stop the tool and disconnect power. Check whether the specified quantity was exceeded, the grease is too stiff, vents are blocked, seals are dragging, or parts were misaligned. If the amount and assembly are correct, inspect the bearings and gears or obtain professional service.
Grease Is on the Walls but the Gears Look Dry
Some grease migration is normal, but a dry gear mesh may mean the grease is too stiff, the amount is wrong, the product has separated, or the application pattern is incorrect. Do not simply pack the cavity full. Confirm the specified lubricant and placement.
The Gearbox Still Makes Noise After Greasing
Clicking, knocking, scraping, or a rising whine may indicate chipped teeth, incorrect gear mesh, worn bearings, loose fasteners, or misassembly. Grease can reduce friction; it cannot restore damaged geometry. Stop using the grinder until the cause is found.
Grease Leaks After Reassembly
Possible causes include overfill, a pinched or reused seal, damaged sealing surfaces, loose screws, incompatible grease, or heat-driven separation. Clean the exterior, correct the cause, and replace damaged sealing parts before further use.
When to Use a Service Center
Choose professional service when the grinder is under warranty, the manual directs internal work to qualified personnel, the housing is sealed, the correct lubricant or quantity is unknown, or you find metal debris, damaged gears, bearing play, wiring damage, electronic controls, or a cracked housing. Manufacturer service resources, such as the Bosch manuals and parts-diagram portal, can help identify the correct documentation before repair.
Frequently Asked Questions
What grease should I use on angle grinder gears?
Use the product or specification listed for the exact model. Some power-tool gear trains use lithium-soap EP grease, but that does not make any lithium, molybdenum, or automotive grease suitable. Match the base oil, thickener, consistency, additives, seal compatibility, and quantity.
Does an angle grinder gearbox need grease?
Yes. The meshing gears need a suitable lubricant to limit friction, wear, heat, and corrosion. Many grinders are lubricated at the factory, however, and may not need routine owner-applied grease unless the manufacturer provides a service procedure.
What kind of grease should you use in a gearbox?
Use a gearbox grease designed and approved for that gearbox’s speed, load, temperature, materials, seals, and application method. NLGI grade by itself is not enough. For an angle grinder, the exact tool manufacturer’s specification takes priority over a general gearbox recommendation.
How much grease goes in an angle grinder gearbox?
Use the manufacturer’s specified mass, volume, or placement pattern. Do not assume one-third, two-thirds, or one teaspoon. Gearcase size and lubricant behavior vary, and both underfilling and overfilling can cause problems.
Can I use CV joint or wheel-bearing grease?
Only when the grinder manufacturer or a qualified service source approves that exact product or specification. Automotive grease can have the wrong consistency, base-oil viscosity, additives, or seal compatibility for a high-speed power-tool gearbox.
Can I mix new grease with the old grease?
Do not mix unknown or different greases unless compatibility is confirmed. Incompatible formulations may soften, harden, leak oil, or stop feeding the gear mesh. Clean out the old product when changing formulations, following the service procedure.
How often should angle grinder grease be changed?
Follow the model manual or service schedule. There is no universal one-, three-, six-, or twelve-month interval. Service sooner after water or abrasive contamination, leakage, lubricant breakdown, or symptoms such as new noise, drag, roughness, or rapid heating.
How should grease be applied to the gears?
Apply the measured amount to the gear tooth contact area and any points shown in the service instructions. Keep grease away from the motor, electronics, vents, screw holes, and sealing surfaces unless the manufacturer states otherwise.
Conclusion
Maintaining an angle grinder gearbox is less like topping up a simple reservoir and more like servicing a compact, high-speed gear assembly. The right grease, correct quantity, clean application, intact seals, and accurate reassembly all matter. Check the exact model information first, avoid universal fill rules, and treat persistent heat, noise, leakage, or metal debris as a repair issue rather than a request for more grease.
Sources
- Makita GA4590/GA5090 Series Instruction Manual — power isolation, maintenance, and qualified-service guidance
- FUCHS/Nye High-Performance Power Tool Grease Case Study — application-specific angle grinder lubricant selection and testing
- ExxonMobil: Grease Components, Consistency, and Compatibility — NLGI consistency and risks of mixing incompatible greases
- FUCHS: Grease Consistency and NLGI Grades — what NLGI grades measure and why consistency matters
- U.S. EPA: Managing, Reusing, and Recycling Used Oil — collection and disposal guidance for used lubricants