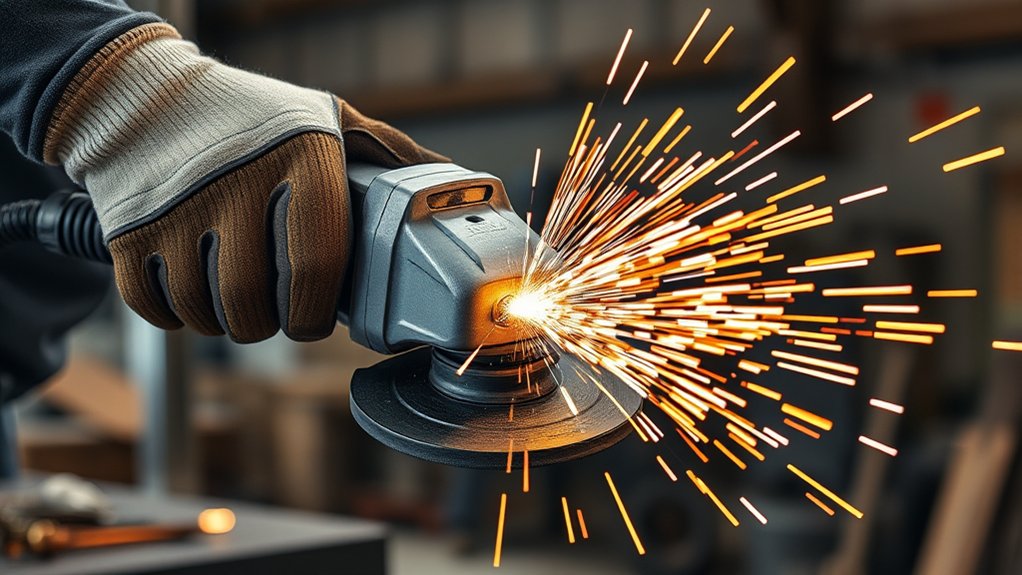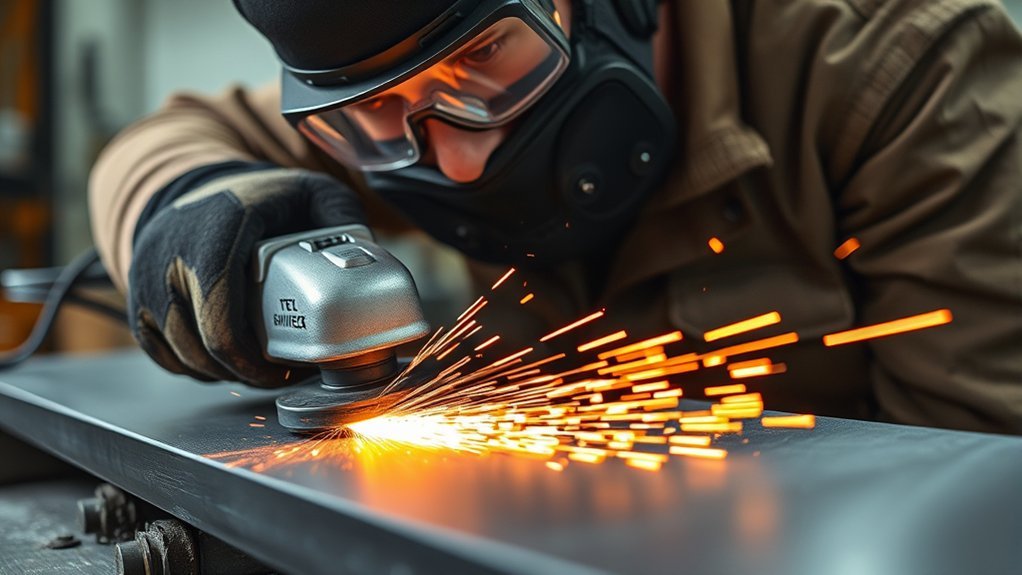
Deburring metal with an angle grinder can remove sharp cut edges quickly, but the result depends on choosing the right abrasive and controlling the tool. Before you start, identify the metal and any coating, secure the workpiece, and check that the grinder, guard, side handle, and flap disc are compatible.
Quick Answer
Clamp the metal securely, install a compatible flap disc whose maximum RPM equals or exceeds the grinder’s speed, and keep the guard and side handle fitted. Use two hands, light pressure, and the angle specified for the disc type. Make moving passes, let the metal cool, then inspect and hand-finish the edge.
Last updated: July 19, 2026
Key Takeaways
- A 60-grit flap disc is a useful starting point for many medium burrs, while 80 grit gives you more control on light burrs and thin material.
- Type 27 flat flap discs normally work at shallow angles; Type 29 conical discs work at steeper angles.
- The disc must fit the grinder and have a maximum RPM rating equal to or greater than the grinder’s no-load speed.
- Keep the guard and side handle installed, clamp the work, grip the grinder with both hands, and use light pressure.
- Use dedicated abrasives for stainless steel and aluminum to avoid contamination or disc loading.
At a Glance
| Time Required | About 10 to 30 minutes for a small workpiece |
| Difficulty | Beginner to intermediate; basic angle-grinder control is required |
| Tools Needed | Angle grinder, guard, side handle, compatible flap disc, clamps or vise, PPE, hand file or deburring tool, and a brush or suitable vacuum |
| Cost | Low if you already own the grinder and required safety equipment |
Understanding Deburring: Why It Matters
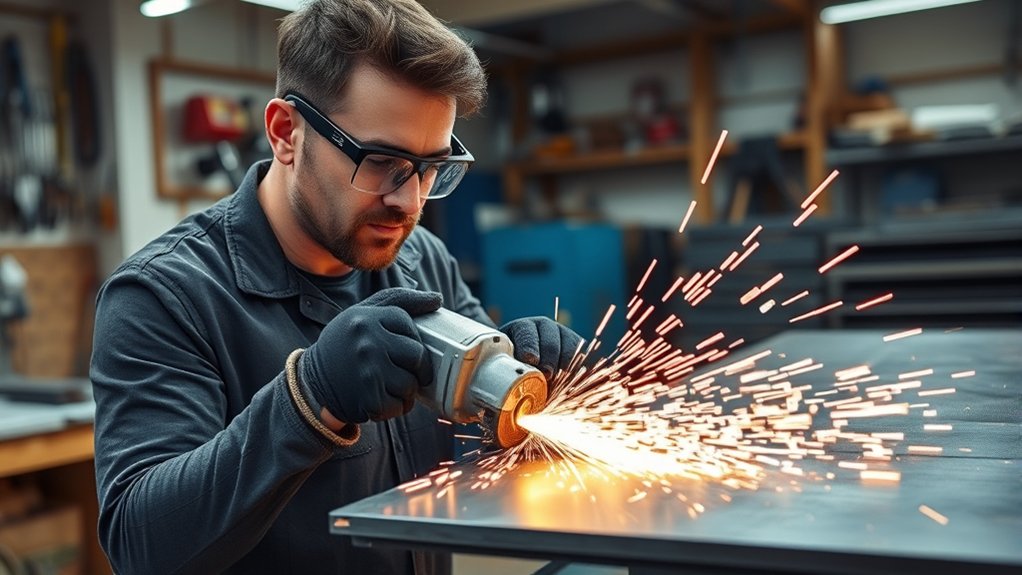
A burr is a raised, sharp, or folded piece of material left after cutting, drilling, punching, machining, or welding. Removing it reduces cut hazards, improves fit-up, and prepares the edge for painting, coating, or welding.
Deburring does not always mean rounding the entire edge. On a part with close tolerances, removing too much material can change its dimensions, weaken a thin edge, or create a gap during assembly. Your goal is to remove the unwanted projection while preserving the intended shape.
The edge is finished when the raised burr is gone, not when a large bevel has been ground into the part.
When an Angle Grinder Is the Right Tool
An angle grinder is useful for medium or heavy burrs on plate, tube, bar, structural steel, and larger fabricated parts. Its speed makes it effective when a hand file would take too long.
Choose a hand file, countersink, scraper, or rotating hand deburring tool instead when you are working on small holes, thin sheet, delicate corners, short parts that are difficult to clamp, or components with close dimensional tolerances. A rotary burr is normally used with a compatible die grinder or rotary tool, not fitted directly to a standard angle grinder.
What Tools Do You Need for Safe Deburring?
Gather the following equipment before you start:
- Angle grinder: Use a grinder in good condition with its correct guard and side handle.
- Compatible flap disc: Confirm the diameter, arbor or mounting system, disc profile, material rating, and maximum RPM.
- Workholding: Use clamps or a vise that can hold the part without damaging or distorting it.
- Eye and face protection: Wear safety glasses with side protection. Add a face shield for extra protection from sparks and fragments.
- Hearing protection: Use plugs or earmuffs suited to the noise level and work environment.
- Hand and body protection: Wear close-fitting work gloves, nonflammable work clothing, and sturdy footwear. Keep loose clothing, jewelry, and long hair away from the tool.
- Dust controls: Use suitable ventilation or local extraction. Select respiratory protection when the material, coating, abrasive instructions, safety data, or workplace assessment requires it.
- Finishing and cleanup tools: Keep a hand file, hand deburring tool, stiff brush, and suitable vacuum available.
Products Worth Considering

PREMIUM QUALITY: These flat flap discs, also known as cut off wheels 4 1/2 inch, are constructed with industrial grade premium aluminum oxide abrasive for strength, durability, and fine finishes.

SUPPORTS VERSATILE APPLICATIONS: This 2 inch flap disc pack is perfect for cleaning weld lines, weld splatter, finishing, polishing, deburring, and other abrasive operations. The multifunctional design of the flap disc wheel allows for use in narrow and hard-to-reach areas, ensuring comprehensive coverage for all your grinding needs. Achieve superior surface quality and durability with every use of a Benchmark Abrasive 2 inch grinding disc.

Package included: 10pcs 60 grit flap discs for grinding, blending, sanding, and finishing
Choosing the Right Flap Disc and Grit
Flap discs combine material removal and finishing, which makes them easier to control than a hard grinding wheel for many deburring jobs. The correct profile and grit depend on how much metal you need to remove.
- 36 to 40 grit: Fast, aggressive stock removal for large burrs. It can gouge thin or soft material quickly.
- 60 grit: A practical starting point for many medium burrs on steel.
- 80 grit: Better control for light burrs, blending, and thinner material.
- 100 to 120 grit: Fine finishing after the burr has already been removed. These grits are not efficient for heavy stock removal.
According to the Weiler flap-disc guide, a Type 27 flat disc generally works best at a shallow angle of about 0° to 15°. A Type 29 conical disc normally works at about 15° to 35° and is better suited to more aggressive stock removal.
Note: The disc label and grinder manual take priority over general angle or grit recommendations. Abrasive products with similar appearances may have different mounting, guard, speed, and working-angle requirements.
Prepare Your Workspace and Safety Gear
Clear combustible materials, fuel, solvents, oily rags, sawdust, paper, and other ignition hazards from the spark path. Sparks can travel farther than the immediate work area, so also check behind and below the workpiece.
Keep bystanders away or use an appropriate spark screen. Make sure the floor is dry, the lighting is adequate, and the power cord cannot cross the grinding path or create a trip hazard.
Identify the metal and any paint, plating, galvanizing, rust treatment, or unknown coating before grinding. Do not grind an unknown coating until you have determined the required dust and exposure controls.
Clamp the metal firmly with the working edge accessible. Support thin sheet close to the edge to reduce vibration and bending. Never clamp a handheld grinder in a vise.
Warning: Never remove the grinder guard, use a damaged disc, exceed the disc’s maximum RPM, or use the side of a thin cut-off wheel for grinding. A cut-off wheel is designed for edge cutting and can break when side-loaded.
Products Worth Considering

Included: (1) DeWalt N441218 Angle Grinder Guard Replacement for Angle Grinder DCG414B

SUPERIOR PROTECTION — Experience all-around face protection thanks to the curved design of this faceshield. The visor of this face guard is ANSI Z87+ certified, and up to 2x thicker for increased durability. Plus, you can comfortably wear your grinding face shield over prescription glasses.

Powerful– with an 8 amp motor, This grinder is able to handle big and small household tasks.
Setting Up Your Angle Grinder for Deburring
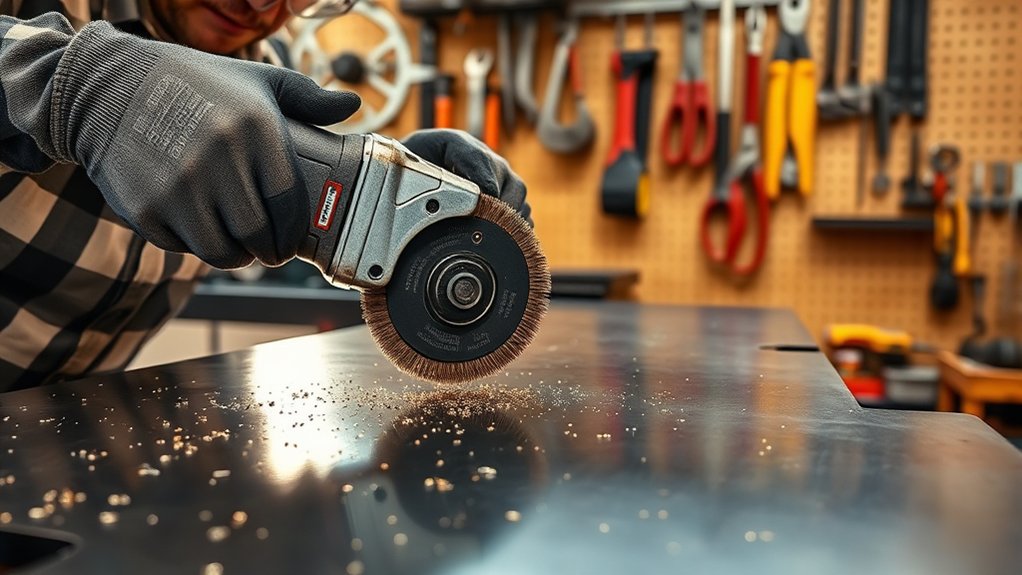
- Disconnect the power. Unplug a corded grinder or remove the battery before touching the disc, guard, flange, or spindle.
- Inspect the grinder. Check the switch, cord or battery connection, guard, side handle, spindle, flanges, and ventilation openings.
- Inspect the disc. Do not use a disc that is cracked, wet, distorted, heavily worn, dropped, or missing its label.
- Confirm compatibility. The disc must be the correct diameter and mounting type. Its marked maximum RPM must be equal to or higher than the grinder’s no-load RPM.
- Position the guard. Adjust it so it sits between you and the disc while directing sparks away from your body, nearby people, and combustible material.
- Install the side handle. Fit it on the side that gives you the best two-handed control and keeps your hands away from the disc and spark stream.
- Mount the disc correctly. Follow the grinder and disc manufacturers’ instructions for the hub, flange, backing, nut, and tightening method. Do not force a disc onto an incompatible spindle.
- Test the setup. Reconnect the power, hold the grinder with both hands, stand out of the disc’s plane, start it away from the workpiece, and let it reach full speed. Stop immediately if you notice unusual vibration, sound, wobble, or rubbing.
The current OSHA portable-tool guarding standard and its Hand and Power Tools guidance explain the importance of guarding, accessory inspection, secure workholding, and keeping grinder speed below the accessory’s marked maximum speed.
Effective Techniques for Deburring With an Angle Grinder
Stand with balanced footing and keep your body out of the direct path of the disc. Hold the main grip and side handle firmly with both hands. Start the grinder before touching the metal and wait until it reaches full speed.
Bring the flap disc into contact at the angle recommended for its profile. Keep enough of the abrasive face on the work to maintain control. Do not grind only with the unsupported flap tips or force the backing plate against the metal.
Use light, steady pressure and guide the grinder along the edge in smooth passes. Let the abrasive cut. If the grinder slows noticeably, the flaps darken rapidly, or the tool begins to bounce, reduce pressure and reassess the disc angle.
Do not hold the grinder in one place. Short moving passes reduce grooves, heat buildup, and discoloration. Allow thin or heat-sensitive material to cool between passes.
Pro Tip: Make one light pass, stop the disc completely, and inspect the edge before increasing pressure or changing grit. Removing more metal later is easy; restoring an over-ground edge is not.
Step-by-Step Guide: Deburring Metal With an Angle Grinder
- Identify the material and coating. Determine whether you are working on carbon steel, stainless steel, aluminum, cast iron, hardened steel, or coated metal.
- Select the least aggressive suitable abrasive. Start with 60 grit for a typical medium burr or 80 grit when the burr is light and control matters more than speed.
- Prepare the work area. Remove ignition hazards, arrange ventilation or extraction, and keep other people clear of the spark path.
- Put on the required PPE. Wear eye, face, hearing, hand, clothing, footwear, and respiratory protection appropriate for the task.
- Clamp and support the workpiece. Make sure the part cannot shift, twist, vibrate excessively, or fall after the burr is removed.
- Inspect and set up the grinder. Disconnect power, check the grinder and disc, install the guard and side handle, and mount the accessory according to the instructions.
- Perform a no-load test. Start the grinder away from the metal while standing outside the disc’s plane. Stop if it vibrates or sounds abnormal.
- Make the first pass. Use two hands, the correct disc angle, light pressure, and a smooth movement along the burr.
- Check heat and progress. Stop the disc completely before setting the grinder down. Let the part cool before touching or closely inspecting it.
- Refine the edge. Repeat light passes or move to a finer grit. Use a hand file or deburring blade for corners, holes, and areas the grinder cannot reach safely.
- Inspect and clean. Remove loose abrasive and metal particles, confirm that the edge meets the required shape, and clean the area before welding, painting, or assembly.
How to Check Whether the Burr Is Gone
Wait until the metal is cool. Inspect the edge under good lighting from more than one direction. A remaining burr often appears as a thin bright line, folded lip, or shadow along the cut.
Do not slide a bare finger along the edge. While wearing gloves, you can lightly draw a scrap of cloth across the cooled edge. A projecting burr may catch the fibers. For precision work, use a straightedge, magnification, radius gauge, or the inspection method required by the drawing or fabrication procedure.
Avoiding Common Deburring Mistakes
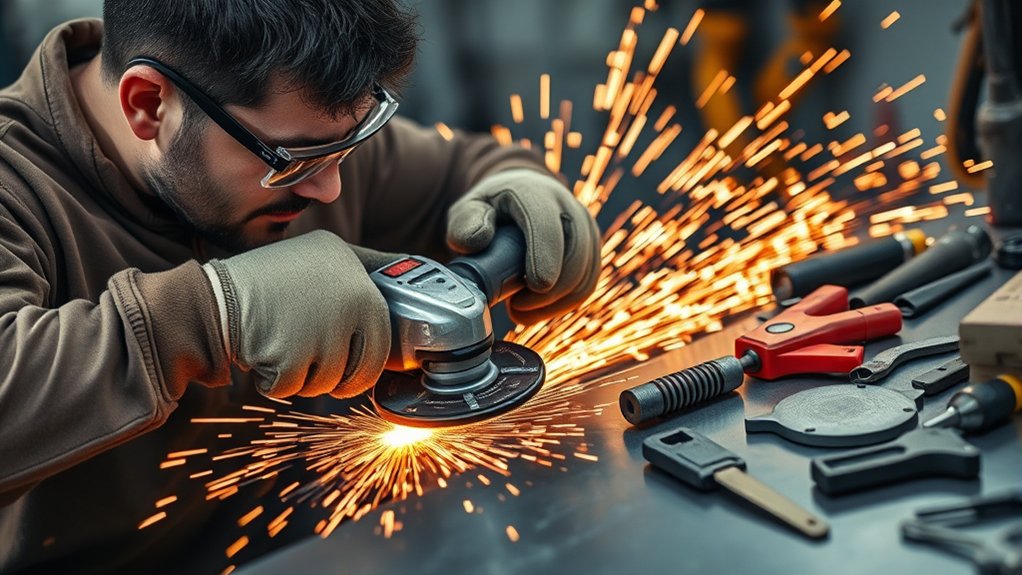
- Removing the guard: The guard helps shield you from the rotating accessory, sparks, and fragments.
- Skipping the side handle: One-handed grinding reduces control if the disc catches or the tool kicks.
- Using the wrong RPM rating: Never use an accessory with a maximum RPM below the grinder’s no-load speed.
- Side-loading a cut-off wheel: Use a grinding or flap disc for side contact, not a thin cutting wheel.
- Starting against the metal: Start the grinder clear of the workpiece and let it reach full speed first.
- Applying excessive pressure: Heavy pressure increases heat and can reduce cutting efficiency or damage the disc.
- Staying in one spot: This creates gouges, flat spots, blue heat marks, and uneven bevels.
- Using an overly coarse grit: A 36-grit disc can remove much more material than a light burr requires.
- Sharing abrasives between metals: A disc used on carbon steel can deposit particles on stainless steel and contribute to surface contamination.
- Grinding unknown coatings: Paint, plating, galvanizing, and treatment layers may create harmful dust.
- Testing the edge with bare skin: Use visual and controlled inspection methods instead.
Troubleshooting Deburring Problems
| Problem | Likely Cause | What to Do |
|---|---|---|
| Gouges or a wavy edge | Too much pressure, steep angle, coarse grit, or poor support | Reduce pressure, correct the disc angle, support the part, and move to a finer grit. |
| Blue or dark heat marks | Long dwell time, a worn disc, or excessive pressure | Use shorter passes, let the part cool, and replace a glazed or worn accessory. |
| Burr folds over instead of disappearing | The abrasive is pushing a thin lip to the opposite side | Use lighter pressure, deburr from the opposite side, or finish with a file or hand deburring tool. |
| Disc loads up on aluminum | The abrasive is not designed for soft metal | Use an aluminum-specific, top-coated, or non-loading disc and reduce heat and pressure. |
| Excessive vibration | Damaged disc, incorrect mounting, dirty flange, or worn grinder parts | Stop immediately, disconnect power, and inspect the complete setup. Replace damaged parts before continuing. |
| Finish is too rough | The grit is too coarse or previous scratches remain | Progress to a finer grit only after the original burr and deep scratches are removed. |
How to Maintain Your Angle Grinder
Disconnect the grinder before inspection or cleaning. Check the guard, side handle, switch, cord, battery connection, spindle, flanges, and accessory before and after use. Remove damaged equipment from service.
Use a soft brush or suitable vacuum to remove loose dust from the housing and ventilation openings. Do not force debris deeper into the tool. Use compressed air only when the grinder manufacturer permits it and only with the required eye, respiratory, and dust controls.
Follow the manufacturer’s instructions for lubrication and service. Many modern grinders do not have user-serviceable lubrication points, so adding oil without instructions can damage the tool.
Store the grinder in a clean, dry place. Store flap discs and other abrasives flat or as directed by the manufacturer, away from moisture, impact, excessive heat, and heavy objects. Do not keep a cracked, dropped, distorted, or heavily worn disc for later use.
Deburring Different Metal Types
| Material | Useful Starting Choice | Important Caution |
|---|---|---|
| Mild or carbon steel | 60-grit zirconia, ceramic, or suitable aluminum-oxide flap disc for a medium burr; 80 grit for lighter finishing | Watch for heat, gouging, and excessive beveling on thin edges. |
| Stainless steel | Stainless-rated, contaminant-free ceramic or zirconia abrasive dedicated to stainless work | Do not use a disc that has previously ground carbon steel. Control heat to limit discoloration and surface damage. |
| Aluminum | Aluminum-specific or top-coated non-loading flap disc, often in a medium or fine grit | Ordinary abrasives can load with soft metal. Stop using a disc that becomes clogged or behaves abnormally. |
| Thin sheet metal | 80-grit or finer flap disc for light burrs, or a hand file, sheet deburring tool, or surface-conditioning abrasive | Support the sheet near the edge and use brief passes to avoid distortion. |
| Cast iron | Abrasive rated for cast iron, such as suitable zirconia or aluminum oxide | Use effective dust control and avoid striking or stressing brittle sections. |
| Hardened or tool steel | Ceramic abrasive specifically rated for the material and grinder, used with light controlled passes | Heat can affect the surface or temper. Use a precision process when dimensions or material properties are critical. |
For stainless steel and aluminum, use abrasives specifically marked for the material. The Weiler guide explains that contaminant-free abrasives are appropriate for stainless applications and that aluminum benefits from a top coat that helps reduce loading.
Final Tips for a Safe and Effective Deburring Process
- Use the grinder and abrasive manufacturers’ instructions as your primary reference.
- Choose the least aggressive disc that can remove the burr efficiently.
- Keep the guard and side handle installed and use both hands.
- Start the grinder away from the workpiece and stand outside the disc’s plane during startup.
- Use light pressure and multiple moving passes instead of one heavy pass.
- Let the workpiece cool before touching or inspecting it closely.
- Finish precision corners, holes, and thin edges with a suitable hand tool.
- Clean the workpiece before welding, coating, painting, or assembly.
Frequently Asked Questions
How do you deburr metal with an angle grinder?
Clamp the metal, install a compatible flap disc, keep the guard and side handle fitted, and wear the required PPE. Start the grinder away from the workpiece, use both hands, and make light moving passes at the angle specified for the disc. Stop often to check heat and progress, then finish small areas with a file or hand deburring tool.
What grit flap disc should you use for deburring metal?
A 60-grit flap disc is a useful starting point for many medium burrs on steel. Use 80 grit for lighter burrs, thin material, or better control. Reserve 36 to 40 grit for heavy stock removal because it can gouge or change the edge quickly. Use finer grits only after the main burr is gone.
How do you use an angle grinder step by step?
Identify the material, clear the workspace, put on PPE, clamp the part, disconnect the grinder, inspect the tool and disc, confirm the disc’s RPM and mounting compatibility, install the guard and side handle, mount the disc, perform a no-load test, and grind with two hands and light moving passes. Stop the disc completely before inspecting or adjusting the work.
What are 10 safety precautions before using a grinding machine?
- Read the grinder manual and abrasive label.
- Wear appropriate eye, face, hearing, hand, clothing, footwear, and respiratory protection.
- Remove combustible material from the spark path.
- Identify hazardous paint, plating, galvanizing, or other coatings.
- Inspect the grinder, guard, handle, cord, battery, spindle, and flanges.
- Inspect the abrasive and reject damaged or dropped discs.
- Confirm that the disc fits and its maximum RPM equals or exceeds the grinder’s no-load RPM.
- Clamp and support the workpiece securely.
- Install and position the correct guard and side handle.
- Start the grinder away from the workpiece while standing outside the disc’s plane.
What is the best file for deburring metal?
Use a second-cut or smooth-cut mill file for straight outside edges, a half-round file for curved edges, and a round file or rotating hand deburring tool for holes. Choose a safe-edge file when you need to protect a nearby surface. Codes such as E100, E200, and E350 belong to specific deburring-blade systems, so check that manufacturer’s blade chart instead of treating the codes as universal grades.
Can you use a cutting disc to deburr metal?
Do not use the side of a thin cut-off wheel for deburring or grinding. Cut-off wheels are designed to cut on their edge and can break when side pressure is applied. Install a compatible flap disc, grinding wheel, or other abrasive specifically approved for side grinding.
Conclusion
Deburring metal with an angle grinder is less about force and more about correct setup, abrasive selection, and control. Match the disc to the grinder and material, keep the guard and side handle installed, secure the work, and remove the burr with light moving passes.
Stop frequently to check heat, shape, and surface condition. When the part is thin, small, difficult to clamp, or dimensionally critical, switch to a hand file or deburring tool instead of trying to make the angle grinder handle every part of the job.
Sources
- OSHA: Hand and Power Tools – PPE, guarding, workholding, accessory inspection, mounting, RPM, and startup guidance.
- OSHA 29 CFR 1910.243: Guarding of Portable Powered Tools – current portable-tool guard requirements.
- Weiler Abrasives: Guide to Flap Discs – disc profiles, working angles, grit selection, stainless abrasives, and aluminum loading.
- Unified Abrasives Manufacturers’ Association: Grinding Wheel Safety Guide – accessory damage, storage, mounting, and maximum-speed precautions.
- Cornell University EHS: Angle Grinder Toolbox Talk – grinder inspection, minimum pressure, guard use, and loss-of-control precautions.
- Norton Abrasives: Do’s and Don’ts of Flap Discs – flap-disc mounting, side-handle use, storage, and operating safety.