Starting and shutting down an angle grinder safely takes more than pressing the switch. You need the correct accessory and guard, a secure workpiece, proper protective equipment, and a clear plan for sparks, dust, and kickback. A careful pre-start check and controlled shutdown can prevent broken-wheel injuries, burns, fires, hearing damage, and accidental restarts.
Quick Answer
Wear the required PPE, inspect the grinder and accessory, fit the correct guard and side handle, secure the work, and start with the wheel clear of the material. Let it reach full speed before contact. When finished, lift it clear, switch it off, hold it until the wheel stops, and disconnect power.
Key Takeaways
- Use the exact wheel, flange, guard, diameter, arbor size, and speed rating approved for the grinder and task.
- Keep the guard between you and the wheel, install the side handle, secure the work, and hold the grinder with both hands.
- Start away from the work, stand out of the wheel plane, and run a newly installed accessory at no load before making contact.
- Never set the grinder down, change accessories, or clear debris until the wheel has stopped and power is disconnected.
At a Glance
| Time Required | About 2–5 minutes for inspection and setup before each use |
| Difficulty | High-risk power-tool task; beginners should receive hands-on instruction and supervision |
| Tools Needed | Angle grinder, approved accessory and guard, side handle, correct flange and lock nut, clamps or vise, PPE, cleaning brush or HEPA vacuum, and a suitable fire extinguisher when sparks are produced |
| Cost | Usually $0 when the correct PPE, guard, clamps, and accessory are already available; replacement items vary by task |
Essential Safety Gear for Angle Grinder Users
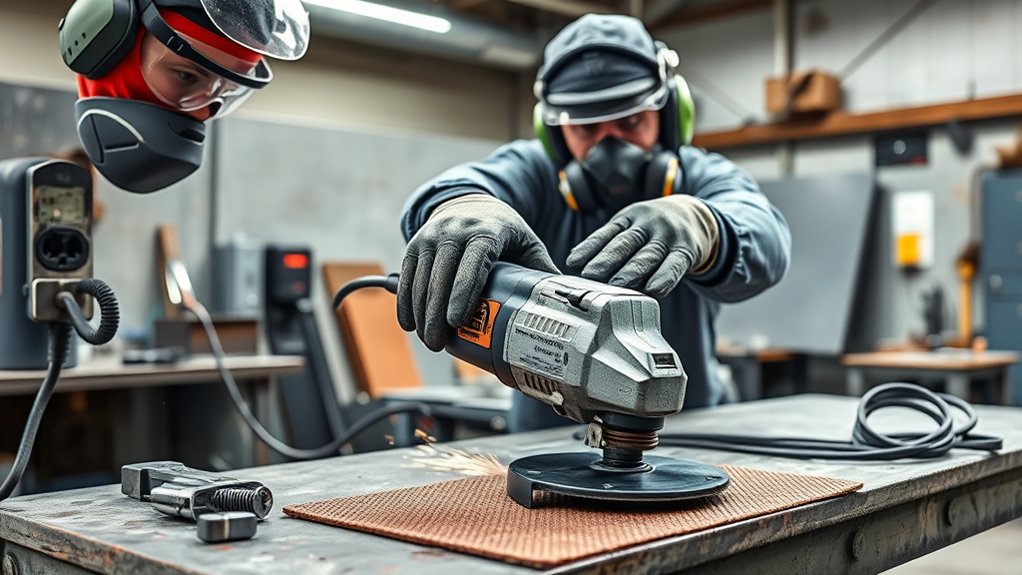
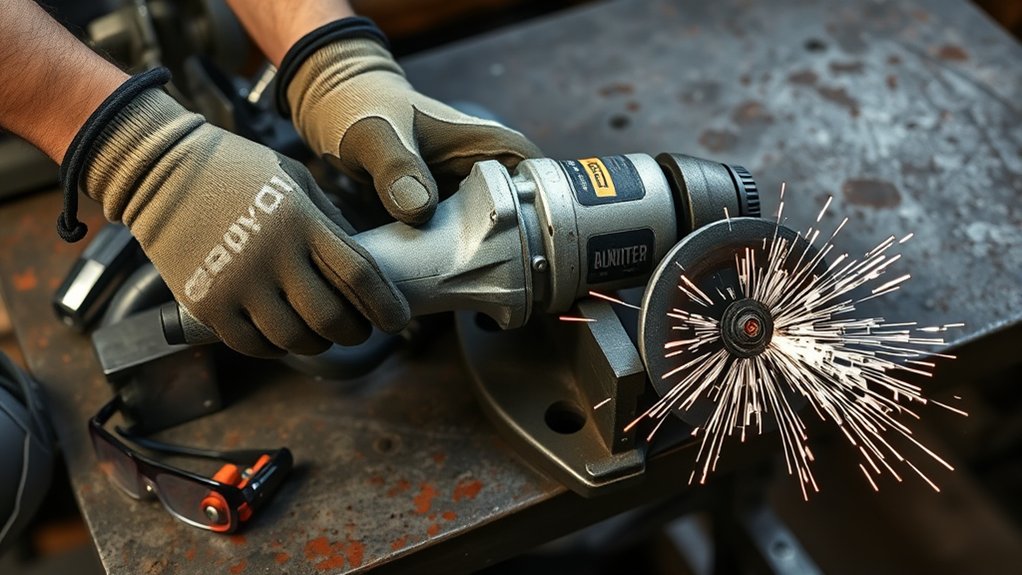
Before you touch the switch, put on the right safety gear. Wear impact-rated safety glasses with side protection. For cutting, heavy grinding, wire brushing, or any job that can throw fragments, add a full face shield over the glasses.
Use hearing protection. The CDC/NIOSH occupational hearing-loss guidance identifies 85 dBA averaged over an eight-hour workday as its recommended exposure limit. Grinder noise varies by tool, accessory, material, and work area, so use hearing protection whenever the task is loud or the manual requires it.
Wear well-fitted gloves that still let you grip the tool and operate the switch. Avoid loose gloves, sleeves, jewelry, hoodie strings, and anything else that could catch. Use fitted clothing made from sturdy, non-melting material, safety boots, and an apron when sparks or fragments could strike your body.
NIOSH uses 85 dBA over an eight-hour workday as its recommended occupational noise exposure limit.
Warning: A face shield does not replace impact-rated safety glasses. Wear both when a wheel, wire, or workpiece fragment could strike your face.
Products Worth Considering

SUPERIOR PROTECTION — Experience all-around face protection thanks to the curved design of this faceshield. The visor of this face guard is ANSI Z87+ certified, and up to 2x thicker for increased durability. Plus, you can comfortably wear your grinding face shield over prescription glasses.

COMPLETE PROTECTION — Pairing anti-fog and scratch-resistant goggles with a tough polycarbonate torch face shield, this unbeatable duo has you covered from splashes, dust, and debris. And they are built to resist high-speed impacts, even in extreme temperatures.

Identify Dust, Coating, and Material Hazards
Do not assume every dust cloud can be handled with a basic disposable mask. Grinding concrete, mortar, masonry, stone, or some tile can release respirable crystalline silica. OSHA’s handheld-grinder silica fact sheet describes source controls such as an approved shroud with vacuum dust collection or, for compatible outdoor equipment, an integrated water-delivery system.
- Check the material and any coating before grinding. Old paint, plated metal, treated surfaces, and unknown residues may contain hazardous substances.
- Do not grind material that may contain asbestos or lead until it has been identified and the correct control method has been selected.
- Use a grinder, guard, shroud, vacuum, or wet-control system specifically approved for the task. Never add water to a standard electric grinder that is not designed for wet use.
- Use respiratory protection only as part of a proper hazard-control plan. Workplace respirator use may require medical evaluation, fit testing, training, and a written program.
Note: If you do not know what a coating or building material contains, stop and identify it before grinding. A visible dust cloud is a sign that source controls need improvement.
Preparing Your Workspace for Safe Operation
A safe startup begins with the area around you. Angle grinders throw sparks, dust, and small fragments, so give yourself room to move and keep bystanders out of the wheel plane and spark path.
- Move paper, sawdust, rags, fuel, aerosols, solvents, batteries, and other combustibles away from the work area.
- For spark-producing work managed as hot work, use your site’s permit and fire-prevention rules. OSHA’s welding and cutting fire-prevention standard uses 35 feet as a combustible-clearance benchmark; it is not a universal stand-alone rule for every grinder task.
- Shield combustibles that cannot be moved, check the opposite side of walls or floors, and protect openings or ducts that could carry sparks.
- Keep a suitable fire extinguisher nearby and know how to use it.
- Clamp the workpiece in a vise or with clamps. Do not hold small material by hand.
- Support sheet, pipe, and long stock so the cut cannot close and pinch the wheel.
- Place the cord or air hose behind you and away from the wheel path, sparks, sharp edges, and hot metal.
- Use good lighting and ventilation, and keep other people outside the work zone unless they are wearing suitable PPE.
- Check for hidden wiring, pipes, tanks, and voids before cutting into walls, floors, panels, or containers.
Warning: Never grind, cut, or wire-brush a container, pipe, drum, or tank that contains—or may previously have contained—flammable material unless it has been professionally cleaned, tested, and made safe for hot work.
Note: Sparks can travel farther than expected. Check behind and below the workpiece, including cracks, open doors, floor gaps, vehicle interiors, and stored materials.
Pre-Startup Inspection Checklist
Do this check before every use. Keep the grinder unplugged, the battery removed, or the air line disconnected until the inspection and accessory installation are complete.
- Read the manual: Follow the manufacturer’s instructions for the exact grinder, switch, guard, flange, battery, and accessory.
- Check the guard: Make sure it is the correct type, securely attached, and positioned between you and the wheel. OSHA requires the guard on right-angle grinders to deflect broken-wheel fragments away from the operator.
- Check the side handle: Install it securely in the position that gives the best control. Do not treat the motor housing as a substitute unless the manufacturer specifically designed it as a gripping surface for that operation.
- Inspect the accessory: Do not use a wheel or brush that is cracked, chipped, warped, contaminated, out of balance, damaged by a drop, or past a marked use-by date. Follow the accessory maker’s storage and inspection instructions.
- Match the accessory: Confirm the type, material rating, diameter, thickness, arbor hole or thread, and mounting method match the grinder and the job.
- Check speed: The accessory’s rated speed must be at least equal to the grinder’s maximum speed. OSHA’s portable abrasive-wheel requirements say the grinder spindle speed must not exceed the wheel’s marked maximum operating speed.
- Check the flange and lock nut: Use the correct, undamaged hardware in the orientation shown in the manual. Do not improvise with washers, bushings, punches, or a hammer.
- Check the power system: Stop if the cord, plug, battery, housing, charger, air hose, or fitting is cut, cracked, loose, swollen, hot, leaking, or otherwise damaged.
- Check the switch and lock-off: Make sure the control moves freely and is in the off position before connecting power. Know whether the grinder has a paddle switch, lock-on feature, brake, or anti-restart protection.
- Check the spindle lock: Confirm it releases fully before startup. Never press a spindle-lock button while the wheel is moving.
Choosing the Right Disc for Your Project
The accessory controls how safe and clean the job feels. The wrong wheel can grab, break, overheat, or throw fragments. Choose it by task, material, size, arbor, guard type, mounting hardware, and speed rating.
- Cutting wheels: Use a cut-off wheel only for straight cutting with its edge. Do not side-load it or use its face for grinding. Fit the cutting guard or guard cover required by the grinder manufacturer.
- Grinding wheels: Use a wheel rated for surface or edge grinding as directed by its label and the tool manual.
- Diamond wheels: Use a diamond wheel only for the listed material and with the guard, direction of rotation, dust control, and wet-or-dry method approved for the tool and wheel.
- Flap discs: Use flap discs for blending, deburring, and finishing only when their diameter, backing, guard, and speed rating are compatible.
- Sanding pads: Use only approved backing pads and sanding discs, and keep the sanding paper within the pad size specified by the manufacturer.
- Wire brushes and wheels: Use only accessories rated for the grinder. Inspect for loose or broken wires and allow room for the brush diameter to expand at speed.
Warning: Never fit a toothed saw blade, chainsaw-style carving disc, oversized wheel, or unapproved adapter to an angle grinder. An accessory fitting the spindle does not prove that it is safe for the tool.
Products Worth Considering

[Diamond Technology] 1 equals 100, EZARC diamond 4 1/2 cut off wheel delivers 5,000+ more cuts for metal with much lower cost per cut compared to bonded cut-off wheels

4-1/2 Inch indestructible multi-material cut off disc for Angle Grinders, 7/8" arbor with 5/8" bushing, 3 Pack

Premium and Value: This 10-pack 4-1/2 x 7/8-inch metal/stainless steel cut-off wheel set is specially formulated for fast cutting in metals and stainless steel
Installing and Testing the Accessory
Disconnect the power source before changing any wheel, pad, or brush. Clean the spindle and flange contact surfaces, then install the accessory exactly as shown in the grinder manual. Make sure it seats correctly without forcing it onto the spindle.
- Fit the correct inner flange, accessory, and outer flange or lock nut in the required orientation.
- Tighten with the supplied wrench or approved tool-free system. Do not overtighten.
- Rotate the accessory by hand to confirm it clears the guard and does not wobble or rub.
- Move yourself and all bystanders out of the accessory’s plane.
- Connect power, hold the grinder with both hands, and start it with the wheel clear of everything.
- After installing or inspecting an accessory, run the grinder at maximum no-load speed for one minute when the tool and accessory manuals call for that test. Stop immediately for wobble, heavy vibration, rubbing, or unusual noise.
Pro Tip: Stand beside the wheel plane during the no-load test, not in front of it. Keep the guard between your body and the accessory.
Starting Your Angle Grinder: A Step-by-Step Guide
Once the tool, accessory, and workspace are ready, start the grinder in a controlled sequence. Do not start it with the wheel touching the material.
Safe Startup Procedure
- Put on all required PPE before plugging in the grinder or installing the battery.
- Clamp and support the workpiece so it cannot shift, roll, sag, or pinch the wheel.
- Stand with your feet apart and position your body outside the wheel plane and expected kickback path.
- Hold the rear handle or paddle-switch grip with one hand and the side handle with the other.
- Position the guard so the least practical amount of wheel is exposed toward you.
- Keep the wheel clear of the workpiece, bench, cord, clothing, and nearby objects.
- Confirm the switch is off, then plug in the grinder, install the battery, or connect the air supply.
- If the grinder has variable speed, choose only a speed permitted for the accessory before startup.
- Start the tool and let it reach full speed before contact.
- Touch the work lightly and guide the grinder without forcing it.
Pro Tip: Listen and feel during the first few seconds. If the grinder wobbles, vibrates heavily, sounds unusual, or the accessory appears out of round, shut it down, disconnect power, and inspect it before continuing.
Effective Techniques for Using Your Angle Grinder
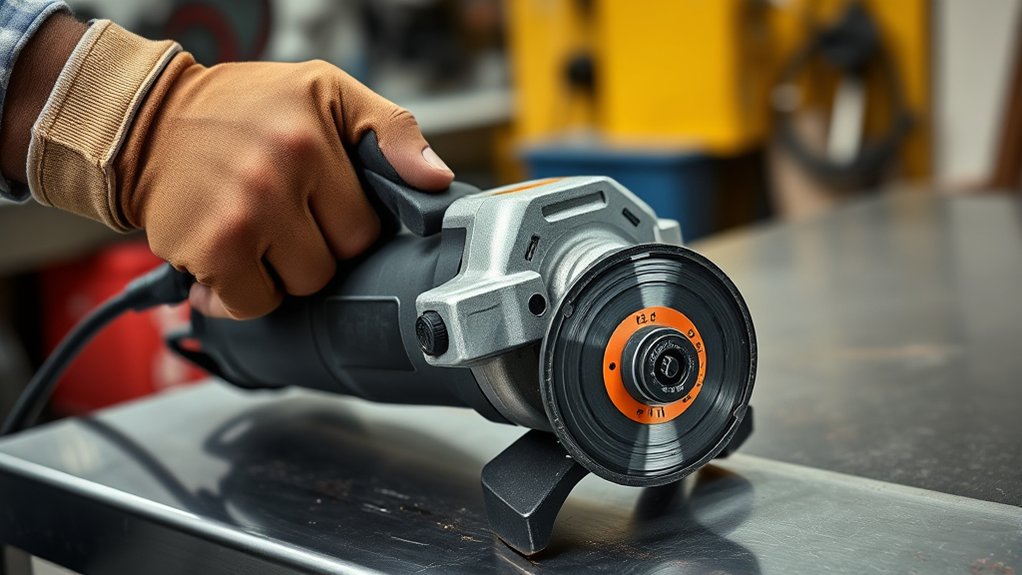
Good technique keeps the grinder stable and reduces kickback. Use both hands, keep your wrists in a strong neutral position, and guide the tool with your arms instead of twisting your hands. Direct sparks and debris away from your body, cord, other people, glass, painted surfaces, batteries, and combustibles.
Proper Grip and Stance
- Use the side handle and the manufacturer-designated rear or paddle-switch grip.
- Keep a firm but controlled grip so you can resist startup torque and kickback.
- Stand outside the wheel plane and away from the path the tool could take if the wheel snags.
- Keep your feet apart and your view of the contact point clear.
- Keep the work near waist height where practical. Avoid overhead grinding and reaching away from your body.
- Never grind between your legs or close to your body while sitting on the floor.
- Take breaks before hand or arm fatigue reduces your control.
Optimal Wheel Angle
For surface grinding with a compatible depressed-center grinding wheel, an angle of about 15 to 30 degrees is commonly recommended, but the wheel and grinder instructions take priority. Keep a cutting wheel straight in the cut and never twist it sideways. If the cut begins to close and pinch the wheel, stop and support the work differently before continuing.
Let the grinder reach full speed before contact, then use light pressure. Pushing too hard increases heat, wear, stalling, kickback risk, and the chance of wheel damage.
Kickback Prevention
Kickback is a sudden reaction to a pinched or snagged wheel, pad, or brush. The tool can jump toward or away from you depending on the accessory’s direction at the pinch point. Reduce the risk by keeping the wheel aligned, avoiding side pressure on thin cut-off wheels, controlling corners and sharp edges, and never forcing the grinder.
- Do not restart a cut while the wheel is inside the workpiece. Remove it, allow full speed, and carefully re-enter the cut.
- Support large panels and long stock near the cut so their weight cannot close the kerf.
- Do not make curved cuts with an abrasive cut-off wheel unless the accessory and tool are specifically designed for them.
- If the wheel binds, switch off the grinder and hold it motionless until the wheel stops before investigating the cause.
- Never place your hand near the rotating accessory or in the predicted kickback path.
Handling Power Loss and Accidental Restart
If power fails, a breaker trips, a battery protection circuit stops the tool, or the grinder stalls, release the switch and move it to the off position before restoring power. A grinder without anti-restart protection may start as soon as power returns if a lock-on switch was left engaged.
Do not defeat a lock-off, paddle switch, brake, anti-restart feature, or dead-man control. OSHA permits certain grinders to have a lock-on control only when the same finger motion can switch the tool off. For unfamiliar tools, identify the switch behavior before the wheel is installed or before power is connected.
Warning: After a stall or power interruption, treat the grinder as though it could restart. Switch it off, disconnect power, wait for the wheel to stop, and correct the cause before resuming.
How to Properly Shut Down Your Angle Grinder
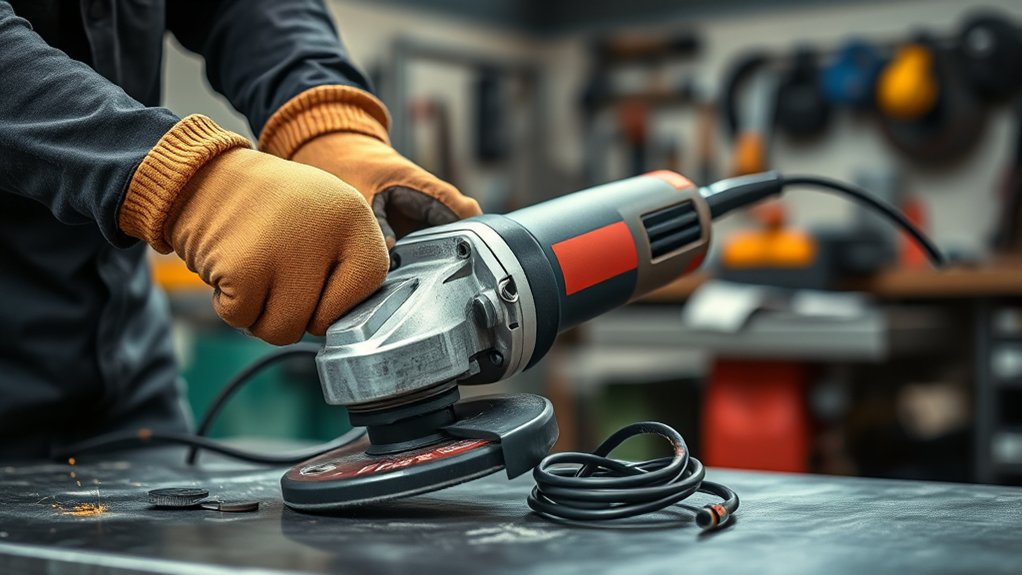
A safe shutdown prevents accidental contact, restarts, burns, fire, and damage to the accessory. Do not rush this step after the cut or grind is finished.
- Lift the accessory clear of the workpiece while keeping both hands on the grinder.
- Release the trigger, paddle, or switch.
- Keep holding the grinder in a stable position until the accessory has completely stopped.
- Do not brake the wheel against the workpiece or set the tool down while it is moving.
- Unplug the grinder, remove the battery, or disconnect the air supply before changing accessories, cleaning, clearing a jam, or making adjustments.
- Let the accessory and workpiece cool before touching them.
- Check the work area for hot metal, sparks in cracks, and smoldering material before leaving.
- Brush or vacuum dust and chips only after the grinder is disconnected.
Addressing Common Issues While Operating Your Angle Grinder
Stop the grinder as soon as something feels wrong. Small warning signs can quickly turn into a damaged tool, broken accessory, fire, or injury.
- Overheating: Stop, disconnect power, let the tool cool, reduce pressure, and check that the vents and dust controls are not blocked.
- Heavy vibration: Shut down and inspect the accessory, flange, lock nut, arbor fit, guard, and spindle. Replace damaged or unbalanced parts.
- Stalling or sticking: Release the switch and hold the tool still until the wheel stops. Check whether the workpiece is pinching the cut or whether pressure is excessive.
- Sparks flying toward you: Stop and adjust the guard, workpiece, stance, or direction of travel without placing your body in the kickback path.
- Burning smell, smoke, or electrical damage: Disconnect the tool immediately. Do not use it again until it has been inspected and repaired by a qualified person.
- Dust cloud: Stop and improve the shroud, vacuum, wet method, ventilation, or respiratory controls before continuing.
- Wheel rubbing the guard: Disconnect power and correct the accessory, flange orientation, guard position, or wheel size. Never bend or remove the guard to create clearance.
- Switch will not turn off normally: Disconnect power safely and remove the grinder from service.
Simple Maintenance Tips to Keep Your Grinder Running
Routine maintenance keeps your angle grinder safer and easier to control. Always disconnect power before cleaning, inspecting, or changing accessories.
- Remove ordinary dust with a dry brush or HEPA-filtered vacuum. Use compressed air only when the tool manual allows it and when the dust can be controlled safely.
- Do not use compressed air to blow silica-containing dust from tools, clothing, surfaces, or filters unless effective capture prevents exposure.
- Inspect the cord, plug, battery, switch, guard, side handle, spindle, flange, and lock nut regularly.
- Replace cracked guards, loose handles, damaged cords, worn brushes, rough-running bearings, or unreliable switches before use.
- Do not oil the accessory, vents, switch, or sealed parts. Lubricate only where the owner’s manual directs.
- Have internal electrical, battery, brake, or switch repairs completed by a qualified repair provider using approved parts.
How to Store Your Angle Grinder to Prevent Damage
Good storage protects the tool, the accessory, and anyone who picks it up later. After the grinder is cool, disconnected, and clean, remove the accessory when the manufacturer recommends it for transport or long-term storage.
Keep the grinder in a dry, dust-free place away from moisture, metal filings, flammable liquids, and extreme heat. A hard case or tool bag helps protect the guard, switch, battery terminals, and cord. Store accessories in their original packaging or an approved rack so thin cutting wheels remain flat and are not bent, chipped, dampened, or crushed by heavier tools.
Frequently Asked Questions
How do you use an angle grinder step by step?
Put on PPE, inspect the grinder and accessory, fit the correct guard and side handle, clamp and support the work, position your body outside the wheel plane, start away from the material, allow full speed, use light pressure, then lift clear, switch off, wait for the wheel to stop, and disconnect power.
What are 10 safety precautions before using a grinding machine?
Wear suitable eye, face, hearing, hand, foot, clothing, and respiratory protection. Inspect the guard, side handle, switch, power source, accessory, flange, and lock nut. Match the wheel to the material and grinder speed. Secure the work, remove combustibles, control dust, route the cord safely, and keep bystanders away.
How do you use an angle grinder safely?
Use the correct guard, side handle, accessory, flange, and speed. Hold the grinder with both hands, stand outside the wheel plane, let it reach full speed, avoid forcing or twisting the wheel, and stop for vibration, stalling, overheating, smoke, or poor dust control. Disconnect power before any adjustment.
How do you operate a grinding machine step by step?
For a handheld angle grinder, inspect the tool, install the approved wheel and guard, secure the handle and workpiece, put on PPE, start with the wheel clear, allow full speed, use the angle and pressure stated by the wheel manufacturer, then switch off and hold the grinder until the wheel fully stops.
Should you remove the guard from an angle grinder?
No. Use the correct guard for the accessory and position it between you and the wheel. A standard grinding guard may not be the correct guard for a cut-off wheel, so follow the grinder manual and install the specified cutting guard or cover when required.
How long should you run a newly installed grinder wheel before use?
Many manufacturer manuals direct users to run an inspected accessory at maximum no-load speed for one minute while the operator and bystanders stand outside the wheel plane. Follow the instructions for your exact grinder and accessory, and stop immediately if you notice wobble, vibration, rubbing, or unusual noise.
What should you do if an angle grinder loses power or stalls?
Release the switch, move it to off, hold the grinder until the wheel stops, and disconnect the power source. Correct the cause of the stall or outage before restarting. Do not leave a lock-on switch engaged because a grinder without anti-restart protection could start when power returns.
Conclusion
Safe angle grinder use starts before the tool turns on and ends only after the wheel has fully stopped. Wear the right PPE, identify dust and fire hazards, inspect the grinder and accessory, use the correct guard and mounting hardware, secure the work, start away from the material, and keep both hands on the tool. Disconnect power before any adjustment, and remove damaged equipment from service instead of trying to work around it.
Sources
- OSHA 1910.243, Guarding of Portable Powered Tools — supports grinder switch controls, guard positioning, wheel inspection, mounting, and maximum-speed requirements.
- OSHA 1910.252, General Requirements for Welding, Cutting, and Brazing — supports the qualified hot-work discussion, combustible clearance, shielding, extinguishers, and fire-watch concepts.
- CDC/NIOSH, About Occupational Hearing Loss — supports the 85 dBA eight-hour recommended exposure limit and hearing-protection context.
- OSHA, Handheld Grinders for Tasks Other Than Mortar Removal — supports silica hazards, water or vacuum controls, respiratory-program requirements, and safe cleanup methods.
- DEWALT DCG407/DCG408 Instruction Manual — supports kickback precautions, cutting-wheel alignment, support placement, correct guards, flanges, shutdown, and re-entry into a cut.
- Makita GAG08 Cordless Angle Grinder Instruction Manual — supports accessory matching, one-minute no-load testing, PPE, guard positioning, two-handed control, and no-load safety checks.