How to Use a Plasma Cutter Safely
What’s in This Article
A plasma cutter can make clean metal cuts, but small setup mistakes can ruin the cut or create risk. You need stable power, dry air, the right amperage, and proper personal protective equipment before you pull the trigger. This guide shows you how to set up the machine, prepare the torch, cut basic shapes, and practice with better control.
Quick Answer
To use a plasma cutter, connect the power, attach a clean air supply, clamp the workpiece, set the amperage, and wear the right safety gear. Start on scrap metal, keep the torch steady, and move at a smooth speed. Always follow your machine’s manual because settings can vary by model.
Key Takeaways
- Use a clean power connection and a steady air supply before you start cutting.
- Match the amperage and torch tip to the metal thickness and cut type.
- Wear eye protection, gloves, and flame-resistant clothing every time you cut.
- Attach the work clamp to clean metal so the arc stays stable.
- Practice on scrap metal before you cut a finished part.
Before You Begin
Read your plasma cutter’s manual before you connect power or air. Each machine can use different torch parts, air pressure ranges, duty cycle limits, and cut settings.
You should also inspect your work area before cutting. Remove fuel, paper, sawdust, oily rags, and other flammable items from the cutting zone.
Estimated Time
Basic setup and a first test cut usually take about 15 to 30 minutes. Plan more time if you need to clean the metal, change consumables, or adjust air pressure.
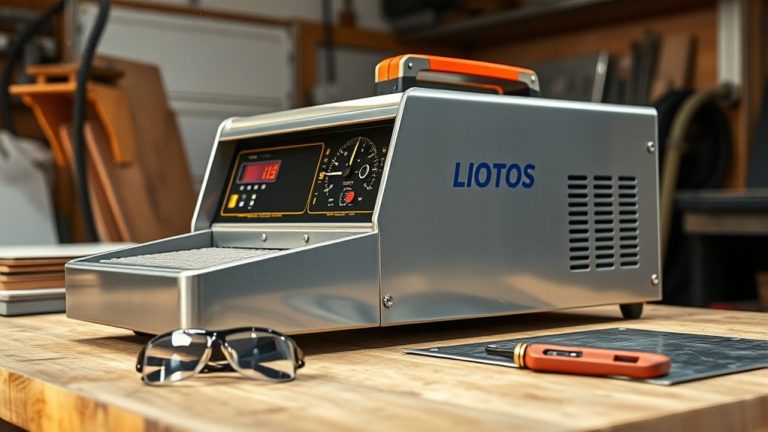
What You’ll Need
- Plasma cutter with the correct torch and consumables
- Dry compressed air or the air source required by your machine
- Clean work clamp connection point
- Metal workpiece or scrap metal for practice
- Safety glasses or face shield rated for the task
- Welding gloves and flame-resistant clothing
- Fire extinguisher suitable for your work area
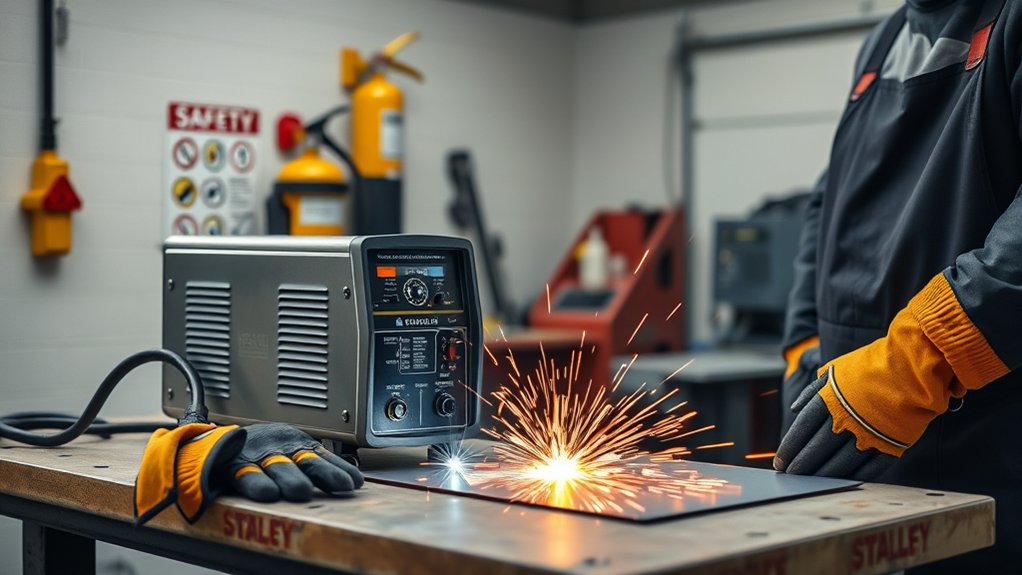
Setting Up Your Plasma Cutter
Start by connecting the power cable to the back of the machine. Secure the connection with the locking ring before you turn on the breaker or power switch.
Next, connect an air line or approved air source to the air inlet. Make sure the air supply matches the range in your user manual, and keep the air clean and dry.
Check the front panel and confirm that the machine has power. Adjust the settings to match your material and the instructions in your manual.
Attach the work clamp to the metal or a grounded cutting table. Use a clean contact point so the machine can form a stable arc.
Select the right amperage setting based on the metal thickness. Too much amperage can create more dross, while too little amperage can leave an incomplete cut.
If the cutter performs poorly, check connections, air pressure, ground contact, and settings first. These simple issues often cause rough cuts and unstable arcs.
Inspect cables, torch parts, and consumables before each session. Regular checks help you protect the machine and keep cut quality consistent.
Products Worth Considering
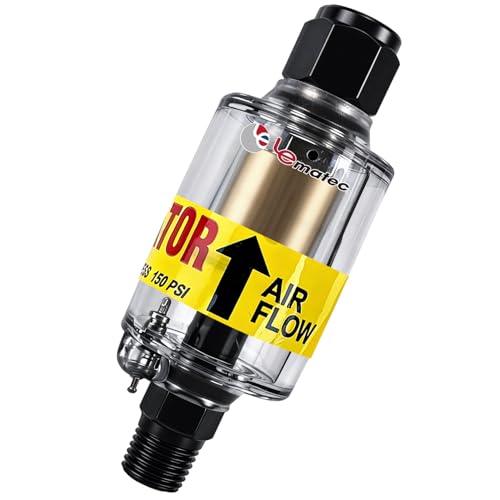
Moisture Protection: 1-micron reusable element removes air compressor oil and water from compressed air systems; essential for precise spray painting and plasma cutting
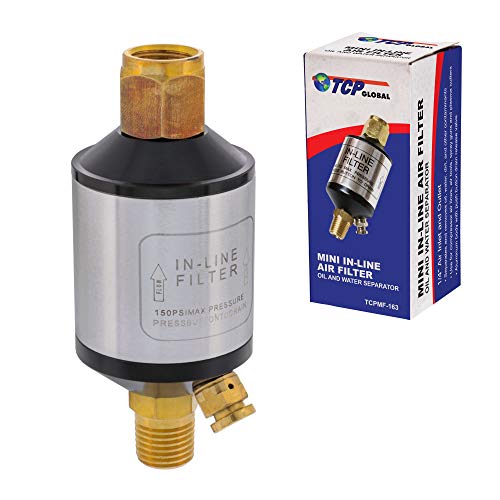
Professional mini-inline air filter, oil and water separator
Drag-Cut Tracking for Shaky Hands (HVAC/Art): Rest and glide the torch nozzle directly on thin sheet metal templates or straightedges. Erases hand fatigue while ensuring exceptionally straight lines and smooth curves for custom ducts, stencils, and signmaking.
Understanding Machine Controls
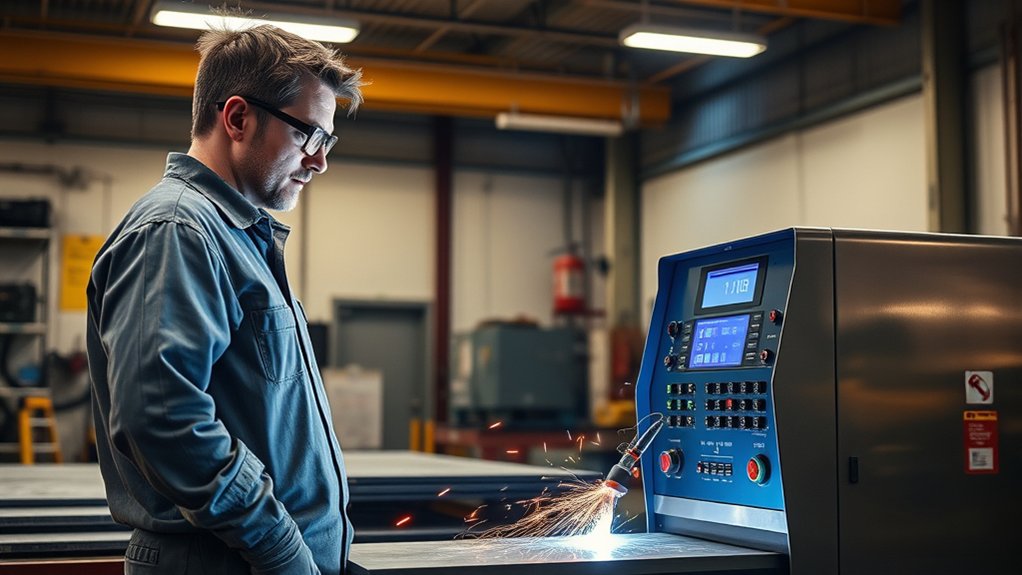
You need to understand the machine controls before you make a cut. Good control setup helps you cut with more accuracy and reduces wear on consumables.
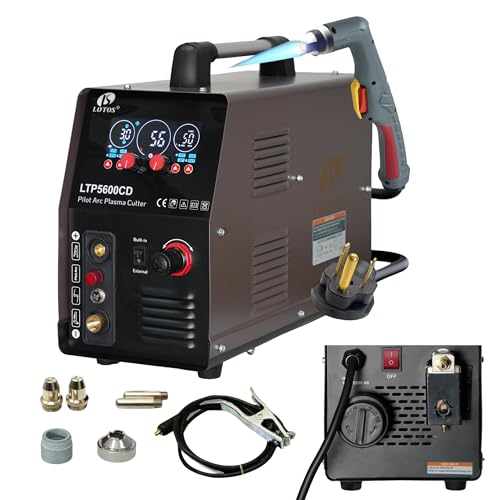
The Hypertherm Powermax 85 includes an amperage dial that adjusts up to 85 amps. Set higher amperage for thicker metal and lower amperage for thinner metal.
Wrong amperage can create heavy dross, a wide kerf, or poor edge quality. Start with your manual’s recommended settings, then make small adjustments on scrap metal.
Use the correct mode for the work. Flat sheet cutting, expanded metal cutting, and gouging can require different panel settings.
Watch the power status indicators while you work. If the machine shows a warning, stop and correct the issue before you continue.
Review your settings before each cut. This habit improves cutting accuracy and helps extend your plasma cutter’s service life.
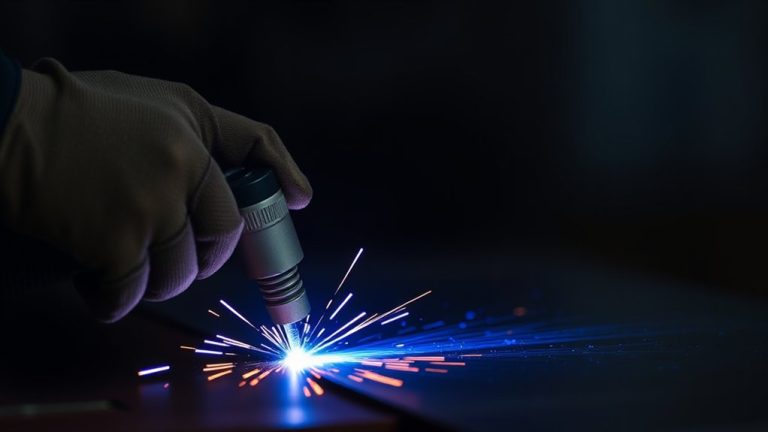
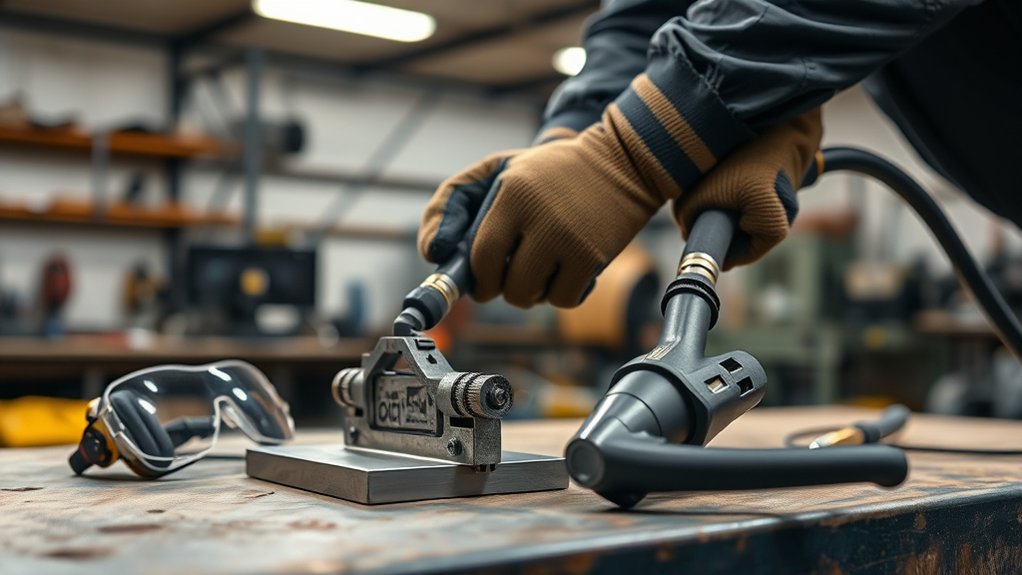
Preparing the Torch and Work Clamp
Secure the work clamp to clean metal before you cut. A strong ground connection helps the arc stay stable and reduces cut problems.
Choose the correct torch tip for your task. Use a standoff tip when you need a set gap, or use a drag tip when your machine supports direct contact.
Check the torch parts before you start. Loose, dirty, or worn consumables can cause rough cuts, poor starts, and extra dross.
Products Worth Considering

【Good Conductivity】The welding ground clamp is made of quality copper, which has good electrical conductivity and is not easy to break.

19 feet 5 AWG Ground Cable 10-25 Ground Clamp for Lotos Plasma Cutter LTP7000 LTP8000 TIG Welder TIG200 TIG200DC

BRASS BODY: Made of solid brass for strong conductivity and oxidation resistance.
Ensuring Proper Grounding
Proper grounding plays a key role in plasma cutter operation. A clean, secure ground helps the arc cut cleanly and helps protect the equipment.
Follow these steps to ground the workpiece correctly:
- Secure the work clamp: Attach it firmly to the metal or a grounded table.
- Inspect the surface: Choose a clean spot without paint, rust, oil, or heavy scale.
- Verify the connection: Check the clamp before you start the cutter.
- Direct the arc safely: Keep the cable clear of sparks, sharp edges, and hot metal.
Selecting Appropriate Tips
Select the right tip before you cut. Your tip choice depends on the torch design, material thickness, and cut type.
Use standoff tips when you need to keep a fixed distance from the workpiece. Use drag tips only when your torch and consumables support drag cutting.
Replace worn tips before they damage cut quality. A worn tip can create more dross, a wider cut, and poor arc control.
| Tip Type | Usage |
|---|---|
| Standoff Tip | Distance cuts |
| Drag Tip | Precision contact cuts |
| Worn Tip | Needs replacement |
| Proper Air | Helps cooling |
Connect the work clamp to the metal or cutting table for a stable ground. Tight fittings and clean contact points help you avoid arc instability.
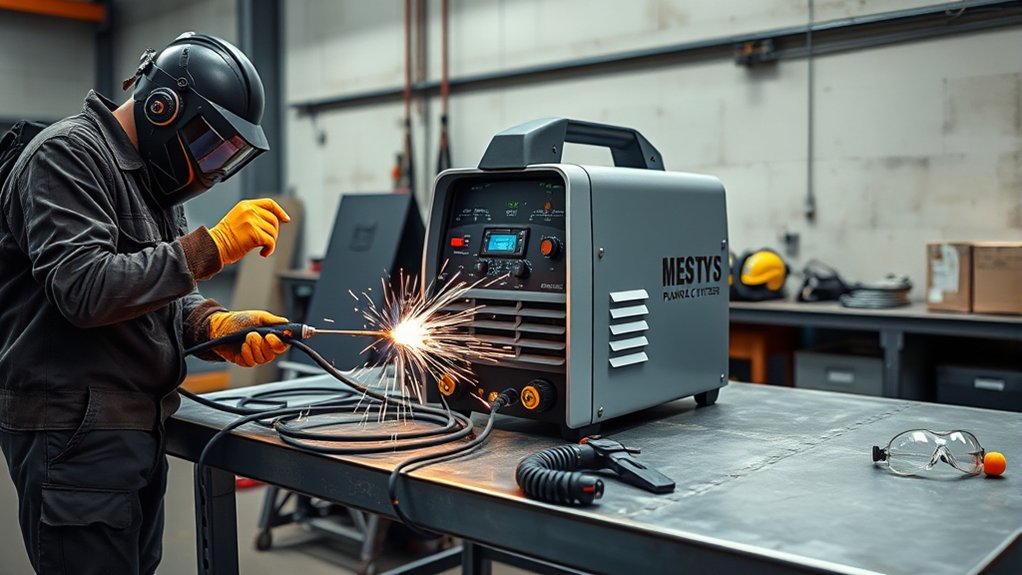
Safety Measures and Equipment
Plasma cutting creates heat, sparks, bright light, fumes, and sharp metal edges. You need the right personal protective equipment (PPE) before you start.
Protect your eyes, hands, skin, and lungs before you use a plasma cutter.
Follow these safety guidelines before and during each cut:
- Wear PPE: Use safety glasses or a face shield, gloves, and flame-resistant clothing.
- Improve ventilation: Cut in a well-ventilated area so fumes do not build up around you.
- Remove fire risks: Clear flammable materials from the cutting area before you strike an arc.
- Prepare for emergencies: Keep the right fire extinguisher nearby and know the machine’s shutoff procedure.
Warning: Never cut a sealed container, fuel tank, or unknown coated metal without proper training and safety checks.
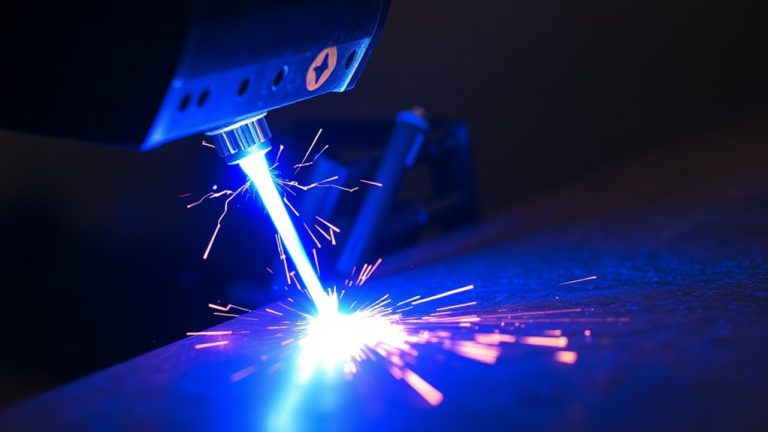
Basic Cutting Techniques
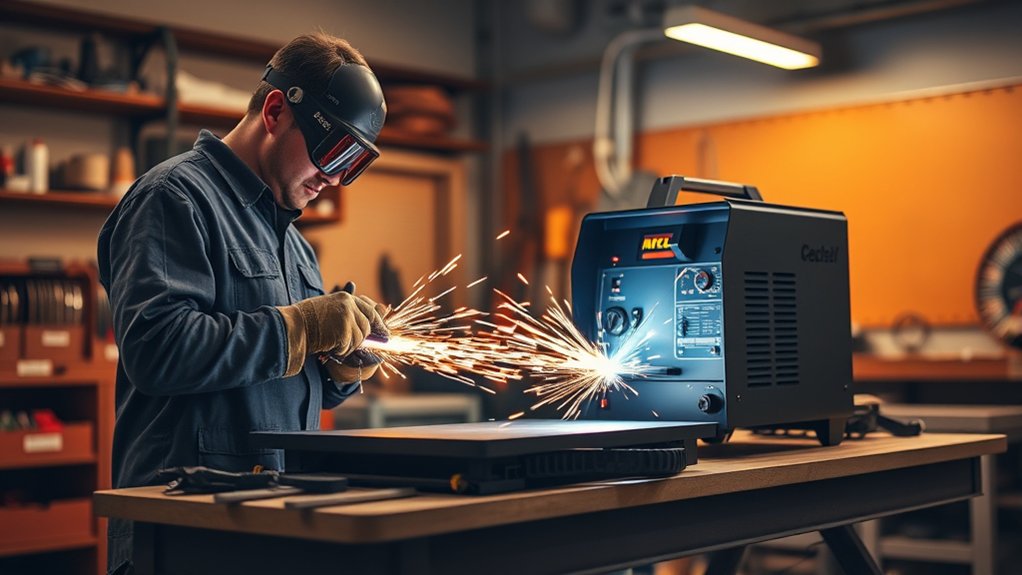
Start each cut with the work clamp attached to clean metal. This setup gives the plasma cutter the stable ground it needs.
For holes, use a drag tip if your torch supports it, or make a pilot hole first. A guide or template can help you control the torch path.
For squares and straight cuts, keep your torch angle and speed consistent. Smooth movement helps you create clean edges and reduce dross.
Starting the Cut
Connect the work clamp securely to the metal before you cut. A poor ground can cause arc problems and rough cut edges.
Begin at the edge of the material when possible. Align the torch, hold it steady, and prepare to move as soon as the arc pierces the metal.
- Activate the cutter: Lift the trigger lock and press the trigger to start the plasma arc.
- Angle the torch slightly: Use a small lead angle when your cut and torch style allow it.
- Maintain steady speed: Move smoothly so the arc cuts through the metal without lagging.
- Set the right amperage: Match the setting to the metal thickness and test on scrap first.
Practice helps you build better control. Start with short straight cuts before you try tight curves or detailed shapes.
Cutting Holes Efficiently
Before you cut a hole, set the amperage for the metal thickness. A poor setting can create extra dross or an uneven edge.
Use a standoff tip to maintain a steady gap between the torch and workpiece. A stable gap helps you control hole size and shape.
Start with a pilot hole when accuracy matters. You can drill it first or use a short plasma pierce if the material allows it.
Trace the hole with a steady hand and consistent cutting speed. Move too slowly, and you may create heavy dross.
Keep the work clamp secure during the full cut. A stable ground helps prevent erratic arcs and poor hole quality.
Making Precise Squares
Square cuts need clear layout lines and steady torch movement. Mark the metal with a square or straight edge before you start.
Follow this process for cleaner square cuts:
- Adjust amperage: Match the amperage to your metal thickness before cutting.
- Use a standoff tip: Keep a steady torch distance for better control.
- Control cutting speed: Start at one corner and move at a smooth, even pace.
- Inspect the corners: Check each corner and clean up small flaws if needed.
Use a guide rail or straight edge when you need a cleaner line. Keep it positioned safely away from sparks and hot metal.
Common Mistakes to Avoid
Many beginner plasma cutting problems come from setup errors. Check the basics before you blame the machine or replace parts.
- Cutting with damp air: Moisture can shorten consumable life and hurt cut quality.
- Using the wrong amperage: Poor settings can leave heavy dross or fail to cut through.
- Moving too fast: The arc may not fully cut the metal.
- Moving too slowly: The cut edge may collect more slag and heat marks.
- Ignoring worn consumables: Damaged tips and electrodes can create unstable arcs.
Pro tip: Keep a small notebook with your metal type, thickness, amperage, and cut speed for future jobs.
Advancing Your Skills With Practice

Build your plasma cutting skills through focused practice. Start with straight lines, circles, and simple shapes before you move to detailed cuts.
Adjust your amperage when you work with different metal thicknesses. This practice teaches you how settings affect cut quality and edge cleanup.
Fine-tune your amperage and speed to improve cut quality on different metal thicknesses.
Use scrap metal for test cuts. Focus on smooth starts, steady travel speed, and a controlled torch angle.
Record each practice session if you can. Review your cuts and note what improved or caused rough edges.
Watch instructional videos from trusted welding and cutting sources. Good visual examples can help you understand torch angle, speed, and piercing technique.
With consistent practice, you’ll gain better control and cleaner results. Small improvements in setup and movement can make a clear difference.
Frequently Asked Questions
Can a Plasma Cutter Be Used on Non-Metal Materials?
A plasma cutter works best on conductive metals. Do not use it to cut wood, plastic, or similar non-metal materials because they can burn, melt, or release harmful fumes.
How Does Ambient Temperature Affect Plasma Cutting?
Ambient temperature can affect machine cooling, duty cycle, and cut consistency. Very hot work areas can increase overheating risk, while cold conditions may affect air supply and handling.
What Is the Maintenance Schedule for a Plasma Cutter?
Check consumables, cables, air supply, and connections before each use. Inspect air filters and torch parts often, and follow your manual for model-specific maintenance intervals.
Are There Specific Storage Requirements for a Plasma Cutter?
Store your plasma cutter in a dry, clean, and dust-free space. Cover it when not in use, and keep cables and torch parts away from moisture and sharp edges.
How Can I Improve Edge Quality on Thicker Metals?
Clean the metal, set the correct amperage, and move at a steady speed. Test on scrap first, then adjust torch angle and travel speed until the edge improves.
Safety Disclaimer: This article is for informational purposes only and does not replace hands-on training or professional safety guidance. Always follow your plasma cutter’s manual, local safety rules, and qualified instruction before using cutting equipment.
Conclusion
Safe plasma cutting starts with clean setup, correct settings, and steady torch control. Use your manual, wear proper PPE, and test your settings on scrap before cutting a finished part.
Build your skill one cut at a time. As your control improves, you’ll make cleaner cuts with less rework and more confidence.