Starting a plasma cutter arc safely comes down to four basics: correct consumables, clean dry air, a solid work clamp connection, and the right torch position for your machine. Because amperage, air pressure, and torch height vary by model, always use your owner’s manual and cut chart as the final setting guide before you pull the trigger.
Quick Answer
To arc start a plasma cutter, install the correct consumables, connect the work clamp to clean bare metal, set amperage and air pressure from the cut chart, hold the torch at the recommended standoff or drag position, then press the trigger to start the pilot arc and transfer it into the cut.
Key Takeaways
- Do not use one universal PSI setting. Set air pressure and amperage from your machine’s manual or cut chart.
- A clean work clamp connection is part of the cutting circuit. Paint, rust, or loose contact can stop the arc from transferring.
- Use a drag tip only when your torch and consumables are designed for drag cutting. Otherwise, keep the recommended standoff.
- Wear proper PPE, protect combustibles, and use ventilation because plasma cutting creates bright arc light, sparks, hot metal, and fumes.
At a Glance
| Time Required | 5 to 10 minutes for setup, plus cutting time |
| Difficulty | Beginner to intermediate |
| Tools Needed | Plasma cutter, torch, work clamp, correct consumables, clean dry air supply, PPE, scrap test metal, wire brush or grinder |
| Cost | Usually no extra cost beyond consumables and PPE |
Warning: Plasma cutting is hot work. Do not cut near fuel, solvents, oily rags, sawdust, aerosol cans, or uncleaned containers. Move combustibles at least 35 feet away where practical, shield anything that cannot be moved, and keep a suitable fire extinguisher nearby.
Essential Tools and Equipment for Arc Starting
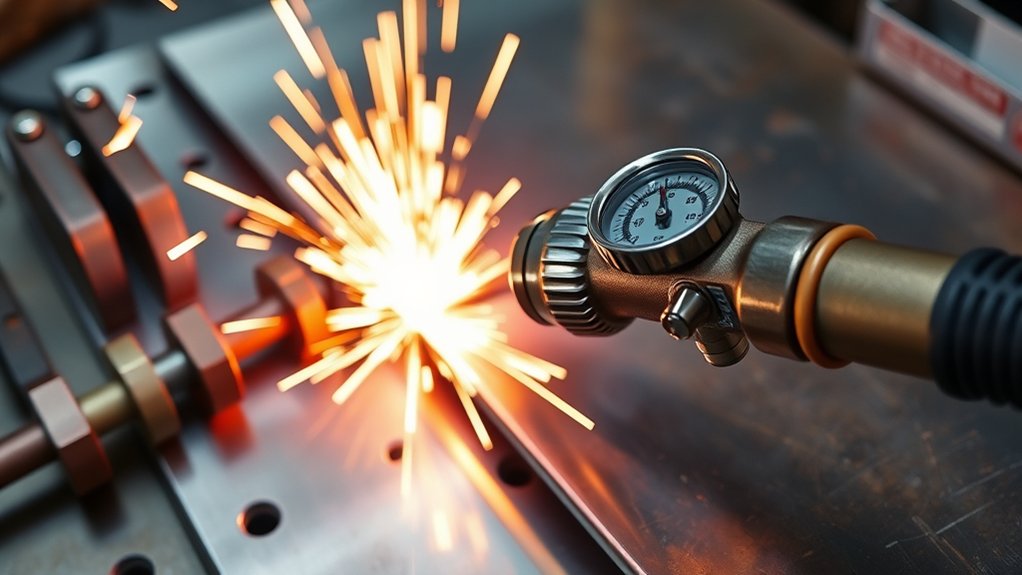
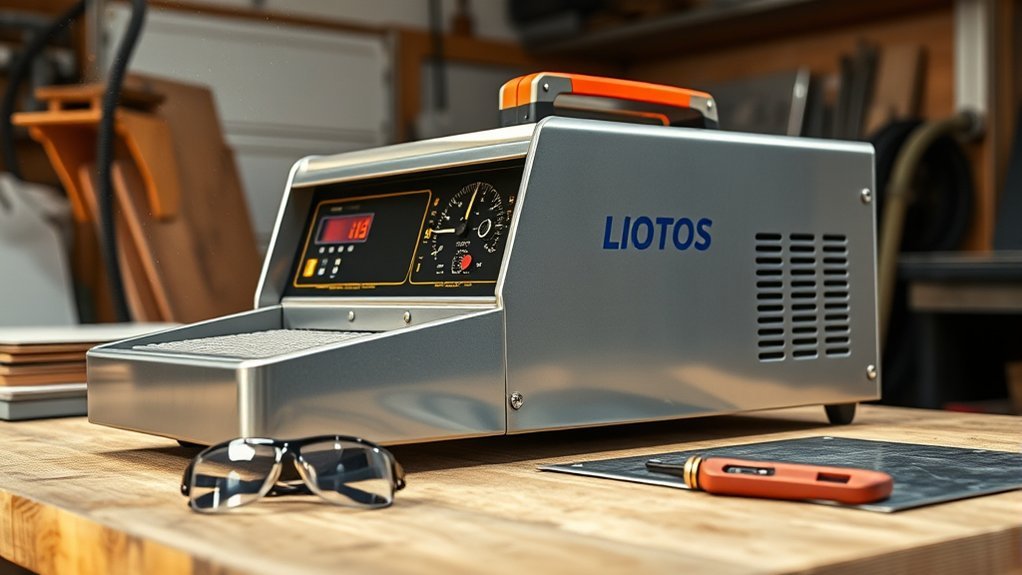
To arc start a plasma cutter, gather the cutter, torch, work lead, correct consumables, clean dry air supply, and protective gear before you connect power. The consumables usually include an electrode, nozzle, swirl ring or cartridge, shield, retaining cap, and drag shield if your torch uses one.
Check each consumable for the correct part number and amperage rating. A wrong nozzle, worn electrode, cracked shield cup, or loose retaining cap can stop the pilot arc from forming or keep the arc from transferring to the workpiece.
Clean the metal where the work clamp will attach. The clamp needs bare metal contact because the plasma cutter completes its circuit through the workpiece. Rust, paint, mill scale, loose clamps, and oily surfaces can all cause weak starts, sputtering, or no arc transfer.
You also need a clean air source. Most handheld air plasma cutters use compressed air, but exact pressure and flow requirements depend on the machine. Use the pressure listed in the owner’s manual or cut chart, and set it with air flowing if your machine requires that method.
Note: Moisture in compressed air can make the arc unstable, shorten consumable life, and leave rougher edges. Drain the compressor tank and use a water separator or air dryer when your setup needs one.
Products Worth Considering

Package Include: 10 Shield Cups, 50 Nozzles, 20 Swirl Baffle, and 30 Electrodes.

[Achieve Precise Cuts] PT31 Plasma Cutting Consumables – Your Essential Tool for Efficient Cutting! Whether you're working with sheet metal, steel, or any other material, superior cutting performance ensure clean, accurate, and smooth cuts.

High-Quality Material:Made of high quality material to ensure a longer lifespan and superior performance.
Setting Up the Plasma Cutter for Optimal Performance
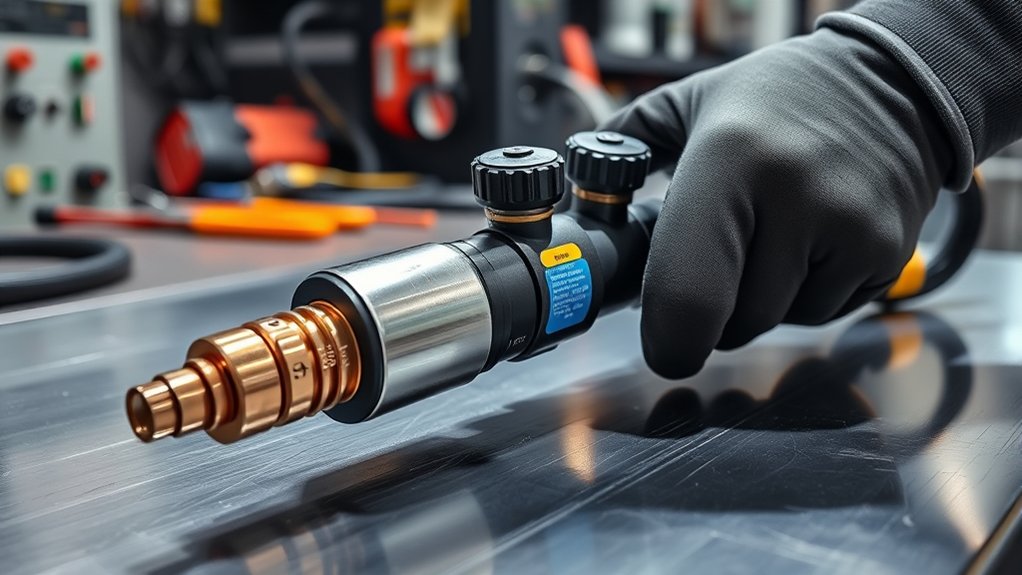
Set up the plasma cutter before you try to start the arc. Start with the machine powered off. Install the correct consumables, connect the torch, connect the work lead, and make sure all fittings are tight. If your torch has a lock switch or safety lock, set it according to the manual before cutting.
Attach the work clamp to clean, unpainted metal on the workpiece or to a clean cutting table that has a solid electrical path to the work. Keep the clamp away from the part that will fall after the cut, and do not clamp to painted sheet metal unless you grind a clean contact spot first.
Connect the air hose to the plasma cutter and check for leaks. Use only the gas or air type your cutter requires. Do not guess based on another machine’s settings, because air pressure, amperage, pierce capacity, and torch height change by model, torch style, and consumable set.
| Setup Step | What to Check |
|---|---|
| Consumables | Correct type, clean, seated fully, not cracked or badly worn |
| Torch and lead | Secure connection, no damaged cable, no loose retaining cap |
| Work clamp | Firm contact on clean bare metal |
| Air supply | Dry air, proper flow, no leaks, pressure set by the cut chart |
| Material | Conductive metal, secure support, clear drop zone |
| Safety zone | Flammables moved or shielded, ventilation ready, PPE on |
Products Worth Considering

PACKAGE INCLUDED: 5 Pcs Cup-15 Pcs Electrodes-10 Pcs Ring-30 Pcs Tip(Standard)

Fit for : AG-60 AG-60P SG-55 WSD-60 Plasma cutter torch head

⚡【Precision Compatibility】 Exact fit for YESWELDER CUT 55DS Pro & 65DS (2019-2024 models). Replaces OEM# IPT40-55DS/65DS.
Adjusting Amperage and Gas Pressure
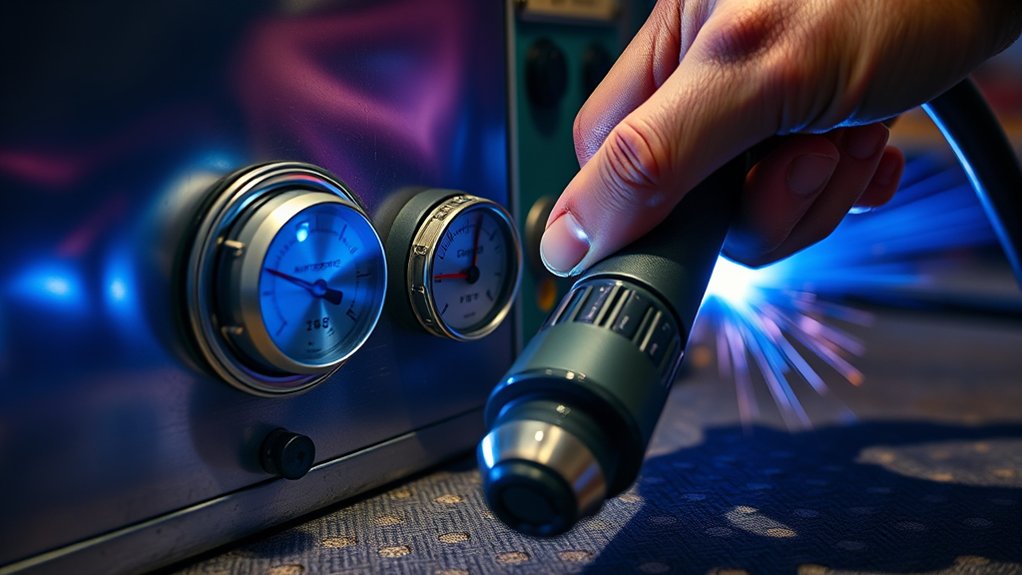
Set amperage for the metal thickness, material type, and cut style. Thin sheet metal usually needs less amperage, while thicker plate needs more. The safest starting point is the cut chart for your machine, not a copied setting from another plasma cutter.
Set gas pressure the same way. Some machines regulate pressure automatically, while others require manual adjustment. Some need pressure checked while air is flowing through the torch. If your manual lists separate settings for drag cutting, standoff cutting, gouging, or piercing, use the correct one for that operation.
Do not assume that a floating-tip pressure range or drag-tip pressure range works for every cutter. Too little air can cause sputtering, double-arcing, and heavy dross. Too much air can blow out the arc, widen the kerf, or wear consumables faster.
- Check the material thickness: Match amperage to the cut chart for the metal you are cutting.
- Set air pressure from the manual: Adjust it with air flowing if your machine requires a flow test.
- Use clean, dry air: Drain moisture and check the filter if the arc sounds rough.
- Test on scrap: Make a short cut and inspect the sparks, dross, and edge quality before cutting the final part.
Pro Tip: If sparks spray upward or the arc struggles to stay under the plate, slow down, check the work clamp, and confirm that your amperage and air pressure match the cut chart.
Techniques for Initiating the Arc
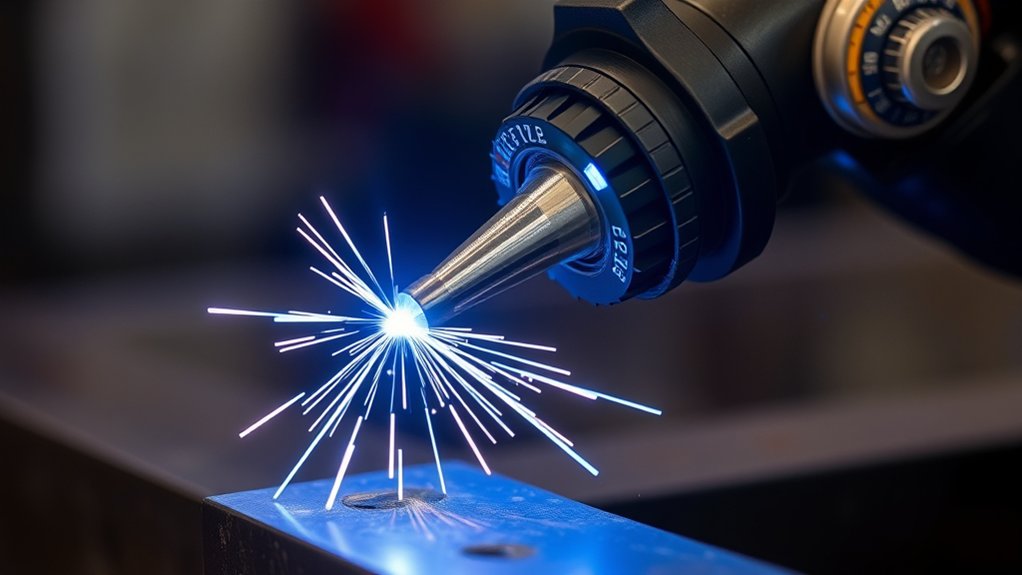
Most handheld plasma cutters start with a pilot arc. When you press the trigger, the machine creates a small arc inside or near the torch. When that arc reaches the workpiece and the circuit is complete, it becomes the transferred cutting arc.
Some plasma cutters use high-frequency starting, some use blowback or contact starting, and some use a non-high-frequency pilot arc. The steps feel similar to the operator, but the machine design matters. Keep phones, CNC controls, and sensitive electronics away from high-frequency start machines unless your setup is designed for that environment.
Edge Start Method
An edge start is the easiest way to begin a cut. Place the torch at the edge of the metal, hold the recommended standoff or place the drag shield on the surface if your torch is designed for drag cutting, then press the trigger. Once the arc transfers and sparks pass through the bottom of the workpiece, move steadily along the cut line.
Pierce Start Method
A pierce start begins in the middle of the metal instead of at the edge. Tilt the torch slightly away from you so molten metal does not blow straight back into the nozzle. Press the trigger, let the arc pierce through, then bring the torch upright and move into the cut. Use the pierce capacity listed for your plasma cutter. Do not pierce plate thicker than the machine rating.
A clean plasma start needs a complete circuit, correct air flow, and the right torch height. If one of those three is wrong, the arc may sputter, fail to transfer, or damage consumables.
Maintaining Torch Contact and Angle
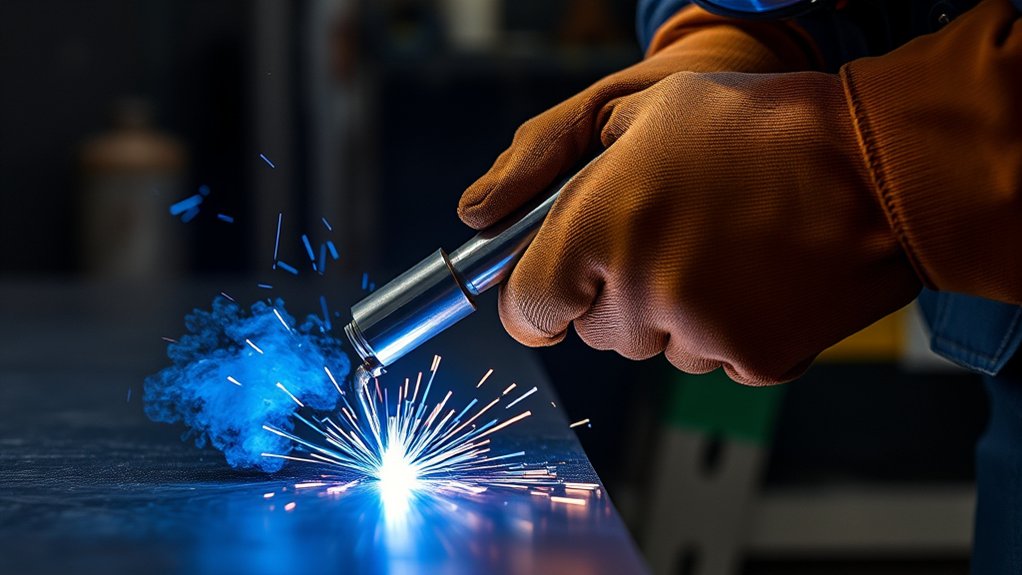
Hold the torch according to the consumables you are using. If the torch is set up for standoff cutting, keep the tip above the workpiece at the distance shown in the cut chart. If it uses a drag shield or drag tip, you can rest the shield on the metal and move with steady pressure.
A near-vertical torch gives the squarest edge for most straight cuts. A slight backward drag angle can improve visibility and direct sparks away from your hand, but too much angle can bevel the cut and leave more dross.
Torch Angle Consistency
Keep the torch angle steady from the start of the cut to the finish. Wandering angle creates uneven bevels, wider kerfs, and rough edges. For straight cuts, use a guide, straightedge, or template when the job allows it.
- Start steady: Brace your cutting hand before you press the trigger.
- Watch the sparks: Good travel speed usually sends sparks through the bottom of the cut, slightly trailing behind the torch.
- Finish past the edge: Continue the motion until the arc exits the metal, then release the trigger.
Proper Torch Contact
Do not press a standard nozzle hard against the metal unless your torch and consumables are made for drag cutting. Direct contact with the wrong consumables can block air flow, cause double-arcing, and damage the tip.
| Technique | Torch Position | Best Use |
|---|---|---|
| Standoff or floating | Hold the tip above the metal at the manual’s recommended distance | Cleaner edges, less nozzle contact, many general cuts |
| Drag cutting | Rest the drag shield or drag tip on the workpiece | Guided hand cuts when the torch is designed for drag use |
Maintaining Steady Hand
A steady hand keeps the arc narrow and the cut more even. If the torch shakes, the kerf gets wider, the edge becomes rougher, and the arc can lose transfer on thin or rusty material.
- Brace your wrist: Rest your hand or forearm on a safe, stable surface when possible.
- Move before you tense up: Practice the full motion with the trigger off before cutting.
- Use a guide: Clamp a straightedge far enough away from the cut so it does not catch sparks or heat.
Avoid forcing the torch. Let the arc and air stream do the cutting while you control speed and direction.
Safety Measures and Protective Gear
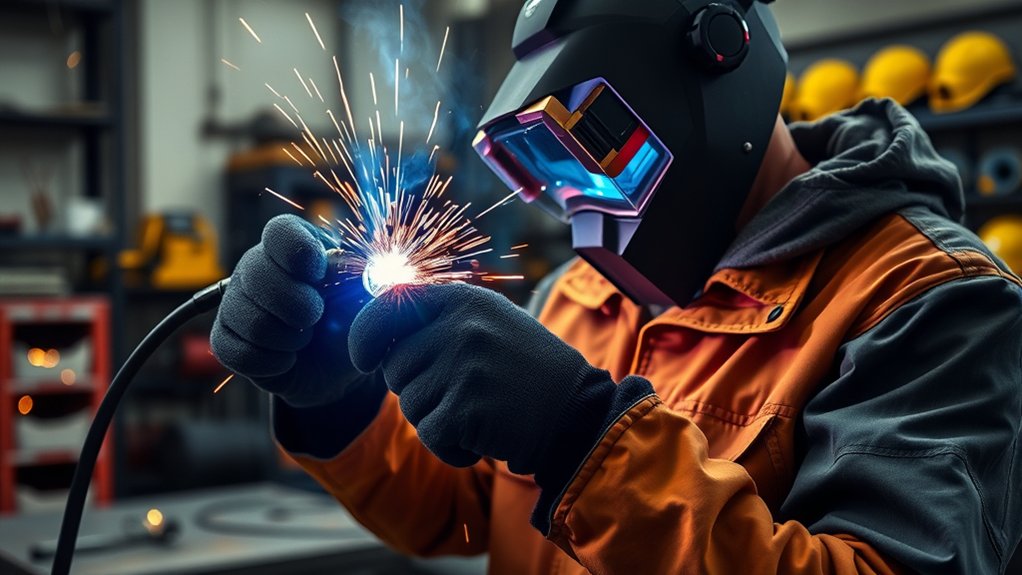
Before you arc start a plasma cutter, put on proper PPE. Use flame-resistant clothing, leather gloves, closed-toe leather boots, safety glasses under your helmet, and hearing protection. Plasma cutting can throw sparks and hot slag farther than you expect.
For eye protection, OSHA lists minimum filter shades for plasma arc cutting when the arc is clearly seen: shade 8 for light plasma arc cutting under 300 amps, shade 9 for 300 to 400 amps, and shade 10 for 400 to 800 amps. Start darker if needed, then lighten only enough to see the work while staying above the minimum shade.
Control fire risk before the first arc start. OSHA hot-work guidance says combustible materials should be moved at least 35 feet away where practical, or protected with flame-resistant covers or shields if they cannot be moved. Keep a fire extinguisher ready, and inspect the area after cutting for smoldering material.
Use ventilation because cutting can release fumes from the base metal, paint, oil, primer, plating, galvanizing, or other coatings. Grind off coatings where safe to do so, use local exhaust or strong general ventilation, and never cut in a confined space without proper training, air testing, and ventilation.
Warning: Never plasma cut a sealed container, drum, tank, wheel, pipe, or vessel unless it has been professionally cleaned, vented, and confirmed safe. Heat can turn residue into toxic vapor or explosive gas.
Troubleshooting Common Arc Starting Issues
If the plasma cutter will not arc start, stop and troubleshoot in a safe order. Turn off power before removing consumables or opening any service panel. Check the simple items first: work clamp contact, air pressure, torch assembly, consumables, and machine error lights.
| Problem | Likely Cause | Fix |
|---|---|---|
| No pilot arc | Power, trigger, torch lock, consumable, or air fault | Check machine status lights, torch lock, air supply, and consumable seating |
| Pilot arc starts but will not cut | Bad work clamp contact or nonconductive coating | Move clamp to clean bare metal and grind a contact spot if needed |
| Arc sputters or pops | Wet air, wrong pressure, worn nozzle, or loose torch parts | Drain air system, set pressure from the manual, and inspect consumables |
| Heavy bottom dross | Travel speed too slow, amperage too low, or standoff too high | Test on scrap and adjust speed, amperage, and torch height from the cut chart |
| Consumables burn quickly | Piercing too thick, wrong contact method, dirty air, or overused nozzle | Use correct pierce rating, correct consumables, dry air, and proper standoff |
Verify Torch Connections
Make sure the torch is fully connected to the power supply and the retaining cap is secure. A loose torch connection can prevent the machine from sensing the torch or allow air to leak before it reaches the nozzle.
- Power supply: Confirm the cutter is plugged into the correct input power and any breaker or disconnect is on.
- Work clamp: Attach it firmly to clean bare metal, not loose rust, paint, or the piece that will fall away.
- Air supply: Check the compressor, regulator, hose, fittings, and filter bowl.
Inspect Consumable Components
Consumables wear every time you start and cut. Remove and inspect them only after the cutter is powered off and the torch is cool. Look for an enlarged nozzle hole, pitted electrode, cracked shield, blocked swirl ring, or metal stuck inside the cap.
If the electrode is deeply pitted or the nozzle hole is no longer round, replace the parts as a set if your manual recommends it. Mixing a new electrode with a badly worn nozzle can cause poor starts and rough cuts.
Tips for Clean and Efficient Cuts
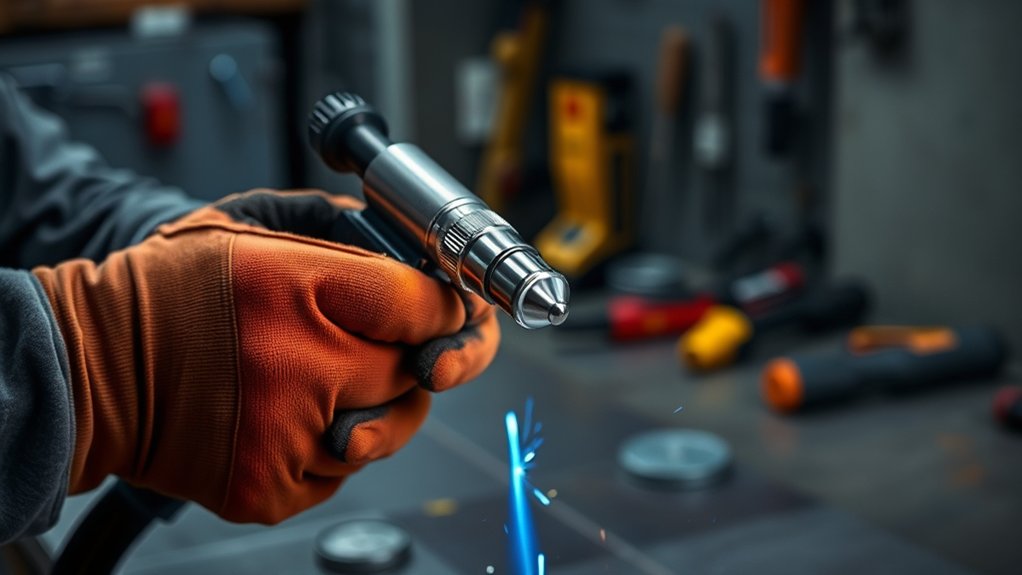
Clean plasma cuts come from matching the machine settings to the metal, then moving at a steady speed. Use the cut chart first. After a short test cut, fine-tune based on the edge, dross, and spark direction.
- Start on scrap: Test the exact metal thickness before cutting your final part.
- Keep air dry: Drain the compressor and check filters if the arc sounds rough.
- Watch the spark stream: Sparks should pass through the bottom of the cut and trail slightly behind the torch.
- Do not outrun the arc: If the arc lags far behind or fails to cut through, slow down or raise amperage within the cut-chart range.
- Do not crawl too slowly: Slow travel can widen the kerf and leave heavy dross.
- Let the post-flow finish: Many machines keep air flowing after the trigger is released to cool the torch and consumables. Do not shut off air immediately unless your manual says to.
Pro Tip: If you are learning, mark a straight line on scrap and make three short cuts at different travel speeds. The best cut usually has the least dross, a narrow kerf, and sparks exiting below the plate.
Frequently Asked Questions
How do I choose the right gas for my plasma cutter?
Use the gas or air type listed in your owner’s manual. Many handheld plasma cutters use clean compressed air, while some industrial systems may use oxygen, nitrogen, argon-hydrogen mixes, or other gases for specific metals. Do not switch gases unless your cutter and consumables are rated for it.
What are the signs of worn-out consumables?
Common signs include hard starts, sputtering, poor arc transfer, a wider kerf, heavy dross, angled cuts, and a nozzle hole that is no longer round. Also inspect the electrode for deep pitting and replace parts according to your manual.
Can I use a plasma cutter on painted surfaces?
You can cut painted metal, but it is better and safer to remove paint from the cut line and work clamp area first. Paint can block electrical contact, contaminate the cut, and release harmful fumes when heated.
How does humidity affect plasma cutting?
Humidity adds moisture to the air supply. Moisture can cause arc instability, rough edges, more dross, and faster consumable wear. Drain the compressor tank and use a water separator or dryer if your air system collects moisture.
What is the best way to store a plasma cutter?
Store the plasma cutter in a clean, dry area away from grinding dust, rain, and flammable materials. Disconnect power, coil the leads loosely, protect the torch from impact, and drain moisture from the air system before long storage.
Why does my plasma cutter start a pilot arc but not cut?
The pilot arc may not be transferring to the workpiece. Check the work clamp, clean the clamp area to bare metal, reduce excessive standoff, and confirm the amperage and air pressure match the cut chart.
Should I drag the torch or hold it above the metal?
Use the method your torch and consumables are designed for. Drag shields can rest on the workpiece. Standard standoff consumables should be held above the metal at the manual’s recommended distance.
Can I pierce thick metal with a small plasma cutter?
Only pierce within your machine’s rated pierce capacity. If the plate is too thick, start from an edge or drill a starter hole when appropriate. Piercing beyond the rating can blow molten metal back into the torch and destroy consumables.
Conclusion
To arc start a plasma cutter well, focus on safe setup before technique. Install the right consumables, clamp to clean metal, use dry air, follow the cut chart, and hold the torch the way your consumables are designed to work. Once the pilot arc transfers, move smoothly and watch the sparks under the cut. With proper PPE, ventilation, fire control, and steady practice, you can get cleaner starts, longer consumable life, and safer cuts.
Sources
- OSHA 29 CFR 1910.133, Eye and face protection – supports plasma arc cutting filter shade guidance.
- OSHA 29 CFR 1910.252, Welding, cutting, and brazing general requirements – supports fire prevention, PPE, and ventilation guidance.
- OSHA 29 CFR 1910.254, Arc welding and cutting – supports following manufacturer instructions and checking connections.
- Arc Plasma Torch Modeling, Trelles et al. – supports the general physics of DC arc plasma torches.