How to Set Up and Use a Lotos Plasma Cutter
What’s in This Article
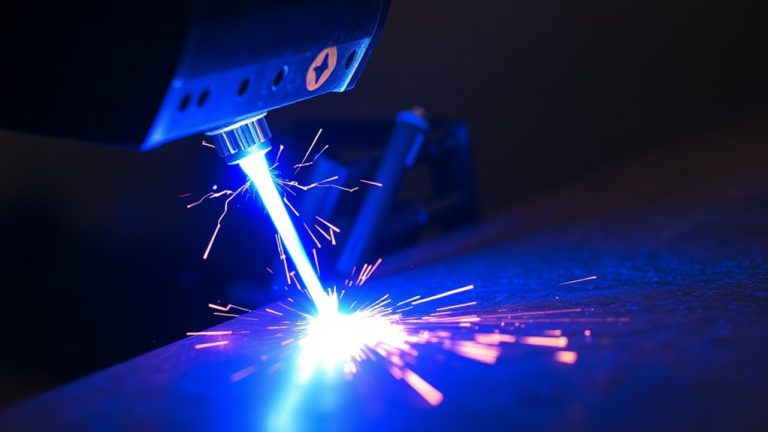
A plasma cutter can make clean metal cuts, but a poor setup can cause weak arcs, rough edges, air leaks, or safety risks. Your Lotos plasma cutter needs secure connections, dry air, correct pressure, and the right amp setting before you cut. This guide shows you how to set up the machine, test your settings, maintain consumables, and fix common cutting issues.
Quick Answer
To set up a Lotos plasma cutter, inspect the parts, connect the air hose, attach the torch, secure the ground clamp, and set air pressure before cutting. Use about 30 to 50 PSI on 120 volts and about 30 to 70 PSI on 240 volts, unless your model manual gives a different range. Test on scrap metal first so you can adjust air pressure and amps before your real cut.
Key Takeaways
- Inspect every cable, hose, torch part, and fitting before you power on the cutter.
- Clamp the ground lead to clean bare metal so the arc stays stable.
- Set air pressure and amps based on your voltage, material thickness, and cut quality.
- Test on scrap metal before you cut the final workpiece.
- Replace worn tips, electrodes, and other consumables when cuts become rough or uneven.
Before You Begin
Estimated setup time: 15 to 30 minutes for basic setup, inspection, and a test cut.
Read your Lotos owner’s manual before you connect power or air. Model details can vary, so use the manual as your final guide for wiring, pressure limits, torch parts, and duty cycle.
You’ll need these items before you start:
- Lotos plasma cutter with torch and ground clamp
- Clean, dry compressed air supply
- Correct power outlet for your machine and voltage
- Scrap metal for test cuts
- Safety glasses or cutting helmet
- Flame-resistant gloves and clothing
- Dry work area with good ventilation
Warning: Never cut in wet conditions, near flammable materials, or without proper eye, hand, and skin protection.
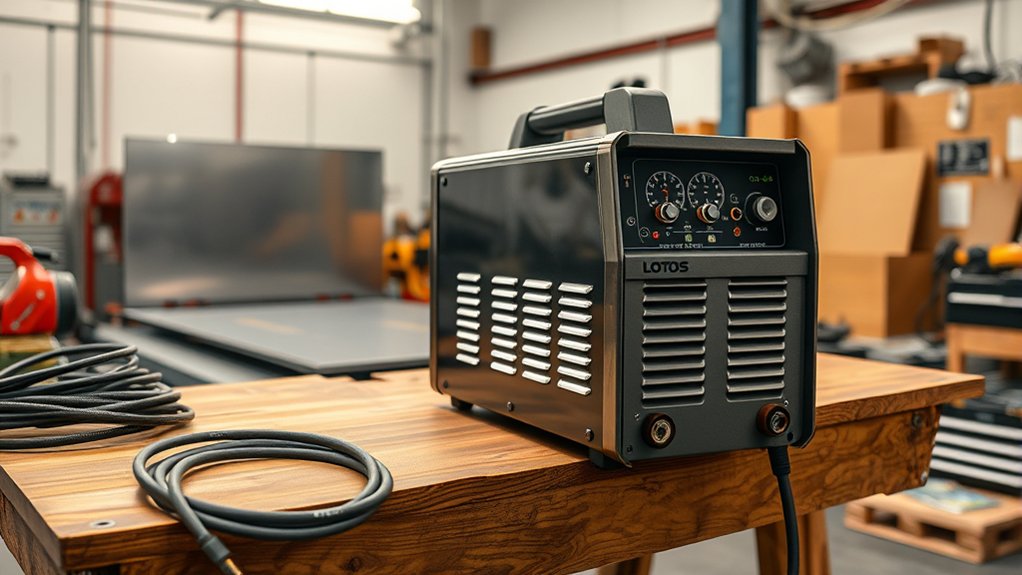
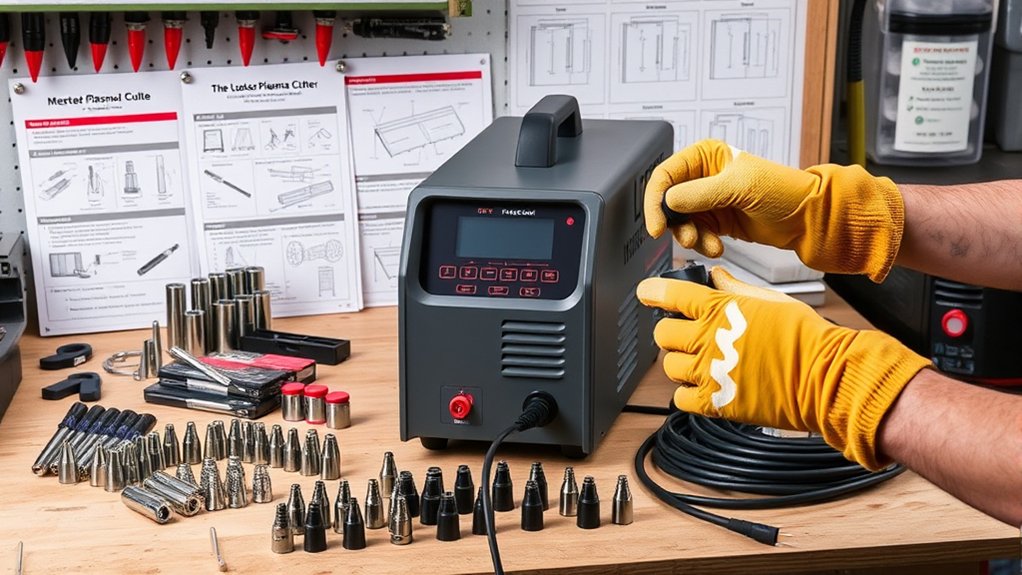
Unboxing and Initial Setup
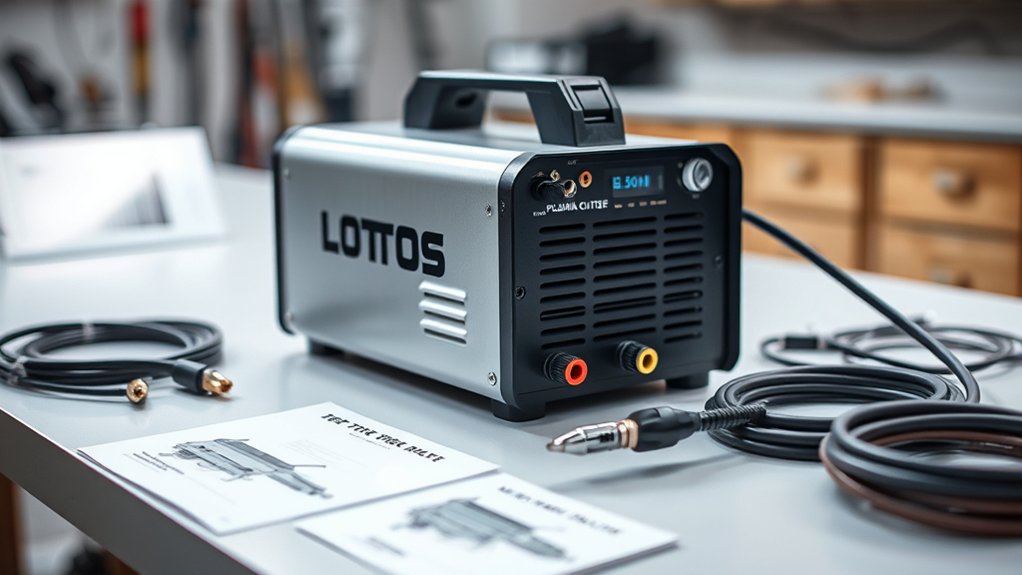
Open the box and check each part before you start assembly. Most Lotos plasma cutter kits include the machine, torch, ground clamp, air fittings, extra consumables, and a power plug or pigtail connection.
Unbox your Lotos plasma cutter, then inspect the torch, ground clamp, consumables, power connection, and air fittings before setup.
Look for cracked plugs, loose fittings, damaged cables, bent torch parts, or missing consumables. Do not power on the machine if any part looks damaged.
Check the plug and input voltage before you connect the cutter to power. Some Lotos models support 110/120 volts and 220/240 volts, but you should confirm your exact model first.
Study the machine layout before you attach parts. Find the air inlet, torch ports, ground connection, pressure control, amp control, and power switch.
Products Worth Considering

Only Compatible with BROWN Color Lotos LTP5800D , LTP5000D, LTPDC2000D.

fit SG-55 AG-60 WSD-60 Plasma Cutter Torch
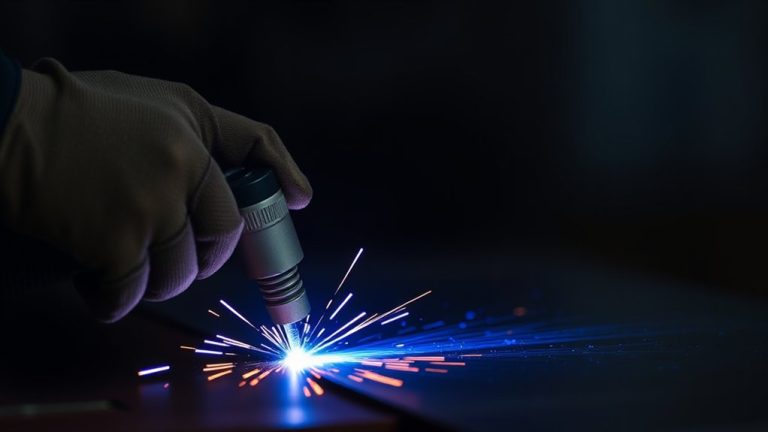
Connecting the Air Hose and Torch
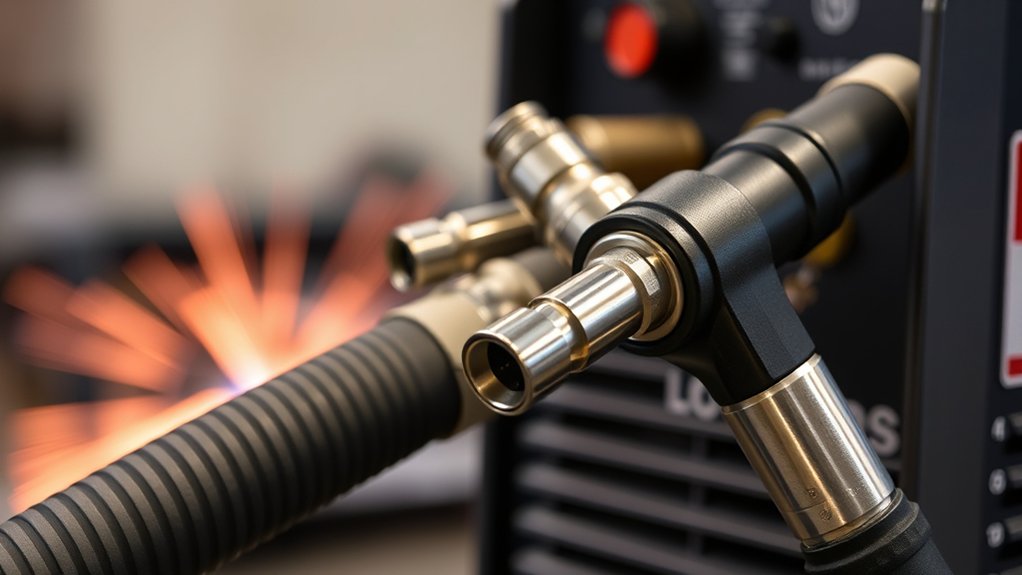
After you inspect the machine, connect the air hose and torch. These parts control airflow and arc delivery, so loose fittings can ruin cut quality.
Attach the air hose to the correct port on the plasma cutter. Tighten the fitting enough to stop leaks, but do not force the threads.
Next, attach the torch to the front of the machine. Line up each connector, seat it fully, and tighten the fittings by hand unless your manual says to use a tool.
Listen for air leaks after you turn on the compressor. If you hear a hiss, shut off the system and tighten the leaking connection.
Clean the torch head and air fittings during regular maintenance. Dust, slag, and moisture can reduce airflow and shorten consumable life.
Products Worth Considering

AIR LINE TOOLS: This 2pcs pneumatic fitting disconnect tool set is the specialized tool for quick disconnect push to connect air fittings 1/4”, 5/16”, 3/8”, 1/2” (6mm, 8mm,10mm,12mm). With straight unions×4, Y splitters×4, elbows×4, straight reducer unions×3 in total 15 pcs pneumatic fittings.


【Quick Release Pliers】This air line removal tool is specially designed for disconnecting 3/8”, 1/2” push-to-connect fittings. It supports one-handed operation, enabling easy hose removal without any damage. An essential handy tool for pneumatic systems, quick‑connect fittings, and automotive/industrial maintenance
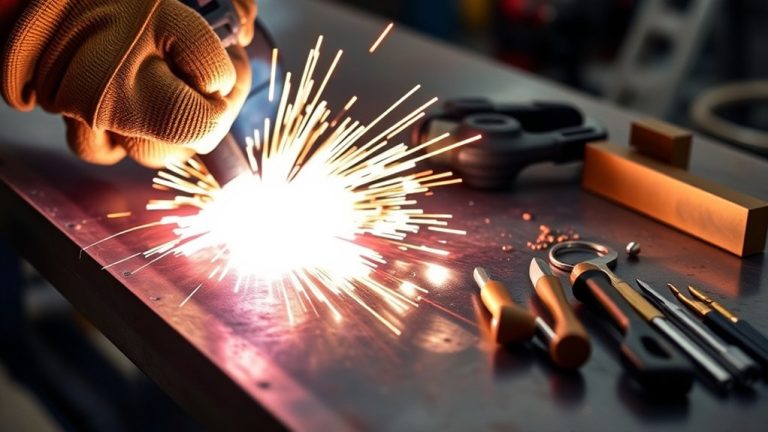
Ground Clamp Attachment
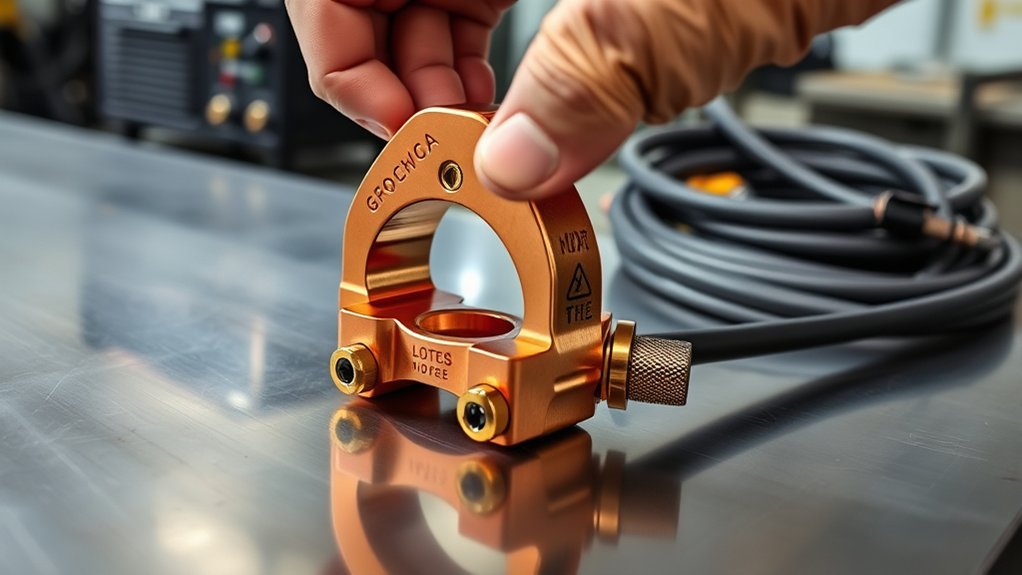
Attach the ground clamp to clean bare metal before you cut. A strong ground helps the cutter keep a stable arc and clean cut path.
Remove paint, rust, grease, and scale from the clamp area. The clamp needs direct metal contact to carry current well.
Check the clamp before every cut. A loose clamp can cause arc loss, rough cuts, extra dross, and heat buildup.
Proper Ground Clamp Connection
Choose a clean, uncoated metal spot on the workpiece or cutting table. Keep the clamp close enough to the cut area to support a stable electrical path.
Push the clamp teeth firmly onto bare metal. Avoid painted, rusty, oily, or coated areas because they can block good contact.
Before you start cutting, tug the clamp lightly to make sure it holds. If the clamp feels weak, clean the metal again or adjust the clamp tension.
Tightening Ground Clamp Securely
A firm clamp connection protects cut quality and reduces electrical trouble. Use this quick check before each cutting session:
- Inspect the clamp: Check the spring, cable, and teeth for damage or heavy wear.
- Clean the contact area: Remove rust, paint, oil, and loose scale from the metal.
- Attach the clamp: Place it on bare metal and make sure the teeth grip well.
- Verify the hold: Pull gently on the cable before you power the torch.
Good grounding supports safer and more consistent cutting.
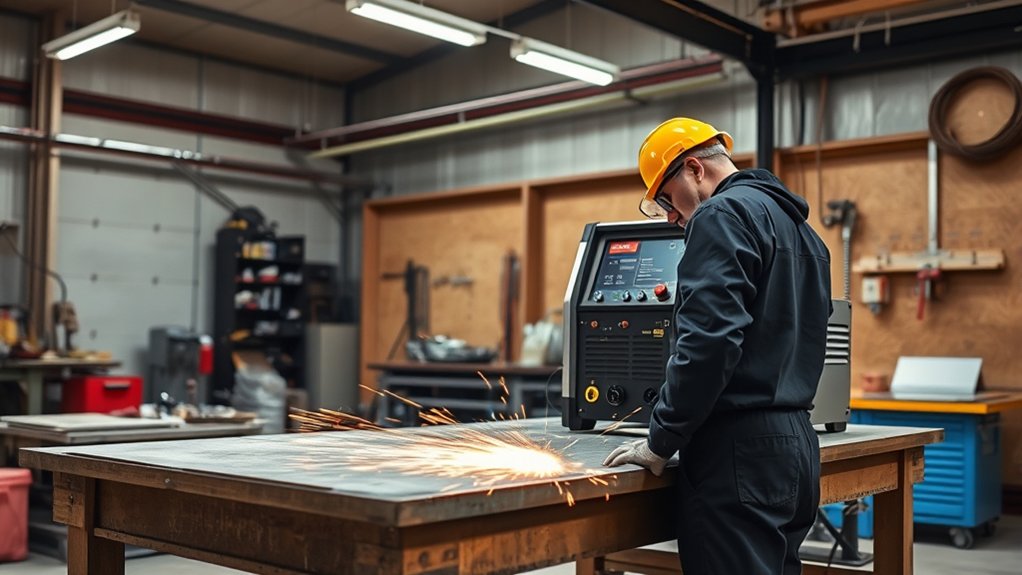
Setting Up for Cutting
Set up the cutter in a dry, open, and well-ventilated workspace. Keep sparks away from fuel, solvents, paper, sawdust, and other flammable items.
Connect the air hose, torch, and ground clamp before you turn on the power. Check every fitting so the machine gets steady air and a reliable electrical path.
Set air pressure and amperage based on voltage, metal thickness, and your manual’s recommended range. Then make a test cut on scrap metal before you work on the final piece.
Connecting Components Securely
Secure connections help your Lotos plasma cutter cut with less sputter and less dross. Follow this order for a clean setup:
- Connect the air hose: Attach it to the air inlet and tighten the fitting.
- Attach the torch: Seat each torch connector fully, then tighten it securely.
- Secure the ground clamp: Clamp it to clean bare metal on the workpiece.
- Check for leaks: Turn on air and listen around fittings before you cut.
- Test the arc: Use scrap metal to confirm the setup before the final cut.
Use dry compressed air for better results. Moisture in the air line can shorten consumable life and cause rough cuts.
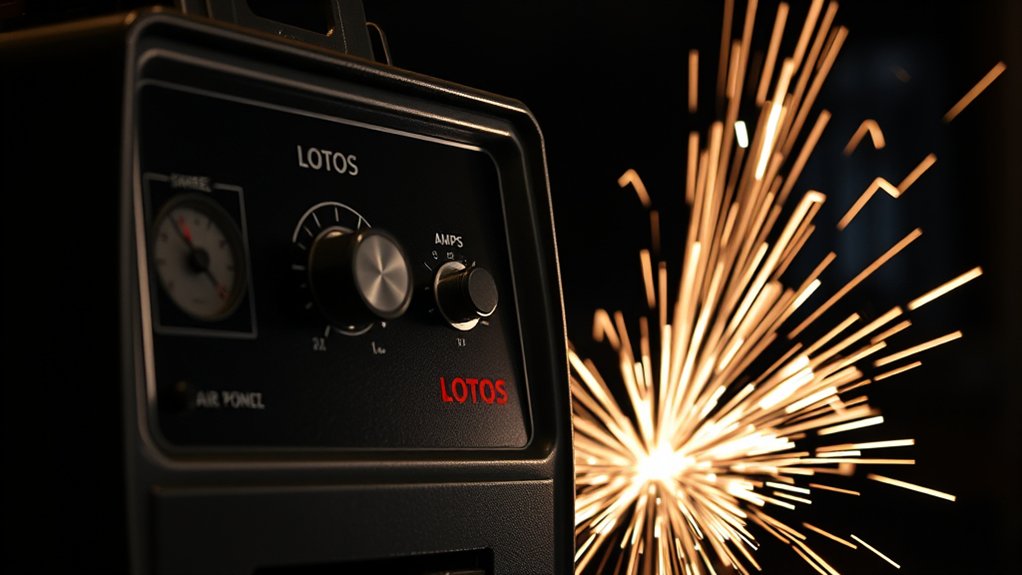
Adjusting Pressure and Amps
Start with about 30 to 50 PSI when you run the cutter on 120 volts, unless your manual gives a different setting. This range usually supports light cutting on thinner metal.
For 240-volt cutting and thicker metal, many setups use about 30 to 70 PSI. Your exact setting depends on the model, air supply, torch design, and metal thickness.
Set lower amps for thin metal and higher amps for thicker metal. If the cut drags, leaves heavy dross, or fails to pierce, adjust one setting at a time.
Test settings on scrap metal, such as an old mower blade or a clean piece of steel. This helps you find a clean cut before you work on your real project.
Adjusting Air Pressure and Amps
Air pressure and amperage control cut speed, heat, and edge quality. Change these settings slowly so you can see what each adjustment does.
For 120-volt use, start between 30 and 50 PSI. For 240-volt use, start between 30 and 70 PSI if your model manual supports that range.
Start with the manual’s recommended pressure range, then adjust based on cut quality, metal thickness, and arc stability.
Use an air compressor that can keep steady airflow during the full cut. A compressor may show high tank pressure but still fail if it cannot supply enough air volume.
Use this simple process to tune your settings:
- Thin metal: Use lower amps to reduce warping and overheating.
- Thick metal: Raise amps to improve piercing and cutting speed.
- Slow cut: Increase amps or reduce travel speed if the arc cannot cut through.
- Heavy dross: Adjust travel speed, air pressure, or consumables.
- Rough arc: Check air quality, torch parts, and ground connection.
Precise settings help you cut faster, reduce cleanup, and protect consumables.
Evaluating Cutting Performance
Check the cut after your first test pass. A good cut should follow the line, pierce the metal, and leave a fairly clean edge.
Look at cut speed, dross, bevel angle, and arc behavior. If the arc sputters or stops, check the ground clamp, air pressure, and torch consumables.
Keep air pressure in the range your manual recommends. For many light 120-volt setups, 30 to 50 PSI gives a useful starting point.
Switching to 240 volts can improve cutting ability on thicker metal if your model supports dual voltage. Use the correct plug, circuit, and settings for that mode.
Watch the nozzle and electrode as you cut. If cut quality drops after good setup, worn consumables may cause the problem.
Maintaining and Replacing Consumables
Good maintenance keeps your Lotos plasma cutter cutting cleanly. Worn consumables can cause poor starts, rough edges, wide kerfs, and extra dross.
Inspect the nozzle, electrode, shield cup, and related torch parts often. Replace parts when you see damage, heavy wear, or a clear drop in performance.
Use this routine to manage consumables:
- Inspect before use: Check the torch tip, electrode, cup, and cable before each session.
- Replace worn parts: Change damaged or badly worn consumables before they harm cut quality.
- Keep spares ready: Store extra tips and electrodes so downtime stays short.
- Install parts correctly: Seat each part in the right order and tighten it as the manual directs.
- Keep air dry: Drain your compressor tank and use dry air to reduce wear.
Monitor cut quality during each job. Early changes in arc sound, edge shape, or dross can warn you before a part fails.
Troubleshooting Common Issues
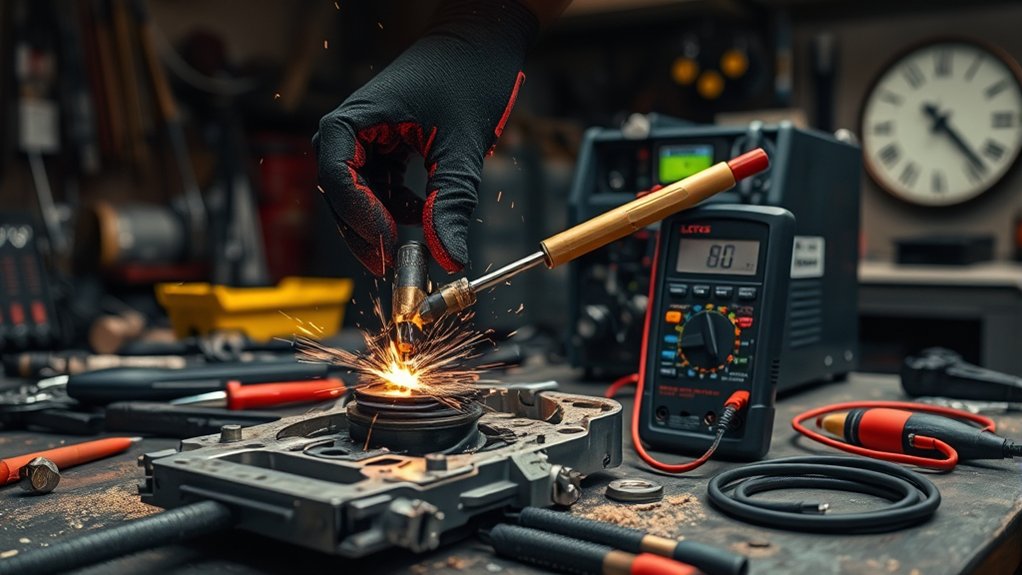
Start troubleshooting with the simple checks first. Most plasma cutter issues come from loose connections, poor grounding, wrong settings, wet air, or worn consumables.
If the cutter will not cut through the metal, raise amps within the safe range, slow your travel speed, or switch to thinner material. Also confirm that the torch has a clean tip and steady airflow.
If the arc sputters, check the ground clamp and air supply. A weak ground or unstable air pressure can make the arc unstable.
If the cut leaves heavy dross, adjust travel speed and air pressure. You may also need new consumables if the nozzle or electrode has wear.
If the compressor struggles, confirm that it can keep up during a full cut. Tank pressure alone does not guarantee steady cutting air.
Pro tip: Change only one setting at a time, then make another test cut so you can identify the real cause.
Stop using the cutter if you see damaged insulation, burning smells, melted plugs, or repeated electrical faults. Have a qualified technician inspect the machine before you use it again.
Frequently Asked Questions
What safety gear should you wear when using a plasma cutter?
Wear flame-resistant clothing, safety glasses or a cutting helmet, gloves, and closed-toe insulated footwear. Protect your eyes and skin from sparks, hot metal, and bright arc light. Keep the work area ventilated so fumes do not build up.
How should you store a plasma cutter when you are not using it?
Store the plasma cutter in a dry, clean, and dust-free place. Coil cables loosely, protect the torch from impact, and keep consumables in a sealed container. Avoid damp storage areas because moisture can damage parts and affect cutting performance.
Can you use a plasma cutter outdoors in wet conditions?
No, you should not use a plasma cutter in wet conditions. Water raises the risk of electric shock and equipment damage. Use the cutter only in a dry area with stable footing and proper protection.
How long do plasma cutter consumables last?
Consumable life depends on metal thickness, air quality, settings, and cutting time. Heavy use, wet air, and incorrect amperage can wear parts faster. Inspect the nozzle and electrode often, and replace them when cut quality drops.
How do you clean and maintain a Lotos plasma cutter for longer life?
Keep the machine dry, clean the torch area, inspect cables, and replace worn consumables quickly. Drain moisture from the compressor tank and check air fittings for leaks. Follow the maintenance steps in your model manual for the safest routine.
Safety Disclaimer: This article is for informational purposes only and does not replace your Lotos owner’s manual, electrical code rules, or professional safety training. Plasma cutting can cause burns, fire, eye injury, shock, and fumes. Consult a qualified technician if you feel unsure about wiring, machine faults, ventilation, or safe operation.
Conclusion
A Lotos plasma cutter works best when you set up power, air, torch parts, and grounding with care. Start with a full inspection, use dry air, clamp to clean metal, and test settings on scrap before your final cut.
Watch the cut edge, arc sound, and dross as you work. If quality drops, check pressure, amps, consumables, and the ground clamp before you continue.
Good setup and steady maintenance help you cut cleaner, work safer, and get more life from your machine.