
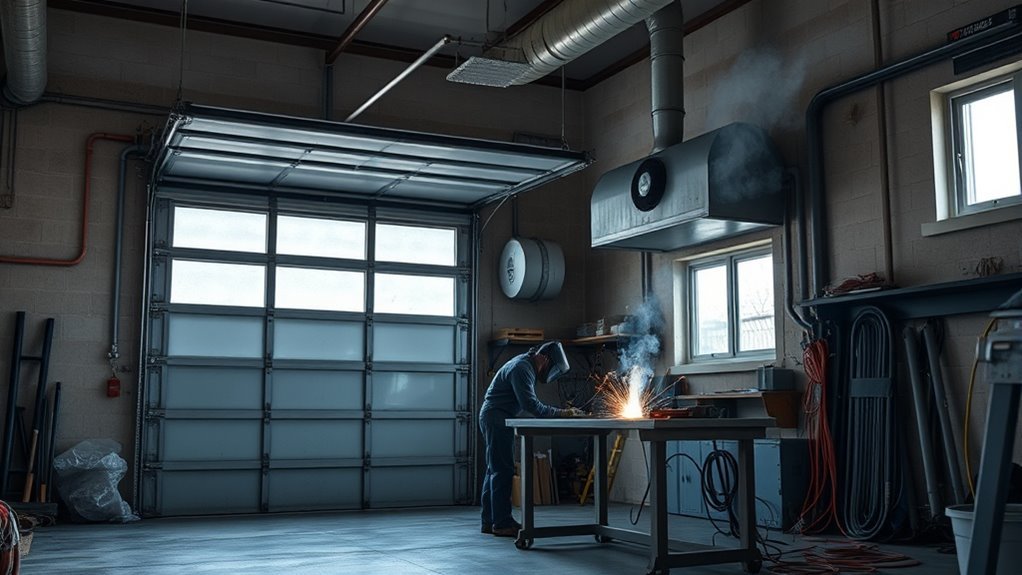
To ventilate a garage for welding, control the plume at the arc first and use general garage airflow to remove the fumes, gases, and heat that escape. A wall fan and open door can help clear the room, but airflow calculations alone do not prove that your breathing zone is safe. The correct setup depends on the welding process, metal, coating, weld duration, room layout, and extractor performance.
Quick Answer
Place a welding fume extractor close to the plume, then create a clear room-air path that carries escaped fumes away from your face and outdoors. Use garage volume and ACH only to estimate room purging. Verify the airflow before welding, provide clean makeup air, and never rely on a fan or respirator alone.
Key Takeaways
- Use local exhaust ventilation close to the arc because room airflow may not remove fumes before they enter your breathing zone.
- Treat ACH and garage-volume calculations as room-clearing estimates, not proof that welding exposure is controlled.
- A low makeup-air opening and a remote high exhaust can be a useful starting layout, but you must test and adjust the actual airflow path.
- Do not use a household vacuum, plastic shop vacuum, or unapproved dust collector as a welding fume extractor.
- P100 filters address particulates only. They do not supply oxygen or automatically protect against carbon monoxide, ozone, nitrogen oxides, or other gases.
- Move combustibles away, inspect concealed spaces, keep an extinguisher ready, and watch the area after welding for smoldering material.
At a Glance
| Time Required | About 30 to 60 minutes to plan and test a temporary layout; a day or longer for permanent ducting, wall openings, electrical work, or professional commissioning |
| Difficulty | Moderate for a temporary fan and extractor layout; advanced when ducts, electrical circuits, combustion appliances, or building penetrations are involved |
| Tools Needed | Tape measure, purpose-built welding fume extractor, exhaust fan, clean makeup-air opening, ducting or louvers when needed, smoke pencil, clamps, welding PPE, suitable respirator when required, and a ready fire extinguisher |
| Cost | Varies widely. A temporary room-air setup costs less than a filtered welding extractor, permanent duct system, dedicated electrical circuit, or professionally designed installation. Check current equipment prices and obtain local quotes. |
Warning: Do not weld in a closed garage, tank, drum, vehicle cavity, pit, or other confined or enclosed space without a hazard-specific plan. Do not weld near fuel vapors, combustible dust, chlorinated solvent vapors, unknown coatings, or uncleaned containers. Airflow calculations and a respirator do not make an unknown atmosphere safe.
Why Garage Ventilation Matters
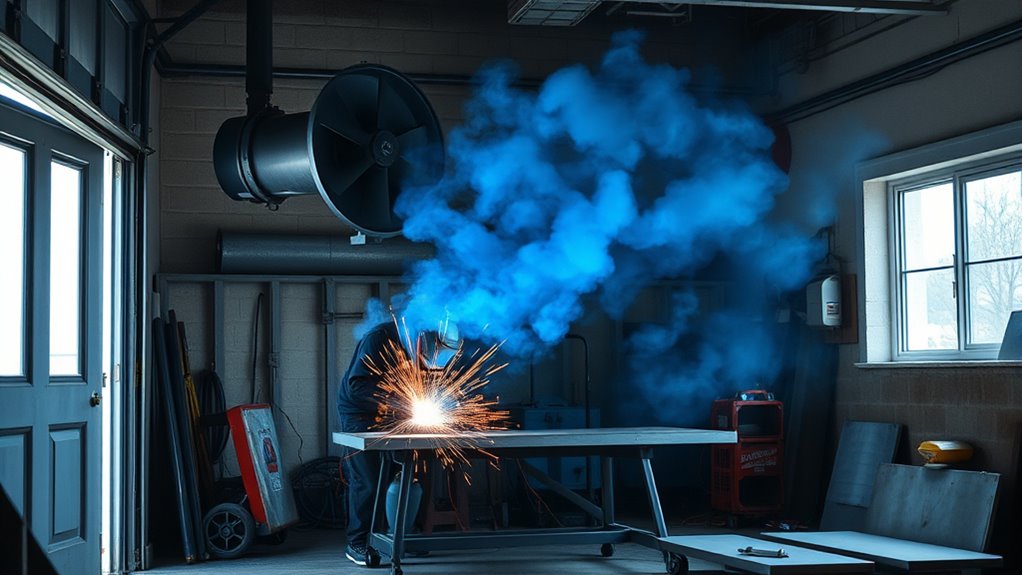
Welding can release fine metal particles and process gases into a small garage. OSHA’s welding-fume guidance lists metals such as manganese, chromium, nickel, zinc, lead, copper, cadmium, and beryllium. Possible gases include ozone, carbon monoxide, nitrogen oxides, carbon dioxide, hydrogen fluoride, and phosgene.
The exact mixture depends on the welding process, base metal, filler wire or electrode, flux, coating, surface contamination, amperage, weld duration, and airflow. Clean mild steel does not create the same hazard as stainless steel, galvanized steel, lead-painted metal, cadmium plating, or an unknown automotive coating.
Short-term exposure may irritate your eyes, nose, and throat or cause dizziness, nausea, coughing, or headache. Long-term exposure can damage the lungs and nervous system. The International Agency for Research on Cancer classifies welding fumes as carcinogenic to humans.
Welding fumes are classified by IARC as carcinogenic to humans, so visible smoke should never be treated as merely an odor or comfort problem.
The safest control order is simple:
- Remove or reduce the hazard when possible.
- Capture fumes close to the source.
- Use general ventilation to clear escaped contamination.
- Position your body outside the plume.
- Use properly selected respiratory protection when the other controls do not reduce exposure enough.
Ventilation is only one part of garage welding safety. You must also control sparks, hot metal, ultraviolet radiation, electrical hazards, cylinders, combustibles, and heat transfer through walls or metal panels.
How to Design Your Garage Welding Ventilation
Start with the welding hazard instead of choosing a fan from its advertised CFM. The same garage may need a different setup for brief TIG work on clean steel than for flux-core welding, stainless fabrication, galvanized repairs, or repeated production welds.
1. Identify the Process, Metal, and Coating
Check the base metal, filler material, electrode, flux, paint, plating, oil, adhesive, undercoating, and cleaning product. Review the safety data sheets for consumables and coatings. Do not grind or heat an unknown coating until you know what it contains and how it should be removed.
2. Measure the Garage
Multiply the garage length by its width and ceiling height:
Garage volume in cubic feet = length × width × ceiling height
For example, a 24 × 28 ft garage with a 9 ft ceiling contains 6,048 cubic feet of air.
3. Separate Source Capture From Room Purging
A local fume extractor removes contaminants near the arc. A wall or window fan replaces and purges room air. These are different jobs. A large wall fan may exchange the garage air quickly while still allowing the plume to pass through your helmet first.
4. Plan a Clean Airflow Path
A common starting point is to bring clean makeup air into one side of the garage and exhaust contaminated room air from a remote opening on the other side. A lower intake and higher exhaust may create a useful diagonal sweep, but it is not a universal rule. Doors, shelving, vehicles, welding screens, wind, ceiling shape, and the welding position can change the flow.
5. Add Local Capture
Place a welding fume extractor, extractor gun, downdraft surface, booth, or movable hood close to the plume. OSHA 1910.252 describes movable hoods positioned as near as practical to the work, while OSHA’s fume guidance says to keep extractor hoods and nozzles close to the plume source.
6. Test the Layout Before Striking an Arc
Use a smoke pencil with all fans, doors, screens, and equipment in their normal positions. Confirm that the test smoke moves away from where your nose and mouth will be, travels toward the extractor or exhaust, and does not curl back from a wall or vehicle.
Pro Tip: Test several torch positions, including the start and end of the planned weld. An extractor that captures the plume at one end of a long joint may miss it after you move two feet away.
Choose the Right Exhaust Fan Size
Garage volume and air changes per hour can help you estimate how quickly a room fan replaces the air. Use:
CFM = garage volume × target ACH ÷ 60
The result is a theoretical free-air figure. Louvers, screens, filters, duct length, elbows, backdraft dampers, wind, and static pressure reduce the airflow delivered by the installed system.
Products Worth Considering

Rapid Venting: This shutter exhaust fan delivers 900 CFM to quickly expel stale air, floating dirt, heat, and bad smells, keeping indoor air fresh. Also works as a high-airflow exhaust fan for sheds and workshops

【Massive 686 CFM Exhaust Power】Powered by a high-speed 2873 RPM motor, this kitchen exhaust fan rapidly expels intense heat, moisture, thick smoke, and stubborn cooking odors. Instantly breathe fresh air into your home, making it the ultimate extractor fan for heavy-duty daily cooking.

【Massive 1282 CFM Airflow & Wide Coverage】Dominate the heat with a powerful 1282 CFM airflow capability. Driven by a high-speed 1858 RPM motor, this heavy-duty garage exhaust fan rapidly refreshes air in spaces up to 1600 Sq.Ft. It’s engineered to clear a standard 2-car garage in just 3 minutes, making it the ultimate solution for removing heat, odors, and moisture from workshops, greenhouses, or large sheds.
Example Room-Purge Calculations
| Garage Size | Volume | 6 ACH | 10 ACH |
| 20 × 20 × 8 ft | 3,200 cu ft | 320 CFM | 533 CFM |
| 22 × 24 × 9 ft | 4,752 cu ft | 475 CFM | 792 CFM |
| 24 × 28 × 9 ft | 6,048 cu ft | 605 CFM | 1,008 CFM |
Note: These figures estimate room-air replacement only. They do not prove that the welding plume is captured, that your breathing-zone exposure is acceptable, or that a workplace complies with OSHA requirements.
For covered workplaces, OSHA 1910.252 identifies conditions that require mechanical ventilation, including many spaces under 10,000 cubic feet per welder, rooms with ceilings below 16 feet, and spaces where barriers obstruct cross-ventilation. The standard states a general mechanical ventilation rate of 2,000 CFM per welder unless qualifying local exhaust or airline respiratory protection is provided.
OSHA has also explained that adequate ventilation is ultimately performance-based. The required control may be higher or lower than a fixed figure depending on the material, contaminant, process, space, airflow, and breathing-zone exposure. OSHA rules apply to covered employers and workers. A homeowner may use them as conservative safety references, but doing so does not replace local building, electrical, fire, or environmental requirements.
When comparing fans, read the performance curve or airflow rating at the expected static pressure. A fan rated at 1,000 CFM in unrestricted free air may deliver much less after you add a filter, louver, narrow duct, or several elbows.
Do not point a high-velocity fan directly across a MIG or TIG arc. Drafts can strip or disturb shielding gas, which may cause oxidation, contamination, or porosity. Redirect the room airflow or place the extractor so it captures the plume without pulling shielding gas off the weld.
Add Fresh Air Intake
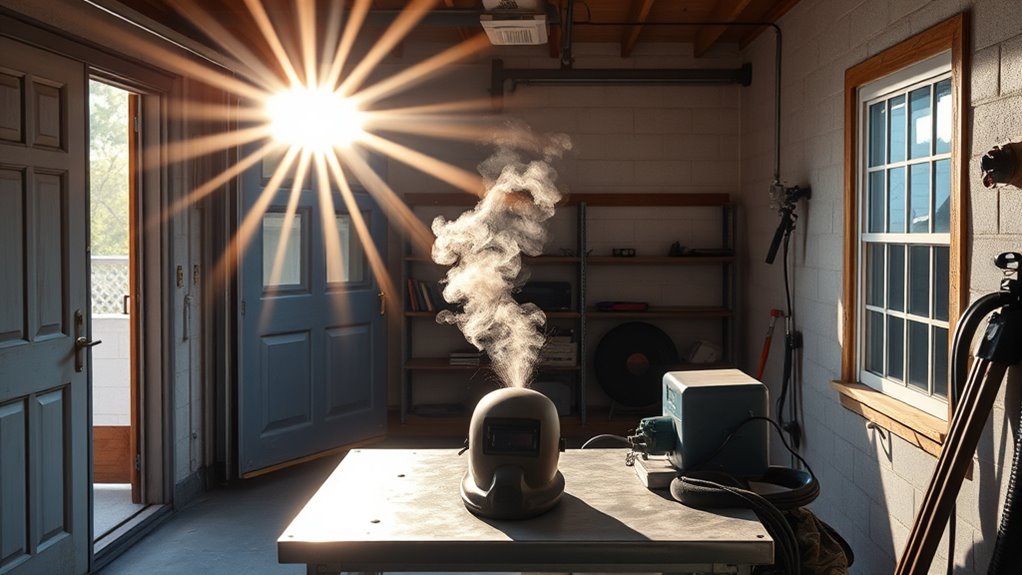
An exhaust fan cannot deliver its rated airflow unless replacement air can enter. This replacement air is called makeup air. Without enough makeup air, the fan may sound strained, airflow may fall, doors may become difficult to open, and fumes may stall or reverse direction.
Place the makeup-air opening where it receives clean outdoor air. Keep it away from:
- Vehicle tailpipes and idling engines
- Fuel cans and propane equipment
- Solvents, paint spraying, and parts-cleaning areas
- Dust-producing tools
- Furnace, boiler, fireplace, or water-heater exhaust
- The welding exhaust discharge
A lower intake on the side opposite the exhaust is a practical starting layout because it can feed the room sweep without blowing directly across the arc. However, you may need to move or enlarge the opening when shelves, vehicles, walls, wind, or screens interfere with the path.
- Keep the intake clear of boxes, curtains, and equipment.
- Use a grille or screen with enough open area to avoid choking the fan.
- Open an additional makeup-air path if the fan pitch changes or airflow weakens.
- Do not use air from the house as the planned makeup-air source.
- Do not use oxygen from a cylinder for ventilation.
Attached Garages and Combustion Appliances
Keep the door between an attached garage and the living area closed while welding. Do not discharge welding fumes into the house, basement, crawlspace, ceiling cavity, or attic. Exhaust the contaminated air outdoors where it cannot immediately re-enter through a door, window, soffit, or intake.
A powerful exhaust fan can depressurize the garage and reverse the draft of a fuel-burning water heater, furnace, boiler, or heater. If the garage contains combustion equipment, have a qualified HVAC or combustion-safety professional evaluate the ventilation plan. Stop using the fan if you smell combustion products or a carbon monoxide alarm activates.
Place Fans and Vents Correctly
Fan placement should create one controlled route through the garage. The route must carry contaminants away from your breathing zone instead of drawing them past your face.
- Makeup air: Place it in a clean location that feeds the work area without creating a strong arc-level draft.
- Room exhaust: Discharge outdoors and away from doors, windows, air intakes, neighbors, and anyone working nearby.
- Weld table: Position it between the clean-air side and exhaust side, but outside the strongest direct air jet.
- Extractor hood: Keep it close to the plume and slightly beyond the weld from your face so the plume travels away from you.
- Welding screens: Arrange them so they block arc radiation without enclosing the welder or creating a stagnant fume pocket.
A high wall exhaust may work well when the plume rises above a bench and the room path remains clear. A lower side exhaust may work better for work performed near the floor or inside a vehicle opening. Test the actual setup rather than assuming that heat alone determines where every contaminant travels.
Keep storage racks, sheet metal, vehicles, curtains, and tall tool cabinets out of the intended path. Large objects can divide the garage into separate airflow zones even when the fan is powerful enough on paper.
Capture Fumes at the Source
Source capture removes contaminants before they spread through the garage. OSHA recommends positioning hoods, extractor guns, and vacuum nozzles close to the plume source and arranging them so fumes travel away from the welder.
Common source-capture options include:
- Movable extractor arm: Useful for a fixed welding table and varied joint positions.
- Portable welding fume extractor: Useful around vehicles, mobile tables, and changing work locations.
- On-torch extraction: Moves with the torch but may add weight and requires compatible equipment.
- Downdraft or backdraft table: Effective when the work stays close to the extraction surface.
- Enclosed or partially enclosed booth: Suitable for repetitive work when designed so air moves away from the welder.
Position the Hood Correctly
- Place the hood as close to the plume as practical while preserving your view and torch access.
- Keep the hood on the far side of the weld from your face when possible.
- Move the hood as the weld progresses.
- Do not place your head between the plume and the hood.
- Reduce or redirect capture airflow if it disturbs shielding gas.
- Confirm capture with the extractor running at its normal filter condition.
Maintain the Extractor
Check the hose, joints, seals, hood, prefilter, main filter, spark-control components, and airflow indicator before use. A filter that looks intact may still reduce airflow when loaded with fine particulate.
Follow the extractor manufacturer’s instructions for filter replacement and contaminated-filter handling. Do not shake or blow welding dust into the garage. Do not recirculate filtered air unless the system is designed for the specific welding contaminants and permitted by applicable requirements.
Local capture is especially important for flux-core welding, longer welds, stainless steel, galvanized metal, painted parts, plated components, and work performed inside partially enclosed assemblies.
DIY Garage Welding Ventilation Options
A temporary room-air layout can support occasional work when it uses clean makeup air, outdoor discharge, controlled airflow, and purpose-built source extraction. It is not a substitute for identifying hazardous materials.
Practical options include:
- Open-door cross-flow: Provides makeup air and room purging, but may be unreliable when outdoor wind changes.
- Window or wall exhaust fan: Creates a planned discharge path when installed and guarded correctly.
- Portable welding fume extractor: Provides source capture while allowing the work location to change.
- Extractor arm over a fixed bench: Supports repeatable positioning for bench work.
- Backdraft or downdraft table: Helps capture fumes from small parts held near the extraction surface.
Do not use a household vacuum, plastic shop vacuum, woodworking dust collector, or ordinary unapproved fan as a welding fume extractor. Sparks, hot particles, conductive metal dust, unsuitable motors, plastic hoses, and loaded filters can create fire, electrical, and exposure hazards.
Metal ducting or a homemade spark screen does not automatically make an improvised extractor safe. Use equipment designed for welding fumes and follow its process, spark, filter, and duty-cycle limitations. Ask a ventilation professional to design the system when you need permanent ducting, multiple stations, recirculation, or control of hazardous metals.
Note: A box fan may help exchange room air, but it is not local exhaust ventilation. It does not capture the plume at the arc, may blow fumes through your helmet, and may not be suitable for metal dust, sparks, or contaminated airflow.
Products Worth Considering

Powerful & Energy-Efficient: Equipped with a high-performance 585W AC motor, it delivers outstanding ventilation performance, achieving an airflow volume of 3198CFM. Quickly and thoroughly eliminate smoke, odors, and hot air.

Fume-Free Workspace in Minutes: The KQZ B1 Fume Extractor equips a high-efficiency centrifugal motor with 168 m³/h airflow. Strong instant suction captures fumes and fine particles. H13 HEPA filter with coal-based activated carbon delivers full purification for a safer working environment
Powerful & Energy-Efficient: Equipped with a high-performance 585W AC motor, it delivers outstanding ventilation performance, achieving an airflow volume of 3198CFM. Quickly and thoroughly eliminate smoke, odors, and hot air.
Control Special Metals, Coatings, and Enclosed Spaces
Do not assume that stronger airflow makes every welding job suitable for a garage. Some materials require hazard-specific ventilation, respiratory protection, surface preparation, exposure testing, or a different work location.
- Galvanized steel: Zinc-containing coatings can produce zinc oxide fume and metal fume fever. Remove coatings only with a safe method and use effective source capture.
- Stainless steel: Welding can generate chromium and nickel compounds, including hexavalent chromium under some conditions. Use effective LEV and follow the consumable and base-metal safety information.
- Lead- or cadmium-containing material: Do not treat ordinary room ventilation as sufficient. These materials have specific occupational controls and serious toxicity.
- Beryllium-containing alloys: Require specialized controls. Do not weld them as a casual garage project.
- Paint, undercoating, plating, adhesives, and sealers: Identify and remove them safely before heating. Some thermal-decomposition products are more hazardous than the bare metal fume.
- Chlorinated solvents: Keep degreasing operations, solvent vapors, and solvent-wet parts away from the arc and hot metal.
- Unknown scrap or coated parts: Do not weld until the material and coating are identified.
- Tanks, drums, hollow parts, and vehicle cavities: Do not weld until flammable or toxic residues, pressure, trapped gases, and ventilation have been professionally addressed.
A normal residential garage is not a confined-space rescue environment. Do not enter a tank, pit, large vessel, or similarly enclosed area to weld based on advice from a general garage-ventilation guide.
Keep Heat In During Winter
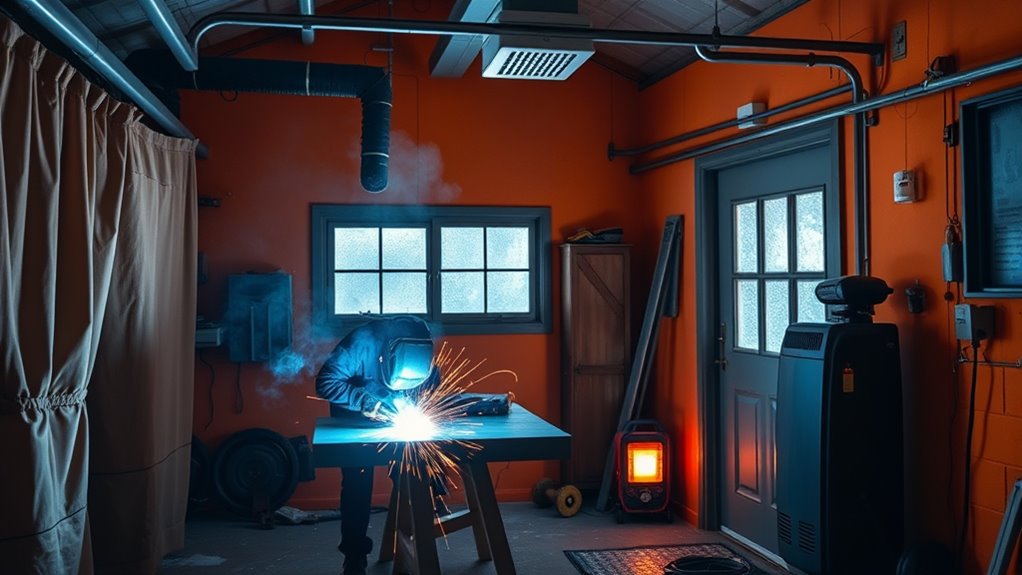
Winter ventilation removes heated air, but closing the garage is not a safe solution. Keep source capture and required room airflow running throughout welding and long enough afterward to clear residual contamination.
Reduce heat loss by improving the building rather than reducing fume control:
- Weatherstrip the garage and walk-through doors.
- Insulate the garage door, walls, and ceiling where appropriate.
- Use a controlled makeup-air opening instead of allowing random wind through several doors.
- Place the work area near the source-capture system so less room air is needed to transport the plume.
- Use safe electric heating located away from sparks, spatter, and combustible storage.
Do not route welding exhaust through a normal heat recovery ventilator or energy recovery ventilator unless the complete system is specifically designed and approved for that contaminated process air. Welding particulate can load filters and contaminate heat-exchange surfaces.
Avoid open-flame and unvented fuel-burning heaters near welding. Exhaust fans can also backdraft a gas appliance and draw combustion products into the garage.
Wire Your Garage Fan Safely
A permanent exhaust fan needs the correct circuit, wiring method, switch, disconnect, overcurrent protection, enclosure, and grounding for its location. Have a qualified electrician perform work that requires a new circuit, wall penetration, hardwiring, or modification of the electrical panel.
Do not overload a circuit that already powers the welder, compressor, heater, grinder, or multiple extension cords. A welder can place a substantial intermittent load on a garage electrical system, and a large fan may add a continuous motor load.
Before operation:
- Confirm that the fan voltage and current match the circuit.
- Install all guards and covers.
- Protect wiring from sparks, slag, sharp metal, and grinding dust.
- Use a speed controller only when it is approved for the motor.
- Keep portable cords out of wet areas, travel paths, and the hot-work zone.
- Do not place a standard fan or switch where flammable vapor or combustible dust may create an explosive atmosphere.
Control Fire Hazards Before and After Welding
Ventilation can carry sparks and hot particles into filters, ducts, cracks, wall cavities, storage areas, or outdoor combustibles. Inspect both the welding area and the discharge path before work begins.
As a conservative hot-work benchmark, OSHA’s workplace standard calls for moving appreciable combustibles at least 35 feet from welding when practical. It also requires a fire watch in specified situations, including when combustible materials are nearby, sparks can reach hidden spaces, or heat may ignite material on the other side of a wall or panel.
- Remove paper, cardboard, sawdust, oily rags, fuel, solvents, paint, and loose combustible storage.
- Check wall openings, floor cracks, door gaps, ceiling spaces, and the opposite side of metal walls.
- Protect materials that cannot be moved with suitable fire-resistant barriers.
- Keep an appropriate fire extinguisher ready and know how to use it.
- Stop sparks from entering unapproved filters, fans, ducts, or dust collectors.
- Inspect the work area and adjacent hidden spaces after welding.
- Where fire-watch conditions exist, continue watching for at least 30 minutes after hot work ends.
Do not weld on a used drum, fuel tank, sealed tube, closed container, or hollow object until it has been properly cleaned, isolated, vented, and evaluated. Residue or trapped pressure can cause a fatal fire or explosion.
Wear PPE for Cleaner Air
PPE is the final layer, not a replacement for ventilation. Wear a suitable welding helmet, safety glasses under the helmet, welding gloves, flame-resistant clothing, leather footwear, and hearing protection when needed.
Use respiratory protection only after identifying the contaminants and selecting a NIOSH-approved respirator for those hazards. A P100 filter can reduce exposure to particulates when used within its approval and protection limits, but it does not supply oxygen and does not automatically protect against carbon monoxide, ozone, nitrogen oxides, solvent vapors, or every gas created during welding.
Air-purifying respirators must not be used in an oxygen-deficient, unknown, or immediately dangerous atmosphere. A tight-fitting respirator also depends on a proper seal. Facial hair, an incorrect size, damaged valves, dirty sealing surfaces, or incompatible eyewear can reduce protection.
In a covered workplace, respirator use may require a written program, medical evaluation, training, fit testing, cartridge-change procedures, and exposure assessment under OSHA’s Respiratory Protection Standard. Hobby welders should seek professional guidance when the metal, coating, atmosphere, or required respirator is uncertain.
NIOSH continues to warn about neurological concerns associated with manganese in welding fume. Review its Welding Fumes and Manganese guidance when planning repeated or longer welding sessions.
If you develop dizziness, confusion, chest tightness, breathing difficulty, severe headache, nausea, or significant eye, nose, or throat irritation, stop immediately and leave the area. Get fresh air and seek medical attention. Do not return simply because the visible smoke has cleared.
Verify That the Ventilation Works
A smoke pencil can show direction, dead zones, and recirculation before welding. It cannot identify a contaminant or prove that exposure is below a safe limit.
Run the test with the garage configured exactly as it will be during welding:
- Turn on the fume extractor and room exhaust.
- Open the planned makeup-air inlet.
- Close or open other doors as they will be during work.
- Put vehicles, welding screens, and carts in their normal positions.
- Test where your helmet and breathing zone will be.
- Test every major weld position.
- Repeat after filters, hoses, fan speed, or room layout change.
A carbon monoxide alarm is an important backup where combustion or CO may be possible, but it does not detect welding particulate, manganese, chromium, nickel, ozone, nitrogen oxides, or oxygen deficiency. A normal CO reading does not prove that welding air is safe.
For frequent welding, hazardous metals, employees, multiple welders, symptoms, or uncertain control, use a qualified industrial hygienist or ventilation professional. Breathing-zone air sampling and ventilation measurements provide information that a visual smoke test cannot.
Troubleshooting Poor Garage Ventilation
If fumes remain near the welder, do not assume that a larger wall fan is the first solution. Find where control is failing.
- Smoke passes through your helmet: Move the extractor to the far side of the plume and place your head outside the path.
- Smoke escapes the hood: Move the hood closer, reduce cross-drafts, check the hose, or reposition it as the weld progresses.
- The fan sounds strained: Increase makeup-air area, clean the grille, check the damper, and inspect the duct for restrictions.
- Fumes circle around the room: Remove obstructions or relocate the room intake and exhaust to create one directional path.
- Fumes enter the house: Stop welding, close the connecting door, correct garage depressurization, and move the discharge or makeup-air source.
- Weld porosity appears: Reduce direct airflow across the arc, shield the weld from drafts, and rely more on close source capture.
- Airflow falls during use: Check for loaded filters, blocked prefilters, crushed hoses, closed dampers, or motor overheating.
- Smoke clears slowly after welding: Continue room purging, but correct source capture before the next session.
- Smoke returns through a window or door: Relocate the outdoor discharge or close the affected opening.
- You smell combustion exhaust: Shut down welding and the fan, leave the area, and check for appliance backdrafting.
- You experience symptoms: Leave immediately, get fresh air, and seek medical help when appropriate. Do not resume work until the cause is controlled.
The target is immediate plume movement away from your breathing zone, effective capture near the source, and a room-air path that carries remaining contamination outdoors without returning it through the work area.
Frequently Asked Questions
How do you ventilate a garage for welding?
Capture fumes close to the arc with a purpose-built welding extractor, then use clean makeup air and outdoor exhaust to clear escaped contamination. Arrange the flow so fumes move away from your breathing zone, test the setup before welding, and adjust it for each welding position.
What is the best ventilation while welding?
The preferred control is local exhaust ventilation at the source, supported by general room ventilation. Depending on the work, this may include an extractor arm, on-torch extraction, a backdraft table, a downdraft table, or a booth designed to keep fumes out of the welder’s breathing zone.
How many CFM do I need for garage welding ventilation?
There is no universal CFM that makes every garage welding job safe. You can estimate room purging with CFM = garage volume × target ACH ÷ 60, but that calculation does not measure plume capture or breathing-zone exposure. Select local exhaust for the process and follow applicable workplace, equipment, and building requirements.
Is an open garage door enough for welding?
Not by itself. An open door may provide makeup air or natural ventilation, but outdoor wind can push the plume back toward your face or create dead zones. Use source capture and confirm the direction of airflow with the garage in its normal working configuration.
Can I weld in a closed garage if I wear a respirator?
No. A respirator is not a substitute for ventilation, and an air-purifying respirator does not supply oxygen. Particulate filters also do not automatically protect against carbon monoxide, ozone, nitrogen oxides, solvent vapors, or every gas that may be present.
Should I use a fan or a fume extractor?
Use source extraction first and room ventilation as support. A fume extractor captures contaminants near the arc, while a wall or window fan clears contamination and heat that escape into the garage.
Can I use a box fan as a welding fume extractor?
No. A box fan can move room air, but it does not provide controlled source capture or filtration. It may direct fumes through your breathing zone, collect conductive metal dust, or be unsuitable for sparks and contaminated airflow.
Can I exhaust welding fumes into the attic?
No. Discharge welding exhaust outdoors rather than into an attic, ceiling cavity, crawlspace, basement, or living area. Indoor discharge can spread fine particulate, contaminate surfaces, and expose other people.
Does a carbon monoxide detector show that welding air is safe?
No. A CO detector can warn about carbon monoxide, but it does not detect welding particulate, manganese, chromium, nickel, ozone, nitrogen oxides, or oxygen deficiency. It is a useful backup, not a welding-fume monitor.
Can welding fumes affect long-term health?
Yes. Welding fumes can contain fine metal particles and gases associated with lung disease, neurological effects, metal fume fever, asthma, and cancer. Risk depends on the process, metal, coating, exposure level, duration, and effectiveness of the controls.
Conclusion
Safe garage welding ventilation begins at the plume, not at the wall fan. Identify the metal and coating, capture fumes close to the arc, provide clean makeup air, and use general exhaust to clear what escapes. Treat ACH and CFM calculations as room-purge estimates rather than proof of safe exposure.
Test the airflow in every welding position, protect shielding gas from drafts, discharge outdoors, and keep fumes out of attached living spaces. Remove combustibles, inspect concealed areas, and continue watching for fire after the arc stops. When the material or atmosphere is uncertain, stop and obtain professional ventilation or industrial hygiene advice before welding.
Sources
- OSHA 1910.252, General Requirements for Welding, Cutting, and Brazing — ventilation conditions, local exhaust, fire prevention, confined-space controls, and hazardous-material provisions.
- OSHA Fact Sheet: Controlling Hazardous Fume and Gases During Welding — welding-fume contents, health effects, work positioning, source capture, and respiratory-protection context.
- CDC/NIOSH: Welding Fumes and Manganese — manganese exposure and possible neurological health effects.
- NIOSH: A Guide to Air-Purifying Respirators — particulate-filter classes and the limits of air-purifying respirators in oxygen-deficient or dangerous atmospheres.
- UK HSE: Avoid or Reduce Exposure to Welding Fume — indoor LEV, supplemental respiratory protection, and welding-fume control hierarchy.
- IARC Monographs Volume 118 — evaluation of the carcinogenicity of welding fumes and ultraviolet radiation from welding.




