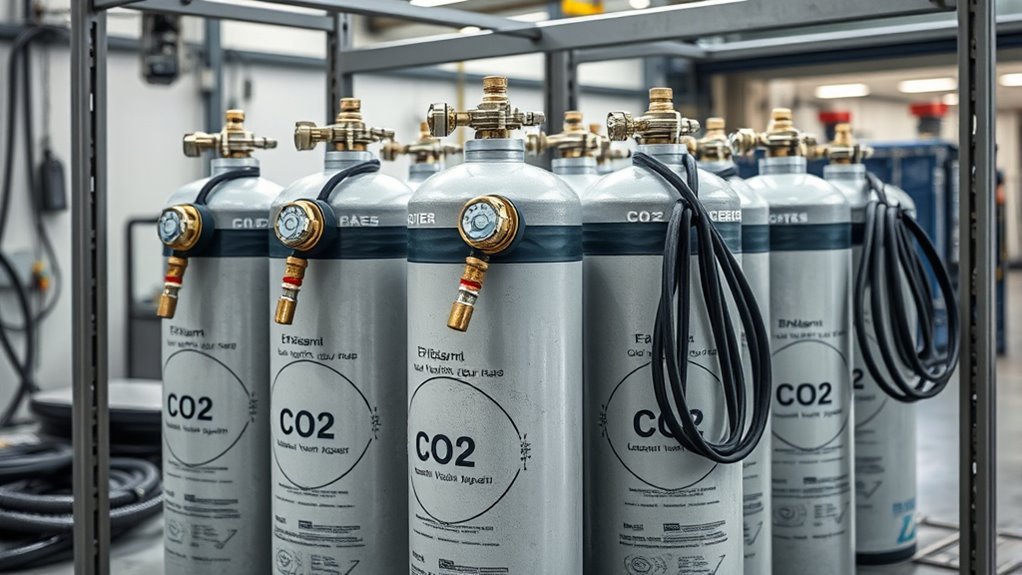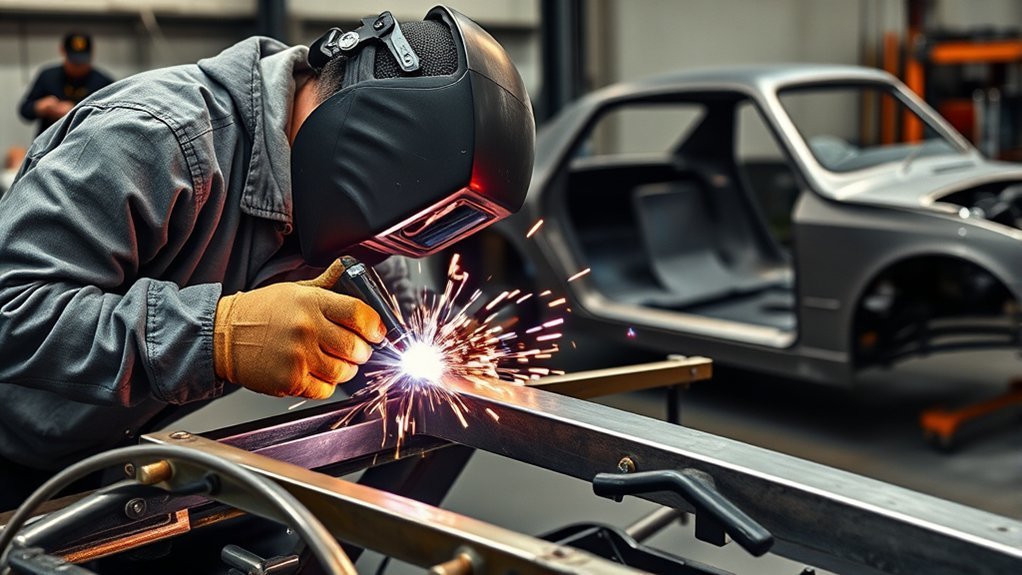
Welding stainless steel to mild steel on a car is possible, but it takes the right filler, clean metal, controlled heat, and serious safety prep. For most automotive jobs, this applies to exhaust tubing, small brackets, hangers, and non-structural sheet-metal work. Do not treat frame, suspension, crash-structure, or fuel-system repairs as casual DIY welding.
Quick Answer
Use 309L or 309LSi filler when welding stainless steel to mild steel on a car. Clean both metals to bright bare metal, use the shielding gas recommended for the wire or TIG process, keep heat low, focus more heat on the mild steel side, and coat the finished mild-steel area to reduce corrosion.
Key Takeaways
- 309L is the default filler choice for many stainless-to-mild-steel automotive welds because it handles dilution between the two metals better than 308L or mild steel wire.
- Clean metal matters. Remove paint, oil, rust, zinc coating, exhaust carbon, and stainless heat tint before making the final weld.
- Control heat on thin car parts. Use tack welds, short stitch welds, and cooling pauses to limit burn-through and warping.
- Protect the mild steel after welding. Stainless may resist rust, but the mild steel side can corrode quickly in road salt and moisture.
At a Glance
| Time Required | 30 minutes to 2 hours, depending on cleaning, fit-up, and access under the vehicle |
| Difficulty | Intermediate to advanced, especially on thin exhaust tubing or tight underbody areas |
| Tools Needed | MIG or TIG welder, 309L/309LSi filler, proper shielding gas, clamps, grinder, stainless brush, PPE, fire extinguisher, welding blanket, and coating or high-temp paint |
| Cost | Usually $20–$80 for wire, gas use, abrasives, and coating if you already own the welder and safety gear |
Warning: Vehicle welding can ignite undercoating, insulation, carpet, fuel vapors, plastic clips, and nearby wiring. Work in a ventilated area, wear proper welding PPE, keep a fire extinguisher nearby, shield nearby parts with a welding blanket, and inspect both sides of the repair area after welding. OSHA lists welding hazards such as metal fumes, UV radiation, burns, eye damage, electrical shock, and cuts, so do not skip safety prep. OSHA welding safety guidance
Understanding the Benefits of Welding Dissimilar Metals
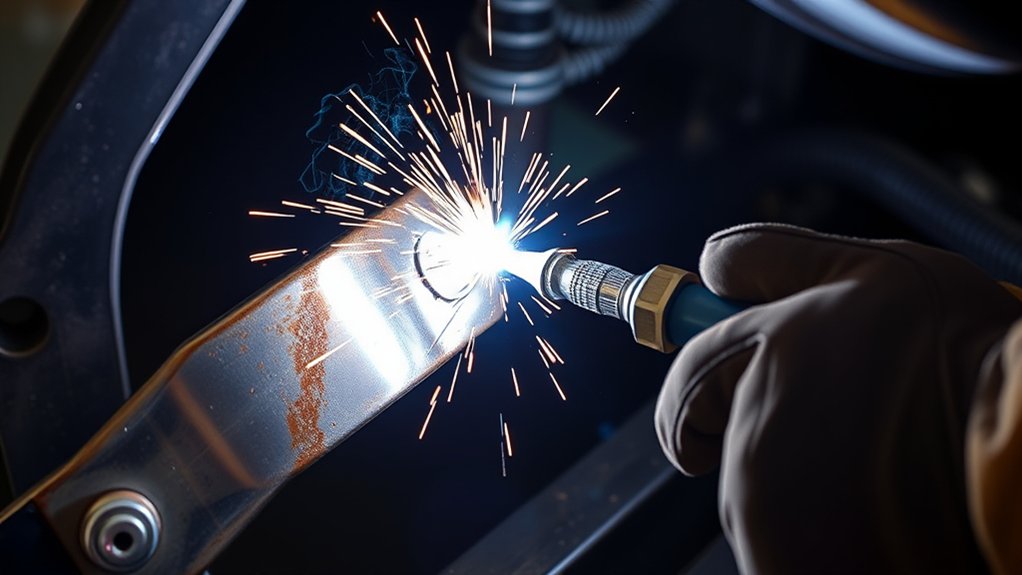
Joining stainless steel to mild steel lets you combine two useful traits: stainless steel brings better corrosion resistance, while mild steel is affordable, easy to shape, and common on automotive parts. This combination often shows up in exhaust repairs, custom hangers, brackets, flanges, and transitions between factory mild-steel sections and aftermarket stainless tubing.
The challenge is that these metals do not behave the same in the weld pool. Stainless steel contains chromium and nickel, while mild steel has much less alloy content. If you use the wrong filler or overheat the joint, the weld can crack, rust early, lose corrosion resistance, or become brittle. That is why 309L filler wire or rod is commonly used for stainless-to-mild-steel joints: it is designed to tolerate dilution from both sides better than standard mild steel wire or 308L stainless filler.
You also need to think beyond the weld bead. In wet or salty road conditions, the mild steel next to stainless can become the weak corrosion point. After welding, protect the mild-steel side with a suitable coating, high-temperature paint, or exhaust-rated finish where the part allows it.
Is This Repair Appropriate for a Car?
Before you strike an arc, decide whether the repair is safe for DIY welding. Some car parts can be repaired or modified by an experienced welder, while others should not be guessed at.
- Usually reasonable for skilled DIY work: exhaust tubing, muffler transitions, small non-structural brackets, hangers, heat-shield tabs, and light fabrication.
- Use extreme caution: thin body panels, rusted metal, tight underbody spaces, and areas near wiring, fuel lines, brake lines, rubber bushings, or interior trim.
- Do not freestyle: frame rails, suspension mounting points, roll cages, crash structures, tow points, seat belt anchors, and fuel-system supports. These need the correct repair procedure, material, and qualified welding.
Note: If the part affects steering, braking, suspension, occupant protection, or crash performance, treat it as safety-critical. A clean-looking weld is not proof that the repair is strong enough for road use.
Essential Tools and Materials for Your Welding Project
For a strong stainless-to-mild-steel weld, start with the correct equipment and consumables. A 160-amp class MIG welder may work for many light automotive jobs, but the exact machine size depends on metal thickness, joint design, and process. TIG gives better control on thin tubing and visible stainless work, while MIG is faster for brackets and exhaust repairs when access is limited.
- Welder: MIG for speed, TIG for control. Use a machine that can run low enough for thin automotive metal without burning through.
- Filler: 309L or 309LSi wire/rod for most stainless-to-mild-steel automotive joints.
- Shielding gas: For TIG, use 100% argon. For MIG stainless wire, use the gas recommended by the wire maker and welder chart. Many stainless MIG wires use low-CO2 blends or tri-mix gases, not ordinary high-CO2 mild-steel gas.
- Wire size: Small wire, such as 0.023–0.030 inch, is easier to control on thin tubing and sheet metal. Follow your machine chart and test on scrap first.
- Cleaning tools: Grinder, flap disc, dedicated stainless steel wire brush, acetone or wax-and-grease remover, and clean rags.
- Fit-up tools: Clamps, magnets used carefully away from the arc, tack-welding tabs, and a copper backing spoon for thin sheet when possible.
- Safety gear: Welding helmet, gloves, jacket or sleeves, respirator when needed, eye protection for grinding, hearing protection, fire extinguisher, and welding blanket.
Do not use cardboard or masking tape as spatter protection near the weld. Use sheet metal, a welding blanket, or another nonflammable barrier. Also keep the work lead close to the weld area so welding current does not travel through bearings, sensors, cables, or other sensitive parts.
Products Worth Considering
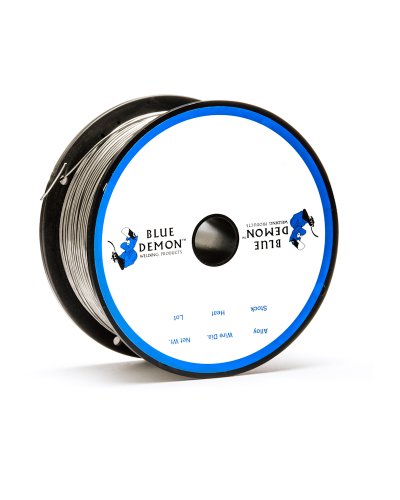
AWS classification E309LFC-O

The extra low carbon provides good resistance to carbide precipitation and inter granular corrosion

Premium quality ER309L stainless steel MIG welding wire 2-Lb spool.
Surface Preparation: Cleaning and Fitting
Clean both metals until the weld area is bright and bare. Stainless steel and mild steel both weld poorly when the joint contains oil, paint, rust, mill scale, exhaust soot, undercoating, adhesive, or zinc coating. Contamination can cause porosity, cracking, spatter, weak fusion, and ugly welds.
Use a grinder or flap disc to clean the mild steel. Use a dedicated stainless steel brush or abrasive on the stainless side so you do not smear carbon-steel particles into the stainless surface. Wipe the area with a suitable cleaner and let it dry before welding.
Fit-up is just as important as cleaning. Keep gaps small and even, especially on thin exhaust tubing. Large gaps force you to add more filler and heat, which raises the risk of burn-through and distortion. Clamp the parts so they cannot pull out of line as the tack welds shrink.
Warning: If any part is galvanized or zinc-coated, remove the coating well beyond the weld area and use strong ventilation. Welding fumes can contain hazardous metals, and stainless hot work can also create hexavalent chromium exposure. See OSHA’s hexavalent chromium guidance and CDC/NIOSH’s welding fumes guidance.
Choosing the Right Filler Material for Welding Stainless Steel
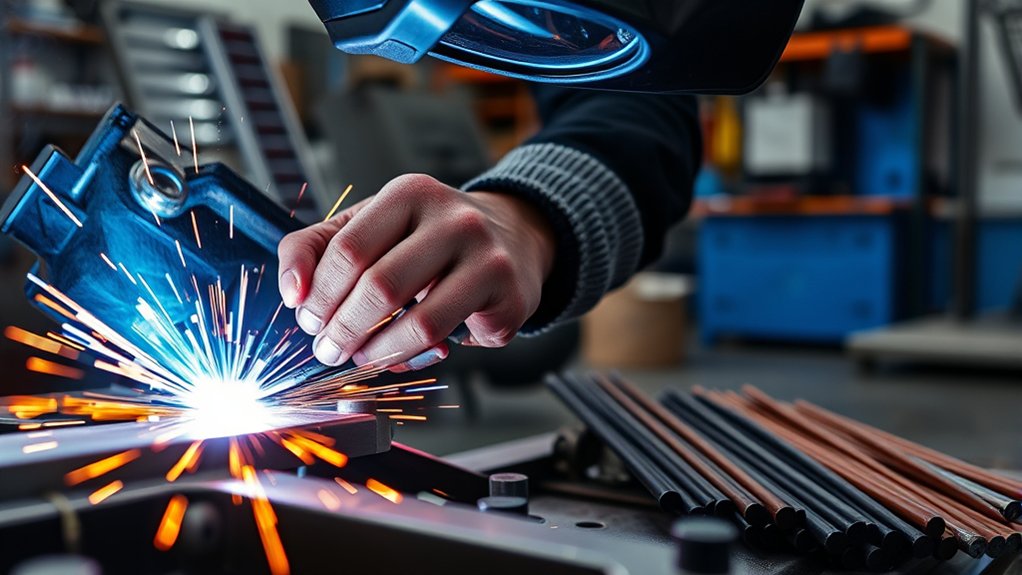
The filler metal is the biggest difference between a decent stainless-to-mild-steel weld and one that cracks or rusts too early. For most automotive stainless-to-mild-steel joints, choose 309L or 309LSi. The higher alloy content helps the weld tolerate dilution from mild steel while keeping better corrosion resistance than mild steel wire.
Products Worth Considering

Stainless Steel ER309L .035" 2 Ibs Roll MIG Welding Wire 309L 1 Rolls 10 Ibs
Stainless Steel ER309L .030" 2 Ibs Roll MIG Welding Wire 309L 1 Rolls 10 Ibs

Stainless Steel ER309L .030" 10 Ibs Roll MIG Welding Wire 309L 1 Rolls 10 Ibs
Filler Material Options
| Filler Material | Best Use | Limitations |
|---|---|---|
| 309L | Default choice for many stainless-to-mild-steel welds, including exhaust transitions and brackets | Costs more than mild steel wire, but usually prevents more problems |
| 309LSi | MIG welding when you want a smoother bead and better wetting | Still needs the right stainless MIG shielding gas and clean fit-up |
| 308L | Stainless-to-stainless jobs, especially many 304 stainless repairs | Not the preferred choice for stainless-to-mild steel because it does not handle dilution as well as 309L |
| Mild steel wire | Temporary or non-corrosion-critical repairs only | Not recommended for durable stainless-to-mild automotive welds exposed to moisture, heat, or road salt |
| 312 stainless | Problem metals or unknown steel where cracking is a concern | More specialized; not usually the first choice for normal exhaust transitions |
Corrosion Resistance Factors
Stainless steel resists corrosion because its chromium helps form a passive surface film. Welding disturbs that surface, and joining it to mild steel adds another issue: the mild steel side can rust first, especially where water, salt, and exhaust condensation collect. Using 309L helps the weld metal, but it does not make the mild steel side stainless.
After welding, clean the joint and protect exposed mild steel. For exhaust work, use a high-temperature coating where suitable. For brackets or body-adjacent parts, use primer, paint, seam sealer, cavity wax, or another coating that matches the location and heat level.
Cost-Effectiveness Considerations
309L wire costs more than mild steel wire, but the price difference is small compared with cutting out a cracked or rusty weld later. If the part sees exhaust heat, moisture, road spray, or vibration, the better filler is worth it. Save money by preparing the joint well, making a test weld, and avoiding rework rather than by using the wrong filler.
Machine Setup and Heat Control
Use your welder’s chart as a starting point, then test on scrap pieces that match the real joint. A stainless-to-mild weld usually needs enough heat to fuse the mild steel without washing too much mild steel into the stainless filler. Keep the arc short and controlled.
- MIG technique: Use short tack welds and stitch welds on thin tubing. Let the joint cool between stitches to reduce warping.
- TIG technique: Keep a tight arc, add 309L filler consistently, and avoid a wide, overheated puddle.
- Heat focus: Aim slightly more heat toward the mild steel side if it is thicker, then wash the puddle into the stainless edge.
- Travel speed: Move fast enough to avoid burn-through but slow enough to tie in both edges.
- Interpass control: Let thin automotive parts cool between passes. Too much heat can warp panels and sugar stainless tubing.
Pro Tip: On stainless exhaust tubing, back-purge the inside with argon when the inside of the weld matters. Back-purging helps prevent heavy internal oxidation, often called sugaring, which can weaken the stainless side and create rough flow inside the pipe.
How to Weld Stainless Steel to Mild Steel: Step-by-Step
Follow this sequence for a cleaner, stronger weld. Do not skip the test weld. It is the fastest way to catch a bad gas setting, poor fit-up, or too much heat before the real part is damaged.
Step 1: Make the Area Safe
Park the vehicle on a stable surface, support it properly if you are working underneath, and keep the work area dry. Move flammable trim, carpet, insulation, paper, solvents, and undercoating away from the weld zone where possible. Shield nearby parts with a welding blanket. Keep a fire extinguisher within reach and plan a fire watch after welding.
Disconnect the battery when appropriate for the vehicle and repair. Keep the work clamp close to the weld area, preferably on clean bare metal on the same part, so current does not pass through bearings, sensors, modules, or long body paths.
Step 2: Clean Both Metals
Grind the mild steel to bright bare metal. Clean the stainless side with a dedicated stainless brush or fresh abrasive. Remove rust, paint, oil, carbon, plating, and burrs. Wipe the joint clean and dry before welding.
Step 3: Fit and Tack the Joint
Line up the parts with the smallest practical gap. Tack the joint in several places, moving around the part so shrinkage does not pull it out of alignment. On exhaust tubing, check that the pipe is not cocked or twisted before making the final weld.
Step 4: Test Your Settings
Use scrap stainless and mild steel of similar thickness. Run a short bead, then inspect the back side if possible. You want fusion on both edges without burn-through, heavy undercut, or a tall cold bead. Adjust voltage, amperage, wire feed, travel speed, or gas flow before welding the actual part.
Step 5: Weld in Short Sections
For thin tubing or sheet metal, weld in short stitches instead of one long bead. Move around the joint and let the metal cool between stitches. For thicker brackets, you can run a steadier bead, but still avoid excessive heat input. Keep the arc short and keep the puddle small.
Step 6: Inspect Before Finishing
Look for cracks, pinholes, lack of fusion, excessive spatter, burn-through, undercut, and porosity. If the joint is an exhaust repair, check for leaks after the part cools. Rework defects before grinding or coating the weld.
Post-Weld Cleaning and Finishing Techniques
After welding, let the joint cool naturally. Do not quench it with water unless a qualified procedure calls for it. Rapid cooling can add stress and may make cracking more likely on some joints.
- Remove spatter and loose oxide with a stainless steel brush or clean abrasive pad.
- Use a dedicated stainless brush on the stainless side so you do not contaminate it with carbon steel.
- Inspect the weld toe and heat-affected zone for cracks, pinholes, or missed areas.
- Seal or coat the mild steel side to reduce rust, especially on underbody and exhaust-adjacent parts.
- Use high-temperature coating only where the part’s operating temperature allows it.
If you use a stainless pickling or passivation product, follow the product safety sheet closely. Many chemical cleaners are hazardous and are not needed for every automotive repair. Mechanical cleaning plus proper coating is often enough for practical underbody or exhaust work.
Addressing Common Stainless-to-Mild-Steel Welding Challenges
Most problems come from the same few causes: dirty metal, wrong filler, poor fit-up, too much heat, or poor shielding gas coverage. Fix the root problem before adding more weld.
Cracking
Cracking often points to the wrong filler, too much restraint, contamination, or poor heat control. Use 309L/309LSi filler, clean the joint again, improve fit-up, and avoid wide overheated beads. If cracking returns, stop and reassess the base metals and joint design.
Porosity
Pinholes usually mean contamination or shielding gas problems. Check gas flow, cup or nozzle condition, drafts, dirty metal, wet surfaces, and oil residue. Grind out porous weld metal before rewelding.
Burn-Through
Burn-through is common on thin exhaust tubing. Lower heat, increase travel speed slightly, use smaller wire, tighten the gap, add tack welds, or use copper backing where access allows. Do not try to fill a large gap with heat alone.
Rust Around the Weld
Rust near the joint usually starts on the mild steel side, from carbon-steel contamination on stainless, or from unprotected heat-affected metal. Clean the area and coat exposed mild steel. Keep stainless brushes and abrasives separate from carbon-steel tools.
Sugaring Inside Stainless Tubing
Heavy black crust inside stainless tubing means the back side oxidized during welding. Use argon back-purge, reduce heat, improve gas coverage, and avoid long overheated beads. Sugaring is especially important on exhaust work where flow, corrosion resistance, and appearance matter.
When to Stop and Rework the Joint
Do not keep welding over a bad bead. Stop, grind back, and fix the cause if you see any of these signs:
- Visible cracks in the bead or next to the bead
- Repeated pinholes after cleaning
- Edges sitting on top with no fusion
- Burn-through that keeps opening up
- Heavy undercut along either side of the weld
- Distortion that changes fit or clearance
- Exhaust leaks after the joint cools
If the part is safety-critical, do not rely on visual inspection alone. Get the repair checked by a qualified welder or automotive repair professional.
Frequently Asked Questions
Can you weld stainless steel onto mild steel?
Yes. You can weld stainless steel to mild steel with MIG or TIG when you use the right filler, usually 309L or 309LSi, and prepare both metals properly. Clean the joint, control heat, and protect the mild steel side after welding.
What rod or wire should you use to weld stainless to mild steel?
Use 309L filler rod for TIG or 309L/309LSi wire for MIG in most stainless-to-mild-steel automotive jobs. It handles dilution between stainless and mild steel better than 308L or ordinary mild steel wire.
Can you weld stainless steel to mild steel with 7018?
7018 is not recommended for a durable stainless-to-mild-steel automotive weld. It may fuse metal, but it does not give the same corrosion compatibility as 309L stainless filler. Use 309L unless a qualified welding procedure says otherwise.
Why is my stainless-to-mild-steel weld cracking?
Common causes include the wrong filler, dirty metal, poor fit-up, too much heat, high restraint, or welding over rust, zinc, paint, or oil. Grind out the cracked area, clean both metals, use 309L filler, and make shorter welds with cooling pauses.
Is MIG or TIG better for welding stainless to mild steel on a car?
TIG is better for control, thin stainless exhaust tubing, and clean visible welds. MIG is faster and easier for many brackets, hangers, and underbody repairs. Either process can work if you use 309L filler, the right gas, clean metal, and controlled heat.
Do you need to back-purge stainless exhaust tubing?
Back-purging is strongly recommended when the inside of the stainless tube matters. It helps prevent heavy internal oxidation, or sugaring, which can reduce corrosion resistance and leave a rough inside surface. For quick mild-steel exhaust repairs, it may not always be practical, but it improves stainless work.
Conclusion
Welding stainless steel to mild steel on a car is doable when the job is appropriate, the metal is clean, and the filler is right. Use 309L or 309LSi filler, choose the correct shielding gas, keep the weld cool and controlled, and protect the mild steel side from rust after the joint is finished. For exhaust transitions and small brackets, this method can work well. For structural or safety-critical repairs, use a qualified repair procedure or have the work done by a professional.
Sources
- OSHA Welding, Cutting, and Brazing: Hazards and Solutions — welding hazards, PPE concerns, fumes, UV radiation, burns, and electrical shock.
- OSHA Hexavalent Chromium — chromium exposure risk during hot work on stainless steel and chromium-containing alloys.
- CDC/NIOSH Welding Fumes and Manganese — welding fume composition, manganese exposure concerns, and occupational exposure limits.